
For those seeking an effective method to restore the appearance of their vehicle, employing a high-pressure apparatus is a game plan worth considering. Begin the procedure by ensuring the surface is free of loose debris; use a soft brush or cloth to dislodge any caked dirt. This initial step significantly enhances the subsequent cleaning process.
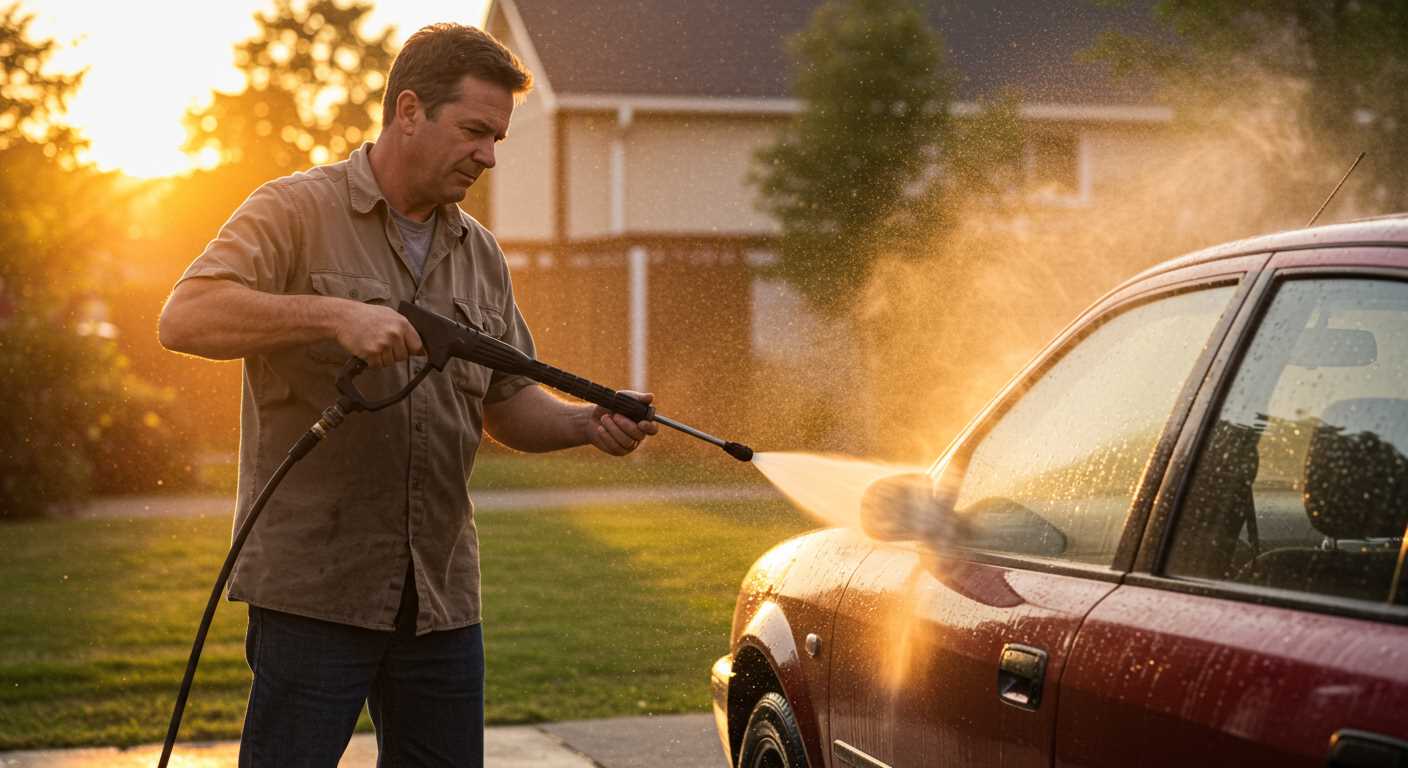
Next, select a suitable nozzle, typically the 25-degree one, as it strikes a balance between power and coverage. Position the machine approximately two feet from the surface, directing the spray in a sweeping motion rather than a concentrated blast. This motion helps avoid damage to paintwork, while effectively removing grime.
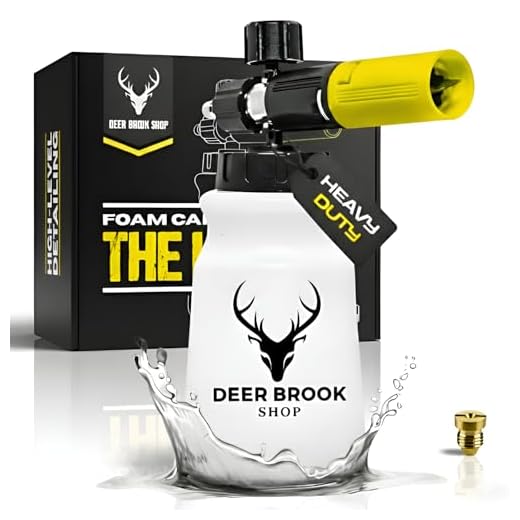
Incorporating a high-quality cleaning agent designed for automotive surfaces can elevate results even further. Consider using a foam cannon attachment, which allows for even distribution of soap, ensuring every nook and cranny benefits from the treatment. Allow the solution to sit for several minutes to break down stubborn contaminants before rinsing thoroughly.
Finally, pay attention to the details – tyres, wheel arches, and undercarriage often collect significant filth. Adjust the nozzle’s angle and pressure for these areas, ensuring a comprehensive approach. By following these steps, the transformation of your vehicle will reflect your dedication to maintenance and care.
Optimal Techniques for Using a Pressure Cleaning Device on Vehicles
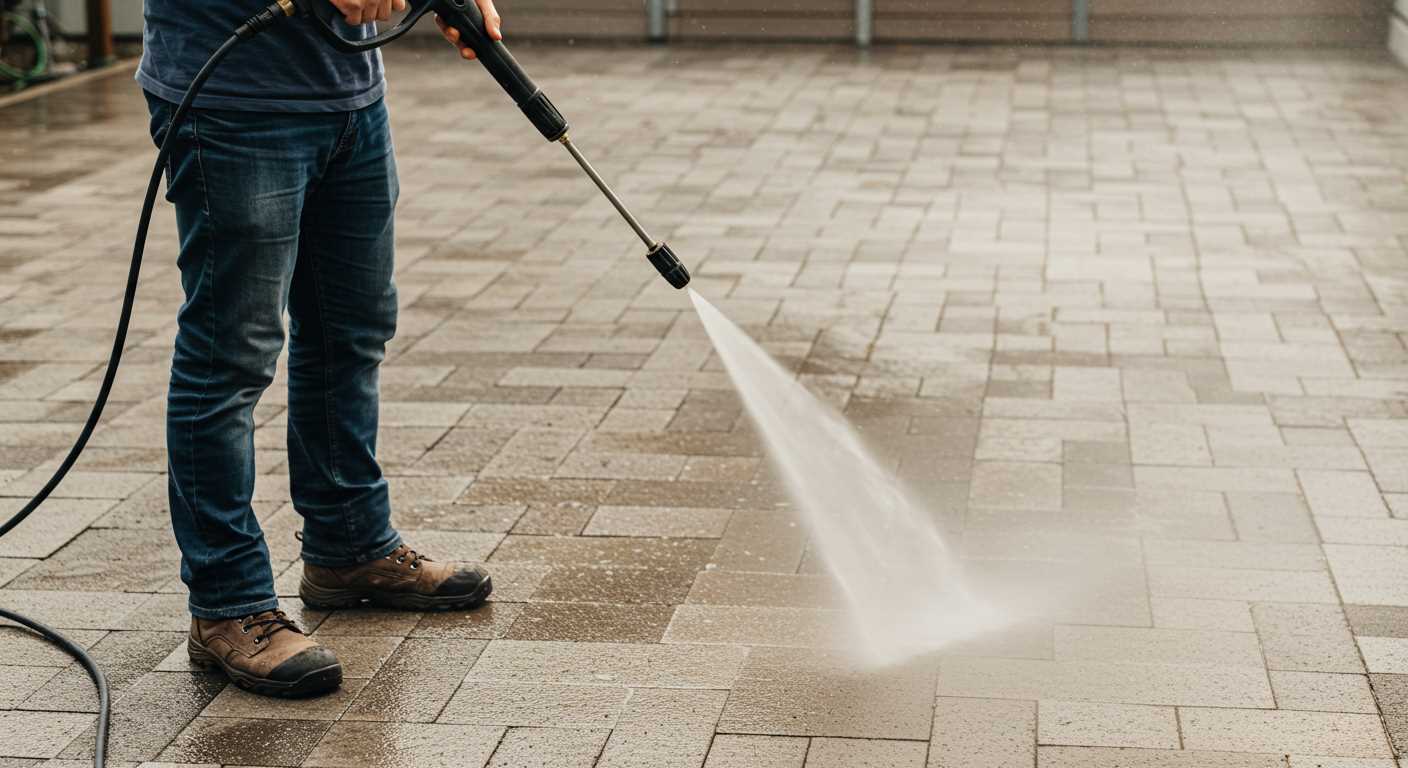
Begin the process by selecting the appropriate nozzle. I recommend a 25-degree or 40-degree nozzle to avoid damage to delicate surfaces while still providing sufficient force to remove grime and dirt effectively.
Preparation Steps
- Remove loose debris, like leaves or dirt, from the surface.
- Ensure all windows and doors are closed tightly to prevent ingress of water.
- Cover electrical components, like the battery and connectors, with plastic to avoid moisture exposure.
Cleaning Procedure
- Start from the top of the vehicle, gradually working downwards. This method allows dirt and soap to flow down and off the lower sections, preventing streaks.
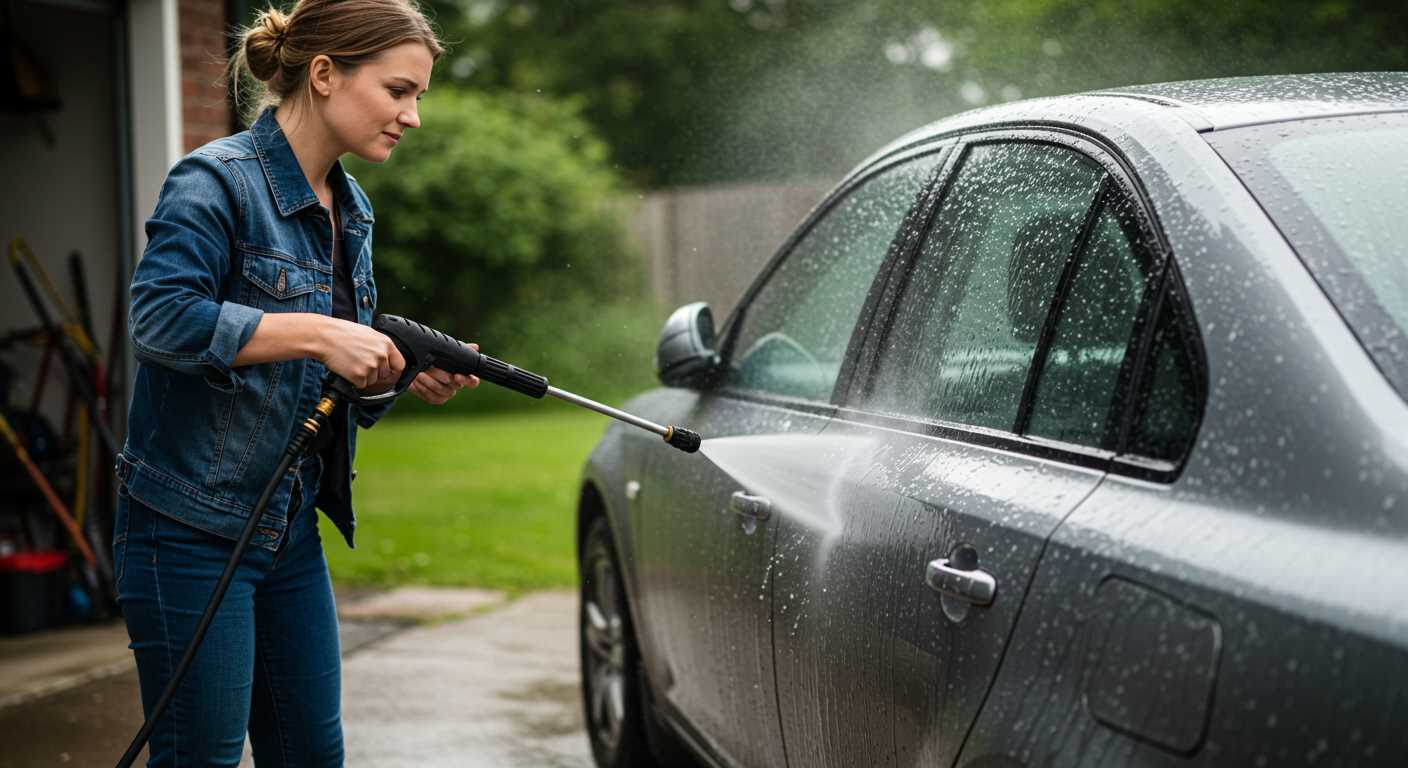
- Maintain a distance of about 2 feet from the surface to prevent damage. Adjust the distance as necessary based on the thickness of the dirt.
- Use a dedicated cleaning solution compatible with the surface of the automobile. Apply it generously before rinsing.
- After applying soap, allow it a few minutes to work; however, ensure it does not dry on the surface.
- Blast away suds from top to bottom, ensuring even rinsing to prevent any soap residues.
For stubborn spots, especially on the wheels or undercarriage, I suggest a direct, close-up application, but be cautious to avoid damaging sensitive components.
Finish with a drying technique. Use microfibre towels to avoid swirls and marks, ensuring a pristine finish free from water spots.
Choosing the Right Pressure Washer for Car Cleaning
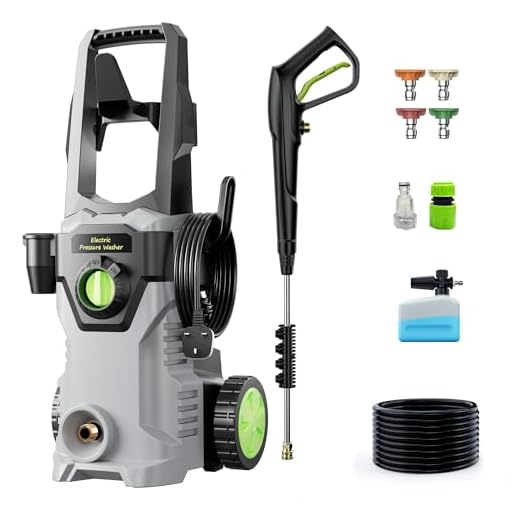
For optimal results in vehicle maintenance, I recommend selecting a unit within the 1200 to 1900 PSI range. This level ensures effective removal of dirt without risking damage to the paintwork.
Electric vs. Gas Models
Electric models are smaller, lighter, and typically quieter, making them perfect for home use. They require less maintenance and are more economical, while still providing sufficient power for most light to moderate tasks. In contrast, gas-powered units deliver higher pressure and flow rates, suitable for heavy-duty jobs, but they demand more upkeep and are generally bulkier.
Nozzle Types and Features
A rotating nozzle can significantly enhance cleaning performance, as it combines the force of a pinpoint spray with a wider coverage area. Adjustable nozzles allow for switching between different spray patterns: a fan spray for wider surfaces and a concentrated stream for stubborn grime. Additionally, a detergent dispenser can be beneficial; however, it’s wise to use specially formulated automotive cleaning solutions to prevent any unforeseen damage.
Necessary Accessories and Attachments for Pressure Washing
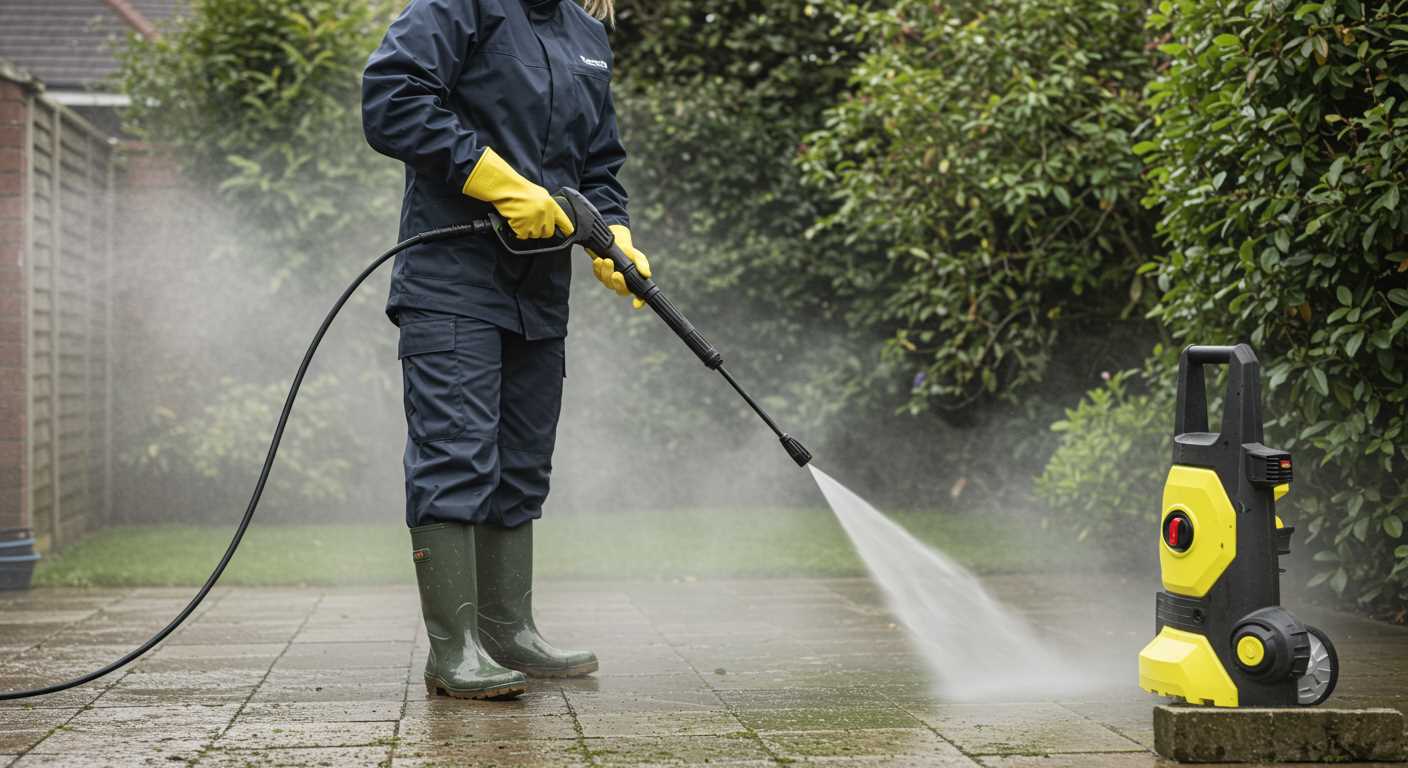
Investing in the right tools can significantly enhance the process. A foam cannon is a must-have for efficient soap application, allowing thick foam to cling to surfaces, ensuring better coverage and dirt loosening. Opt for a unit with adjustable settings for varied foam thickness, catering to different cleaning needs.
Nozzle selection plays a crucial role in achieving desired results. A rotating turbo nozzle is excellent for tackling stubborn grime, providing a concentrated and rotating spray pattern that increases cleaning efficiency. For delicate areas, use a wide-angle spray nozzle to prevent damage while ensuring thorough rinsing.
High-quality extension wands help reach tricky spots, such as the undercarriage and roof. A telescoping wand can extend the cleaning range, making it easier to access difficult areas without the need for ladders.
Consider investing in a surface cleaner attachment for larger horizontal areas like hoods or roofs. These attachments offer a consistent clean across broad surfaces, reducing streaking compared to a standard nozzle.
Debris management tools, such as a leaf blower attachment, can assist in clearing away leaves and other debris before washing, ensuring an unobstructed cleaning surface.
Finally, a quality cleaning solution is paramount. Look for pH-balanced and environmentally friendly options to safeguard paint and the environment.
Preparing Your Vehicle Before Using a Pressure Washer
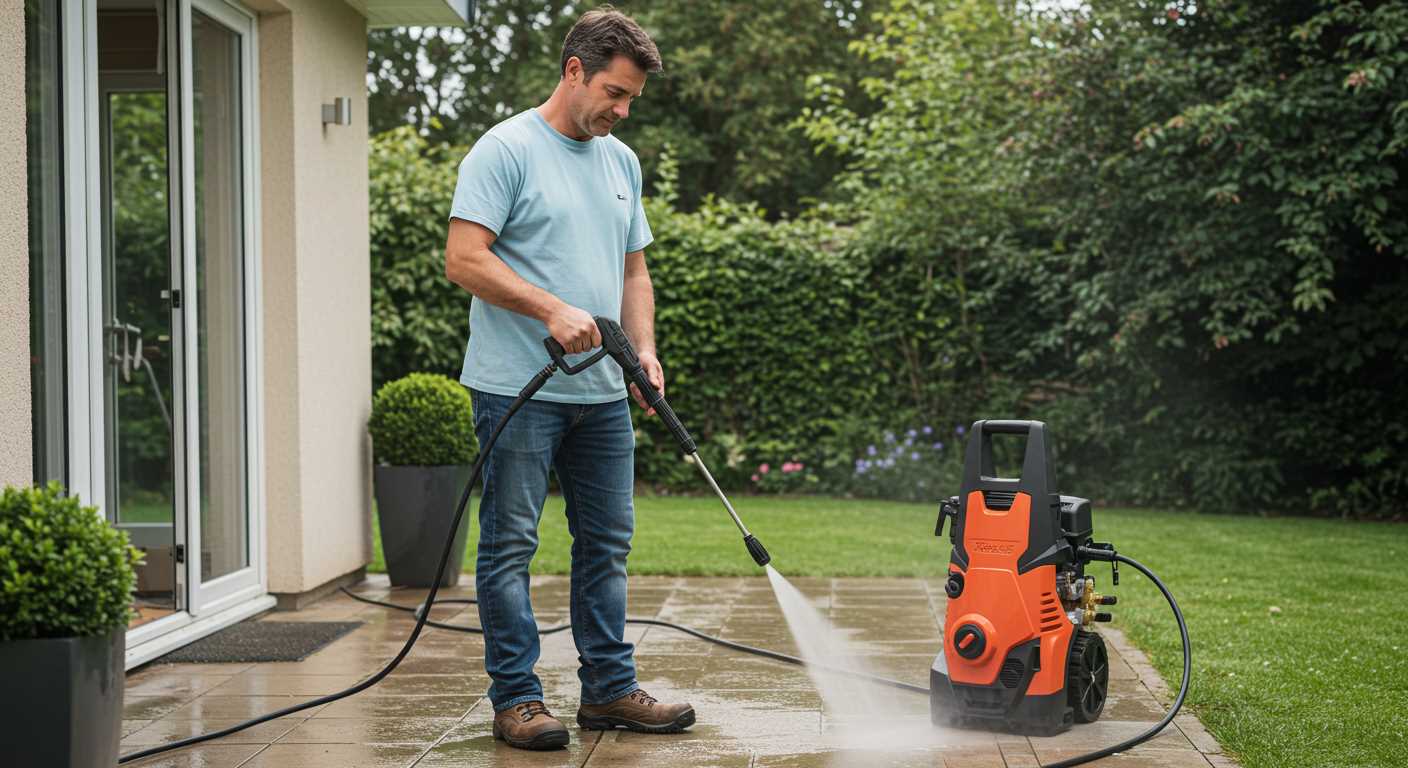
Thoroughly inspect your vehicle for loose parts, including trims and accessories. Secure any items such as number plates, antennas, and mirrors to prevent them from detaching during the process.
Remove any external debris, such as leaves, grass, or mud. This prevents larger particles from becoming projectiles when water pressure is applied, potentially causing damage.
Ensure all windows and doors are firmly closed to prevent water intrusion inside. Check that the boot and bonnet are also sealed properly.
If your vehicle has any specialised detailing, such as decals or custom finishes, consider whether high-pressure cleaning is appropriate. Test a small, inconspicuous area first to gauge any reactions.
Prior to commencement, it is beneficial to rinse the bodywork with low-pressure water. This initial step loosens dirt and grime, allowing for a more effective treatment without strong jets.
If you’re using cleaning products, apply them using a foam cannon or similar attachment. Allow time for the detergent to dwell on the surface, which helps break down grease and stubborn deposits.
During preparation, consider your own safety. Wear protective eyewear to shield against any debris and ensure that you have appropriate footwear to maintain stable footing.
Finally, plan your washing sequence. Start from the top and work your way down, following the natural flow of water to prevent muck from recontaminating lower sections.
Step-by-Step Guide to Pressure Washing Your Car
Start by ensuring your selected model is on a flat, dry surface. Secure the right nozzle–typically a wide fan type–to avoid damaging the vehicle’s finish. Next, connect the equipment to a water source and plug it in or start the engine if it’s gas-powered.
Commence by wetting the vehicle to loosen grime and dirt. Keeping a safe distance of around 3 to 4 feet, apply water evenly from top to bottom, thereby avoiding streaking. Maintain a consistent motion to prevent concentrated high pressure on one area.
Next, it’s time for the cleaning solution. If you have a dedicated soap attachment or foam cannon, fill it according to the manufacturer’s guidelines. Apply the cleaning agent from the bottom up to allow it to break down contaminants effectively.
Allow the foam to dwell on the surface for a few minutes but do not let it dry. Rinse thoroughly with the equipment, still maintaining the same top-to-bottom approach to ensure all soap and dirt are washed away. Frequently assess your progress to identify any missed spots.
After rinsing, utilise a microfibre towel or a squeegee to remove excess water and prevent water spots. For wheels and tires, switch to a narrow nozzle, getting into crevices while ensuring you don’t spray upwards towards the paintwork.
Finish by detailing any remaining areas by hand. Check for missed sections and use an appropriate cleaner for glass and chrome, ensuring everything is smudge-free. Regular practice will lead to an optimal routine and improved results.
| Step | Action |
|---|---|
| 1 | Position the model correctly |
| 2 | Attach suitable nozzle |
| 3 | Wet the vehicle |
| 4 | Apply a cleaning solution |
| 5 | Rinse thoroughly |
| 6 | Towel dry and detail |
Common Mistakes to Avoid When Pressure Washing a Car
Avoid using too high a setting on your device. Start at a lower pressure to prevent damage to paint and delicate parts. Many believe that more power equals better results, but this can lead to unwanted outcomes.
Neglecting to maintain a proper distance is common. Keep the nozzle at least 2 feet away from the surface to prevent any etching or stripping of protective coatings.
- Skipping the rinsing phase is another frequent error. Always rinse before applying any cleaning solution to remove loose dirt and debris.
- Using the incorrect nozzle can impact the outcome. Opt for a wide fan nozzle for larger areas and a pinpoint nozzle for stubborn spots.
- Rushing the process can lead to missed spots. Take your time to ensure every inch receives attention.
Overlooking protective measures is a mistake often made. Remove or cover sensitive items like antennas, mirrors, and any removable embellishments to avoid damage.
Ignoring the manufacturer’s guidelines can result in improper use of your equipment. Always refer to the manual for specific instructions related to your model.
- Combining different cleaning solutions without testing can lead to adverse reactions. Always mix products according to instructions and perform a patch test.
- Neglecting to check for leaks or malfunctions before use can compromise results. Inspect hoses and attachments before starting.
- Lastly, not protecting your surroundings can cause unintended consequences. Ensure nearby plants and surfaces are shielded from the spray.
By avoiding these common pitfalls, you will achieve better results and prolong the life of both your vehicle and cleaning equipment.
Post-Cleaning Care and Maintenance for Your Vehicle
Immediately after washing, give your vehicle a thorough inspection. Look for any missed spots or inconsistencies in the finish. Pay attention to crevices, wheel wells, and around badges, as these areas often hold dirt.
Drying Techniques
Utilise a microfiber towel for drying to prevent water spots and streaks. A waffle-weave towel works exceptionally well for this purpose due to its absorbent nature. Start from the top and work your way down, ensuring that you do not drag dirt back onto clean surfaces.
Waxing and Polishing
Apply a quality wax or sealant to protect the paint. This step is crucial for maintaining gloss and shielding against environmental elements. Use a foam applicator to spread the product evenly, then buff it off with a clean microfiber cloth once the product has cured. This will enhance the finish and provide a layer of protection, prolonging the cleaning results.
Regularly inspect your vehicle’s coating and reapply wax approximately every three months, or according to the product’s instructions. This routine not only helps maintain the appearance but also adds a layer of defence against oxidation and contaminants.
For the interior, vacuum thoroughly to eliminate debris and use an appropriate cleaner for surfaces to maintain hygiene. Wipe down all panels and screens with a dedicated microfiber cloth. Don’t forget to condition leather seats if applicable, as this maintains their suppleness and prevents cracking.
Keep wheel wells and tyres clean and well-maintained; apply a tyre dressing when necessary. This not only provides aesthetic appeal but also adds a protective layer against UV rays and weather conditions.
Lastly, schedule regular maintenance checks for both the vehicle and the washing equipment used to ensure optimal performance and longevity. A little attention goes a long way in preserving the vehicle’s aesthetic and functional value.
Environmentally Friendly Practices While Pressure Washing
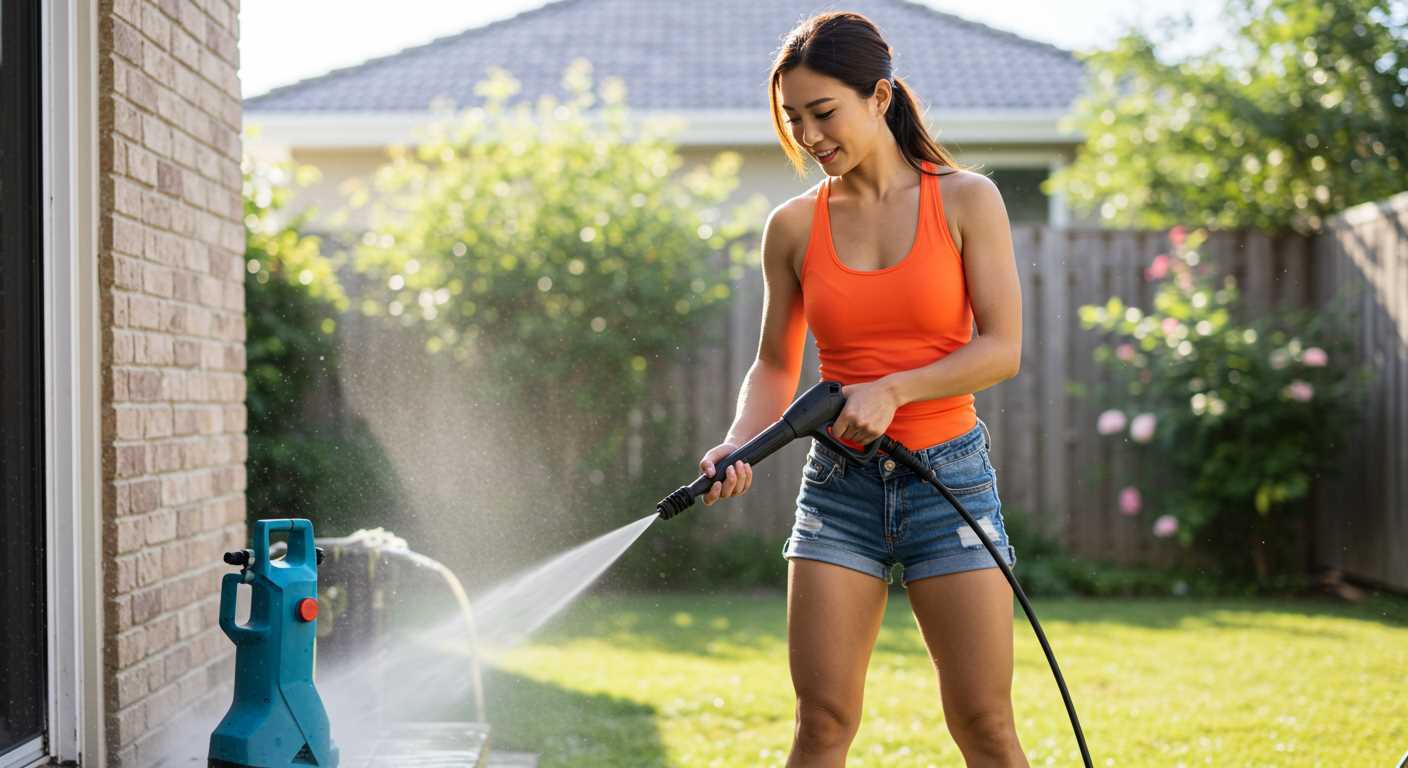
Utilise biodegradable detergents during the washing process. These products break down naturally, minimising environmental impact while still providing effective removal of dirt and grime. Look for eco-friendly brands that certify their formulations are non-toxic.
To conserve water, consider using a pressure device equipped with a trigger gun. This feature allows for precise control over water flow, preventing unnecessary wastage when not actively cleaning. Additionally, start by rinsing the vehicle with plain water before applying any soaps to reduce chemical runoff.
Capturing Runoff
Incorporate a runoff collection system if possible. Utilising mats or barriers can help capture excess water and soaps, preventing them from entering storm drains. This practice protects local waterways from harmful contaminants.
Proper Disposal of Waste
After completing the task, ensure that any leftover wastewater, especially if containing detergents, is disposed of responsibly. Avoid draining it into streets or natural water bodies. Instead, follow local guidelines for disposal of wash water, which may involve collecting it in containers for proper treatment.
FAQ:
What equipment do I need to clean my car with a pressure washer?
To clean your car with a pressure washer, you’ll need a pressure washer itself, ideally with adjustable pressure settings to ensure safe cleaning. A nozzle specifically designed for car cleaning, such as a foam cannon, can help apply soap evenly. Additionally, you’ll benefit from having a bucket, car wash soap that is safe for paint, and microfiber cloths or drying towels for finishing touches. A wheel brush might also be handy for cleaning the wheels and tyres effectively.
Is it safe to use a pressure washer on my car’s paint?
Yes, using a pressure washer on your car’s paint can be safe if done correctly. It is important to use a nozzle with a wide spray pattern and to keep the nozzle at a safe distance, typically between 1 to 2 metres from the vehicle’s surface. Adjusting the pressure to a lower setting, around 1200 to 1900 PSI, is advisable to avoid damaging the paint. Always start from the top of the vehicle and work your way down, allowing dirt and grime to wash away without causing scratches.
How do I properly soap and rinse my car using a pressure washer?
To soap your car, attach a foam cannon to your pressure washer, fill it with car wash soap diluted according to the manufacturer’s instructions, and spray the foam generously over the entire vehicle, starting from the top. Allow the soap to dwell for a few minutes to loosen dirt but avoid letting it dry. Afterwards, switch to a rinse nozzle and use the pressure washer to thoroughly rinse off the soap, ensuring you rinse from the top down to ensure all soap and dirt are washed away. This helps to prevent spotting on the surface.
What are some precautions I should take while cleaning my car with a pressure washer?
When using a pressure washer to clean your car, take several precautions to avoid damage. Firstly, always check that your vehicle is cold, as hot surfaces can be sensitive to sudden changes in temperature. Make sure to use a nozzle designed for low-pressure use to protect the paint. Avoid spraying directly at any electrical components, door seals, or undercarriage joints. Keep the pressure washer wand moving to prevent concentrated pressure that might damage the paint or glass. Finally, always read the user manual of both the pressure washer and car cleaning products to ensure compatibility and safety.


