
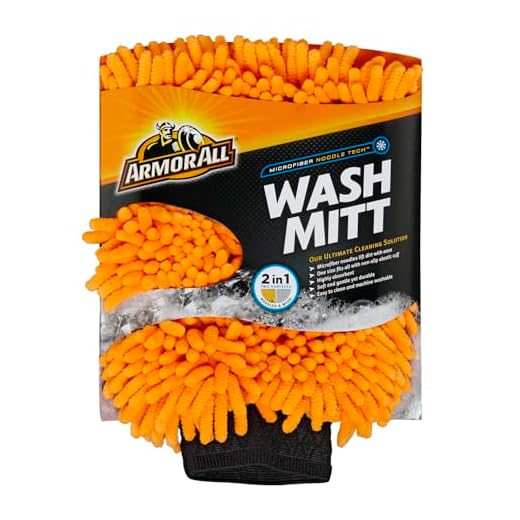
Using a simple bucket of warm water mixed with a pH-balanced soap can achieve remarkable results in maintaining the exterior of your vehicle. This method eliminates grime and road film without the harshness of high-pressure systems. A microfibre mitt provides the necessary abrasion without scratching the surface. Begin from the top and work your way down, ensuring that dirt is not dragged across painted surfaces.
In addition to bucket washing, employing a clay bar can significantly enhance paint clarity. This tool removes embedded contaminants that soap alone may miss. Lubricate the surface with a detail spray while gliding the clay bar over the paint to lift pollutants effortlessly.
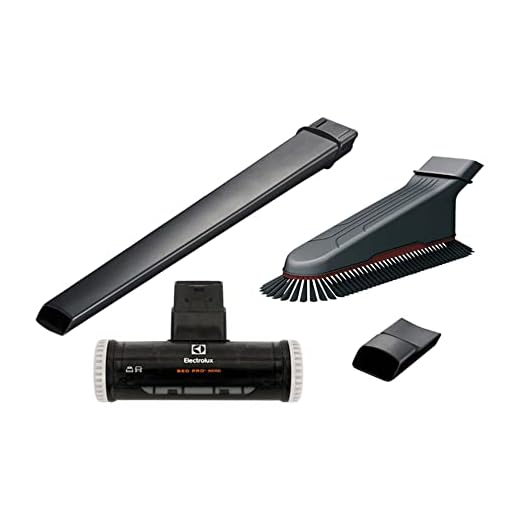
For those interior spaces, a vacuum with various attachments tackles debris in hard-to-reach areas. Following that, a steam cleaner can sanitise surfaces, killing germs and offering a deep clean without the need for chemical cleaners that may damage materials. Just remember to avoid soaking fabrics to prevent mildew.
Lastly, applying a wax or sealant post-cleaning not only enhances shine but also provides a barrier against environmental factors and future dirt build-up. By implementing these strategies, maintaining your vehicle can be a straightforward and rewarding task.
Optimal Techniques for Vehicle Maintenance Without Powered Equipment
Utilising a trusty bucket, sponge, and high-quality automotive shampoo can achieve remarkable results. Begin by filling a bucket with warm water and mix in the shampoo according to the instructions. Use a soft sponge to apply the soapy solution, starting from the roof and working downwards to prevent dirt from transferring to areas already cleaned.
For stubborn grime, consider a clay bar treatment. This product helps lift embedded contaminants from the paint without scratching. After washing, gently glide the clay bar over a lubricated surface to ensure a smooth finish.
Another powerful method is to use a mix of vinegar and water for window cleaning. This combination effectively removes streaks and leaves glass crystal clear. Spray the solution on the surface and wipe with a microfiber cloth for best results.
Don’t overlook wheel care; a dedicated brush and citrus-based cleaner will remove brake dust efficiently. Scrub each wheel thoroughly, including the tyres, and rinse with water for a polished look.
To maintain the interior, vacuum first, focusing on tight spaces and under seats. Then, use an upholstery cleaner appropriate for your materials, applying it evenly and allowing it to sit before wiping away with a soft cloth. Regular conditioning of leather surfaces will prevent cracking and enhance longevity.
Finish with a good coat of wax for the exterior, protecting the paint while enhancing shine. Applying it with a foam applicator in circular motions ensures even coverage. Allow it to haze before buffing with a clean microfiber towel.
Selecting the Right Cleaning Products for Your Car
Opt for pH-balanced shampoos that won’t strip your vehicle’s wax or sealant. Products specifically formulated for automotive surfaces are preferable as they reduce the risk of damage and enhance a shiny finish.
Consider Different Surface Needs
Each component of your vehicle, from paintwork to wheels, has unique requirements. Use a specialized wheel cleaner that targets brake dust and grime effectively. For upholstery, choose a gentle fabric cleaner that lifts stains without discolouration.
Eco-Friendly Options
Look for biodegradable products that are less harmful to the environment. Many manufacturers now offer eco-conscious solutions that clean effectively while reducing the ecological footprint.
Read labels carefully to ensure you select the right solutions, avoiding harsh chemicals that can cause long-term damage. Testing a small area can also help ensure compatibility, particularly with novel products.
For those stubborn spots, a clay bar may be an effective choice to remove contaminants that regular washes can’t tackle. Always pair your choice of products with appropriate tools, like microfiber cloths, to optimise results.
Preparing Your Vehicle for a Thorough Clean
Begin by removing any personal items and clutter from the interior. This includes anything from loose change to chargers, ensuring a clear space for a detailed tidy-up.
Exterior Prep
Next, focus on the outside. Remove any larger debris such as leaves or twigs. A soft brush or a handheld vacuum works well for this task. If your vehicle has a protective covering, such as a car bra or screen protector, take it off to avoid trapping dirt underneath.
Assessing Surfaces
Check for areas that need extra attention. Look for bird droppings, tree sap, or insect splatter, as these can damage the finish if not dealt with promptly. Use a damp cloth to lightly wipe these spots before you proceed with any washes.
Consider the weather. A sunny day might seem ideal, but direct sunlight can cause cleaning products to dry too quickly, leading to streaks or residue. Aim for a shaded area or cooler day to maximise results.
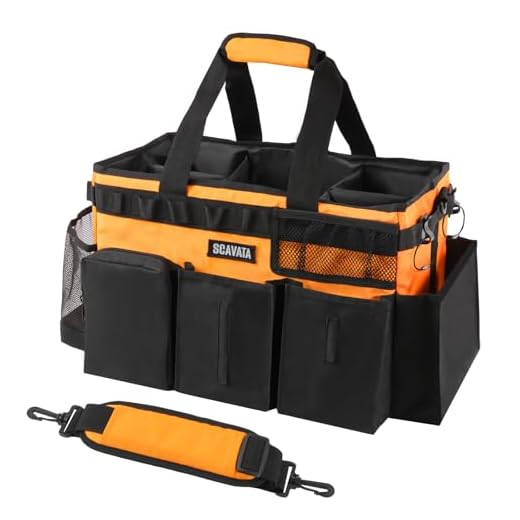
Finally, gather all necessary cleaning supplies before starting your task. This includes buckets, sponges, soft cloths, and appropriate cleaning solvents. Having everything on hand keeps the workflow smooth and effective.
Techniques for Hand Washing Your Vehicle
Create a dedicated area to wash the vehicle. A shaded spot will prevent soap from drying too quickly and ensure thorough rinsing.
Use the two-bucket method to minimise swirl marks. Fill one bucket with soapy water and the other with clean water for rinsing. Regularly rinse your wash mitt to remove dirt before dipping it back into the soapy solution.
Opt for microfiber mitts or sponges, as they are gentle yet effective at lifting dirt and grime. Avoid using old towels or rough sponges that may scratch the paint.
Work from top to bottom, starting with the roof and moving down to the wheels. This technique prevents dirt from flowing onto already cleaned sections. Take your time on areas with stubborn dirt and debris.
Pay special attention to the wheels and tyres. Use a dedicated wheel brush along with a non-acidic cleaner to break down brake dust while avoiding damage to the wheel finish.
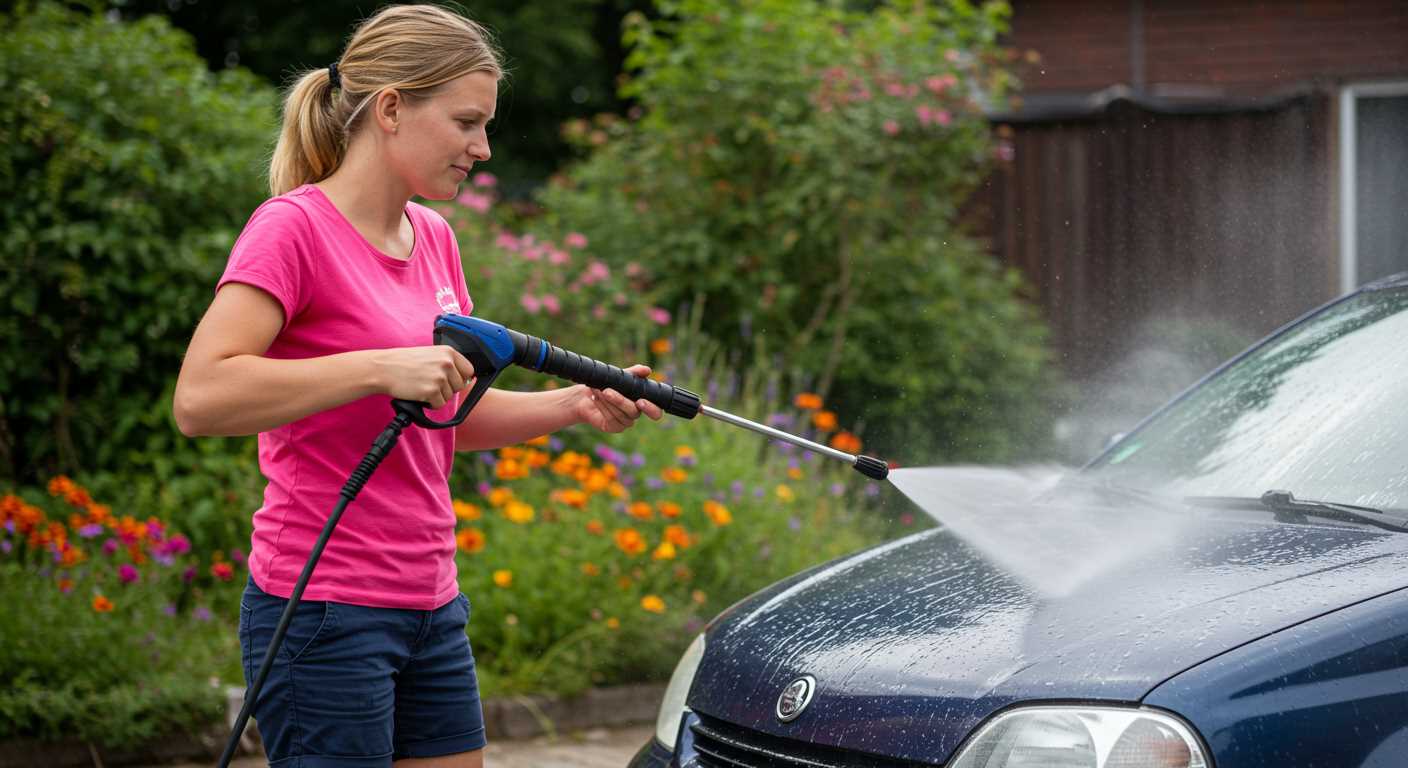
Rinse thoroughly with clean water, ensuring all soap is removed to prevent residue. A good practice is to use a hose with a spray nozzle to control pressure without the need for a high-powered device.
After rinsing, dry the surface with a plush microfiber towel or a chamois leather. This helps avoid water spots and gives a polished appearance.
Periodically inspect and clean your washing tools to maintain their effectiveness. Replace any worn or damaged items to prevent introducing scratches.
Consider applying a wax or sealant on a clean surface for added protection. This creates a barrier against contaminants and enhances the shine of the finish.
Dealing with Stubborn Dirt and Grime
For those annoying stains that resist usual methods, a multi-step approach proves beneficial. Start with pre-soaking areas of concern. Utilize a mix of warm water and a suitable detergent, applying it liberally to the affected spots. Allow it to sit for at least 10-15 minutes. This softens embedded grime and prepares it for removal.
Recommended Tools
- Microfibre cloths: Ideal for lifting dirt without scratching surfaces.
- Soft-bristled brushes: Useful for scrubbing those stubborn patches, especially in crevices.
- Detailing brushes: Perfect for tight spots around grilles, wheels, and joints.
After soaking, it’s time to scrub using your chosen tools. Focus on a small section at a time to ensure thoroughness. Use circular motions with the microfibre cloth or brush to dislodge dirt effectively.
Stain-Specific Solutions
- Road tar</: Apply a commercial tar remover or mineral spirits; let it penetrate for a few minutes before wiping.
- Tree sap: A little rubbing alcohol can break down the sticky residue; dab it on and work gently.
- Bird droppings: Act quickly. Use a dedicated bird droppings cleaner, allowing it to soften the material before wiping away.
Rinse the area with clean water after any treatment. This prevents residue buildup from cleaners. Finish by drying with a fresh microfibre cloth to avoid water spots.
Regular maintenance prevents dirt from becoming a significant issue. Consistent washing removes light grime before it builds up into stubborn staining, making future tasks easier.
How to Clean the Wheels and Tyres Properly
To achieve thorough results on wheels and tyres, gather the following: a dedicated wheel brush, an all-purpose cleaner, a tyre gel, and a soft cloth or microfibre towel. Begin by ensuring the tyres are cool to the touch–hot surfaces can lead to cleaner evaporation and reduced effectiveness. Spray a generous amount of the all-purpose cleaner directly onto the wheels and allow it to dwell for a few moments to break down dirt and brake dust.
Brush Techniques
Using the dedicated wheel brush, scrub the wheels in a circular motion, focusing on intricate areas where grime tends to accumulate. For stubborn spots, a detailing brush can reach into tight spaces for a meticulous finish. Rinse each wheel thoroughly with water to remove any remaining product and loosened debris.
Tyre Finishing Touches
Once the wheels are spotless, apply tyre gel to the sidewalls for that finishing shine. Use a foam applicator to spread the gel evenly. This not only enhances appearance but also provides a protective layer against cracking and fading. Wipe off any excess with a cloth to prevent sticky residue. Regularly repeating this process ensures your wheels and tyres will maintain their pristine condition.
Effective Methods for Cleaning Car Windows
Use a high-quality glass cleaner paired with a microfiber cloth for optimal results. This combination prevents streaks and ensures a crystal-clear finish. Apply the cleaner generously to the surface and wipe in a circular motion, followed by vertical and horizontal strokes for thorough coverage.
For stubborn marks or residues, a vinegar and water solution is an excellent alternative. Mix equal parts of each in a spray bottle, apply, and let it sit for a minute before wiping away. This method is particularly effective against grime and smudges.
Don’t overlook the importance of the rubber seals and edges. Wipe these areas with a damp cloth to prevent dirt accumulation and maintain proper sealing. Neglecting these can lead to long-term issues with water ingress.
Always clean windows when they are cool to the touch to avoid streaking due to heat. If you’re working in direct sunlight, consider choosing an area with shade or working in the early morning or late afternoon.
Regular maintenance makes a significant difference. Wipe the windows frequently with a dry microfiber cloth to keep them free from dust and contaminants, reducing the need for deep cleaning sessions.
Interior Vehicle Tidying: Tips and Tricks
Start with a thorough vacuuming. Use a handheld vacuum or an extension hose to reach all areas, including under the seats and in between crevices. Attachments like a brush head help capture dirt and pet hair effectively.
For upholstery, a solution of mild detergent mixed with water works wonders. Dampen a cloth or sponge and gently scrub stained areas. Avoid soaking the material to prevent mould growth. For leather surfaces, apply a specific conditioner after cleaning to maintain suppleness and avoid cracks.
Don’t overlook the dashboard and console. A damp microfiber cloth is perfect for removing dust and fingerprints. For stubborn grime, a gentle all-purpose cleaner can be sprayed onto the cloth first–never directly onto surfaces–to prevent oversaturation and damaging electronics.
For floor mats, shake off loose dirt and use a high-pressure nozzle attachment on your vacuum. If they are rubber mats, a hose with warm soapy water will rinse away residue; for carpet mats, a special carpet cleaner can refresh the fibres.
Glass surfaces need attention as well. A glass cleaner with ammonia works best for a streak-free finish. Use a newspaper or coffee filter for wiping, as these materials leave fewer lint particles compared to cloth.
To combat lingering odours, sprinkle baking soda on carpets and upholstery. Leave it for a few hours or overnight, then vacuum it up. This absorbs smells effectively and leaves a fresher scent.
Finally, don’t forget to regularly replace air filters if your vehicle has a cabin filter. This will improve air quality within the interior and enhance your driving experience.
Maintaining Your Vehicle’s Shine After Cleaning
Apply a high-quality wax or sealant to provide a protective layer that enhances brightness and keeps dirt at bay. Products with carnauba wax offer an excellent gloss and protection against UV rays. I recommend waxing every three months for optimal results.
Consider using a microfiber cloth for buffing post-application. These cloths are gentle and effectively remove residue, achieving a streak-free finish. When buffing, use straight-line motions rather than circular ones to avoid swirl marks.
Regularly inspect for scratches or blemishes. If you notice any, a light polish can restore the surface. Always use products designed for automotive finishes to ensure compatibility and avoid damage.
Utilising a detailing spray can help maintain that freshly washed look between full washes. A quick spritz followed by a wipe with a microfiber cloth not only enhances shine but also removes light dust and fingerprints.
| Products to Consider | Usage Tips |
|---|---|
| Carnauba Wax | Apply every three months for optimal shine and protection. |
| Detailing Spray | Use between washes to keep surfaces shiny and clean. |
| Polishing Compound | Address scratches with a light polish designed for automotive use. |
| Microfiber Cloth | Utilise for buffing and removing residues to avoid scratches. |
Storing your vehicle in a garage reduces exposure to the elements. If that’s not feasible, invest in a quality car cover. This simple step helps protect the finish from dust, birds, and tree sap.
Routine maintenance is key; wash your wheels and tyres regularly to prevent grime build-up that can affect overall appearance and lead to long-term damage. Keeping your vehicle’s surface smooth discourages dirt adhesion.


