



To effectively rejuvenate your concrete surface, I recommend starting with a mixture of water and vinegar. Combine a cup of vinegar with a gallon of warm water in a bucket. This combination acts as a natural degreaser, easily breaking down grime and stains. Apply this solution generously to the area and allow it to sit for about 10-15 minutes for optimal results.
Next, utilise a stiff-bristled broom or a scrub brush to agitate the surface. The physical action will assist in loosening stubborn dirt. For those hard-to-reach spots or deeper stains, consider sprinkling a bit of baking soda before scrubbing. This creates a gentle abrasive effect that works wonders on embedded debris.
After scrubbing, rinse the area thoroughly with clean water, using a mop or a hose if available. If the grime persists, a diluted solution of dish soap can be applied for an additional round of scrubbing. This method is especially effective against oil and grease marks, which are often found on such surfaces.
Finally, allow the surface to air dry completely. Regular maintenance, such as sweeping away dirt or spills promptly, can significantly extend the life and appearance of your concrete.
Best Method to Refresh Your Concrete Surface
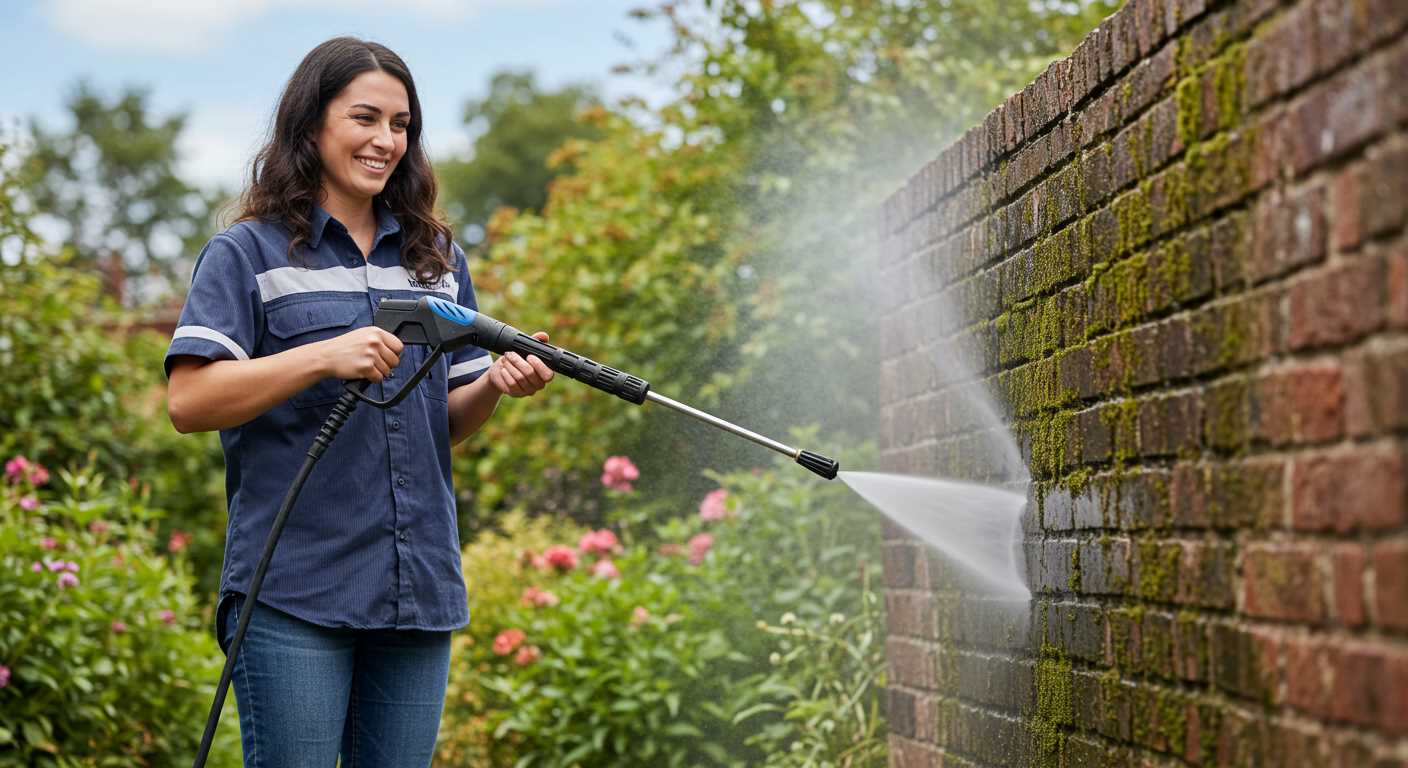
Utilise a mix of hot water and dish soap for a straightforward yet effective approach. Combine a gallon of hot water with a cup of dish soap in a bucket.
Follow these steps:
- Clear the area of any large debris, using a broom or a dustpan.
- Apply the soapy solution evenly across the surface using a mop or sponge.
- Allow the solution to sit for approximately 15 minutes to loosen grime and stains.
- Scrub the area with a stiff-bristled brush, focusing on particularly dirty spots.
- Rinse with clean water, using a hose or a bucket to wash away the soap and loosened dirt.
- For stubborn stains, consider using a paste made from baking soda and water, applying it directly to the stain and scrubbing after letting it sit for 10 minutes.
In case of oil stains, sprinkle baking soda over the area and let it absorb the oil for several hours before sweeping.
A squeegee can assist in removing excess water after rinsing, making the drying process quicker.
Complete the task by allowing the surface to air dry fully, which may take several hours depending on weather conditions.
Choosing the Right Cleaning Solution for Your Garage Floor
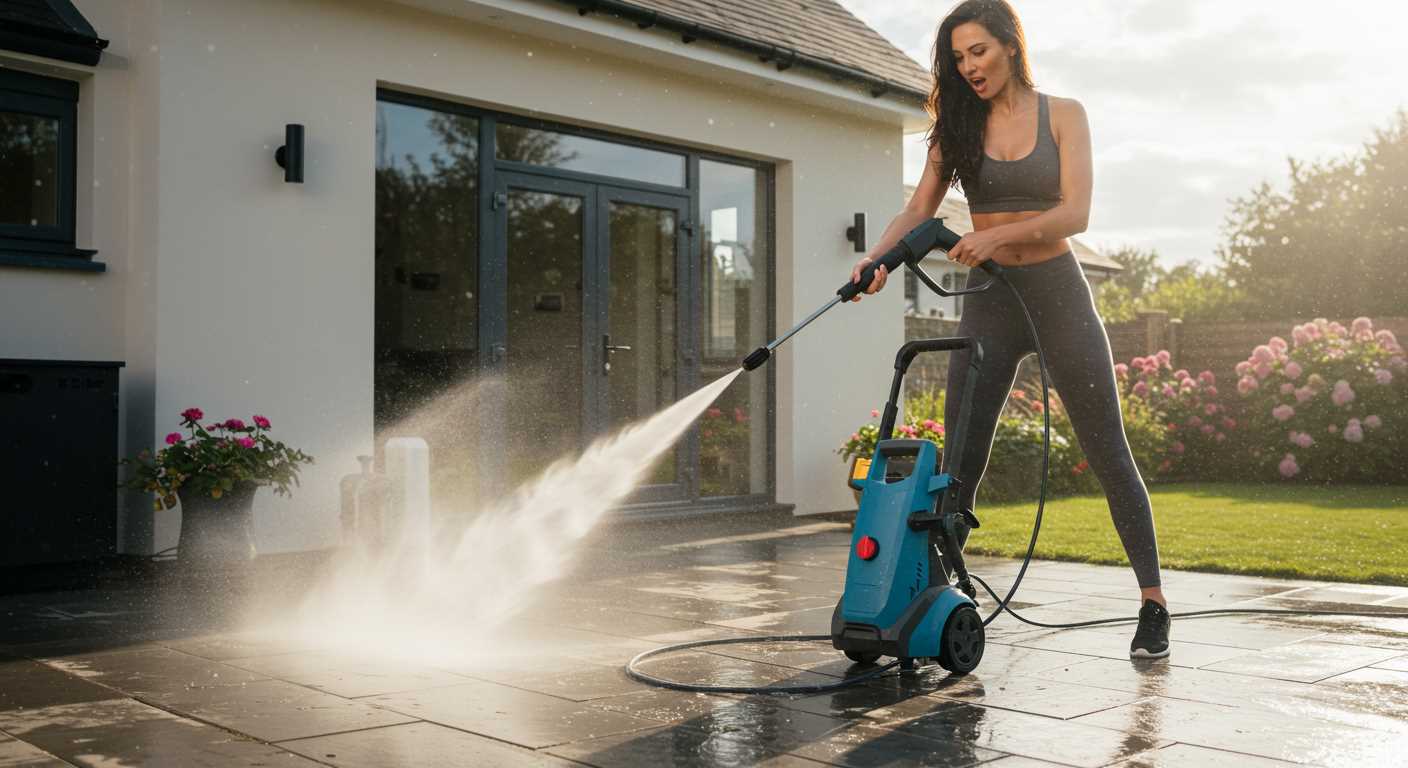
Select a pH-neutral cleaner or a degreaser specifically formulated for concrete surfaces. These products effectively tackle grime, oil stains, and dirt build-up without causing damage. Ensure the solution is safe for the environment and does not contain harsh solvents.
If you’re dealing with oil or grease stains, consider using a powdered absorbent such as cat litter or baking soda prior to applying a liquid solution. Sprinkle the powder on the stain, allow it to sit for several hours, and then sweep it up before treating the area with your chosen cleaner.
Mix the cleaner with warm water according to the manufacturer’s instructions. A ratio of one part cleaner to four parts water typically works well for most circumstances. For tougher stains, you can increase the concentration.
Invest in a stiff-bristled brush or floor scrubber for better agitation and removal of deeply entrenched messes. Use the brush to work the solution into the surface, focusing on high-traffic areas where debris accumulates most.
Rinse thoroughly with clean water after scrubbing. This removes any residual chemicals, ensuring the surface is safe and clean. A bucket or a hose with a sprayer attachment can help distribute water evenly.
For a lasting finish, consider applying a concrete sealer after cleaning. This adds a protective layer that makes future maintenance easier and reduces the likelihood of stains settling in.
Remember to regularly maintain the surroundings to keep the area tidy. A simple sweeping or dusting regularly can help prolong the effects of your deep cleaning efforts.
Preparing the Garage Floor for Cleaning: Steps to Follow
Begin by removing all items from the space, including tools, boxes, and furniture. This creates a clear area for effective maintenance. Next, sweep thoroughly to eliminate loose debris and dust, which can interfere with the next stages. Employ a stiff-bristled broom for better results, particularly in corners and along edges where dirt tends to accumulate.
Inspect the surface for any signs of stains or damage. Areas with oil spills or other residues may require special attention, so take note of these before starting the cleaning procedure. For persistent stains, it’s advisable to pre-treat them with an appropriate solution to aid in further removal.
Once the space is cleared and inspected, ensure adequate ventilation. Open windows and doors to facilitate airflow; this is particularly crucial if you’re using chemical products. Protective gear, such as gloves and masks, should be worn to safeguard against any harsh substances.
Finally, check the temperature and humidity conditions in the area. A warmer environment can help solutions work more effectively, while a dry surface is preferable for the subsequent treatment steps. completing these preparatory actions significantly enhances the effectiveness of the entire cleaning process.
Best Tools for Scrubbing and Removing Stains
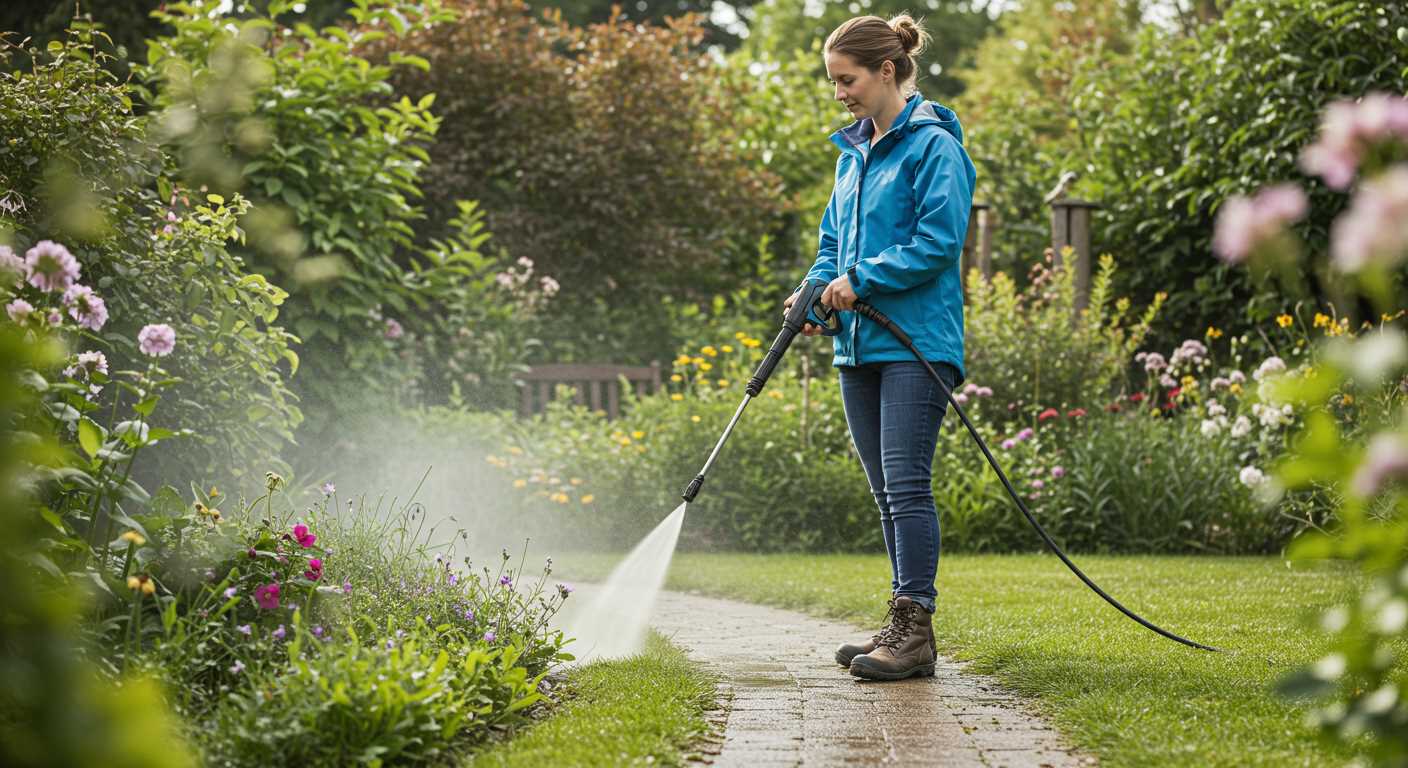
Invest in a sturdy scrub brush with stiff bristles. This will allow for thorough agitation of dirt and grime on the surface. Look for ergonomic handles to prevent strain during extended use.
A good-quality deck brush is also invaluable. Its wide head covers larger areas more efficiently, enabling you to tackle spills and marks effectively.
Consider a floor squeegee with a rubber blade. This will help with liquid spills, directing excess moisture towards a drain or out of the way. Squeegees assist in reducing drying time, preventing slips and falls during cleaning.
For tougher stains, a putty knife can be handy. Its edge is perfect for scraping off stubborn residues without damaging the surface. Always use caution and test on inconspicuous areas first.
Microfiber cloths are superb for detailing. They lift dirt without scratching surfaces, making them ideal for finishing touches and smaller spots.
Don’t overlook the benefits of absorbent pads. These can help in tackling oil stains, moving them from the surface without excessive scrubbing.
Lastly, a bucket is essential for mixing solutions. Ensure it’s sturdy and holds enough volume for your cleaning tasks. Always keep your tools organised for efficiency during cleaning sessions.
How to Remove Oil and Grease Stains from Concrete
.jpg)
For effective removal of oil and grease marks on concrete, act quickly. Here are the steps I recommend:
Required Materials
- Absorbent material (cat litter or sawdust)
- Degreaser or dish soap
- Stiff-bristle brush
- Bucket
- Water
- Rags or towels
Step-by-Step Process
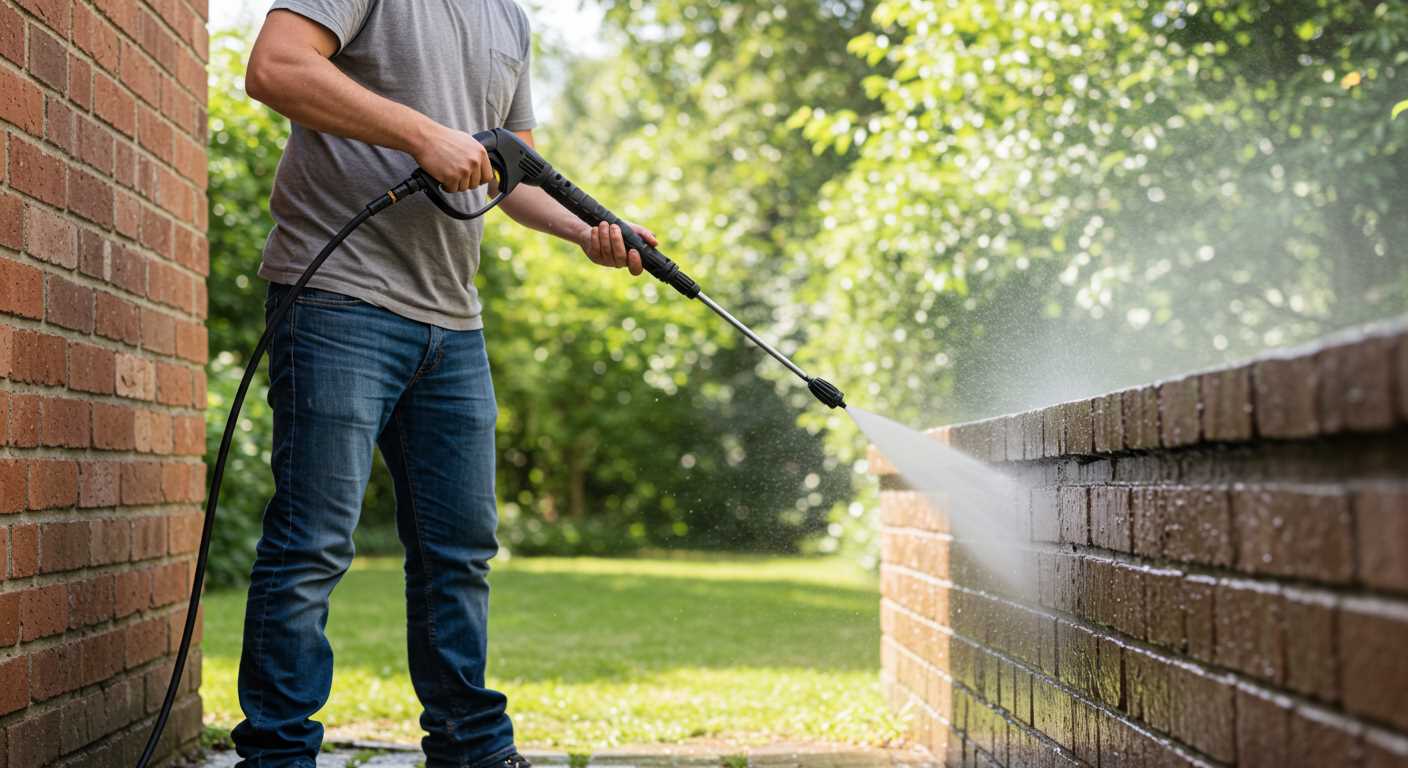
- Scatter absorbent material over the stains and let it sit for several hours, preferably overnight, to soak up as much grease as possible.
- After the absorbent has done its job, sweep it away and dispose of it properly.
- Mix a solution of degreaser or dish soap with warm water in a bucket, following the product instructions for the correct dilution.
- Saturate the stained area with the soapy mixture, allowing it to penetrate for about 10-15 minutes.
- Using a stiff-bristle brush, scrub the stain vigorously. Focus on the edges and centre to ensure thorough penetration of the cleaning solution.
- Rinse the area with clean water, either using a large bucket or a hose, ensuring all residues are removed.
- For stubborn stains, repeat the process as necessary until the marks disappear.
- Finally, dry the area with rags or towels to prevent any new stains from occurring.
Regular maintenance will help to prevent permanent discolouration. Consider using a sealant on your concrete once it’s clean for added protection against future spills.
Techniques for Mopping and Rinsing Effectively
Begin with a quality mop that suits the surface type. A microfibre mop head excels at capturing dirt and debris without scratching. If the space has tight spots or corners, consider a smaller, flat mop for these areas.
Prepare a warm water solution with an appropriate cleaner; a mix of vinegar and water works well for regular maintenance. Add a few drops of dish soap for stubborn grime. Ensure the mop is damp but not soaking to avoid excess water pooling.
For application, employ a figure-eight motion, which maximises coverage and dirt pickup. Work in sections to ensure efficiency, rinsing the mop frequently in the solution to prevent spreading dirt around.
Once mopping is complete, it’s crucial to rinse the surfaces adequately. Use a clean, damp mop to remove any remaining cleaning solution. This step helps eliminate residue that can attract more dirt.
For rinsing, a bucket of clean water is ideal. Dip the mop in, wring out, and then go over the area. If you prefer, attaching a hose with a gentle spray nozzle can aid in rinsing without creating a mess.
Finally, let air circulate to expedite drying. Open windows or use fans if available. This not only helps the area dry sooner but also prevents mildew or odours from developing.
Preventive Measures to Keep Your Garage Floor Clean
To minimise dirt and stains, implement these strategies. Install a rubber mat at the entrance. This simple addition captures debris and moisture before it spreads throughout the space.
Regular Maintenance Routine
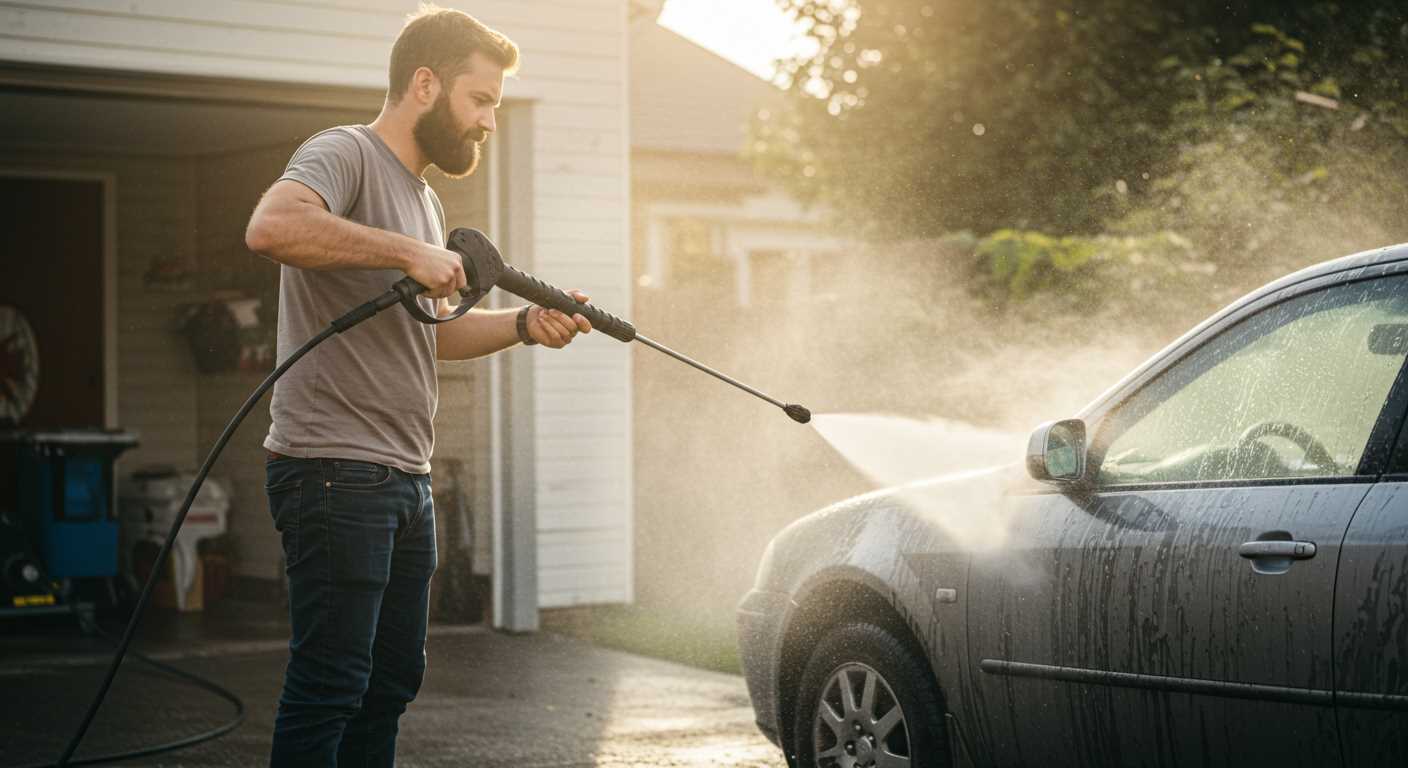
Schedule regular inspections and minor upkeep. Sweeping weekly prevents accumulation of dust and grime. Additionally, use a damp mop monthly to remove residue without extensive effort.
Organisational Solutions
Utilise shelving units and storage bins to reduce clutter. Keeping items off the ground limits the chances of spills and scratches. Consider using bins that seal tightly to prevent accidental leaks.
| Action | Frequency | Purpose |
|---|---|---|
| Install rubber mats | Once | Minimise debris entry |
| Sweep | Weekly | Control dust and dirt |
| Damp mop | Monthly | Remove residue |
| Organise storage | Seasonally | Reduce clutter |
Invest in a good quality floor sealant. Applying this to a clean surface enhances protection against spills and staining, making any future maintenance significantly easier.
All these actions collectively help maintain a tidy environment, reducing the need for extensive cleaning later. This proactive approach saves time and effort in the long run.


