


Using a high-pressure cleaning device is a game-changer for maintaining outdoor surfaces like concrete, stone or brick. Begin with a thorough inspection of the area, identifying stains, grime or moss build-up that require attention. Setting the pressure correctly is crucial; typically, a setting around 2000 to 3000 PSI works well for robust materials, but you should adjust based on the type of surface being treated.
Prepare your equipment by attaching the appropriate nozzle. A 25-degree nozzle is ideal for general cleaning, while a 15-degree allows for tackling tougher stains. Use sweeping motions, starting from the highest point and working your way down to avoid streaks. Keeping a distance of around 30 to 50 centimetres from the surface prevents damage while ensuring effective removal of dirt.
In cases of stubborn stains, pre-soaking the area with a suitable cleaning solution can yield better results. Allow the solution to sit for about 10 minutes, then rinse with water from your device. Finally, any remaining debris can be tackled with a stiff brush after the initial wash. This combination of techniques guarantees a pristine outcome, restoring the appearance of your surfaces significantly.
Choosing the Right Pressure Washer for Paving Slabs
For optimal results, select a unit with a minimum pressure rating of 130 bar. Higher pressures can penetrate stubborn dirt and grime effectively. Models featuring adjustable nozzles allow you to switch between spray patterns, making it easier to tackle various surfaces.
Key Features to Consider
- Flow Rate: Look for a machine with a flow rate of at least 450 litres per hour. A sufficient water flow ensures efficient removal of debris.
- Type of Pump: Opt for a unit equipped with an axial pump, which is more durable and provides better performance compared to wobble pumps.
- Weight and Portability: Lighter models are easier to manoeuvre. Check for units with wheels and a compact design for effortless handling.
- Suitability for Detergents: Some jobs benefit from using cleaning agents. Choose a model compatible with detergents for enhanced results.
Recommendations for Various Needs
- If you have extensive areas to tackle: Consider electric models for regular maintenance or petrol options for larger projects, as they generally offer higher power and mobility.
- For residential use: A mid-range electric machine is sufficient, balancing power and convenience.
- If noise is a concern: Electric units tend to be quieter compared to petrol alternatives, making them suitable for residential areas.
Assess your cleaning requirements and choose wisely. The right choice will make your tasks more manageable and fruitful.
Preparing your outdoor area before cleaning
Clear the area of any furniture, planters, or decorative items to ensure unobstructed access. This avoids potential damage and creates a safer working environment.
Check for loose stones or debris on the surface; removing these will prevent clogs in the machine and uneven results. Sweep or rake the area thoroughly.
Inspect joints between the stones. If weeds or moss have taken hold, treat these areas with an appropriate weed killer a few days prior to your scheduled task, allowing time for them to die back.
Cover nearby plants and vegetation with tarps or plastic sheets for protection against overspray. Ensure that any electrical outlets or features are secured against water exposure to mitigate risks.
Lastly, consider the weather conditions. A dry, sunny day is optimal, as it prevents muddy splashes and allows for faster drying post-cleaning.
Selecting Appropriate Cleaning Solutions and Detergents
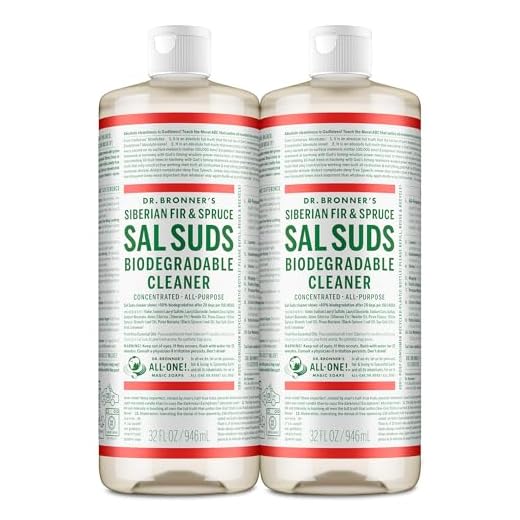
I recommend choosing a suitable detergent based on the type of material and the extent of staining on your surfaces. For example, when dealing with deeply embedded organic stains like algae or moss, a bio-based cleaner can be particularly effective. For oil or grease, a degreaser formulated for outdoor surfaces will work best.
Types of Detergents
Here are the most common types of cleaning agents you can consider:
| Type | Best For |
|---|---|
| Bio-based Cleaners | Organic stains, algae, and moss |
| Degreasers | Oil, grease, and food spills |
| Acidic Solutions | Mineral deposits and rust |
| General-purpose Cleaners | Everyday dirt and grime |
Application Tips
Always dilute the cleaner according to the manufacturer’s guidelines for the best results. Apply the solution evenly across the area, allowing it to penetrate for a few minutes before rinsing. Be cautious with acidic solutions as they can damage certain materials.
Techniques for using a pressure washer effectively
For optimal results, maintain a distance of 30–45 cm between the nozzle and the surface. This distance helps prevent damage while allowing adequate force to remove debris.
Adjust the nozzle according to the task. A wide spray is ideal for more extensive areas, while a narrow jet is suited for tougher spots. Switching nozzles can make a significant difference in the outcome.
Utilise a sweeping motion rather than focusing on one spot. This technique reduces the risk of stripping surface material and provides a more uniform finish. Overlapping each pass ensures no areas are missed.
Begin at the highest point of the area and work downwards. Gravity assists in moving dirt away, making it simpler to handle. This method is particularly useful on sloped surfaces.
Incorporate a detergent application to tackle stubborn stains. Use a low-pressure setting for the soap nozzle, allowing the cleaner to penetrate effectively before rinsing it off with high pressure.
Take note of the weather conditions. Avoid using the device in direct sunlight, as it can cause cleaning solutions to dry too quickly. Opt for cooler, overcast days if possible. Additionally, pay attention to wind direction to prevent debris from blowing back.
After cleaning, inspect the area for remaining stains or spots. Sometimes, a second pass may be required, especially for those areas that need extra attention.
Regular maintenance of the equipment is critical. Rinse the nozzle after use to prevent clogs, and check for any signs of wear or damage. Keeping the machine in good condition ensures longevity and consistent performance.
Understanding Pressure Settings and Nozzle Types
A pressure level of around 1500 to 2000 PSI is generally effective for surface restoration without causing damage. For delicate materials, such as certain natural stones, I recommend staying within the 1300 to 1600 PSI range.
Adjusting Pressure Levels
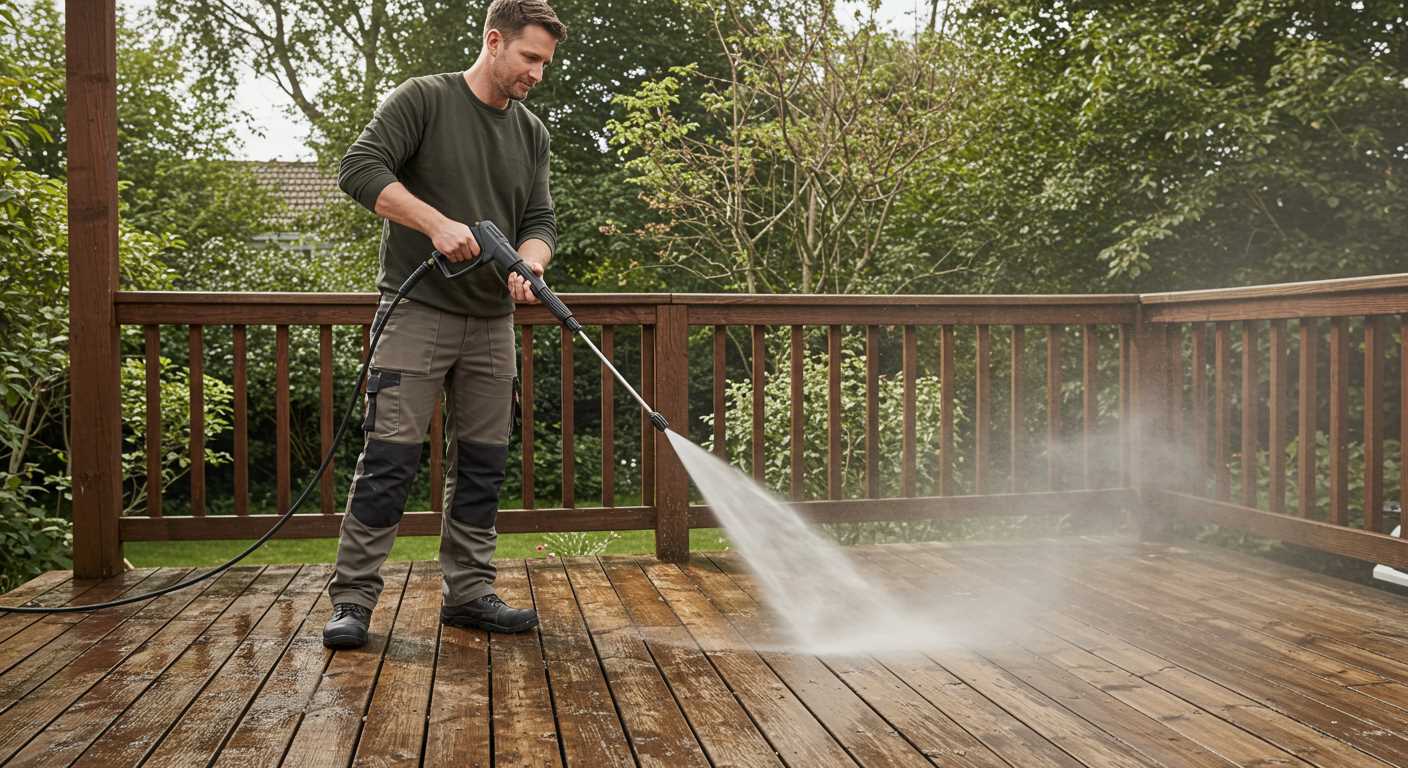
Utilising adjustable pressure settings on your machine is crucial. Reducing pressure while working on sensitive areas helps prevent chipping or etching. If you encounter stubborn stains, you can gradually increase the pressure, observing the results closely. Never exceed the manufacturer’s recommended specifications.
Choosing the Right Nozzle
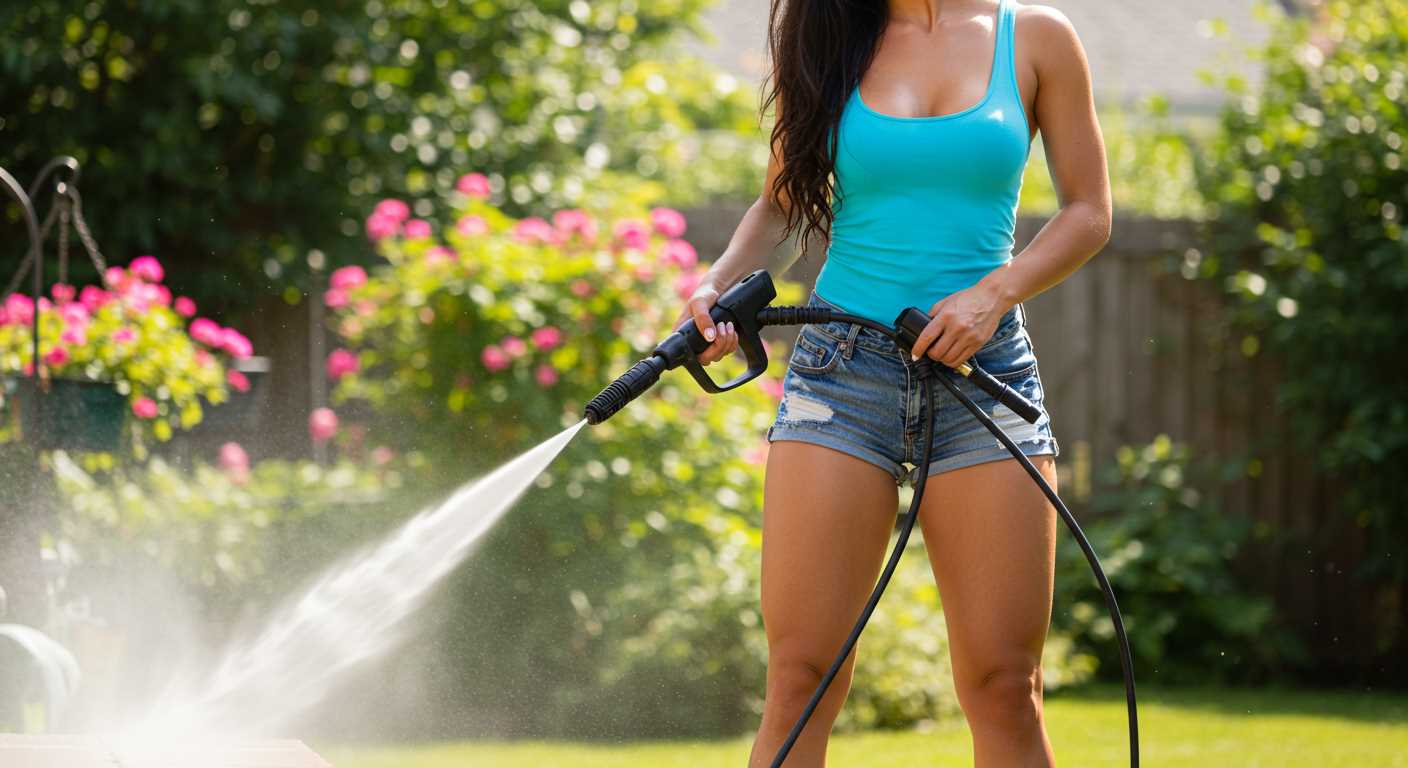
Nozzle selection significantly impacts results. A 25-degree nozzle is versatile, suitable for most surfaces. It creates a wide spray pattern that covers considerable area while maintaining adequate power. For sites requiring more concentrated force, such as tough spots or deep-set grime, a 15-degree nozzle may be beneficial. However, ensure you’re cautious with this choice to avoid damage.
The soap nozzle, typically coloured black, is effective for applying detergents. Keep it at a distance to avoid oversaturation, enabling the cleaner to work efficiently. Always remember to switch back to a standard nozzle after applying cleaning agents.
Experiment with different nozzles and settings on a small inconspicuous area first. Understanding these variables will enhance your overall experience and outcomes during the entire restoration process.
Dealing with tough stains and algae growth
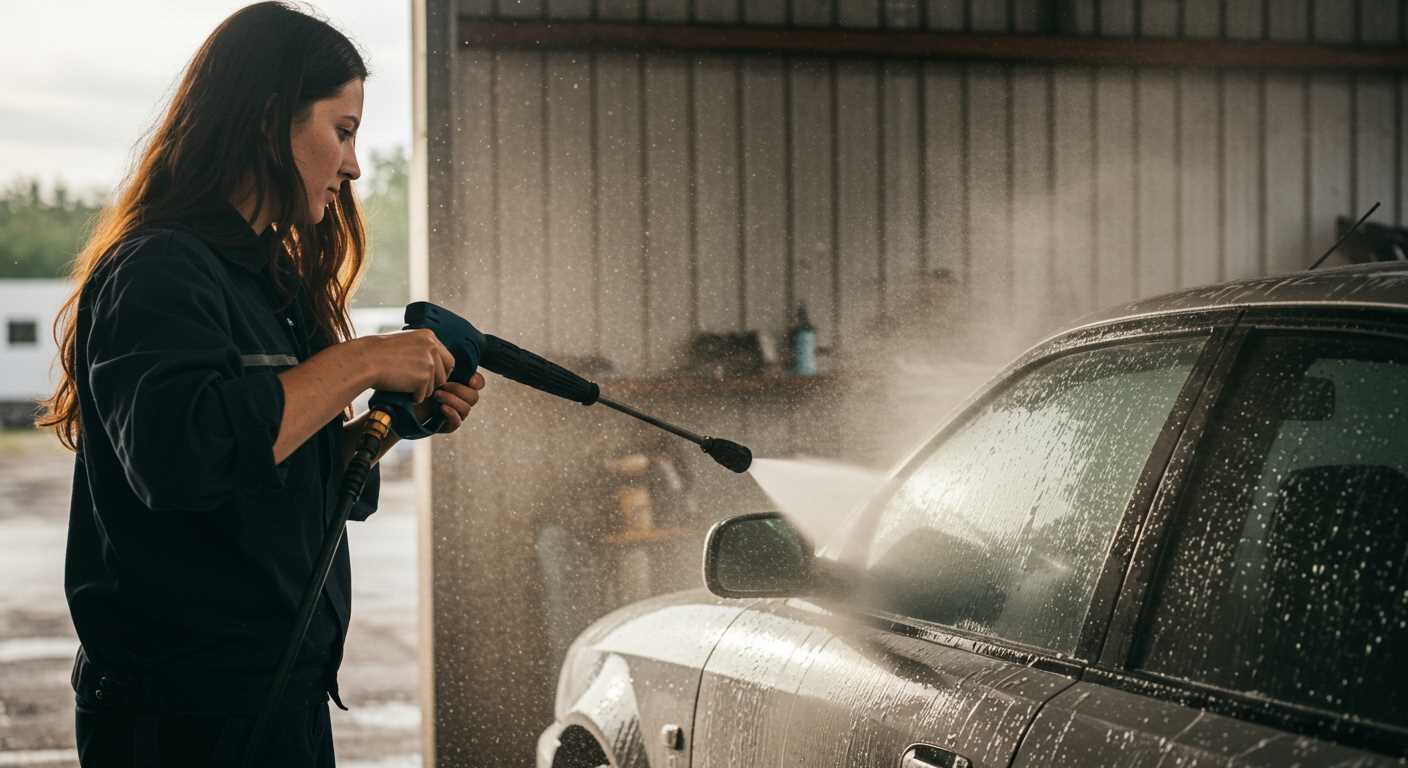
Select a powerful cleaning solution specifically designed to tackle algae and stubborn stains. Look for products containing sodium hypochlorite or hydrogen peroxide; these ingredients effectively break down organic matter and discolouration on surfaces.
Before applying the solution, ensure the surface is dry. This prevents dilution and allows the active ingredients to penetrate effectively. Gently scrub any heavily stained areas using a stiff-bristled brush to dislodge dirt and algae. Allow the cleaning agent to sit for the recommended time on the packaging–usually around 10-15 minutes–to maximise its capabilities.
Next, set the nozzle to a fan spray pattern to avoid concentrated blasts while working on sensitive areas. Start rinsing from a distance of at least 30cm, gradually moving closer as stains begin to lift. Make sweeping motions to achieve even coverage. If any discolouration remains, repeat the process, as some stains may require multiple treatments.
After achieving the desired results, consider applying a sealant to prevent future algae growth and staining. This will create a protective barrier against moisture and grime, extending the life of your outdoor surfaces.
Post-cleaning maintenance tips for outdoor tiles
To maintain the appearance of outdoor tiles after a thorough wash, ensure regular inspections for any cracks or damage. Identifying these issues early can prevent further deterioration and costly repairs.
Applying a sealant to the surface can protect against stains and make future cleaning easier. I recommend selecting a high-quality, breathable sealant specifically designed for your slab material.
Routine Care
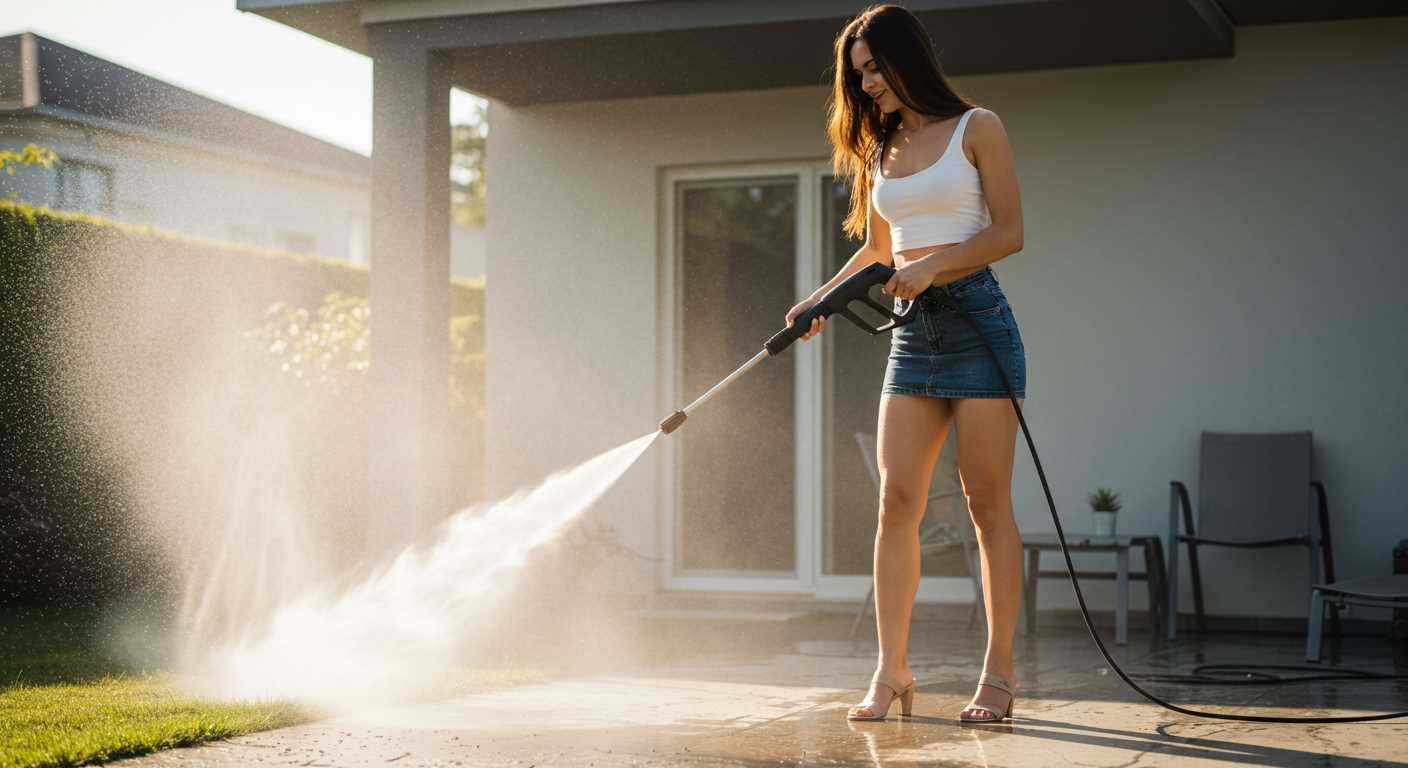
Establish a schedule for routine maintenance. Sweeping away debris and dirt weekly will help prevent the build-up of grime that can lead to permanent stains. During rainy seasons, consider using a squeegee or water-resistant broom to eliminate standing water, which can encourage algae growth.
Seasonal Treatment
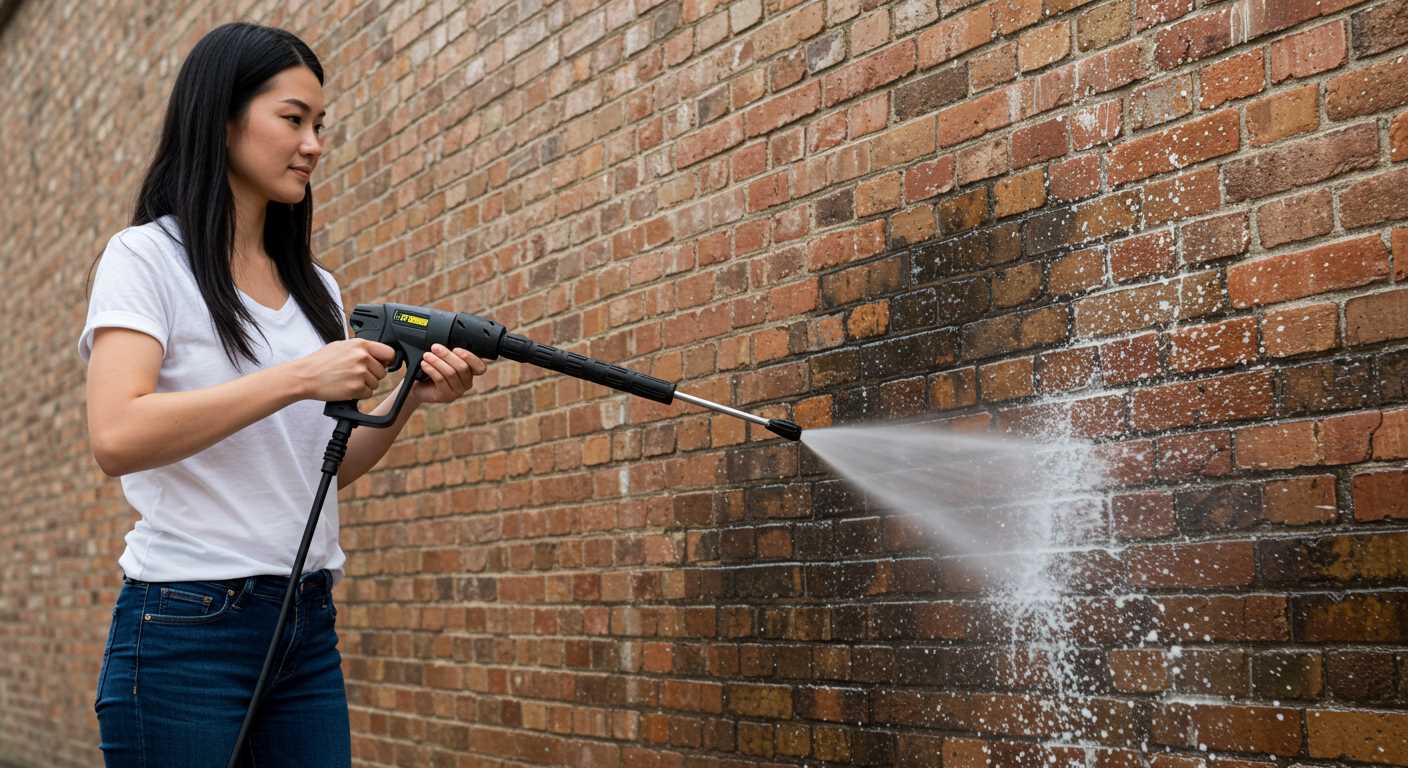
Certain times of the year may necessitate additional care. Before winter, inspect areas for frost damage and use a non-corrosive ice melt. In summer, treat the surface for moss and algae when temperatures are mild; a diluted vinegar solution can work well. Always follow with a rinse to ensure no residue remains.


