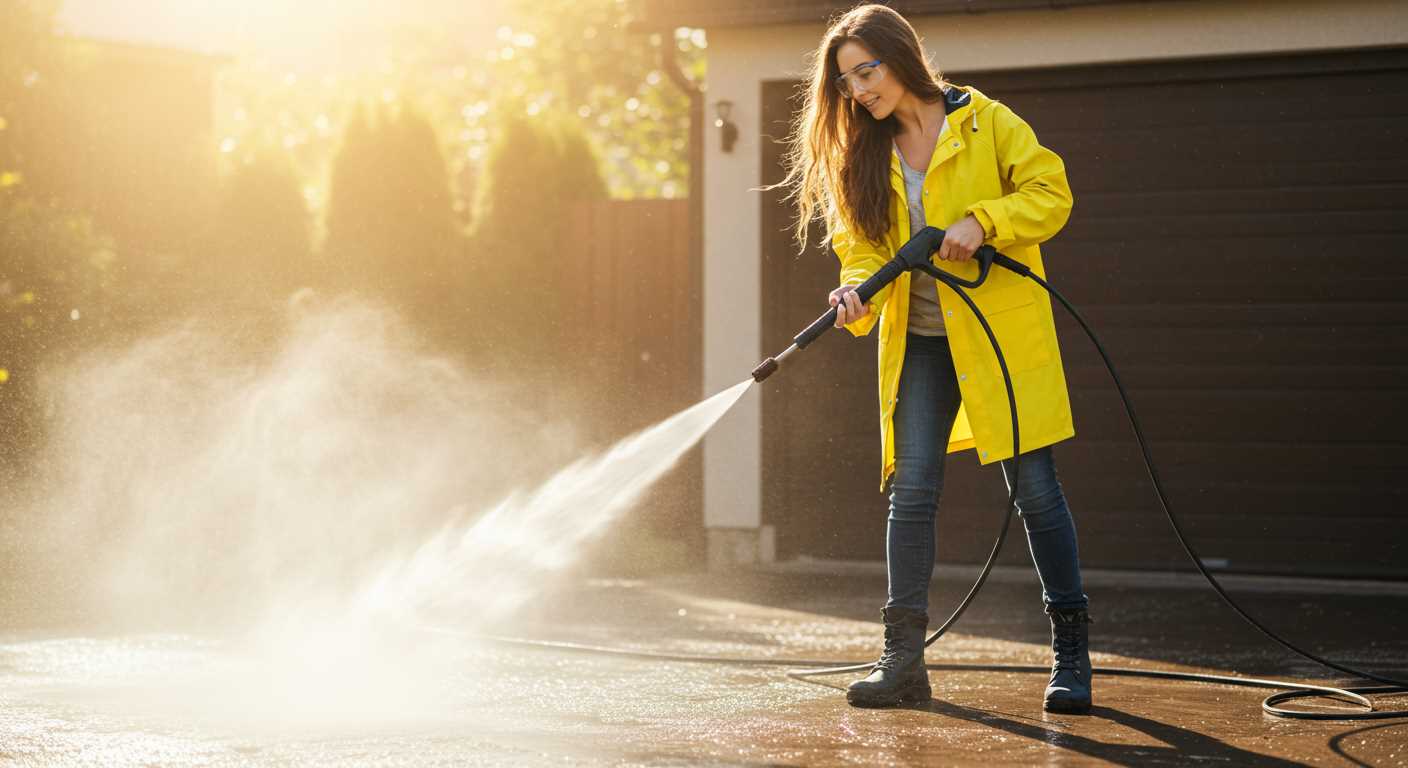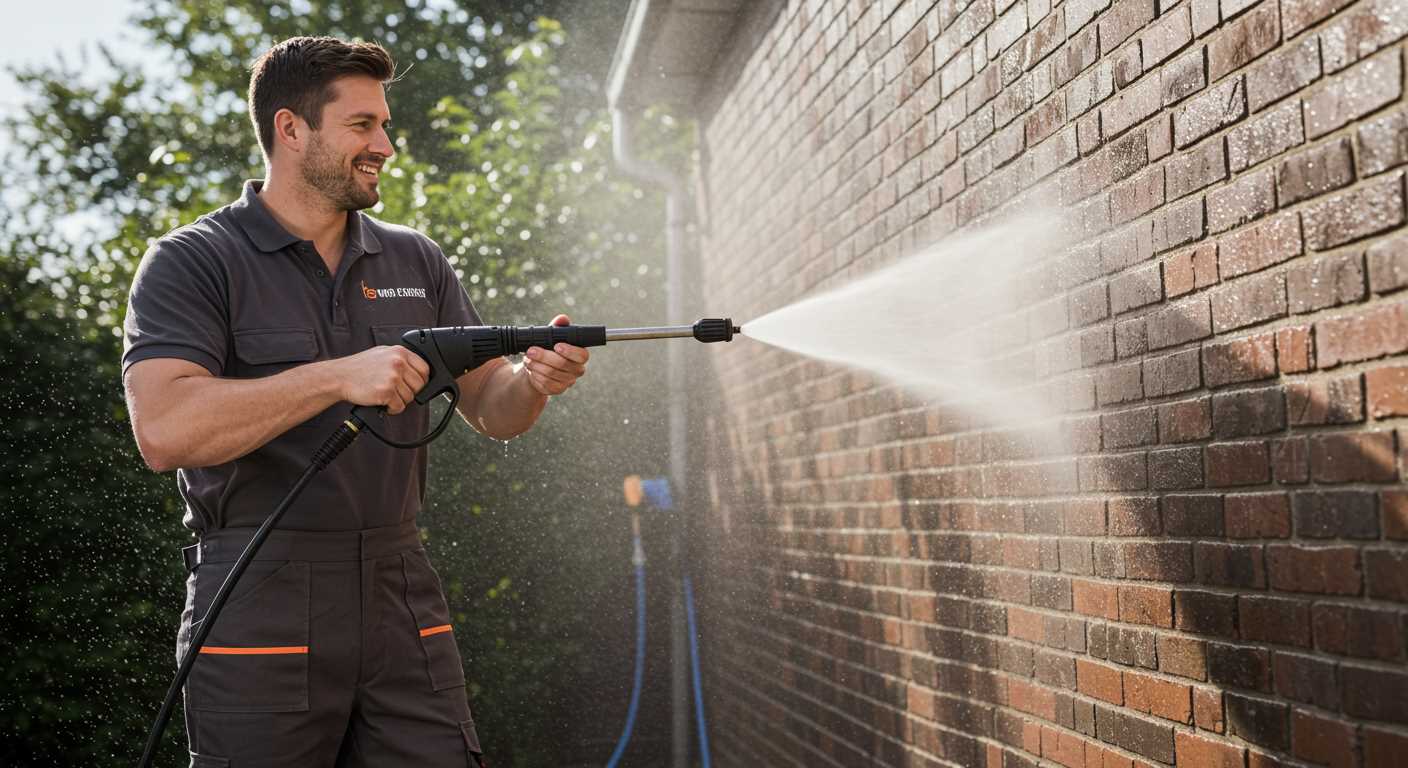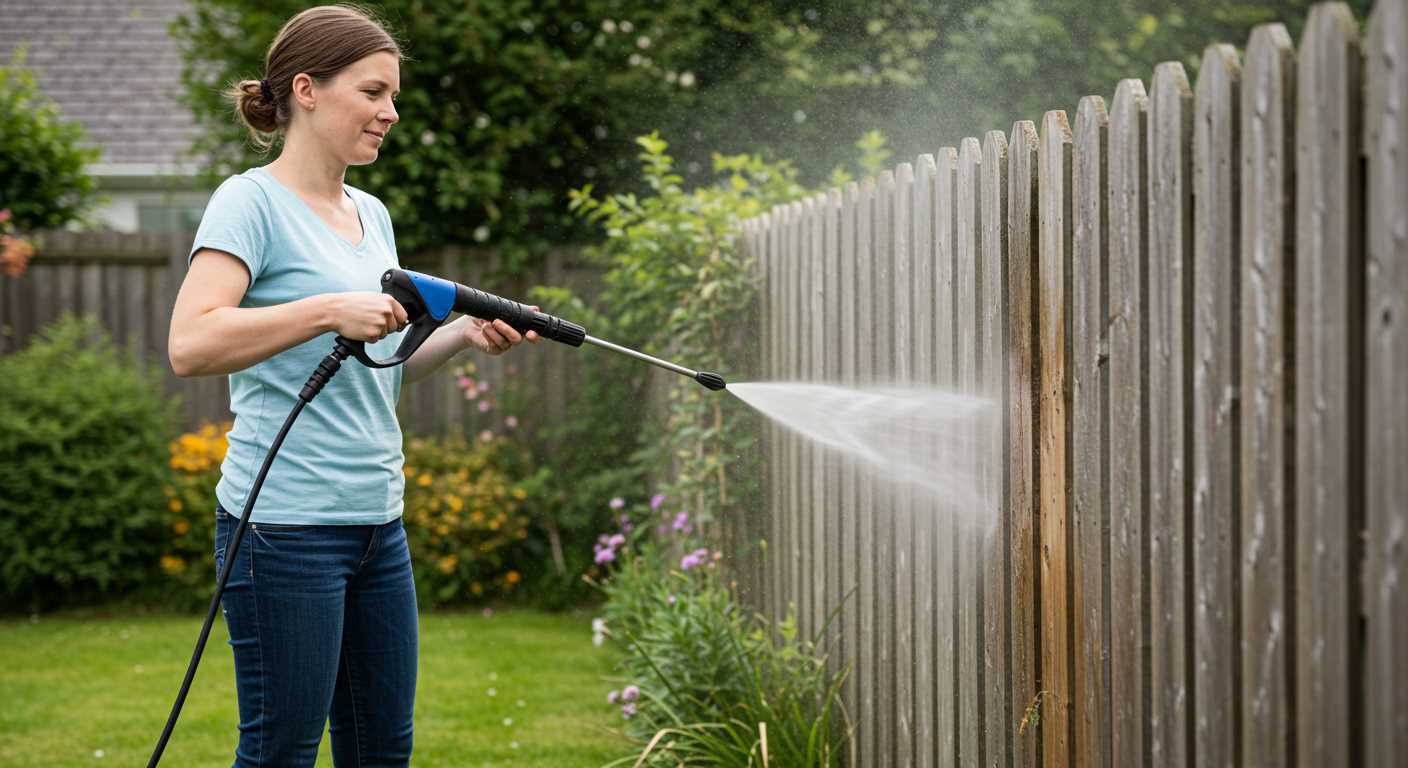


For anyone aiming for spotless glass, I’d recommend investing in a high-pressure cleaner equipped with a suitable nozzle and detergent for optimal results. Start by ensuring that your equipment is in excellent working order; any malfunction can lead to less than satisfactory outcomes. A pressure cleaner that delivers between 1000 and 2000 PSI is ideal for most residential tasks.
Before beginning, remove any loose dirt or debris from the surface to prevent scratches. Apply a quality detergent mixed with water in the cleaner’s tank. This step helps to break down stubborn grime and ensures a thorough treatment without excessive scrubbing.
Hold the spray wand at a distance of approximately 1-2 feet from the glass surface and employ a sweeping motion from top to bottom. This technique allows the dirt to flow downwards, preventing streaks. It’s crucial to maintain an even pace to avoid damaging the glass with concentrated bursts of water.
For optimal results, rinse the surface with plain water after the detergent application. A squeegee can be invaluable for this task, neatly removing any remaining liquid and enhancing clarity. Following these simple yet effective steps will ensure gleaming glass and a professionally polished appearance.
Choosing the Right Pressure Washer for Window Cleaning
Select a model that offers adjustable pressure settings–this feature allows you to customise the spray intensity to prevent damage to delicate surfaces. Aim for units with a range of 1300 to 2000 PSI, which strikes the right balance between efficacy and safety.
Consider the water flow rate measured in gallons per minute (GPM). A higher GPM translates to quicker rinsing and reduced streaking. Look for a minimum of 1.2 GPM for satisfactory results.
Ensure your choice includes a suitable nozzle option. A 25-degree nozzle is often ideal for most cleaning tasks, while a turbo nozzle can offer enhanced power for tougher grime without risking harm to glass surfaces.
Opt for models equipped with detergent tanks or the ability to apply cleaning solutions. This feature enables effortless pre-soaking and enhances the overall effectiveness of your cleaning process.
Check for portability; lightweight designs with wheels simplify movement around your premises. Ergonomic handles contribute to ease of use during prolonged sessions.
Reputable brands typically provide better warranty options and customer support. Research user reviews to assess reliability and performance in real-world scenarios.
Here are key points to consider:
- Adjustable pressure settings.
- PSI range of 1300 to 2000.
- Water flow rate of at least 1.2 GPM.
- Variety of nozzle options, particularly a 25-degree or turbo nozzle.
- In-built detergent application system.
- Lightweight and portable design.
- Brand reliability and warranty support.
By carefully evaluating these factors, I am confident you’ll make a smart investment in equipment that suits your needs perfectly.
Selecting the Appropriate Nozzle for Window Washing
The right nozzle makes a significant difference in achieving a spotless surface. I recommend using a 25-degree or 40-degree nozzle for this task. These nozzles offer a wider spray pattern, which reduces the risk of damage while effectively removing dirt and grime. A narrower spray can be too intense and may cause breakage, especially on delicate surfaces.
Understanding Nozzle Types
Nozzles are classified by their angle: the lower the degree, the narrower and more powerful the spray. A zero-degree nozzle should be avoided for this application due to its concentrated force. Instead, opt for a fan-shaped spray that allows for better control and efficiency. Additionally, adjustable nozzles provide versatility, allowing users to switch between different angles based on cleaning requirements.
Additional Tips for Optimal Use

It’s beneficial to maintain a distance of 3 to 4 feet from the surface to prevent any potential streaking or etching. Always begin washing at the top and work your way down to minimise water spots and run-off. Rinse the nozzle periodically to prevent debris from clogging the spray pattern, ensuring a consistent and even application. Using a mild detergent compatible with your equipment can further enhance results, particularly for stubborn spots.
Preparing Windows and Surrounding Areas Before Cleaning
Before initiating the washing process, removing furniture, potted plants, and decorative items from the vicinity is crucial. This ensures no obstacles interfere during the operation and safeguards your belongings from potential water damage or debris.
Next, check the weather conditions. Strong winds or rainfall can lead to ineffective results and may pose risks during the task. Aim for a calm, dry day to achieve optimal outcomes.
Inspect the glass surfaces for cracks or chips. These imperfections may worsen when subjected to high water pressure. If any damage exists, consider repairing them beforehand, or proceed with caution to avoid further harm.
Cover nearby surfaces, such as ground or decking, using a tarp or plastic sheeting. This protects them from detergent runoff and any loose debris that may arise during the task. Be attentive to fragile landscaping elements, ensuring they’re shielded and safe.
Gather necessary tools: a ladder for reaching higher areas, a soft-bristle brush for pre-cleaning, and a suitable detergent that will not harm the environment. Pre-clean any heavy grime and organic matter, as this will enhance the effectiveness of the forthcoming wash.
Lastly, ensure all windows are tightly shut to prevent water from entering indoors, which could lead to damage or a mess inside. Proper preparation significantly enhances the efficiency of the cleaning process and yields superior results.
Step-by-Step Guide to Pressure Washing Windows

Begin by gathering all necessary equipment, including your machine, suitable detergent, and safety gear such as goggles and gloves.
Fill the detergent tank according to the manufacturer’s guidelines. Use a window-specific cleaning solution to achieve optimal results.
Attach your chosen spray tip. Utilize a wider angle nozzle for safeguarding against damage and ensuring an even application.
Select a low-pressure mode to avoid splintering glass. Start the process from the top, pulling the trigger and applying detergent in a sweeping motion. Maintain a distance of around 2-3 feet from the surface to prevent streaks.
Allow the solution to sit for a few minutes to break down grime and stains. Avoid letting it dry completely, as this can create residue.
Rinse the area thoroughly, adjusting your nozzle to a more focused spray if necessary. Work from the top down again to effectively wash away detergent, ensuring no residue is left behind.
Inspect the glass after rinsing for any missed spots or streaks. If necessary, repeat the rinsing process in those areas.
Once satisfied, switch gears to drying. Use a squeegee to remove excess water, working from the top to the bottom for a neat finish.
Finally, check for drips or puddles around the edges and wipe these with a towel to prevent streaking.
| Step | Action |
|---|---|
| 1 | Gather equipment |
| 2 | Fill detergent tank |
| 3 | Attach spray tip |
| 4 | Apply detergent |
| 5 | Let solution sit |
| 6 | Rinse thoroughly |
| 7 | Inspect and repeat if needed |
| 8 | Dry with a squeegee |
| 9 | Wipe down edges |
Using Cleaning Solutions with a Pressure Washer
Selecting an appropriate cleaning agent is key for achieving optimal clarity on glass surfaces. I recommend using a specialty window cleaning solution that is designed for use with high-pressure equipment. These solutions often contain surfactants that help to lift grime and dirt effectively while being gentle on the surfaces.
Types of Cleaning Solutions
There are two main categories of cleaning agents available: biodegradable formulas and concentrated commercial solutions. Biodegradable options are eco-friendly and safe for surrounding vegetation, making them a solid choice for exterior applications. Concentrated varieties often require dilution, but they can tackle stubborn residues more effectively when mixed as directed.
Mixing and Application
When preparing your cleaning solution, adhere to the manufacturer’s instructions regarding dilution ratios for your selected product. Using a dedicated detergent tank on the machine allows for even application while ensuring that the agent reaches all areas without being overly concentrated, which might lead to streaking.
Always conduct a patch test on a small area first to assess compatibility. Apply the solution using the low-pressure setting before commencing with high-pressure rinsing. This layered approach maximizes effectiveness while safeguarding the integrity of the glass and surrounding structures.
Preventing Damage to Windows During the Cleaning Process
To protect glass surfaces while employing high-pressure equipment, always maintain a safe distance. Keep the nozzle at least 3 feet away from the glass to mitigate the risk of chips or cracks.
Utilising a fan spray pattern instead of a concentrated stream helps distribute water evenly, reducing the force impacting the glass. Aim the spray at a downward angle to prevent water from entering window frames, which can lead to mould or decay.
Before starting, inspect for any existing cracks or weaknesses in the glass. Address these issues before any washing. If there’s significant damage, consider consulting a professional before proceeding.
Surrounding areas should be cleared of obstacles to prevent accidental contact during cleaning. Low-hanging branches, furniture, or other objects can cause unexpected impacts that may compromise window integrity.
Use mild, non-abrasive detergents specifically designed for glass surfaces. Strong chemicals or abrasive cleaners can cause lasting damage. Always rinse thoroughly after applying any solution to prevent residue buildup.
For particularly stubborn grime or mineral deposits, pre-treat areas rather than blasting them away. Allowing cleaning solutions to sit for a short period softens dirt, making it easier to remove without excessive force.
Finally, once your task is complete, inspect the glass for any missed spots or remaining obstacles. This ensures that windows remain clear and undamaged. Regular maintenance checks also help in identifying glaring issues before they escalate.
Finishing Touches After Pressure Washing Windows

After completing your task, inspect the glass for any streaks or residual marks. A reliable method is to use a clean, lint-free microfibre cloth or a squeegee to wipe off imperfections while the surface is still damp. This step helps eliminate streaking and ensures a polished finish.
If you see soap or cleaning solution residue, mix a solution of one part vinegar to three parts water in a spray bottle. Lightly spritz affected areas and wipe with a cloth for crystal-clear clarity.
Check window frames and sills for debris or dirt that may have accumulated during washing. A soft brush or damp cloth can address these spots effectively, maintaining the overall cleanliness of your surfaces.
Examine surrounding plants and outdoor fixtures that might have been affected by the water spray; ensure they’re in good condition, cleaning any excess water or soap that may have dripped onto them. This step preserves your garden’s aesthetics.
Finally, monitor your work area for any remaining equipment or cleaning supplies. Organise them for future use, ensuring you have everything ready for your next project and maintaining safety and tidiness in your workspace. Proper storage extends the life of your tools and makes subsequent tasks simpler.


