

For optimal results, I recommend using a combination of a broom and a gentle soap solution to restore the beauty of your outdoor timber area. Start by sweeping away loose debris, including leaves and dirt. This simple first step ensures that your efforts are focused on removing stains and mildew without abrasive interference.
Once the surface is clear, mix a solution of mild detergent and warm water. A ratio of one cup of liquid soap to five gallons of warm water works well. Apply this mixture using a soft-bristled scrub brush or sponge, allowing it to penetrate for several minutes. Ensure you cover the entire area to tackle stubborn spots effectively.
After applying the soapy solution, rinse thoroughly with clean water to eliminate any residue. A garden hose will suffice for this task. If stubborn marks remain, an eco-friendly solution of vinegar and water can work wonders–just be cautious to test any cleaning mixture in an inconspicuous spot first to avoid any potential damage.
Remember, regular maintenance significantly reduces the buildup of grime and extends the lifespan of your timber surface. Incorporate this gentle yet effective cleaning routine into your schedule, and enjoy a pristine outdoor space all year round.
Cleaning Techniques for Timber Surfaces
Start by sweeping the area thoroughly to remove any loose debris, leaves, or dirt. This step ensures that the surface is free from particles that can scratch the timber during the scrubbing process.
Next, create a mixture of warm water and mild dish soap or a wood-safe cleaner. Use a bucket to mix the solution, ensuring the soap is well dissolved. Apply this solution to the surface with a soft-bristle brush, working in the direction of the grain to avoid damage. Allow the solution to sit for a few minutes to break down dirt and grime effectively.
Utilising a Garden Hose
After letting the soapy solution sit, rinse the surface with a garden hose. Use a spray nozzle to control the water flow; aim for a gentle flow to avoid splintering the timber. Make sure to wash away all residues of soap and dirt completely.
Stain Removal Tips
For stubborn stains like mould or mildew, mix equal parts of water and vinegar in a spray bottle. Apply this solution directly onto the affected areas and let it sit for about 30 minutes before scrubbing again with your brush. Rinse thoroughly afterward to ensure no vinegar residue remains.
Choosing the Right Cleaning Solution for Wood Decking
Opt for a biodegradable cleaner, ideally one that is pH balanced to safeguard against damage. These formulas not only lift grime and stains but also preserve the wood’s natural integrity. Look for products that contain natural ingredients like plant extracts or enzymes for an eco-friendly approach.
Consider the following types of solutions:
- Oxygen Bleach: A safe alternative that effectively removes dirt and mildew without the harshness of chlorine bleach.
- Vinegar Mixture: Combine equal parts of white vinegar and water for a homemade solution that cuts through mildew and grime.
- Commercial Deck Wash: Choose a product specifically designed for decking materials, which often comes with additional mould inhibitors.
Conduct a patch test on a discrete area to confirm compatibility with the surface. Follow the manufacturer’s guidelines for dilution and application. Ensure the environment is suitable–choose a calm day to prevent rapid drying, which can lead to streaks.
Routine application of a maintenance solution can prevent build-up and preserve the appearance for longer. When in doubt, consult product reviews and user feedback to select a reputable brand that fits your specific needs.
Preparing the Decking Surface Before Cleaning
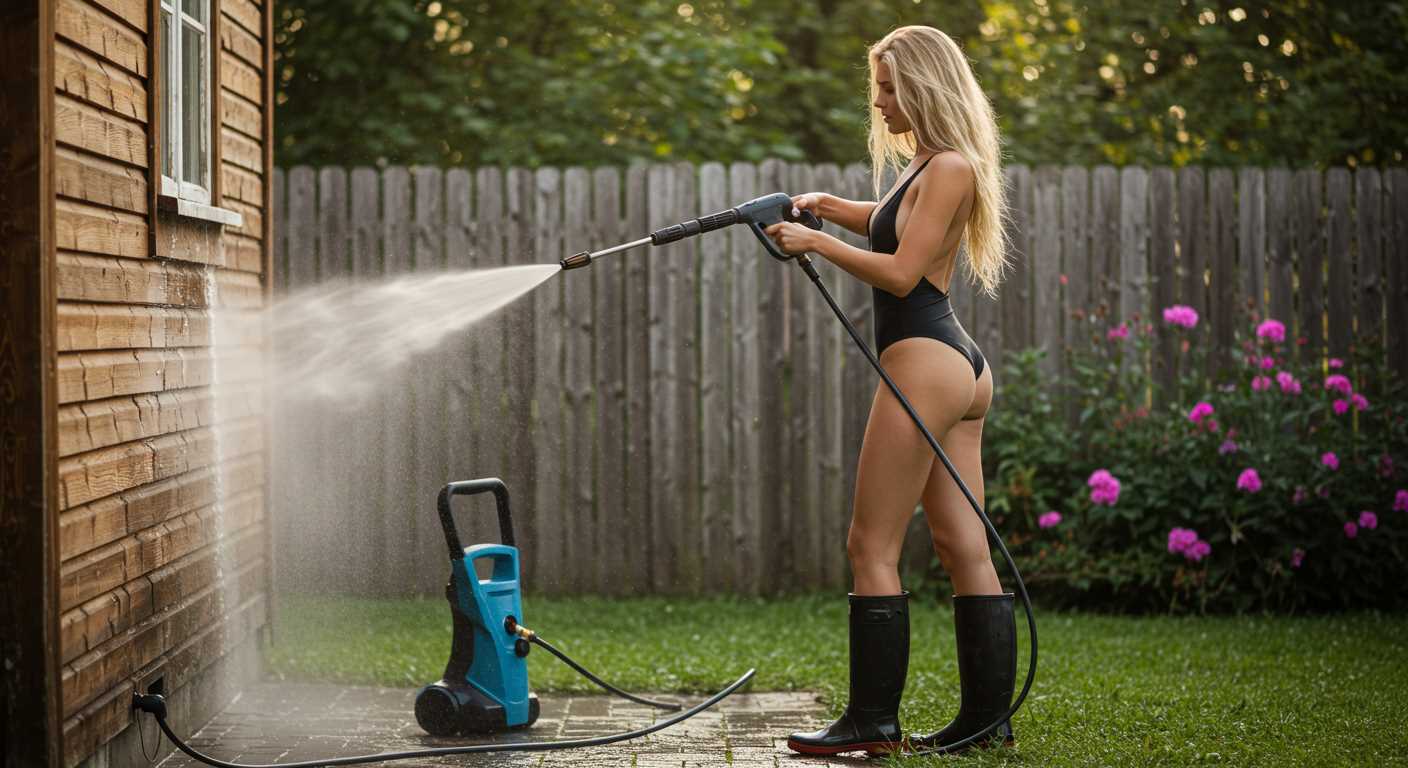
Ensure the area is free from furniture, planters, and other obstacles. I usually move all items at least a few feet away to avoid any potential damage and create ample working space. Pay attention to any loose boards or nails; secure them to prevent injury during the process.
Next, sweep the area thoroughly with a broom to eliminate dust, dirt, and debris. This step is crucial as it allows for better access to the surface and prevents additional grime from being scrubbed into the boards during the upcoming cleaning stages.
Check for mildew or mould growth. If present, it’s advisable to treat these spots with a specific solution to ensure they’re adequately handled before moving forward. Allow any treatments to sit as per manufacturer instructions to maximise efficacy.
Gather your cleaning supplies: a bucket, soft-bristle brush, and a suitable cloth. If you prefer a more hands-on approach, these tools will serve you well alongside the selected cleaning solution.
| Item | Purpose |
|---|---|
| Broom | To remove loose dirt and debris |
| Bucket | For mixing cleaning solution |
| Soft-bristle brush | For gentle scrubbing |
| Cloth | To wipe down surfaces after treatment |
These steps will lay the groundwork for an efficient cleaning session, ensuring the best results in restoring your outdoor space. Preparation is key; a well-prepared surface simplifies the task at hand and improves the overall outcome.
Tools Needed for Hand Cleaning Wood Surfaces
A scrub brush with stiff bristles is a must. Opt for a long-handled version to avoid unnecessary bending, enabling a more thorough approach. Additionally, a handheld scrubbing pad works wonders for tough stains and hard-to-reach areas.
Cleaning Solution Applicator
A spray bottle is essential for applying the chosen cleaning solution evenly across the surface. This allows for better coverage, ensuring that every section receives the treatment it requires. A garden sprayer also serves well for larger areas.
Protective Gear
Don’t overlook the importance of safety equipment. Gloves, safety goggles, and a mask will protect against harsh chemicals and debris during the scrubbing process. Wearing non-slip footwear can prevent slips while working on potentially wet surfaces.
Lastly, a bucket for rinsing your scrubbing tools ensures cleanliness between applications. Having these tools on hand can significantly enhance your experience and the final result.
Step-by-Step Guide to Manually Clean Wood Decking
Begin with a thorough inspection of the surface for any loose debris, dirt, or mildew. Remove any larger particles using a broom or a stiff bristle brush.
1. Gather Your Supplies
- Stiff bristle brush
- Bucket
- Garden hose with a spray nozzle
- Cleaning solution (from the previous section)
- Scrubbing pad or sponge
- Protective gear (gloves, goggles)
2. Prepare the Cleaning Solution
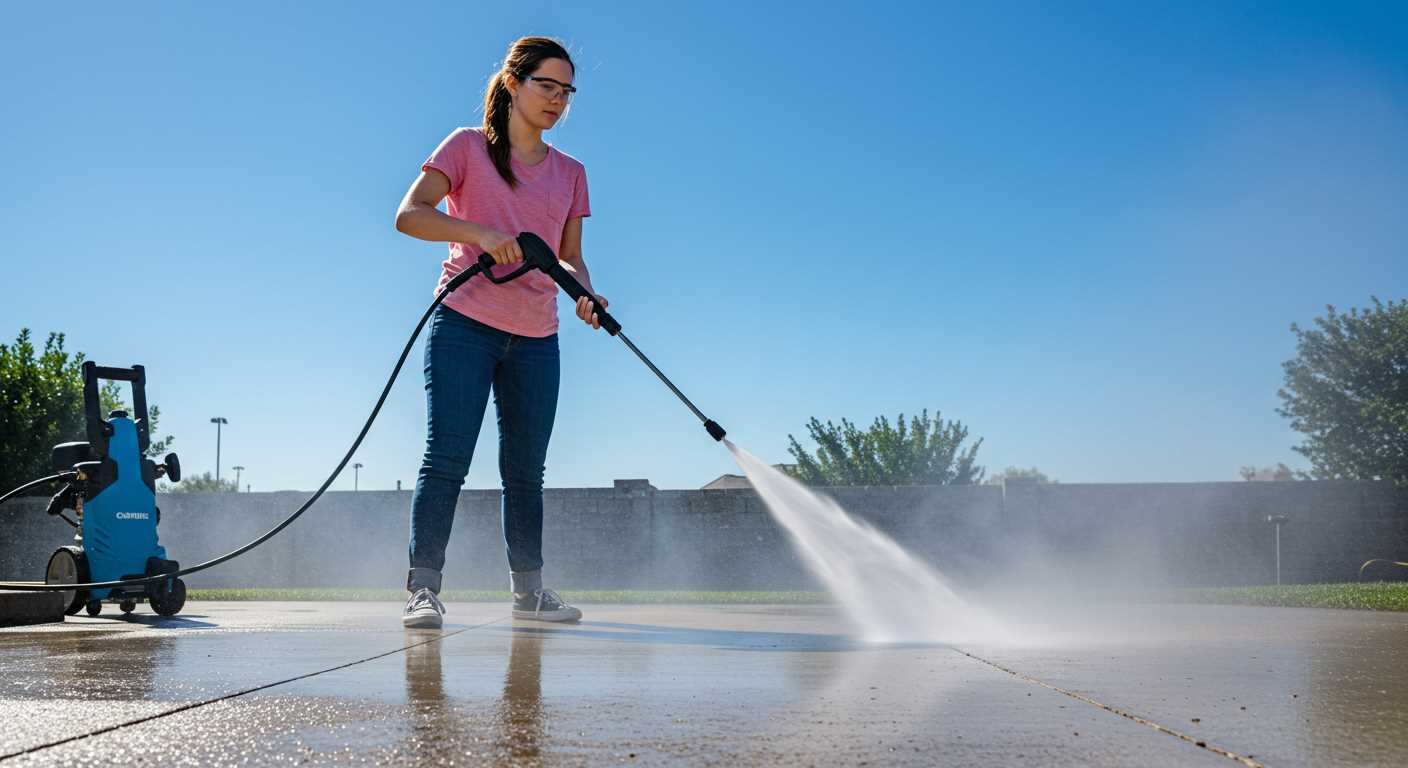
Mix the chosen cleaning solution in a bucket according to the manufacturer’s instructions. Ensure that the solution is appropriate for your specific timber type.
3. Application
- Soak the brush in the mixture and begin scrubbing the surface in sections. Start from the farthest point and work towards an exit to avoid stepping on wet areas.
- Focus on any stains or discoloured areas, applying extra pressure as necessary to lift tough dirt or algae.
4. Rinse

Using the garden hose equipped with a spray nozzle, rinse each section thoroughly. Make sure to direct the spray in a sweeping motion, preventing any debris from settling back onto the surface.
5. Drying
Allow the surface to air dry completely before applying any protective coating or sealant to ensure maximum adhesion.
6. Regular Maintenance
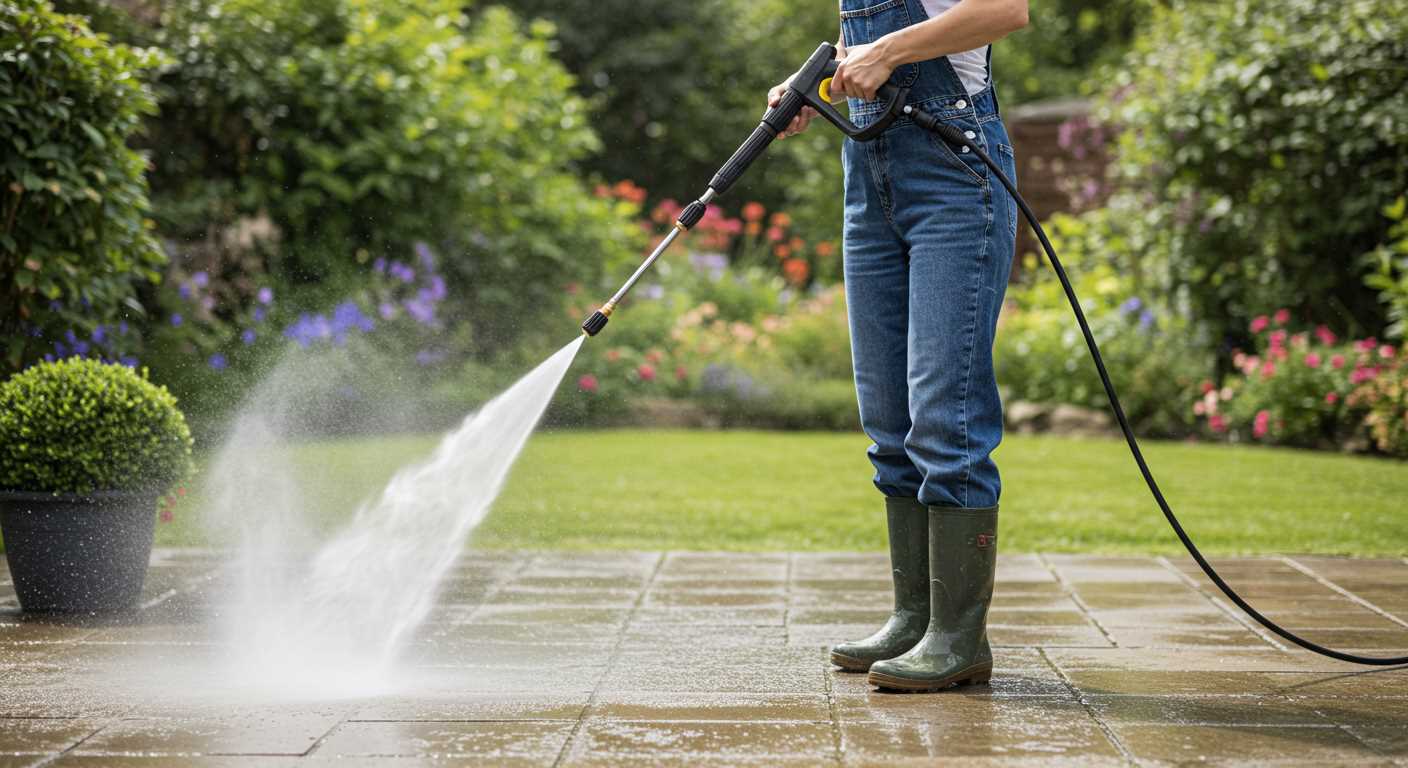
Establish a routine to maintain cleanliness, such as sweeping debris regularly and using a gentle cleaning solution every few months to prevent build-up.
Tips for Maintaining Cleanliness After Washing
Regularly sweeping away debris such as leaves and dirt prevents stains and mildew. Use a soft-bristle broom for this task to avoid scratching the surface.
Applying a protective sealant is crucial after any deep cleaning. This creates a barrier against moisture and UV damage, which can preserve the aesthetics and structural integrity of the surface.
Routine Inspections
Frequent checks for signs of wear, such as splinters or discolouration, will help in identifying problem areas early. Addressing these issues promptly can prevent more extensive damage and maintenance later on.
Seasonal Care

Before winter, clear the area of all furniture and cover it adequately. This reduces the risk of ice forming and causing cracks. During spring, inspect for any leftover grime and perform spot treatments to maintain its appearance.
Keeping the area shaded as much as possible limits sun exposure and reduces fading. If feasible, consider adding umbrellas or strategically placing potted plants to create shade.
Use non-toxic cleaning agents during maintenance routines to safeguard the surrounding environment and your health. Opt for biodegradable products whenever possible.
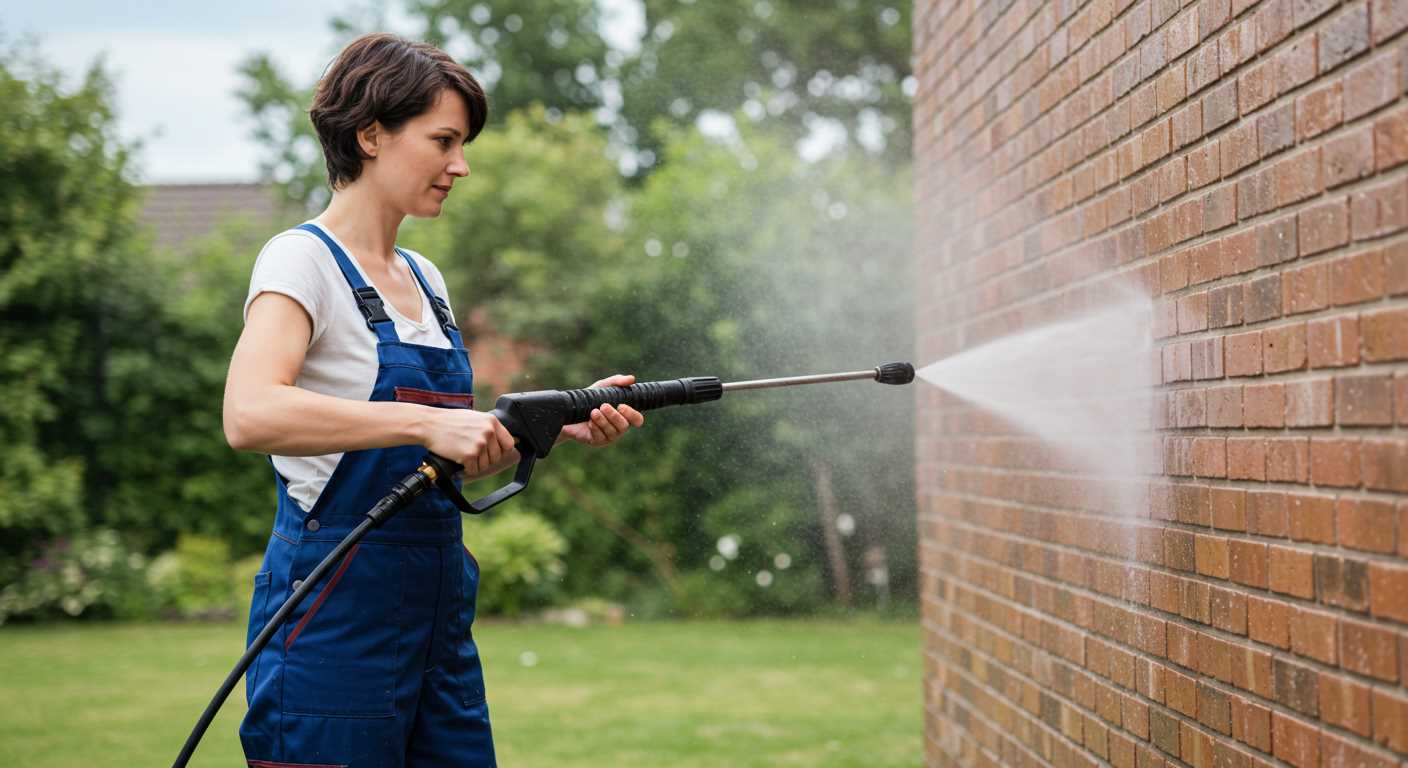
A hose with a spray nozzle can assist in removing dust regularly, making it easier to maintain overall tidiness. Just avoid using a high-pressure setting to protect the finish.
Common Mistakes to Avoid When Cleaning Wood Decking
Avoid using harsh chemicals that can damage the surface of your boards. Opt for gentle, eco-friendly alternatives that are effective yet safe for the material.
Skipping a thorough inspection of the area can lead to difficulties. Check for loose boards, nails, or protruding screws before starting, as this can cause injuries or further damage during the process.
Don’t forget to remove all furniture and items from the area prior to beginning. Cleaning around obstacles can lead to incomplete results and can also increase the risk of accidents.
Using the wrong brush or scrubbing tool is another frequent error. Stick to soft-bristled brushes to avoid scratching or gouging the surface, which could lead to more maintenance down the line.
Over-wetting the surface is a mistake that can cause lingering issues such as mould growth. Ensure you don’t saturate the area excessively while rinsing; a light mist is often sufficient.
Ignoring weather conditions can significantly impact the outcome. Choose a day that isn’t too sunny or windy to prevent rapid drying that could lead to streaks or residue.
Lastly, don’t rush through the drying process. Allow ample time for the planks to air dry completely before placing furniture back or applying any treatments, to avoid trapping moisture that can lead to decay.


