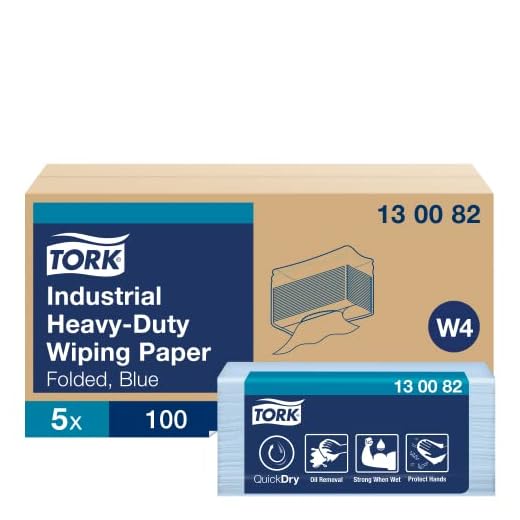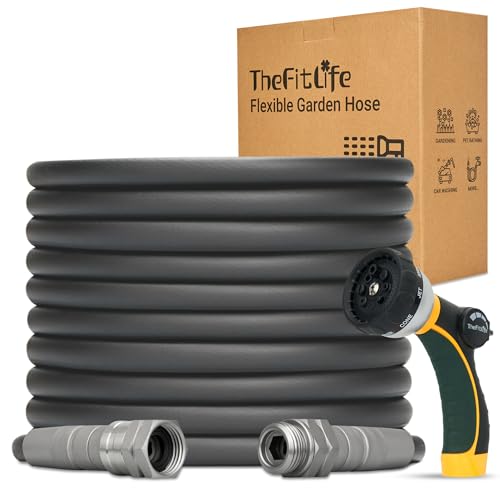


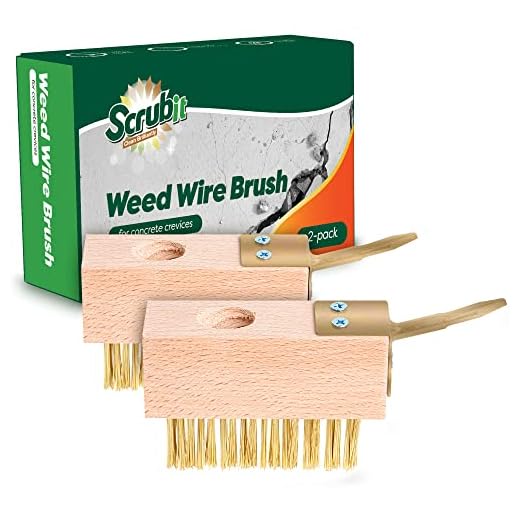
Mixing warm water with a gentle liquid soap is an excellent starting point. Apply this solution using a soft-bristled brush, ensuring you cover all areas thoroughly. The bristles will help dislodge dirt and grime without damaging the surface. Rinse with clean water using a bucket or a hose on a low setting.
For stubborn stains, consider using a paste made from baking soda and water. This natural abrasive is safe for your wood and works wonders on tough spots. Apply the paste directly to the stain, let it sit for a few minutes, and scrub gently before rinsing.
To tackle mould and mildew, a solution of vinegar and water is a strong contender. Mix equal parts of white vinegar and water in a spray bottle, apply it to the affected areas, and let it sit for about 30 minutes. After that, scrub the area lightly and rinse with fresh water. This method not only addresses stains but also helps prevent future growth.
Lastly, protecting the surface is just as crucial. After cleaning, applying a wood preservative will help maintain its appearance and extend its lifespan. Always follow the manufacturer’s instructions for best results.
Optimal Techniques for Restoring Patio Surfaces
Utilising a simple, effective method can yield impressive results. Here are steps I recommend:
- Gather Necessary Supplies:
- Mild detergent or specially formulated cleaner
- Stiff-bristled brush
- Garden hose or watering can
- Bucket for mixing
- Protective gear (gloves and eye protection)
- Prepare the Area:
- Clear the surface of all furniture and debris.
- Ensure the space is well-ventilated to aid drying.
- Mix the Cleaning Solution:
- Combine water with a few drops of detergent in a bucket.
- For stubborn stains, consider adding a small amount of vinegar or baking soda.
- Apply the Solution:
- Use a garden sprayer or sponge to spread the mixture evenly across the surface.
- Let it sit for at least 10-15 minutes to loosen dirt.
- Scrub the Surface:
- Utilise a stiff brush to scrub areas with built-up grime.
- Focus on grooves and joints where dirt accumulates.
- Rinse Thoroughly:
- Employ a garden hose or watering can to remove all soap and dirt residue.
- Ensure that no cleaning solution remains, as this may attract dirt.
- Drying:
- Allow the surface to air dry completely before replacing furniture.
- Consider placing furniture back once the area is dry to prevent moisture accumulation.
This process can effectively rejuvenate exterior surfaces while maintaining their natural beauty. Regular upkeep will extend the life of both your patio and its aesthetic appeal.
Gathering Necessary Cleaning Supplies
Start with a broom or brush for removing loose dirt and debris. Choose a stiff-bristled option to effectively dislodge stubborn particles from the surface.
A bucket should be your next item. Select one that comfortably holds a few gallons to mix cleaning solutions in ample quantity.
Opt for a suitable cleaning solution specifically formulated for your type of timber. Look for eco-friendly, biodegradable options that break down grime without harming the environment.
For scrubbing, a long-handled brush or mop will work wonders. This helps reach every corner without straining your back. Make sure the bristles are sturdy enough to tackle tougher stains.
Don’t forget protective gear: gloves to shield your hands and safety goggles to protect your eyes from splashes.
A garden hose is necessary for rinsing away cleaning agents thoroughly. If you have a sprayer attachment, it can enhance your rinsing process, ensuring no residues remain.
Lastly, consider a towel or squeegee for drying any excess moisture, particularly in shaded areas where drying takes longer.
Removing Loose Dirt and Debris
Begin by utilising a stiff-bristle broom or a push broom to sweep away loose soil, leaves, and other organic matter. Focus on working along the grain of the planks to avoid potential scratching. Regular sweeping prevents build-up, which can lead to more challenging removal later.
For stubborn debris, a dustpan can be handy for easy collection. If you encounter larger items like sticks or stones, pick them up manually to avoid damage during further cleaning steps.
A leaf blower serves as an effective alternative to conventional sweeping. It quickly dislodges lightweight materials, making the process faster and more efficient.
After initial debris removal, inspect for any remaining dirt that may have settled into the crevices. You can use a handheld vacuum or a small brush to gently dislodge and gather this material, ensuring a thorough prep before the next steps.
Completing this stage carefully lays the groundwork for maintaining a clean surface, making subsequent cleaning tasks easier and more effective.
Choosing the Right Cleaning Solution
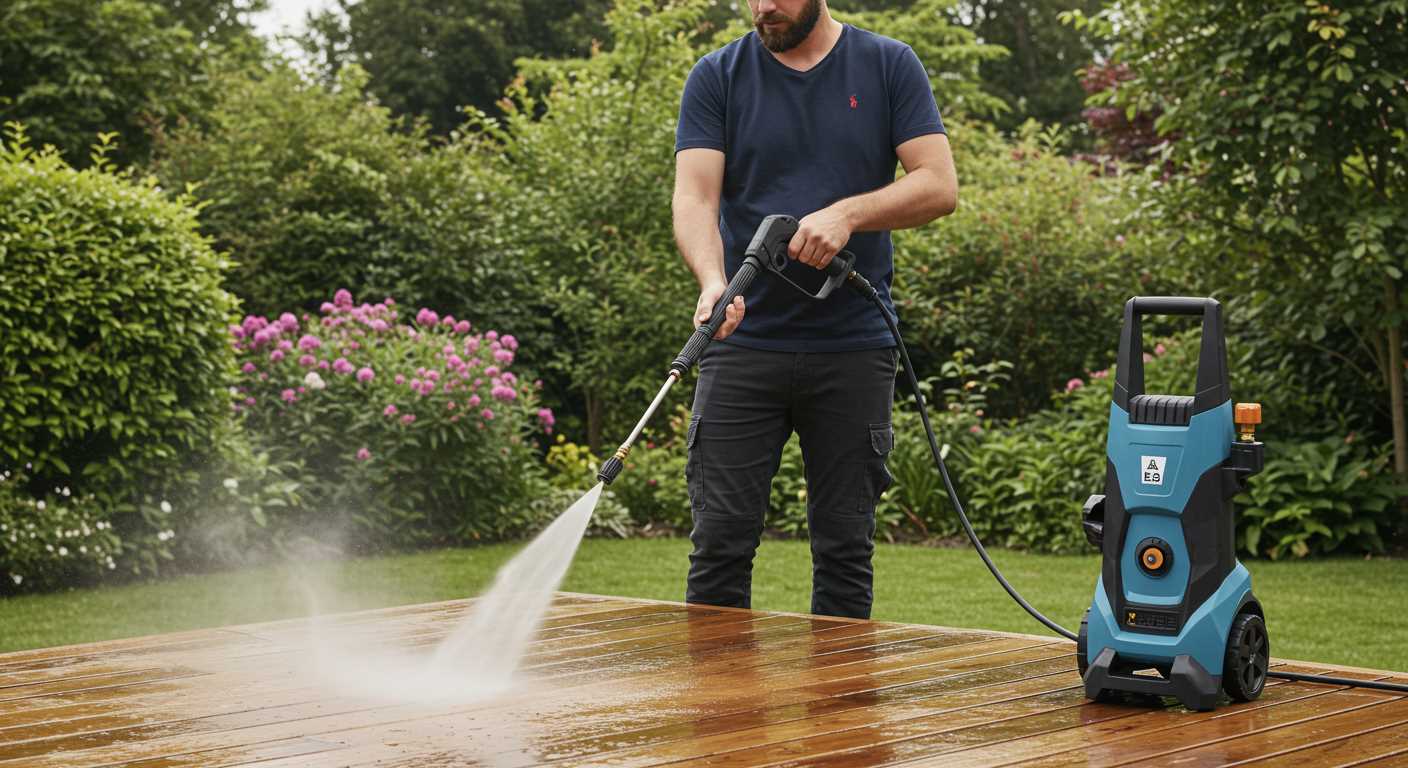
Start with a mild detergent formulated for outdoor surfaces, as it effectively removes grime without damaging the material. Options containing natural enzymes break down organic matter while being safe for the environment. Avoid harsh chemicals that may harm the finish or wood fibres.
Here are some recommended products to consider:
| Product Name | Key Ingredient | Benefits |
|---|---|---|
| OxiClean Patio & Deck Cleaner | Activated oxygen | Removes stains, biodegradable |
| Simple Green Oxy Solve | Hydrogen peroxide | Non-toxic, effective on algae and mildew |
| Star brite Deck Cleaner | Plant-based surfactants | Gentle yet effective, eco-friendly |
| Wet & Forget | Chlorine-free formula | Long-lasting results, inhibits future growth |
When selecting a product, read the labels to ensure they are suitable for your surface type. Always perform a patch test to verify compatibility and avoid discolouration or damage to your structure.
Mix the solution as per the manufacturer’s instructions. Too concentrated a mixture can lead to residue left on the surface, while too diluted may not be effective. Maintain a careful balance for optimal results.
Using a Soft-Bristled Brush for Scrubbing
A soft-bristled brush is an indispensable tool for maintaining the appearance of outdoor surfaces. It enables thorough cleaning while minimising the risk of damage. Select a brush with synthetic bristles that won’t absorb water, as they resist mould and can endure various weather conditions.
Technique
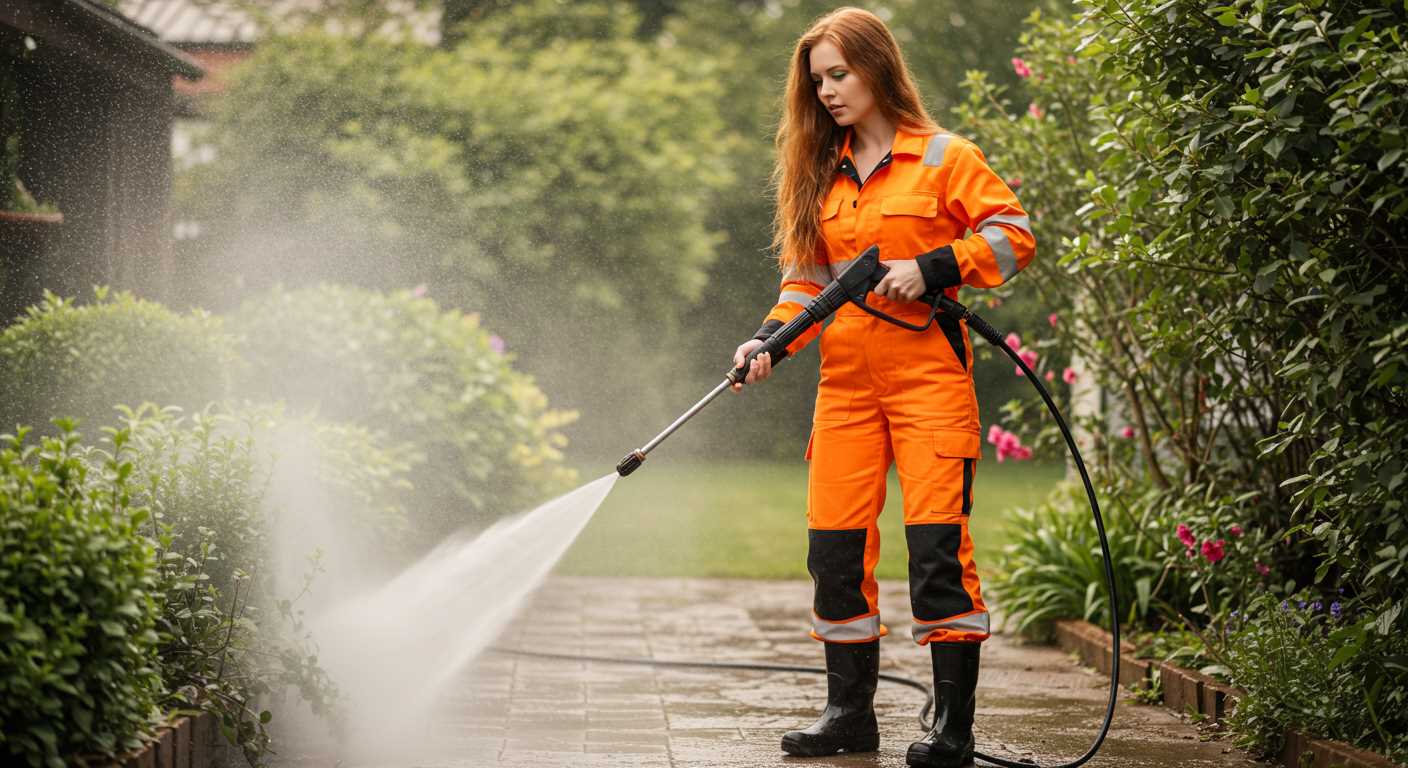
Begin at one edge and work systematically towards the opposite end. With gentle, circular motions, scrub the surface to lift dirt and grime. Ensure to focus on the grooves and crevices where debris tends to accumulate. This method not only helps in removing stubborn stains but also refreshes the surface.
Post-Scrubbing Care
After scrubbing, rinse the area using a hose or a bucket of clean water to remove any residual cleaning solution and loosened debris. This step is crucial to prevent any residue from attracting more dirt. Allow the surface to dry thoroughly before using it again. Regular maintenance using a soft-bristled brush makes a significant difference in longevity and appearance.
Spot Treating Stains and Mildew
For targeted removal of stains and mildew, a solution of vinegar and water works effectively on many surfaces. Mix one part white vinegar with one part warm water. Apply this mixture directly to the affected area using a spray bottle for precision.
Let the solution sit for about 10-15 minutes to penetrate the stains. Afterward, scrub the treated area with a soft-bristled brush, paying special attention to stubborn spots. Rinse thoroughly with clean water to remove any residue.
When dealing with more persistent mildew, a baking soda and water paste can be highly effective. Combine three parts baking soda with one part water to form a thick paste. Apply it generously over the mildew, and allow it to sit for around 30 minutes before scrubbing gently and rinsing clean.
Regular inspections will help identify these trouble areas before they become significant issues. Keeping a bottle of your chosen cleaning solution on hand allows for quick responses to stains as they appear.
Rinsing the Deck Thoroughly
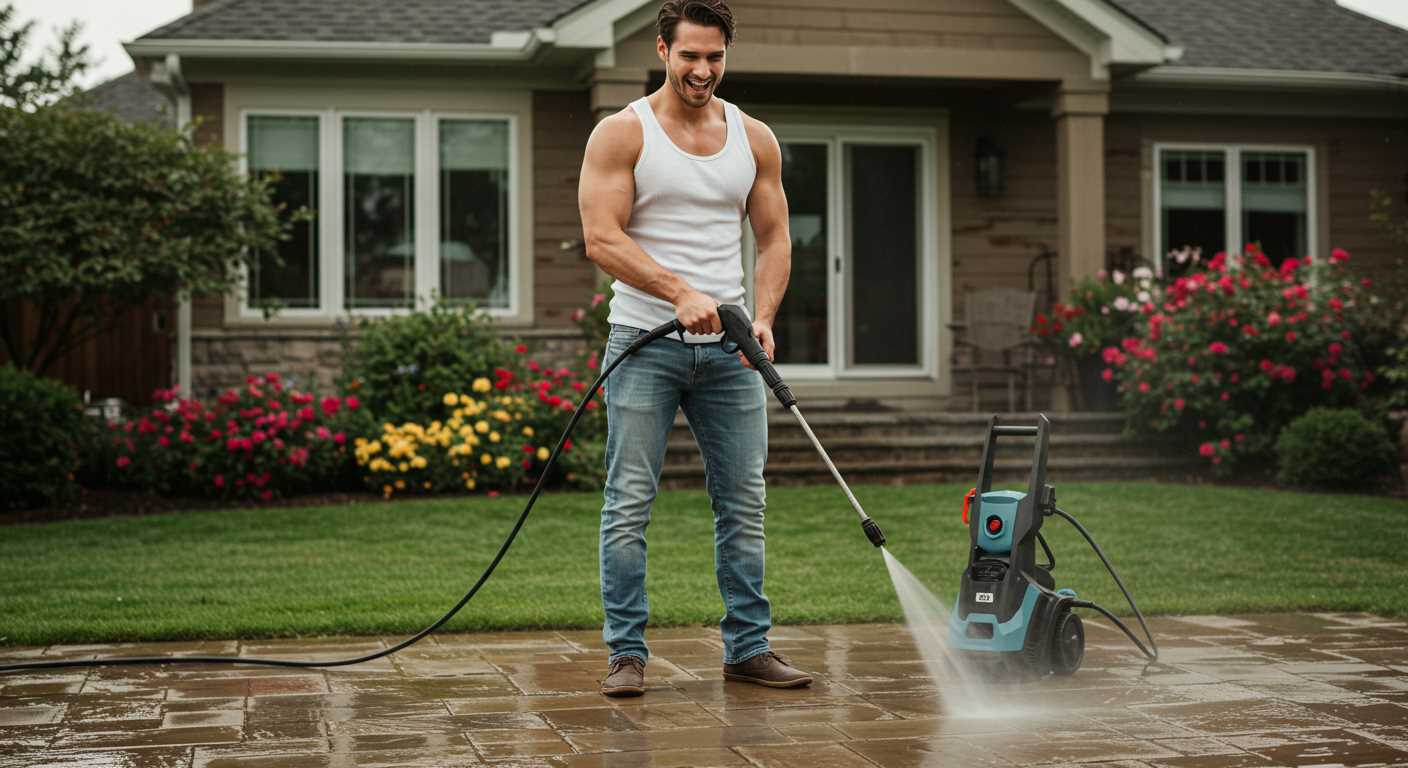
After applying the cleaning solution and scrubbing, it’s critical to rinse the surface thoroughly to remove any remaining residues. Use a hose with a spray nozzle set to the ‘jet’ setting for directed water flow. Ensure that you cover the entire area systematically, starting from one end and gradually moving to the other, to avoid leaving any cleaned spots untreated.
Techniques for Effective Rinsing
For stubborn spots that may still hold dirt or chemical residue, utilize a scrubbing tool during rinsing. Scrub lightly while rinsing to dislodge and wash away particles effectively. If possible, tilt the nozzle to create a wider spray, covering more area and reducing the effort needed. Pay extra attention to corners and edges where grime tends to accumulate.
Post-Rinsing Inspection
After rinsing, inspect the deck for any missed areas or residual soap, adjusting your approach as needed. Allow it to dry completely before applying any finishes or sealants, as moisture can trap contaminants and diminish their effectiveness. Doing this will greatly enhance the longevity and appearance of your outdoor space.
Allowing the Deck to Dry Properly
After the scrubbing and rinsing process, it’s crucial to allow the surface ample time to dry completely. This step is fundamental to prevent any unwanted moisture accumulation, which can lead to mould and mildew growth. Aim to wait at least 24 to 48 hours before placing any furniture or other items back onto the surface.
Optimising Drying Conditions
Choose a warm, sunny day for the cleaning activity. Increased sunlight and gentle breezes will facilitate faster drying. If possible, create airflow around the area by removing any obstacles nearby, ensuring that the surface isn’t shaded or blocked. If the weather is humid or rainy, consider postponing the task to achieve optimal results.
Monitoring the Drying Process
Regularly check the area to confirm it is drying evenly. Pay special attention to shaded spots or areas near structures, as these may take longer to completely dry. If needed, a soft towel can help absorb excess moisture in stubborn spots. This practice helps maintain the integrity of the material and prolongs its lifespan.
Applying Protective Finish After Cleaning
Once the surfaces are thoroughly dried following the cleaning process, I recommend applying a protective finish to enhance longevity and appearance. Choose a product designed for outdoor wooden surfaces, such as a penetrating oil or a water-repellent sealer.
- Selection of Finish: Opt for a high-quality finish that matches the type of wood. Check for UV protection to prevent fading.
- Pre-Application Prep: Lightly sand the surface if necessary to ensure a smooth application. Remove any dust with a clean cloth.
- Application Method: Use a brush or roller for even coverage. Work in sections to maintain a wet edge and avoid lap marks.
- Coat Quantity: Apply at least two coats for maximum protection. Allow each coat to dry completely before applying the next.
- Follow-Up Maintenance: Reapply the finish every couple of years or as recommended by the manufacturer, especially in high-wear areas.
By taking these steps, the surface will be well-protected against moisture, UV rays, and wear, enhancing its lifespan and aesthetic appeal.


