Absolutely, addressing a fault in your cleaning equipment’s tubing is a feasible task. For minor punctures or abrasions, I recommend using a quality repair tape designed for high-pressure situations. This type of tape adheres firmly and can withstand the stress of water flow, providing a reliable temporary fix while you seek a more permanent solution.
An alternative approach is employing a suitable sealant. Ensure that the area is clean and dry before application. A two-part epoxy can work wonders, creating a robust bond that resists water pressure. Be mindful of the manufacturer’s instructions for curing times to achieve optimal results.
In instances of significant damage, replacing the entire tubing segment may be your best bet. Take care to choose a replacement that matches the specifications of your unit for seamless compatibility. Additionally, regularly inspecting your equipment will help you spot issues early, thus extending its lifespan and maintaining peak performance.
Identifying the Type of Hose Leak
Begin by thoroughly inspecting the entire length of your tubing. Look for visible cracks, abrasions, or punctures. A small tear can often be found by running your fingers along the surface. If you see any fraying or damage to the exterior, it may indicate deterioration.
Checking for Water Spots
Water stains or wet spots along the tubing reveal areas where water may be escaping under pressure. Pay careful attention to connectors and fittings, as these are common culprits for escaping fluid. Ensure those joints are tightly secured.
Listening for Sounds
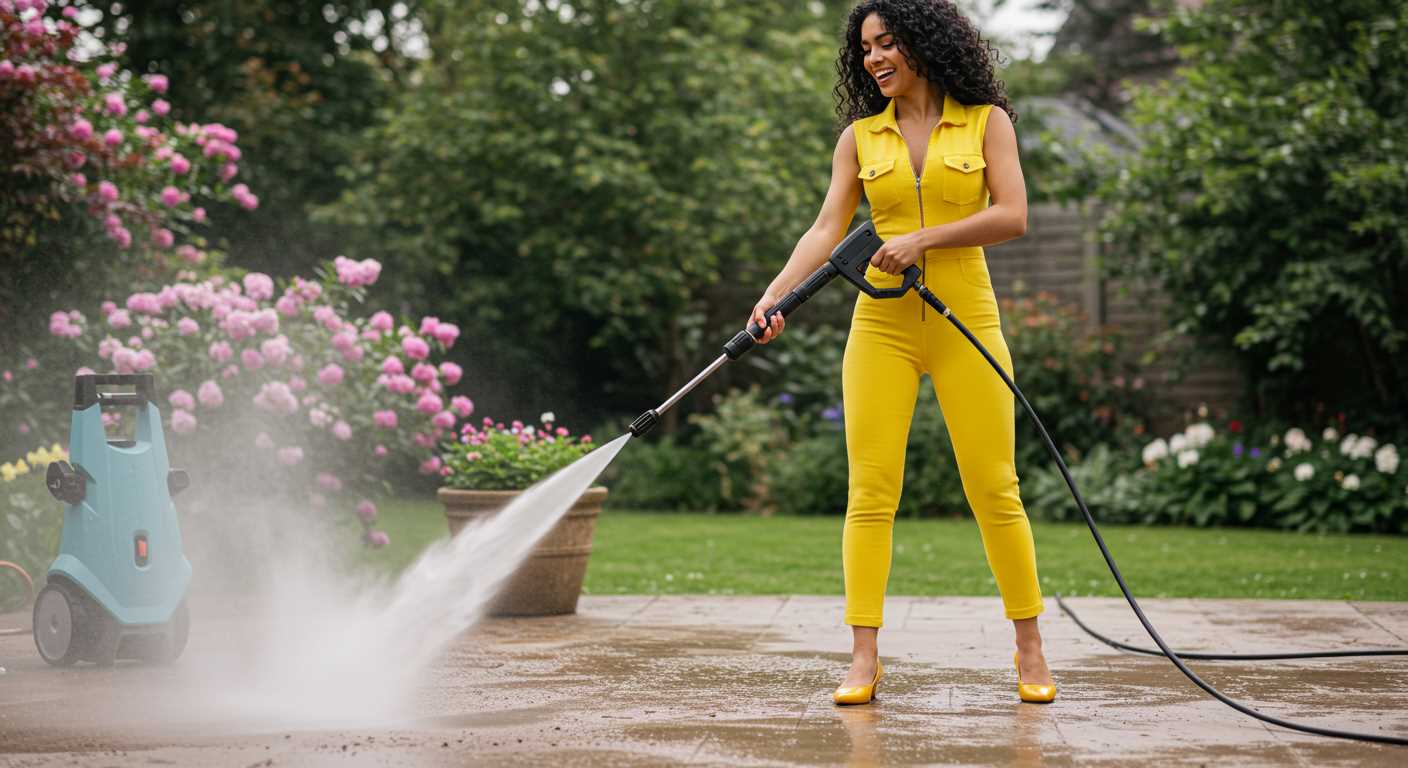
While conducting your inspection, listen for hissing or sputtering sounds. These noises often indicate that fluid is escaping. If you hear such sounds, narrow your focus on the tubing to locate the source, as it may be more difficult to identify visually.
Materials Needed for Hose Repair
For effective restoration of a damaged water conduit, I recommend gathering the following items:
- Patch Kit: A pre-packaged set that includes adhesive and rubber patches suitable for reinforcing the affected area.
- Scissors: To trim the patch to the correct size and clean any frayed ends of the damaged section.
- Sandpaper: Useful for roughening the surface around the injury, allowing for better adhesion.
- Clear Waterproof Tape: Provides a temporary seal until a more permanent solution can be applied.
- Sealant: Choose a high-quality sealant designed for flexible tubing. This ensures durability under pressure.
- Utility Knife: To carefully cut the compromised segment out if replacement is necessary.
- Ruler or Measuring Tape: To measure the affect area accurately for precise patching or replacement.
- Clamp: Helps hold the patch in place while the adhesive sets or any sealant cures.
Optional Tools
- Heat Gun: Facilitates quick drying of adhesives or sealants when applied in cooler conditions.
- Multimeter: If there are electrical components involved, this helps ensure that connections are intact.
Having these materials on hand will significantly streamline the repair process and improve the outcomes. Quality choices and attention to detail matter in achieving a lasting repair.
Step-by-Step Guide to Repairing a Hose Leak
To fix a damaged line, follow these clear steps:
Step 1: Prepare the Area
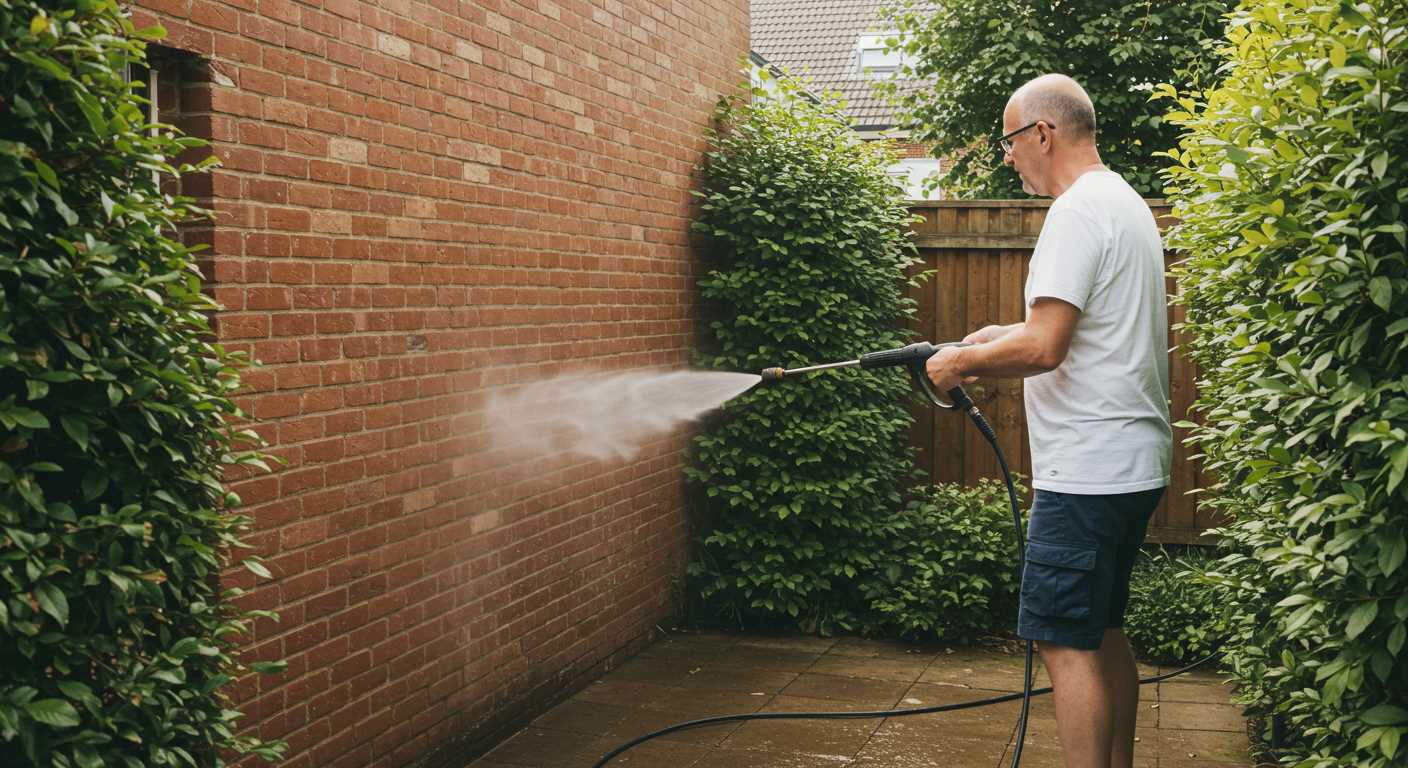
Ensure you’re working in a clean environment, free from obstacles. Disconnect the machine from all power sources and remove any attachments from the tube. Lay the line flat on the ground to access the damaged section easily.
Step 2: Cut the Damaged Section
Using a sharp utility knife or scissors, excise the portion with visible signs of damage. Make sure to cut at least an inch beyond the visible issue to ensure you are removing all compromised material. Smooth the cut ends for a clean surface.
Step 3: Select Repair Method
| Method | Description |
|---|---|
| Repair Tape | Wrap high-quality repair tape tightly around the cleaned area. Overlap each layer slightly, and extend it beyond the cuts. |
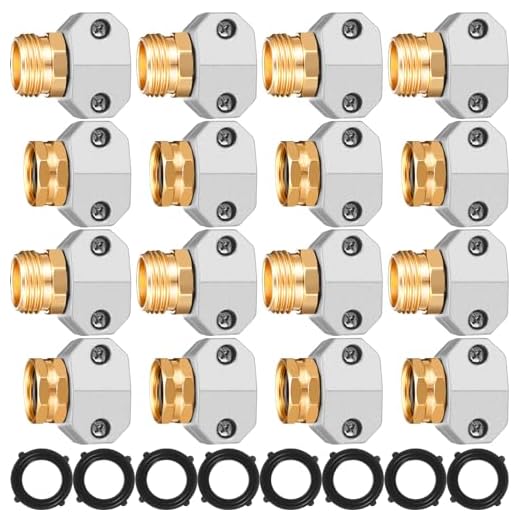
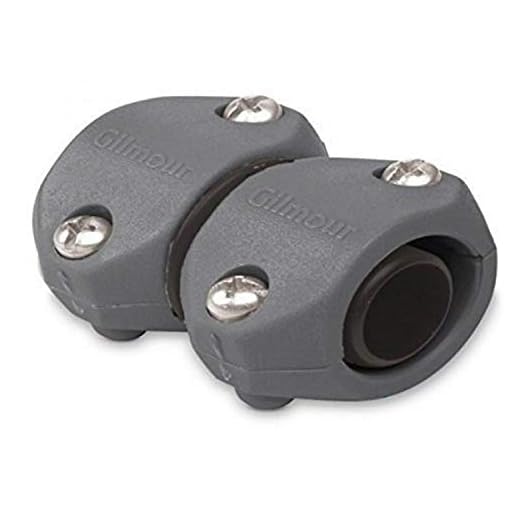
| Insert Coupling | Using a sturdy coupling, fit the ends of the line into either side. Ensure a tight seal and secure with clamps if necessary. |
| Patch Kit | For a patch repair, apply adhesive to a rubber or PVC patch, place it over the cut, and press down firmly for a solid hold. |
Step 4: Reinforce the Repair

After applying your chosen method, consider adding a layer of repair tape over the entire repair area for additional support. This will help provide further protection and reinforce the seal.
Step 5: Test the Repair
Reconnect the equipment and, before operation, test for any pressure. Inspect the repair area for signs of moisture. If everything holds firm, you’re ready for use. If there’s still an issue, reassess the repair or consider using a different method.
Maintaining the integrity of your equipment is essential for its longevity. Consistently check for potential wear and address it before issues arise.
When to Use Hose Repair Tape vs. Replacement
Opt for repair tape for minor issues, such as small punctures or pinholes, where the damage doesn’t compromise the overall integrity. This is a quick and cost-effective solution, typically sufficient for light to moderate use. Ensure the surface is clean and dry before applying the tape for optimal adhesion.
If you encounter severe fractures, extensive wear, or if the material shows signs of degradation, replacement is the better option. This guarantees long-term reliability and performance. Additionally, if the connector end is damaged or leaking, a new component will ensure a secure fit and eliminate pressure loss.
Before deciding between tape and a full replacement, evaluate the anticipated pressure and frequency of use. For high-demand situations, investing in a new unit will save time and potential frustration down the line. On the other hand, for occasional use, repair tape may suffice for temporary fixes.
Always inspect the entire length of the material when addressing issues. A small problem can often precede bigger ones, revealing areas in need of attention. Regular checks can prevent surprises during use and facilitate timely interventions.
How to Maintain a Pressure Washer Hose to Prevent Leaks
Keep your cleaning equipment’s tubing in top-notch condition by employing a few straightforward practices. Regularly inspect the cord for signs of wear or damage, particularly at connection points and bends.
Store the line properly by coiling it loosely and avoiding sharp twists or pinches. This will minimise stress that often leads to fractures. Use a dedicated storage reel if possible, which provides excellent support during storage and reduces the risk of kinks.
Ensure that any connections are clean and free of debris. Dirt or grime can create pressure, which may lead to weakened areas. After each use, wipe down connection points with a damp cloth to remove any residues.
Utilise protectors at ends of the tubing. These small attachments can absorb impacts and prevent fraying at vulnerability spots. If you’re working in rough terrain, consider using a protective sleeve to safeguard the material.
Additionally, avoid leaving the line exposed to extreme temperatures or direct sunlight for prolonged periods. UV rays can degrade the material, leading to premature deterioration. Storing it in a shaded or covered area will prolong its lifespan significantly.
Finally, perform periodic pressure checks. Excessive force can strain the tubing, so ensure your cleaning apparatus operates within its rated limits. By following these guidelines, you can extend the usable life of your equipment and reduce chances of failure.
Signs that Indicate Further Hose Damage
The presence of persistent puddles beneath your equipment is a primary indicator that further issues are developing. Pay attention to the splattering of water during operation; if it’s more than normal, this could signal additional deterioration.
Another red flag is unexpected drops in water pressure while using the unit. If you notice fluctuations or a significant decrease, your tubing may be compromised beyond the immediate area.
Visible signs of wear, such as bulges or abrasions, should prompt immediate inspection. If these areas feel softer than the surrounding material, they may be close to failure. Cracks in the exterior can also hint at internal structural failure.
Moreover, an unusual hissing or whistling sound during use suggests that air is escaping, which can be a clear sign of internal damage.
Finally, if you experience frequent need for repairs or temporary fixes, it’s a strong indication that more extensive problems exist within the entire piping assembly. Regular assessments will help identify these issues before they escalate. Familiarity with your equipment is essential for spotting these warning signs early.
Common Mistakes to Avoid While Mending Hose Leaks
Avoid neglecting safety precautions. Always wear gloves and eyewear to protect yourself from debris or potential splashes of chemicals during repairs.
Do not rush the inspection. It’s crucial to thoroughly check the entire length of the pipe for damage, rather than just focusing on the obvious problem area. A small pinhole can lead to bigger issues if overlooked.
Steer clear of using inappropriate sealants. While it may be tempting to use regular duct tape or unapproved adhesives, these materials are not designed to withstand the pressure and can fail quickly, resulting in recurring issues.
Resist the urge to use excessive force. When reconnecting fittings, being overly aggressive can damage threads or connectors, potentially leading to further complications.
Avoid trying to fix without proper tools. Using improvised instruments may lead to inferior repairs and potential leaks. Invest in a hose cutter and appropriate clamps for a secure fit.
Don’t skip the drying process. If using tape or sealants, ensure the cleaned area is completely dry to promote adhesion. Moisture can cause materials to peel off prematurely.
Refrain from ignoring the manufacturer’s guidelines. Each product may have specific recommendations for repairs, and failing to follow these can void warranties or lead to suboptimal results.
Be cautious about over-tightening connections. This can create stress on materials and may cause future breaks or tears at the joints.
Finally, don’t forget to test the repair. After completing the process, turn on the water and check for any remaining issues before finalising your repair job.
Professional Repair Options for Severe Hose Damage
If your cleaning equipment’s tubing is significantly compromised, it may require more than a simple DIY repair. In these cases, seeking the assistance of a professional can be the best course of action. I recommend the following options based on years of experience in the industry.
1. Replacement of the Affected Section
Sometimes, it’s more efficient to replace the damaged section rather than attempting a repair. Professionals can precisely cut the compromised area and use appropriate connectors to ensure that the integrity and functionality are restored.
2. Installing a Professional Repair Sleeve
For substantial damage, a repair sleeve can be a durable solution. This process involves:
- Cleaning the surface thoroughly to ensure a strong bond.
- Applying a specially formulated adhesive to the sleeve and the tubing.
- Securing it tightly and allowing sufficient curing time for maximum effectiveness.
3. Consulting with Repair Specialists
Repair services often employ specialists who possess the expertise to assess and fix complex issues. They have access to high-quality materials and tools that are not typically available to consumers. Consulting with these professionals can lead to a swift and reliable fix.
4. Warranty Services
If the equipment is still under warranty, it’s advisable to contact the manufacturer. Often, they provide repair or replacement services at no additional cost, ensuring the work is done to high standards.
5. Upgrading to a New Model
In cases where repairs are not viable and the equipment is outdated, considering an upgrade might be the best investment. New models often feature better materials and technology, significantly reducing the chances of future issues.
Investing in professional services or equipment can save time and ensure a high standard of repair, increasing the overall lifespan of your tools.


