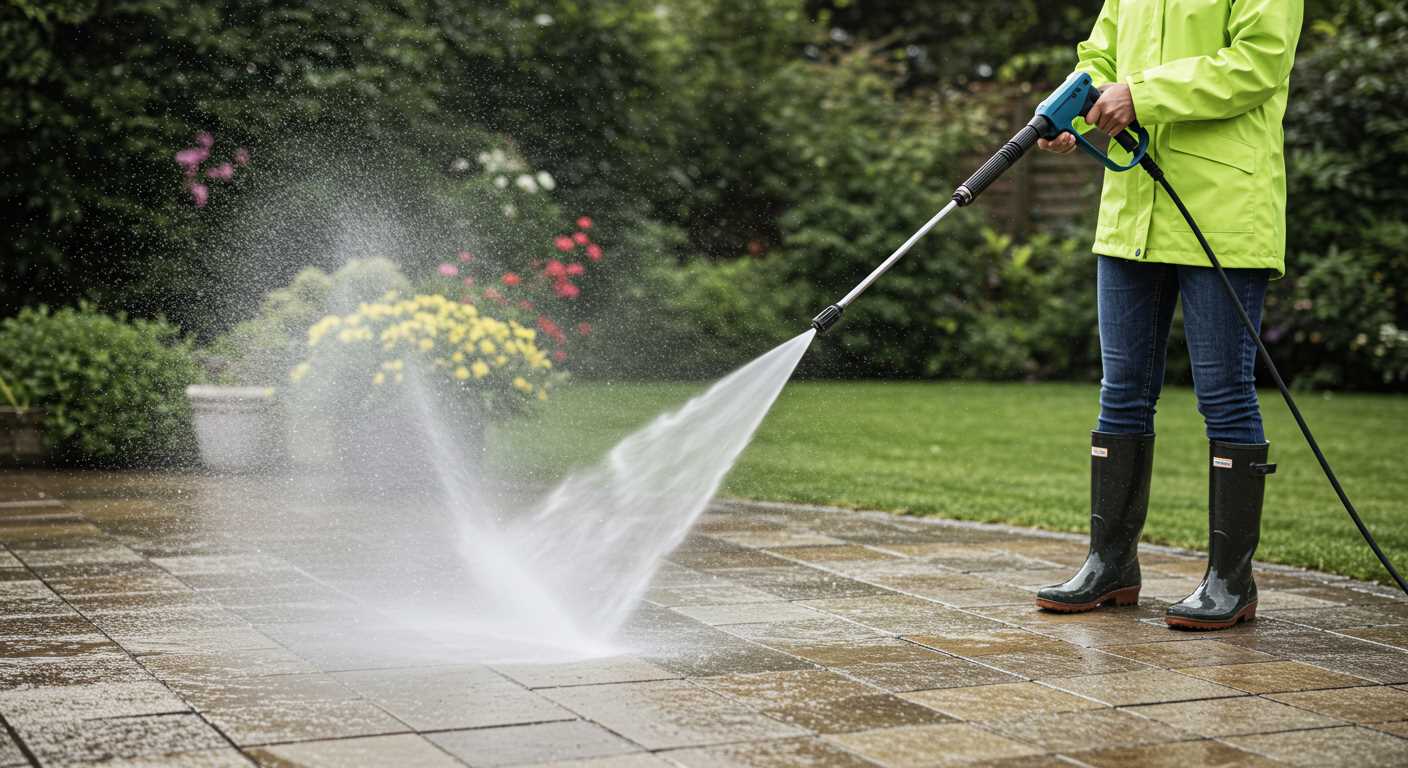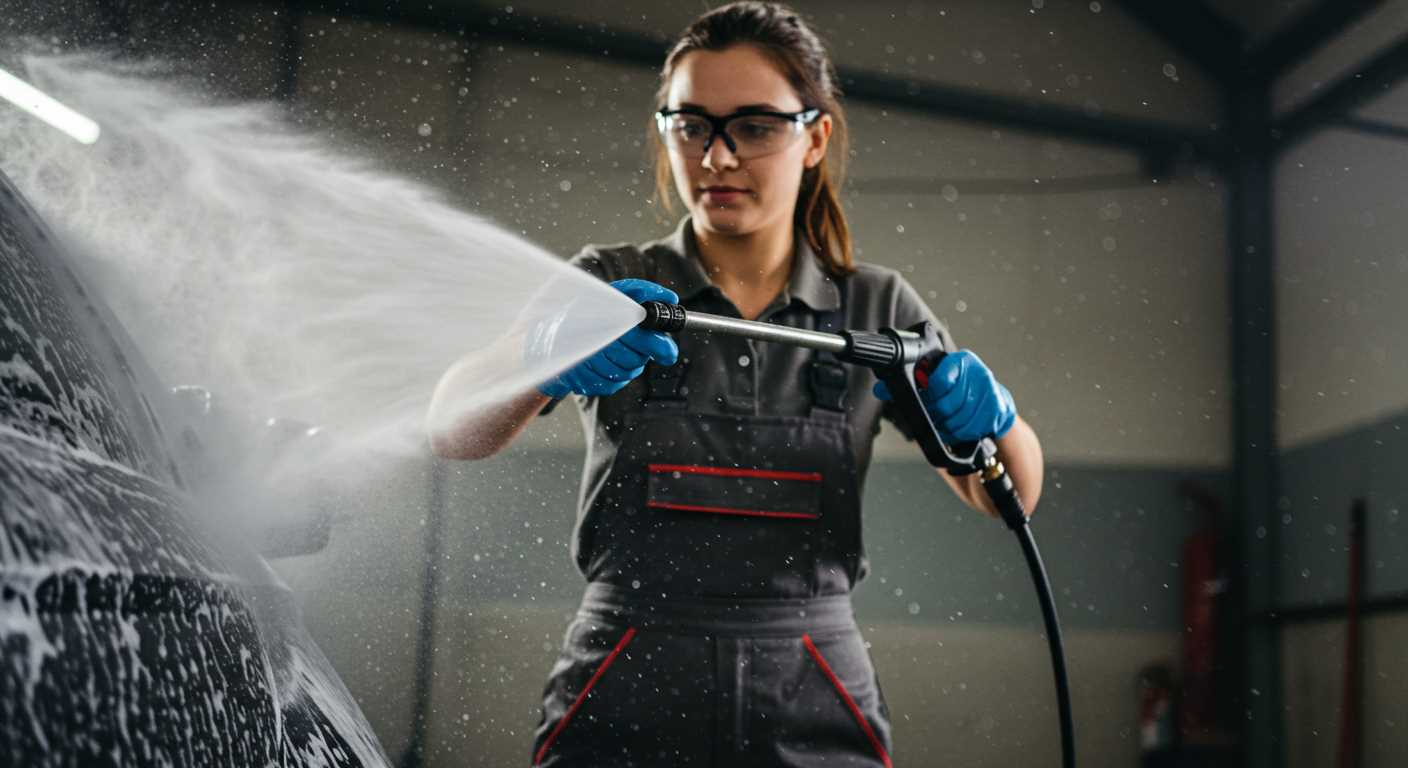


Applying high-pressure cleaning methods on masonry surfaces is highly advisable, provided certain precautions are taken. The intensity of the water flow can effectively remove dirt, moss, and algae that accumulate over time, restoring the aesthetic appearance of the structure.
Always select the appropriate nozzle for the task; a 25 or 40-degree spray tip generally works best for these surfaces, minimising the risk of damage. Start with a lower pressure setting. If stubborn stains remain, gradually increase the pressure, ensuring not to exceed 1500-2000 PSI to prevent surface erosion.
Before commencing the cleaning process, cover any nearby plants and windows to protect them from debris and high-velocity water. Additionally, ensure that mortar joints are in good condition; weak joints may dislodge under pressure. Testing a small, inconspicuous area first can help gauge the effectiveness and safety of the method on your particular surface.
Is a High-Pressure Cleaning Device Suitable for a Masonry Exterior?
Yes, a high-pressure cleaning device can be applied to a masonry exterior, but certain precautions must be taken to avoid potential damage. When utilising this method to clean an exterior made of stone or concrete, follow these guidelines:
Recommended Settings

- Opt for a low-pressure setting, typically around 1,200 to 1,500 PSI, to prevent dislodging mortar or causing chips.
- Select a wide spray nozzle (25° or 40°) to distribute the force evenly over the surface.
- Avoid direct spraying on any cracks or weak points, as this could exacerbate existing damage.
Cleaning Solutions
- Utilise mild detergents specifically designed for masonry surfaces to enhance cleaning without harsh chemicals.
- Avoid acidic or abrasive cleaners, as these can erode the mortar between the stones.
- Always rinse the surface thoroughly after applying any cleaning solution to prevent residue buildup.
By adhering to these recommendations, you can effectively clean your masonry exterior while minimising the risk of damage. Regular maintenance using appropriate methods ensures that the surface remains in good condition over time.
Understanding Wall Materials and Composition
Different types of structures can possess various compositions, impacting their durability and maintenance needs. Most often, the material quality varies based on the manufacturing process and the intended use. Many properties need to be understood to determine the appropriate cleaning methods.
Common Types of Brick and Their Characteristics

When examining masonry surfaces, several common variants are typically encountered:
| Type | Composition | Durability | Best Cleaning Practices |
|---|---|---|---|
| Fired Clay | Natural clay that is shaped and baked | Highly durable, water-resistant | Gentle methods, pH-neutral cleaners |
| Concrete | Cement, water and aggregates | Strong but porous | Moderate techniques, sealant recommended |
| Sand-lime | Sand, lime and pigments | Good stability, less porous | Non-abrasive solutions, minimal pressure |
Factors Influencing Cleaning Options
Various elements affect the choice of maintenance approach. Porosity significantly influences how substances penetrate the surface. More porous materials tend to absorb dirt and stains, requiring careful techniques to avoid damage. Also, environmental factors such as climate and pollution levels determine the frequency of cleaning required.
Understanding these components can enhance the effectiveness of maintenance tasks, ensuring longevity and aesthetic appeal of the structure while avoiding unnecessary wear. Select cleaning solutions tailored to specific materials for the best results.
Recommended Pressure Settings for Brick Surfaces
For optimal cleaning results on masonry, I advise a setting between 1500 to 3000 PSI. This range effectively removes dirt and grime without damaging the structure.
For softer varieties of stone, such as those with a porous texture, I recommend starting at the lower end–around 1500 PSI. Monitor the surface closely; if the cleaning isn’t efficient, gradually increase the pressure.
In contrast, denser and more resilient materials may comfortably handle pressures up to 3000 PSI. Prior knowledge of the specific type of stone will aid in selecting the right level.
Always maintain a distance of about 12 to 18 inches from the surface while operating. This distance prevents potential etching or chipping that could occur with higher pressures applied too close.
For a thorough clean, a 25-degree nozzle is generally effective, providing a broader spray pattern ideal for larger areas. If stains are stubborn, switching to a narrower nozzle may be beneficial, but it’s crucial to remain cautious.
Regular tests on less visible areas can help fine-tune the necessary settings without compromising the integrity of the surface. Adjusting both pressure and distance based on what I’ve gathered through experience will yield the best outcome.
Choosing the Right Nozzle for Surface Cleaning
For optimal results while cleansing masonry, opt for a nozzle that enhances your cleaning capabilities. A 25-degree or 40-degree nozzle is generally effective for removing dirt without risking damage to the texture. The wider spray pattern of these nozzles reduces the risk of abrasive wear on the surface.
In situations requiring deeper cleaning–such as for stubborn stains or encrusted debris–the 15-degree nozzle can be utilised. This narrow jet provides increased pressure, making it suitable for tougher grime, yet caution is necessary to avoid potential surface erosion.
Always test the chosen nozzle on a hidden section before proceeding with extensive cleaning. This ensures that the selected spray pattern does not adversely affect the surface’s integrity. Adjusting the distance between the nozzle and the target area can also influence cleaning effectiveness; maintaining a distance of approximately 12 to 18 inches generally yields satisfactory outcomes.
Keep in mind, a rotating nozzle can enhance cleaning efficiency by combining high-pressure jets with a swirling action, ideal for larger areas needing thorough attention. Such nozzles can significantly cut down on cleaning time while delivering impressive results.
Preparing Your Structure for High-Pressure Cleaning
Before any cleaning commences, I recommend thoroughly inspecting the surface for cracks, loose mortar, and other forms of damage. This assessment is critical to prevent further deterioration during the cleaning procedure.
Clear the area surrounding the structure by removing plants, furniture, and any obstructions. This allows for better access and ensures that debris does not interfere with the task.
Using a broom or leaf blower, eliminate loose dirt, dust, and debris from the surface. This preliminary step is fundamental for achieving optimal results.
If there are significant stains or growth–like moss or lichen–consider applying a specialised cleaner. This pre-treatment helps in breaking down tough substances and enhances the overall effectiveness of the cleaning process.
Always take precautions to protect windows, doors, and other sensitive areas. Use tarps or plastic sheeting to cover and shield these surfaces from potential water damage or chemical exposure.
Lastly, wear appropriate safety gear, including goggles and gloves, to safeguard yourself from harmful exposure to cleaning agents or water pressure during the project.
Common Mistakes to Avoid When Washing Brick

Avoid using a highly concentrated nozzle, as it can chip or damage the surface. A fan or wide spray setting is preferable for gentle cleaning.
Many neglect to test in a discreet area first. This allows assessment of the technique and ensures no adverse reactions occur before starting on more visible sections.
Not maintaining a safe distance from the surface often leads to problems. Keeping a distance of at least 2 feet prevents stripping and excessive abrasion while still allowing for adequate cleaning.
Skipping Pre-Cleaning
Failure to remove loose debris, dirt, and cobwebs can result in uneven cleaning. Always sweep the surface before starting to ensure all grime gets addressed effectively.
Ignoring Weather Conditions
Wet and windy conditions can hinder the process significantly. Attempting to wash surfaces during rainy or gusty weather might lead to unsatisfactory results due to the water splattering and mixed with dirt.
| Mistake | Consequence |
|---|---|
| Using a narrow nozzle | Surface damage |
| Not testing in a hidden area | Unexpected surface reactions |
| Getting too close to the surface | Chipping or stripping |
| Skipping debris removal | Uneven cleaning results |
| Ignoring weather | Reduced effectiveness |
Post-Washing Care for Brick Surfaces
After completing the cleaning process, specific actions can enhance the longevity and appearance of your masonry. Here are key steps to consider:
- Thoroughly Inspect the Surface: Post-cleaning, examine for any damage, loose mortar, or cracks. Address these issues immediately to prevent further deterioration.
- Rinse with Clean Water: Following the wash, apply a gentle stream of water to remove any remaining detergent residues. This is crucial to avoid residue build-up that could attract dirt.
- Monitor Drying: Allow the area to dry completely. Observe the brick’s surface for any discolouration or unexpected changes, indicating moisture retention or inadequate cleaning.
- Apply a Sealant: Consider applying a breathable water repellent if the masonry is in an area that experiences significant rainfall. This layer helps reduce water absorption and prevents efflorescence.
- Routine Maintenance: Establish an ongoing care routine by inspecting and cleaning periodically. Regular upkeep will safeguard against tougher stains in the future.
Implementing these measures will enhance the durability and aesthetic appeal of your stonework while helping to maintain its integrity over time.
Identifying Damage Risks During Pressure Washing
High-pressure cleaning can lead to various types of damage if you’re not careful. Firstly, assessing the integrity of the surface is paramount. Look for cracks, loose mortar, or other signs of wear that might worsen under intense force. Weak or degraded areas are susceptible to chipping or flaking, so I advise against directing water at these points.
Another risk involves the water penetrating porous surfaces. If there are any existing issues with moisture retention, pressurised water can exacerbate the situation, leading to mould growth or internal structural problems. It’s advisable to check for dampness prior to commencing the cleaning process.
Different compositions of masonry exhibit varying resilience. For instance, softer materials like sandstone are more prone to damage than harder varieties like granite. Evaluate the specific kind of surface you’re working with to determine the safest method for cleaning.
Special attention must be paid to surrounding elements, such as windows or paintwork. High-pressure streams can easily break glass or strip paint, leading to costly repairs. Ensure you cover these areas adequately before proceeding.
Always keep the nozzle at an optimal distance from the surface–too close, and you run the risk of etching or pitting, while too far can lead to ineffective cleaning. Additionally, operating at an excessively high setting can strip away protective coatings or sealants. An appropriate pressure level is necessary to avoid these mishaps.
In conclusion, thorough preparation and observation are crucial to minimising damage risks. Performing a test clean on a small, inconspicuous area can also help gauge how your selected setting and technique will affect the overall condition of the surface.
Alternative Cleaning Methods for Brick Surfaces

If high-pressure equipment isn’t suitable for your surface, consider these alternatives for effective maintenance. A simple yet effective method involves using a stiff-bristled brush with a cleaning solution specifically formulated for masonry surfaces. This approach allows for targeted scrubbing of stains without risking damage.
Vinegar and Water Solution
A mixture of vinegar and water serves as a natural cleaner. Combine equal parts vinegar and water in a bucket. Apply the solution using a spray bottle or a sponge, allowing it to penetrate for about 10 to 15 minutes. After soaking, scrub with a brush and rinse thoroughly. This method effectively removes mildew and dirt while being gentle on the surface.
Baking Soda Paste
Create a paste using baking soda and water for tougher stains. Apply it directly to the stained area and let it sit for approximately 30 minutes. Scrub the area with a brush, then rinse with clean water. This technique is particularly beneficial for organic stains like algae or moss.
Regular maintenance with these alternative methods can keep your surface looking clean and preserved, preventing the need for more intensive cleaning later. Choose the one that best suits your needs and local conditions.


