

Using a high-pressure cleaning device without the right technique may result in unsightly marks on surfaces, particularly softer materials like car paint or wood. To prevent this, it’s crucial to maintain a consistent distance and angle while applying the jet. I always recommend keeping the nozzle at least 18 inches away from the surface and using a sweeping motion rather than a stationary aim.
When adjusting the settings on your equipment, consider the pressure output, as excessive force can exacerbate the risk of leaving behind unwanted patterns. Opt for a fan spray attachment instead of a direct nozzle when working with delicate finishes. This method diffuses the water, reducing the likelihood of creating any marks.
Pay close attention to the surface material you’re cleaning. For instance, painted surfaces are particularly vulnerable to damage if not handled correctly. Always start with a lower pressure setting, gradually increasing it as needed, and stay alert for any signs of distress on the surface during cleaning. With these strategies, achieving a pristine finish becomes much more manageable.
Swirl Patterns from High-Pressure Cleaning
To minimise unsightly circular marks during cleaning, adjust the nozzle correctly. A narrow spray angle can concentrate energy in a small area, increasing the risk of damaging surfaces. Aim for a wider spray pattern when working on delicate materials.
Follow these essential techniques to avoid circular blemishes:
- Maintain a consistent distance of at least 30 cm from the surface.
- Use sweeping motions rather than focusing on one spot.
- Incorporate overlapping passes to ensure even cleaning and reduce streaks.
- Choose the appropriate cleaning solution to assist the process, as it can often be more effective than water alone.
Surface Preparation
Proper preparation is vital. Clear the area of loose debris and assess the surface for any pre-existing damage. If you’re working on painted or stained surfaces, test a small, inconspicuous area first.
Equipment Settings
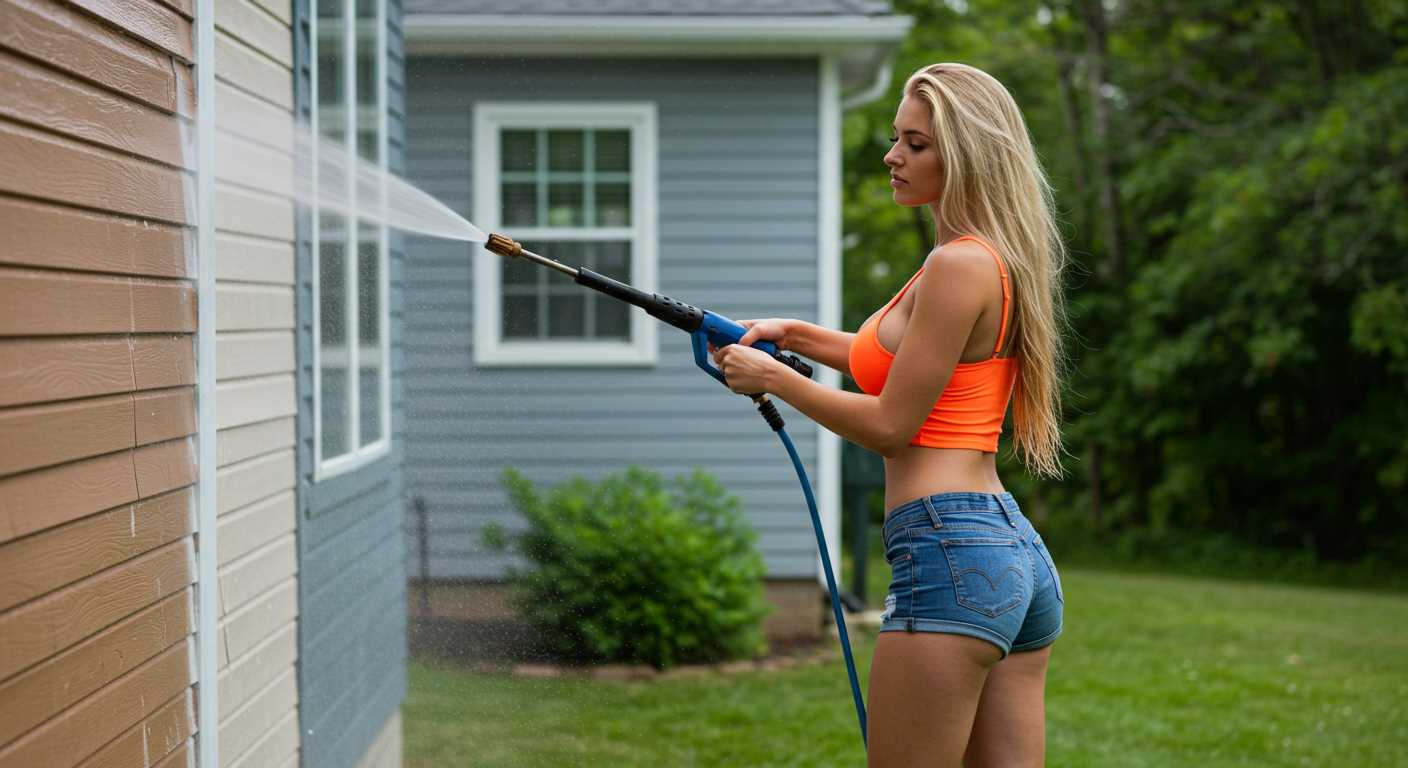
Tweak your settings based on the task. For softer materials like wood or delicate plastics, lower settings are necessary. Conversely, tougher surfaces, such as concrete or brick, can withstand higher pressures, but careful angle management is still crucial to prevent damage.
Experimentation is key; I recommend taking time to adjust based on the specific surface and level of dirt accumulation. Keeping a clean, well-maintained unit helps achieve optimal results and preserves the life of your equipment.
Understanding Swirl Marks on Surfaces
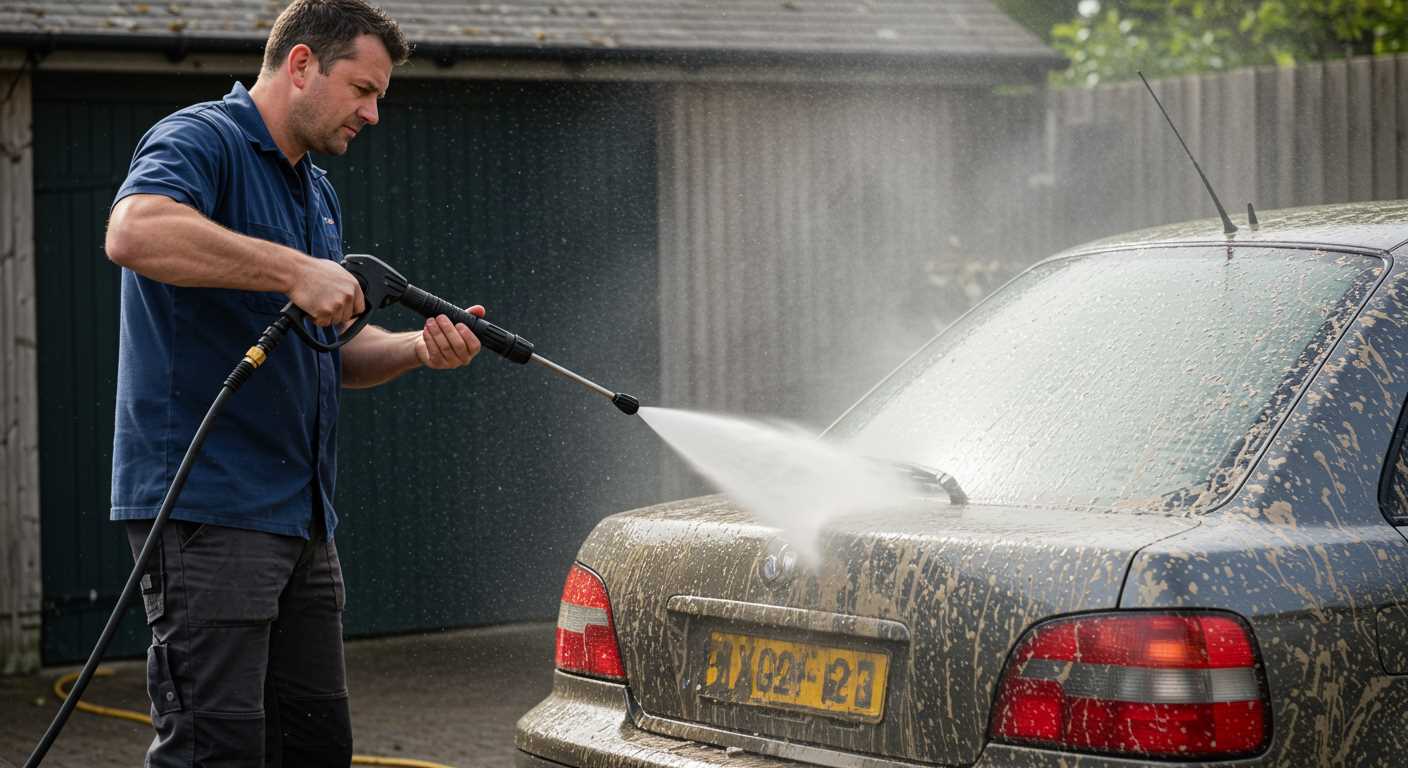
Avoiding the formation of distinctive patterns on surfaces requires an understanding of the factors involved. The technique and angle of application play a significant role. Maintain a consistent distance from the surface; generally, around 12 to 18 inches works best to prevent concentrated pressure in one area.
Technique Matters
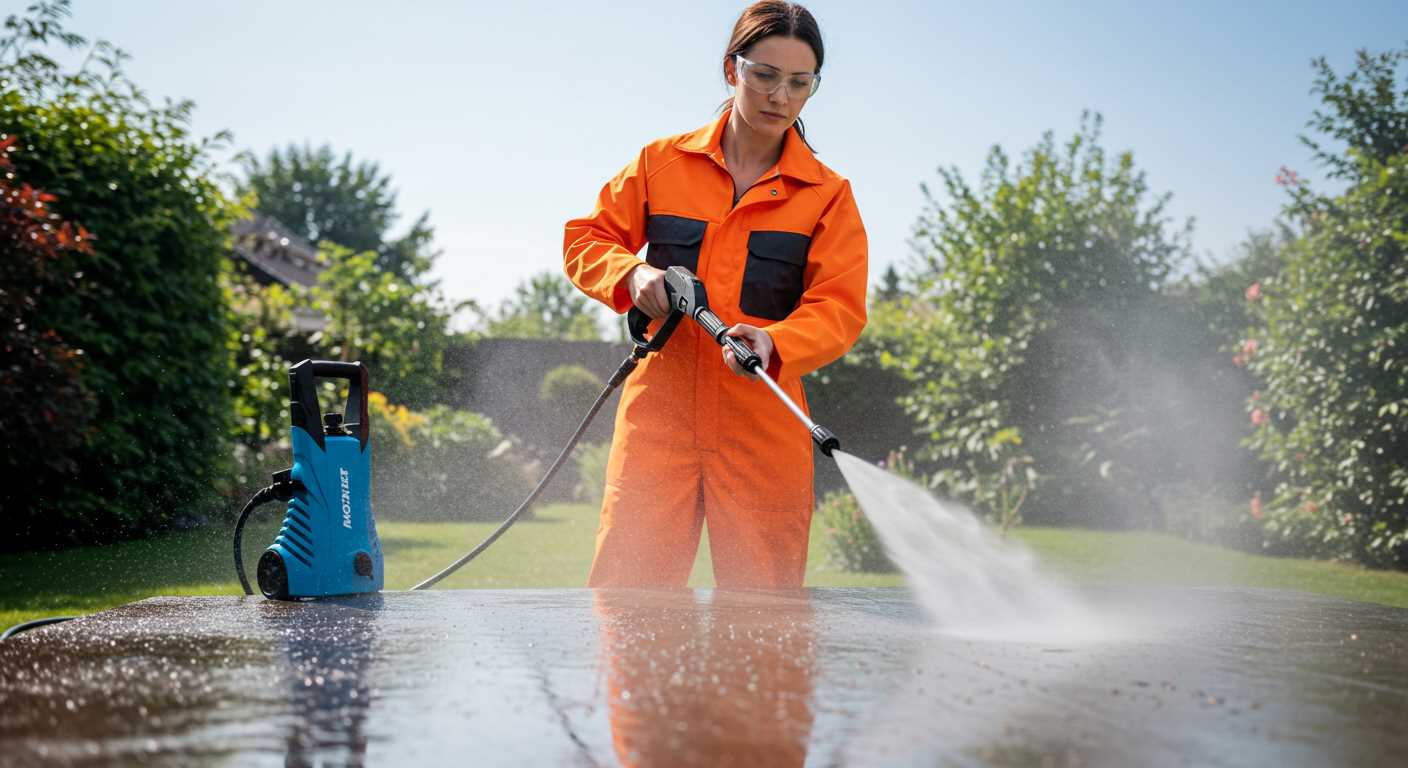
Utilise a broad sweeping motion rather than a focused approach. This helps distribute the force evenly, minimising the chance of creating unwanted marks. Adjusting the intensity settings on the equipment can also aid in controlling how aggressively the cleaning solution is applied.
Surface Conditions
Take into account the condition and type of the surface being treated. Surfaces like wood or certain types of paint are more susceptible to these patterns. Always test on a small, inconspicuous area first to assess how the surface reacts to the cleaning method. In case of excess residue or dirt, it might be advantageous to pre-treat the area before applying the cleaning tool.
Factors That Contribute to Swirl Marks
Based on my experience, a few key elements lead to the formation of circular patterns on surfaces during the cleaning process. Understanding these factors can help prevent blemishes after using high-powered cleaning equipment.
Water Quality
The mineral content in water plays a significant role. Hard water can leave deposits that create streaks or patterns once dried. Using softened or distilled water can mitigate this issue and enhance the outcome.
Cleaning Solutions
The type of cleaning agent utilised can impact surface results. Residual soap or detergent can react with the water and cause uneven drying. Always ensure thorough rinsing of any chemical substances to prevent unwanted residue.
Additionally, maintaining the right distance and angle during operation is crucial. Aiming too close or at an improper angle can lead to concentrated pressure in one area, amplifying the risk of damaging the finish.
Lastly, the condition of the surface must not be overlooked. A rough or previously damaged surface may be more susceptible to blemishes from the cleaning process than a well-maintained one.
Choosing the Right Nozzle for Your Pressure Washer
For optimal results, select a nozzle that matches the task at hand. Nozzle types vary in spray pattern and intensity, impacting cleaning performance. The most common options are 0°, 15°, 25°, and 40° angles, each designed for specific situations.
The 0° nozzle delivers a concentrated jet suitable for tough stains on hard surfaces, performing best on concrete or brick. Exercise caution, as this setting can damage softer materials. The 15° variant provides more power for grime removal on driveways and pavements, while the 25° nozzle strikes a balance, ideal for general cleaning of decks and patios.
For delicate surfaces, the 40° nozzle distributes water in a wide fan pattern, perfect for washing vehicles and wooden structures without the risk of damage. It’s also advisable to consider adjustable nozzles to switch between spray patterns quickly for various cleaning tasks.
Equipped with a soap nozzle, you can apply cleaning agents more efficiently. This attachment allows for lower pressure rates while dispersing soap effectively, enhancing the cleaning process. Always test a small, inconspicuous area before full application to ensure no adverse effects on the surface.
Invest in nozzles compatible with your machine’s specifications. Mismatched connections can lead to performance issues or potential damage. Regularly inspect nozzles for wear and tear, as a damaged nozzle can affect spray patterns, contributing to undesirable results on surfaces.
Ultimately, matching the nozzle to the task ensures not only efficiency but also helps avoid unintended surface marks. Understanding how each nozzle performs will help achieve a clean and even finish every time.
Techniques to Avoid Swirl Marks While Cleaning
Utilising a consistent motion is key. I recommend keeping a steady speed while directing the water stream. Aim to move in straight lines rather than circular patterns.
- Maintain Distance: Hold the nozzle at an optimal distance from the surface, typically around 12 to 18 inches. This prevents aggressive reactions that can create unsightly patterns.
- Overlap Passes: When moving across a surface, slightly overlap each pass. This ensures uniform coverage and reduces the risk of streaking.
- Adjust Angle: Position the nozzle at a 45-degree angle to the surface. This technique helps in distributing the water more evenly.
- Quality Nozzle Selection: Choose appropriate attachments that suit the task at hand. A fan nozzle is ideal for larger areas, while a turbo nozzle can provide deeper cleaning with less risk of damage.
Regularly check your equipment for wear. Damaged or clogged nozzles can produce uneven pressure, intensifying the likelihood of texture marks.
- Test on a Smaller Area: Before tackling the entire surface, test your approach on a less visible section. This gives an insight into the results without risking prominent areas.
- Monitor Water Temperature: Use water that is not excessively hot. High temperatures can soften surfaces and lead to undesired impressions.
Taking breaks during the cleaning process allows for assessing results, ensuring consistency throughout the job.
Correct Settings and Their Impact
Opt for a setting between 1300 to 2000 PSI for most residential tasks. This level efficiently removes dirt without risking surface damage.
Surface Specific Recommendations
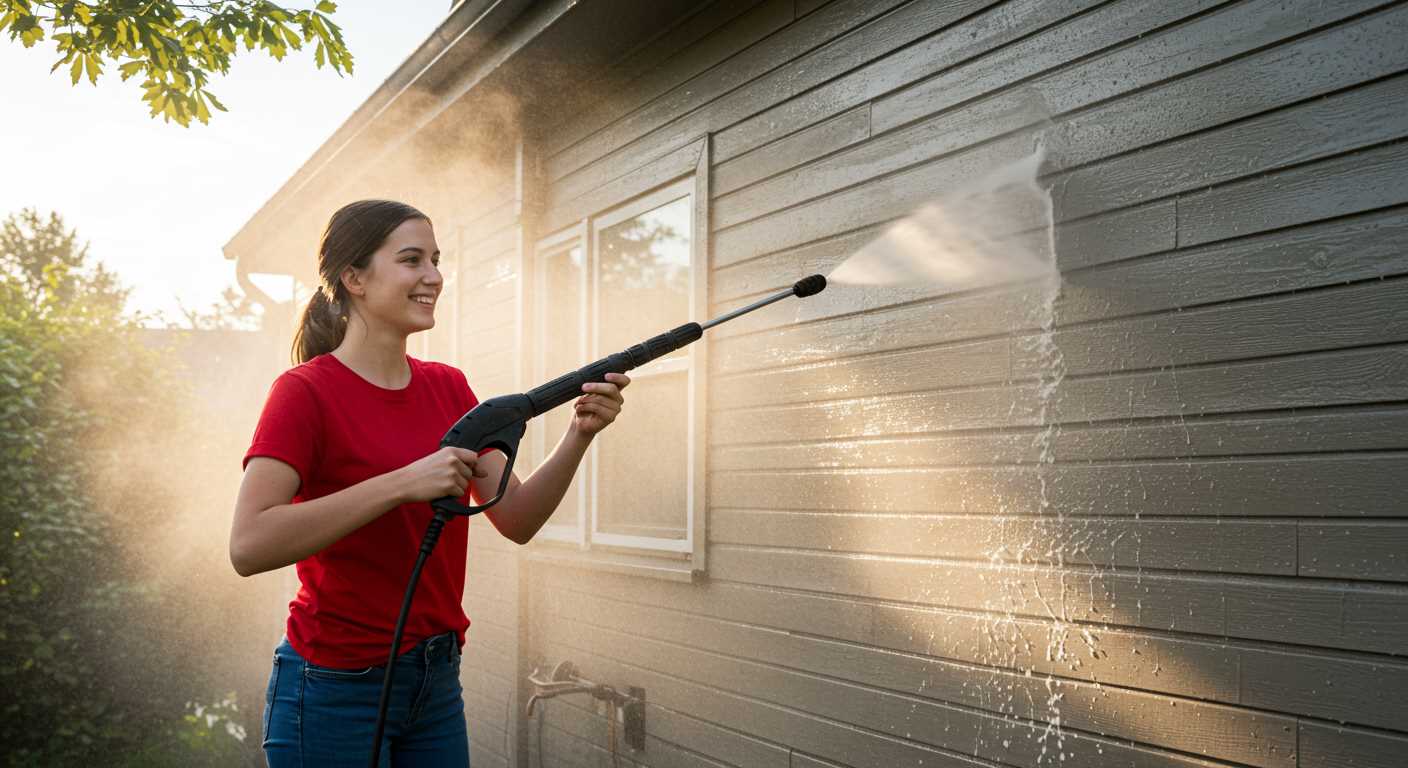
| Surface Type | Recommended PSI | Nozzle Type |
|---|---|---|
| Wood | 1300 – 1600 | 25-degree fan |
| Concrete | 2000 – 3000 | 15-degree fan |
| Vehicle | 1200 – 1900 | 40-degree fan |
| Brick | 2000 – 2500 | 15-degree fan |
Impact of Incorrect Settings
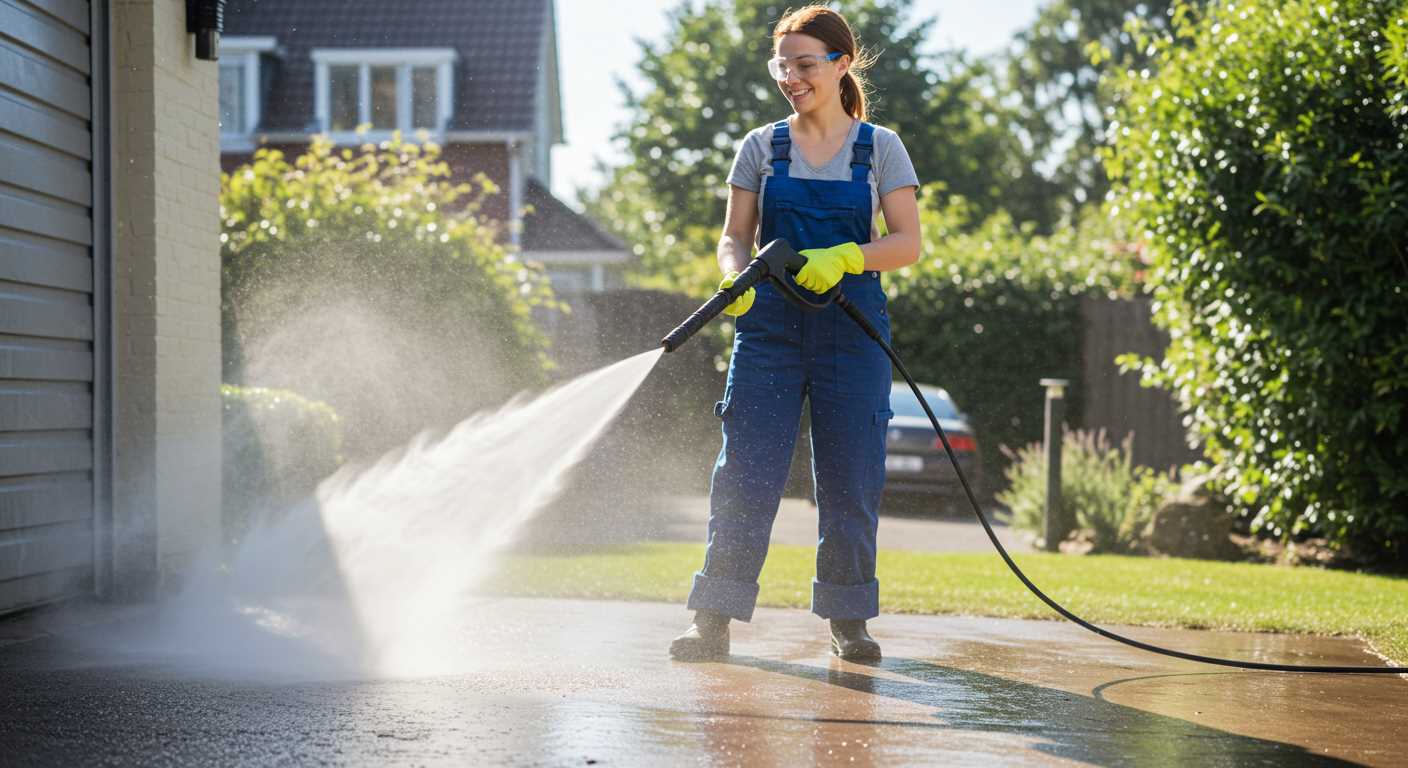
Utilising excessive force, particularly above 3000 PSI, leads to the potential for unintentional markings and surface degradation. Adjusting downwards can mitigate these risks.
It’s essential to assess the surface condition prior to commencing the task. Regularly altering the pressure based on the dirt intensity and material condition decreases the risk of adverse effects.
Best Practices for Maintaining Clean Surfaces
Regular surface assessment is key. Inspect materials before cleaning to identify existing damages. This prevents exacerbating any flaws during the cleaning process.
Select an appropriate cleaning solution that matches the surface type. For instance, delicate surfaces may require a gentle detergent, while tougher materials can handle stronger agents. Always test on a small area first.
Maintain a consistent distance between the nozzle and the surface. A common guideline is to keep at least 12 inches away, adjusting closer only if necessary and when conditions permit.
Use overlapping strokes when applying the cleaning agent. This ensures comprehensive coverage and reduces the risk of streaks or missed spots.
After cleansing, thoroughly rinse the surface. Residual cleaning agents can lead to film build-up, which detracts from the overall finish.
Utilise a fan spray pattern for larger areas, then switch to a narrow jet for concentrated cleaning in specific spots. This not only saves time but optimises clean results.
Allow surfaces to dry completely post-cleaning. This prevents moisture build-up that can lead to mould or mildew growth.
Lastly, consider seasonal cleanings based on the environmental conditions prevalent in your area. For instance, areas prone to heavy pollen may benefit from cleaning during spring months.


