


Yes, tackling stubborn stains like those from lubricant spills on concrete surfaces is possible with the proper tools and techniques. Based on over a decade of experience in the cleaning equipment industry, I’ve found that selecting the right cleaning device can make a significant difference in your results.
Begin with choosing a high-pressure cleaning unit that offers a minimum of 2000 PSI. This level of force is generally adequate to dislodge entrenched stains. Coupled with the right cleaning agents, the task becomes more manageable. Look for detergents specifically formulated to target greasy residues, as they can enhance the cleaning performance and facilitate the breakdown of tough grime.
Preparation is key. Before applying any cleaning solutions, ensure the area is free of debris. Moisten the surface with water to soften the stain and help the detergent penetrate more effectively. Following the manufacturer’s guidelines for mixing your cleaning agent will ensure optimal results.
Use a fan spray nozzle to cover a wider area and avoid damaging the concrete. Keep the nozzle at an appropriate distance from the surface to maximise the cleaning effect while protecting the material from potential harm. It’s wise to make multiple passes, focusing on particularly stubborn spots.
This process not only rejuvenates your driveway but also maintains its longevity. Incorporating these steps will result in a cleaner, brighter surface, elevating the overall appearance of your property.
Can Pressure Washer Remove Oil from Driveway
Yes, it is possible to tackle those stubborn stains on your asphalt or concrete surface. The key lies in using suitable detergents and the appropriate nozzle setting. Regular water alone may not suffice; a targeted degreaser can significantly enhance results.
When selecting a model, prioritise one with at least 2000 PSI and a minimum of 2 GPM to ensure sufficient force and water flow. Here’s a simple guide to follow:
| Step | Action |
|---|---|
| 1 | Apply a degreaser to the affected area and let it sit for at least 10-15 minutes. |
| 2 | Adjust your machine to a wide fan spray, typically a 25-degree nozzle, to cover more area without damaging the surface. |
| 3 | Begin washing at the top of the stain and work downwards. Maintain a consistent distance of about 12-18 inches. |
| 4 | Rinse thoroughly with clean water to ensure no residue is left behind. |
Always remember to test a small, inconspicuous area first to check for compatibility with your surface. This method is not only time-saving but also reinforces the longevity of your pavement. Cleaned surfaces hinder further absorption, making future stains easier to manage.
Understanding How Pressure Washers Work
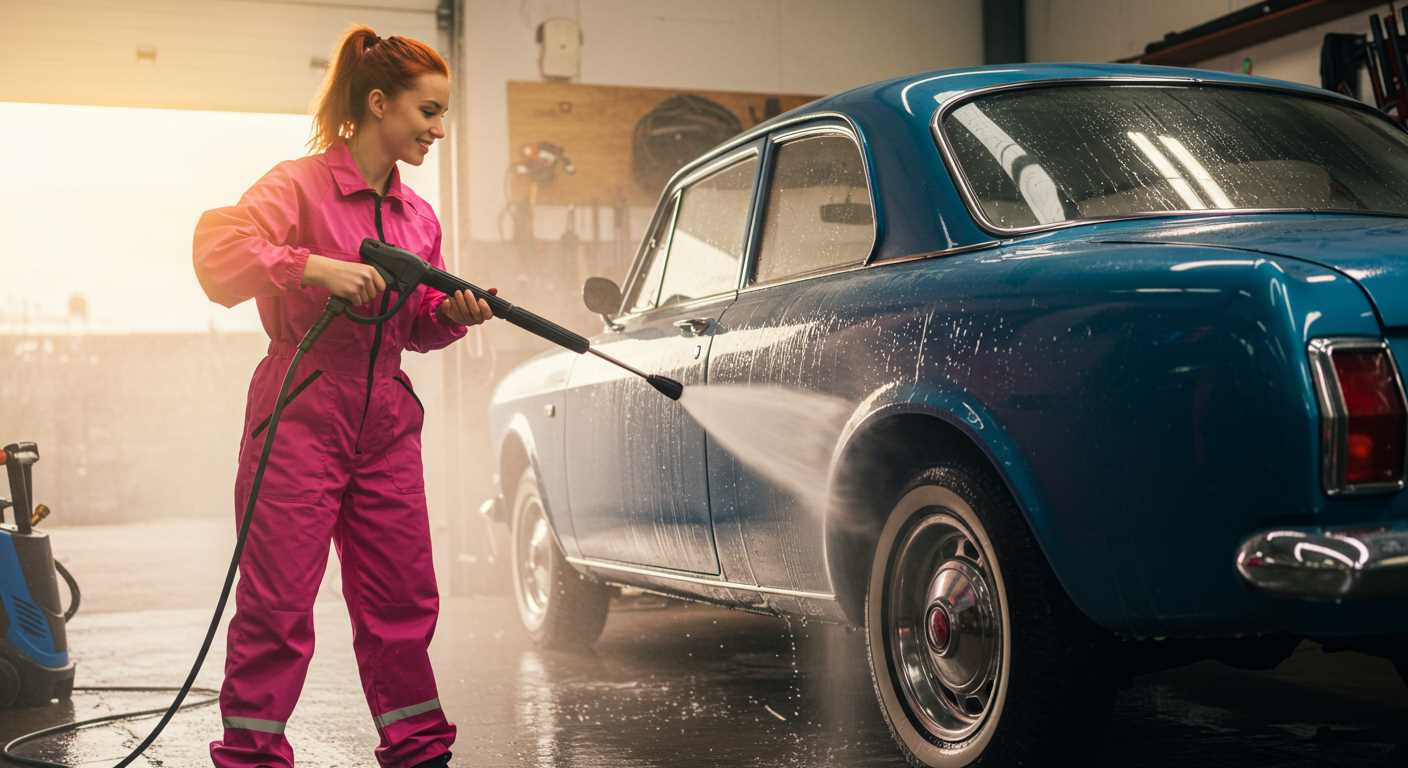
When engaging a high-pressure cleaning system, it’s essential to grasp its core components and operation. These devices function by converting standard water supply pressure into a concentrated jet of water. This is achieved through a motor or engine that drives a pump, allowing for substantial water velocity and pressure.
The heart of the equipment is the pump, typically of the axial or triplex design, responsible for creating the high-pressure output. The motor type influences the overall capability–electric motors usually provide quieter operation, while gas engines offer greater mobility and power for demanding tasks.
Water enters through an inlet and is propelled by the pump through a nozzle, which narrows the flow, increasing both speed and force. Different nozzle types serve various applications; for tougher residues, a zero-degree nozzle concentrates the blast into a fine point, whereas a wider angle offers a safer approach for delicate surfaces.
Using these machines effectively often involves pre-treating stubborn blemishes with appropriate cleaning solutions, as the intense water stream can sometimes require reinforcement to dislodge particularly stubborn materials. It’s also crucial to select the correct PSI (pounds per square inch) and GPM (gallons per minute) settings for your specific task to avoid damage to the substrate.
In summary, knowing how the mechanism works and the role of each component enhances your cleaning experience, ensuring optimal results and prolonging the lifespan of your equipment.
Types of Pressure Washers for Oil Elimination
Selecting the right cleaning unit is paramount for tackling stubborn stains on asphalt or concrete surfaces. The most effective models vary in pressure ratings and cleaning solutions they can accommodate. Below is a breakdown of the main types suitable for addressing greasy stains.
1. Electric Models
These units are typically more suited for light to medium cleaning tasks. They offer sufficient force for typical spills but might struggle with extensive, ingrained blemishes. Key features include:
- Lower pressure ratings (around 1300-2000 PSI).
- Ideal for residential use.
- Quieter operation compared to gas models.
2. Gas-Powered Units
For challenging stains, gas-powered machines excel. They provide higher pressure and flow rates, ensuring effective cleaning. Essential specs include:
- Pressure ratings exceeding 2500 PSI.
- Better mobility due to lack of electrical cords.
- Great for large areas and tough grime.
3. Hot Water Systems
Integrating heat into the cleaning process significantly enhances stain breakdown. Models featuring hot water capabilities are particularly effective as they:
- Utilise temperatures reaching up to 200°F.
- Actively dissolve and lift dirty substances.
- Reduce the need for chemical detergents.
4. Combination Units
Some advanced models merge both gas and electric features, providing versatility across a range of applications. These units feature:
- Adjustable pressure settings.
- Interchangeable nozzles for targeted cleaning.
- Compatibility with various cleaning agents for enhanced performance.
Choosing the most appropriate model hinges on the specific nature of the stains and the area being cleaned. Testing various types will reveal the most effective approach for your needs.
Preparing Your Driveway for Pressure Washing
First, clear the area of any obstacles such as vehicles, furniture, and landscaping. These items may hinder the cleaning process and could get damaged during the procedure.
Next, sweep the surface thoroughly to remove loose dirt and debris. This step ensures that the results are optimal, preventing particles from becoming embedded in the pores of the concrete while cleaning.
Inspect for any significant stains or marks. A degreaser may be necessary to treat heavy discolouration. Apply it according to package instructions and allow it to sit for the recommended time to break down grime effectively.
Consider using a surface cleaner attachment if available. This accessory can enhance the uniformity of the cleaning, offering better results compared to a standard nozzle.
Gather safety gear: goggles, gloves, and closed-toe shoes are crucial to protect yourself. Additionally, ensure that children and pets are kept at a safe distance during the process.
Before starting, connect your equipment to a water source and check for any leaks in hoses or connections. It’s advisable to conduct a test spray on a small, inconspicuous area to select the appropriate pressure setting and avoid damage.
- Clear obstacles
- Sweep thoroughly
- Apply degreaser for heavy stains
- Use a surface cleaner attachment if possible
- Wear safety gear
- Check connections before use
Choosing the Right Cleaning Solution for Oil Stains
Selecting a suitable cleaning agent is critical for tackling stubborn stains effectively. I recommend starting with a degreaser formulated specifically for tough marks. Brands that highlight their ability to break down greasy substances will yield better results. Look for options with concentrated formulas for efficiency.
After treating the area, ensure to follow the instructions carefully regarding application and dwell time. The proper application method often involves saturating the stain and allowing the product to penetrate before rinsing.
Another aspect to consider is the surface type. For concrete, using an alkaline degreaser is often beneficial, as it can lift the stain without damaging the material. For asphalt, choose a gentle solvent to avoid potential degradation of the surface.
In addition to store-bought solutions, natural alternatives like baking soda can provide decent results. Mixing baking soda with water to create a paste allows for a more eco-friendly approach. Apply the paste to the stain, let it sit, and scrub lightly before rinsing.
When mixing a cleaning solution, pay attention to safety recommendations. Always wear gloves and ensure good ventilation. Read labels thoroughly to avoid harmful reactions between different products.
Lastly, testing the chosen solution on a small, inconspicuous area first will help prevent any damage. This step is vital, especially with strong chemical options, ensuring that your chosen method will not harm the driveway’s integrity.
Steps to Eliminate Stains with a Pressure Cleaner
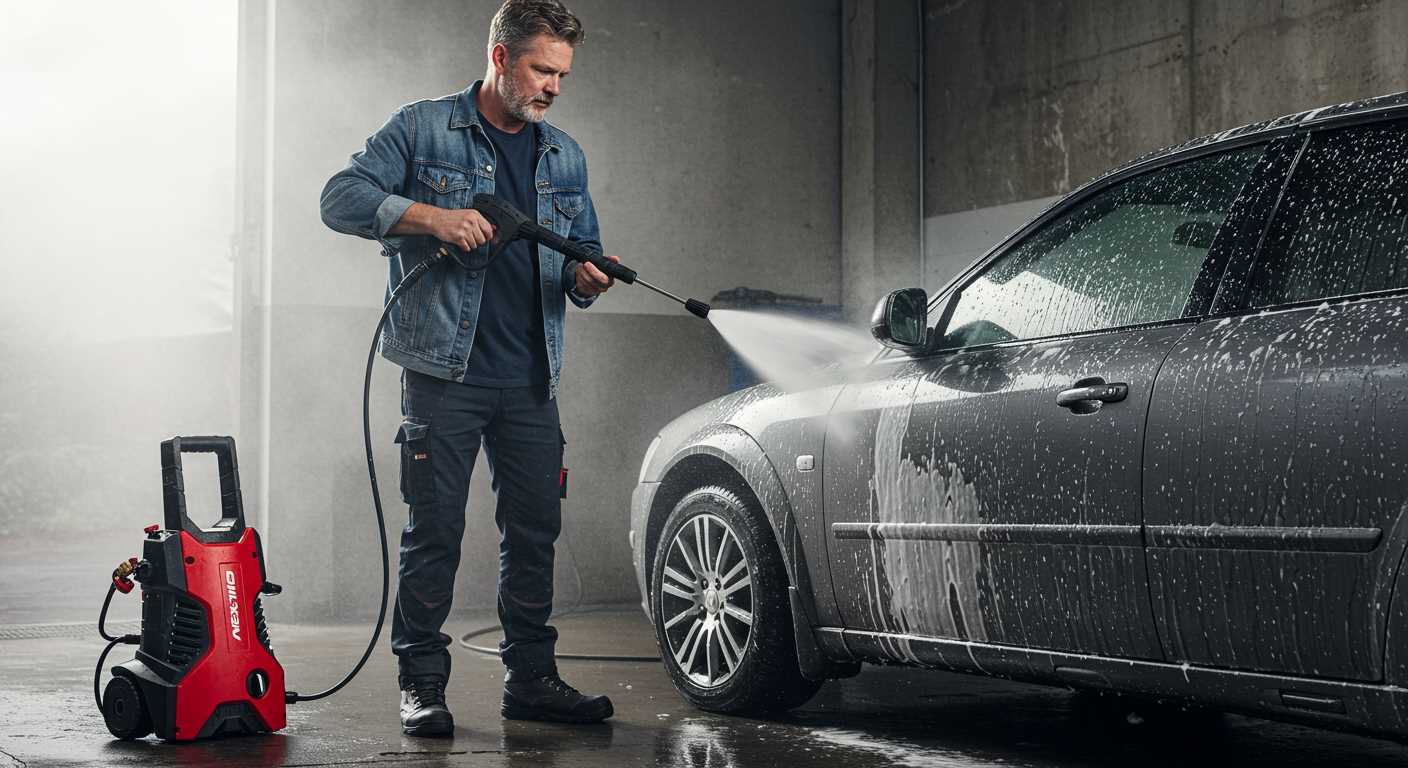
Begin by assessing the area with blemishes. Clear away any loose debris or dirt using a broom. This ensures maximum contact between the cleaning solution and the surface.
Applying the Cleaning Solution
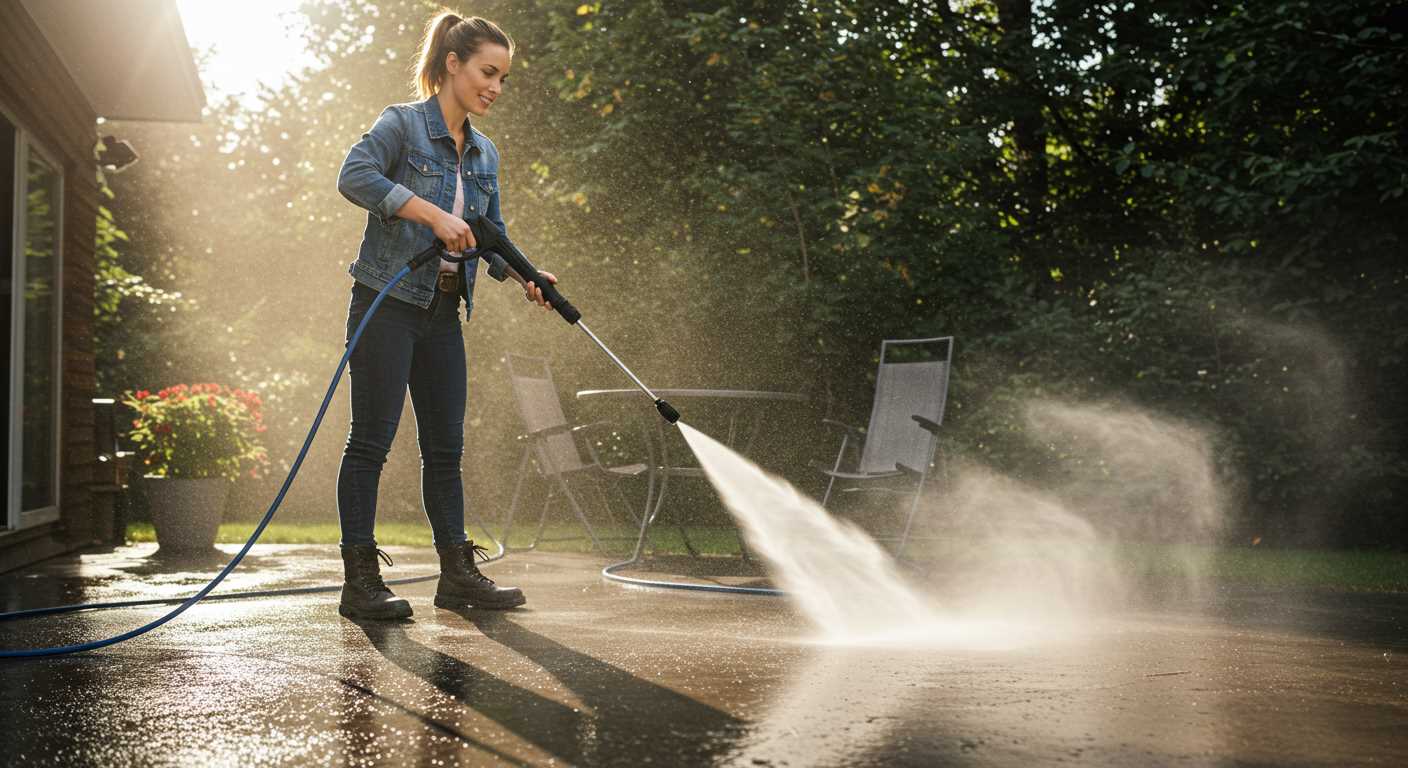
Mix an appropriate cleaning solution according to the manufacturer’s instructions. Apply it using a garden sprayer or a low-pressure attachment aimed directly at the discoloured areas. Allow it to penetrate for about 10-15 minutes to break down the residue effectively.
Washing Technique
Switch to a high-pressure nozzle and maintain a safe distance of approximately 12 to 18 inches from the surface. Employ a sweeping motion while working in sections to avoid streaking. Rinse thoroughly, adjusting the pressure if necessary, to avoid damaging the surface.
Inspect the area post-cleaning to determine if further treatment is required. Repeat the process on any remaining stubborn spots, always ensuring to follow safety protocols.
Common Mistakes When Using a Pressure Washer on Oil
Avoid using too high of a setting, as excessive force can damage your surface and drive stubborn stains deeper. A moderate approach will often prove more beneficial.
Neglecting Pre-Cleaning Steps
One common error is skipping pre-cleaning procedures, such as soaking stains with the appropriate cleaning solution. Allowing it to penetrate helps to break down the residue before applying high-pressure cleaning.
Using Incorrect Nozzle Type
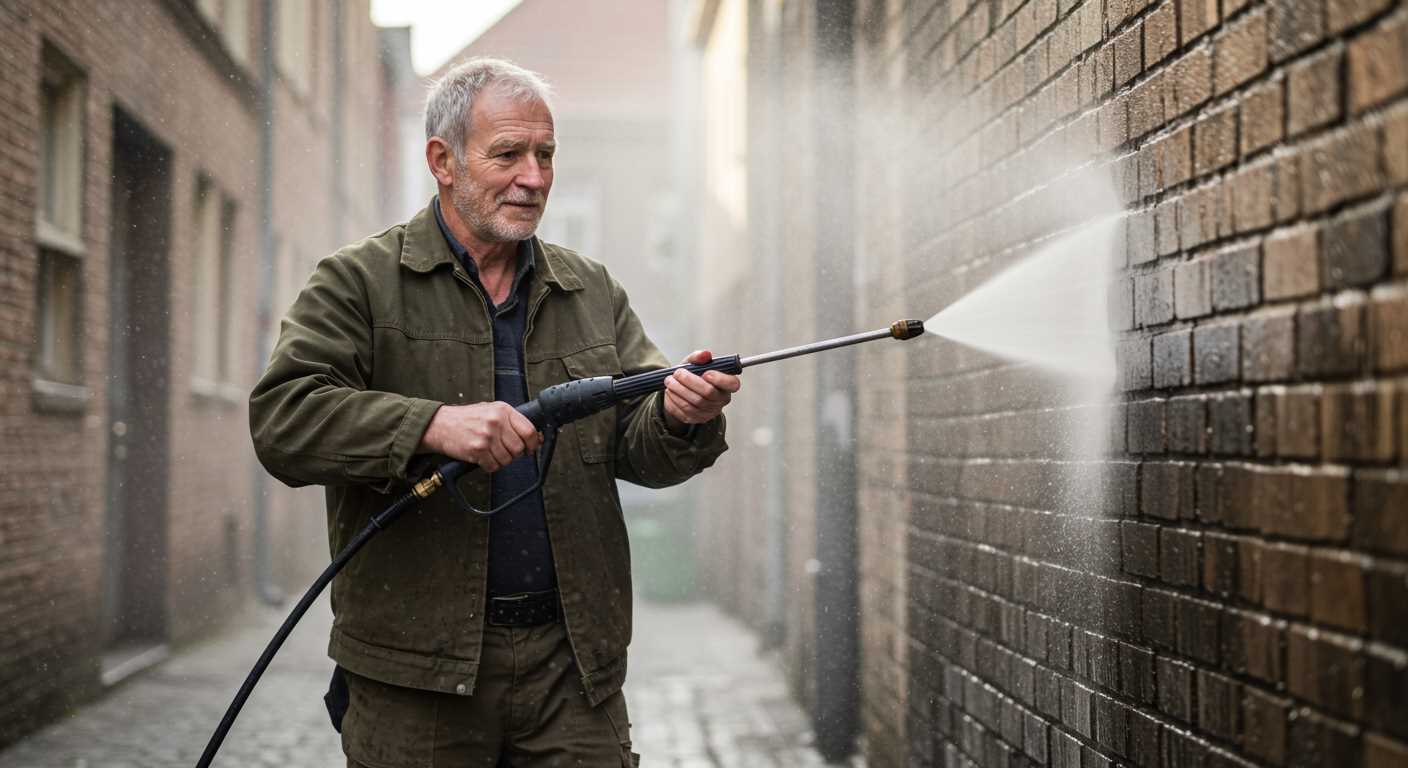
Choosing the wrong nozzle can hinder your results significantly. A narrow spray pattern may cause surface damage, while a wide fan may not provide enough force. Opt for a nozzle that balances power with safety to avoid unwanted blemishes.
Ensure to keep the nozzle at a proper distance during the process. Too close, and you risk etching the surface; too far, and the effectiveness diminishes.
Avoid rushing the task. Taking time to let the cleaning solution work can save you from repeated efforts and enhance the final appearance.
Alternative Methods for Tackling Stubborn Oil Stains
Utilising cat litter is a straightforward approach. Spread an ample amount over the stain, allowing it to absorb the liquid for several hours. Once the litter has soaked up the oil, sweep it away and dispose of it appropriately. This method is particularly effective for fresh stains.
Baking soda serves as another powerful agent. Sprinkle a generous amount on the affected area and gently scrub with a brush. The alkaline properties will help to break down the greasy residue. After scrubbing, rinse the surface thoroughly with water.
Combining vinegar and dish soap offers a robust solution as well. Mix equal parts of white vinegar and dish soap in a spray bottle, apply it to the stain, and allow it to sit for roughly 30 minutes. Rinse well with water afterwards. This combination cuts through grime efficiently.
Using a degreaser explicitly designed for tough stains can also yield significant results. Apply according to the manufacturer’s instructions, letting it sit for the recommended amount of time before scrubbing and rinsing. These products are formulated to tackle difficult residues and often include surfactants that enhance cleaning efficiency.
If the stain persists, consider employing a scrub brush with stiff bristles. This tool can help agitate the stain, improving cleaning efficacy. Pair this with hot water and your preferred cleaning solution for optimum results.
Lastly, if DIY methods fail, professional cleaning services may be an option. They possess specialised equipment and techniques, ensuring that stubborn stains can be effectively addressed without causing damage to your surfaces. Investing in professional help could save time and effort when dealing with particularly entrenched marks.


