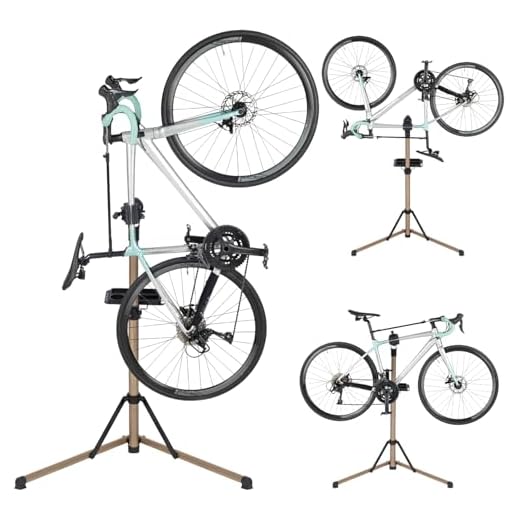


Using a high-pressure cleaning device for bicycle maintenance may yield rapid results, but caution is crucial. Directing a powerful stream at sensitive components such as bearings and seals can lead to damage or water ingress. My experience in the cleaning equipment industry, along with years of testing various models, has provided insight into best practices.
For optimal results, I recommend keeping the nozzle at least 30 centimetres away from the frame and avoiding direct contact with critical areas like the drivetrain and brakes. Instead, focus on cleaning the exterior and wheels, utilising the washer on a lower setting, if available. This approach effectively removes dirt while minimising the risk of harm to components.
In addition to correct distance, incorporating appropriate cleaning agents can greatly enhance the process. Using specialised bike cleaners in conjunction with the machine will ensure that the surface is not only dirt-free but also protected. Always follow up with a thorough rinse to eliminate any residual soap or cleaner. It is vital to complete the procedure by lubricating the chain and other moving parts to maintain performance.
Understanding the Risks of Using a Pressure Washer on Bikes
Avoid using a high-pressure stream on delicate components like bearings and seals. The intense force can dislodge grease, leading to premature wear and, ultimately, mechanical failure. It’s essential to keep the nozzle at a safe distance–at least 30 cm away–and use a fan spray rather than a concentrated jet to mitigate potential damage.
Water can infiltrate electronic parts, including sensors and displays. A single poorly directed spray can lead to electrical faults or corrosion. Ensure that electronics are thoroughly protected or covered before any cleaning process begins.
Paintwork is susceptible to damage from direct exposure to high-pressure streams. Chipping and fading can occur quickly if the force exceeds the manufacturer’s recommendations. Always test on a small, inconspicuous area first and consider using a diluted cleaning solution to assist in the process.
Examine the manufacturer’s guidelines for specifications on cleaning methods. Ignoring these can void warranties and cause irreversible damage. Consulting these documents ensures adherence to best maintenance practices and prolongs the life of the vehicle.
Finally, consider environmental factors. Washing outdoors during windy conditions can lead to contaminants being sprayed onto the surface, creating a cycle of dirt and grime. A clean area, possibly indoors, is ideal for maintaining control over both the cleaning process and immediate surroundings.
Recommended Pressure Settings for Bike Cleaning
For optimal results, set the gun between 1200 and 1900 PSI. This range is gentle enough to protect components while effectively removing dirt and grime.
Avoid using excessive pressure, as it can damage delicate parts such as bearings, seals, and paintwork. Always begin at a distance of approximately 2 to 3 feet and adjust based on the response of dirt removal.
Utilise a fan spray nozzle or a wide angle setting for broader coverage. This helps minimise the intensity of the stream, reducing the likelihood of causing harm to sensitive areas.
For tougher stains, opt for the lower end of the pressure scale before gradually increasing if needed, rather than starting too high. Following this approach protects your equipment while ensuring an efficient clean.
Maintain the nozzle in constant motion while rinsing; holding it stationary could inadvertently create hotspots that weaken materials or paint. Always rinse thoroughly to ensure no cleaning agents remain that could lead to deterioration over time.
In case of stubborn grime, use a soft-bristle brush in conjunction with your selected settings to agitate the dirt without risking damage.
Areas of the Bike to Avoid When Pressure Washing
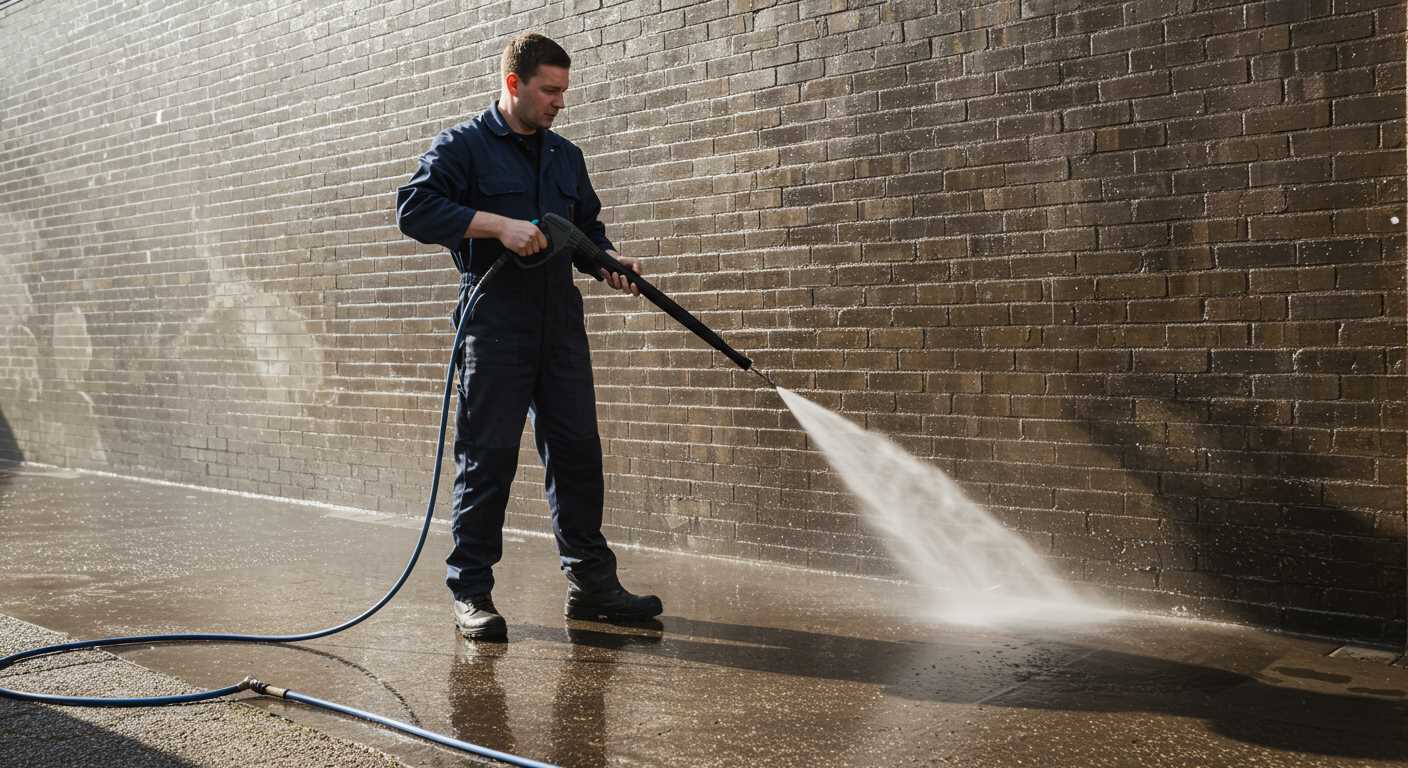
Focus on steering clear of these components to prevent damage:
- Bearings: Moisture can infiltrate and degrade bearings, leading to rust and decreased performance.
- Electronic Components: Avoid direct contact with sensors, displays, and wiring, as water can cause electrical faults.
- Bottom Bracket: High-pressure water can breach seals, leading to contamination and corrosion over time.
- Hubs: Similar to bearings, water can enter the hub, causing rust and impairing the smooth rotation of wheels.
- Chain and Cassette: While cleaning these parts is necessary, direct high-pressure blasts can remove essential lubrication and promote wear.
Utilising a low-pressure method or a gentle approach is advisable for the areas listed. This ensures longevity and maintains the performance of your cycle.
How to Properly Use a Pressure Washer on Your Bike
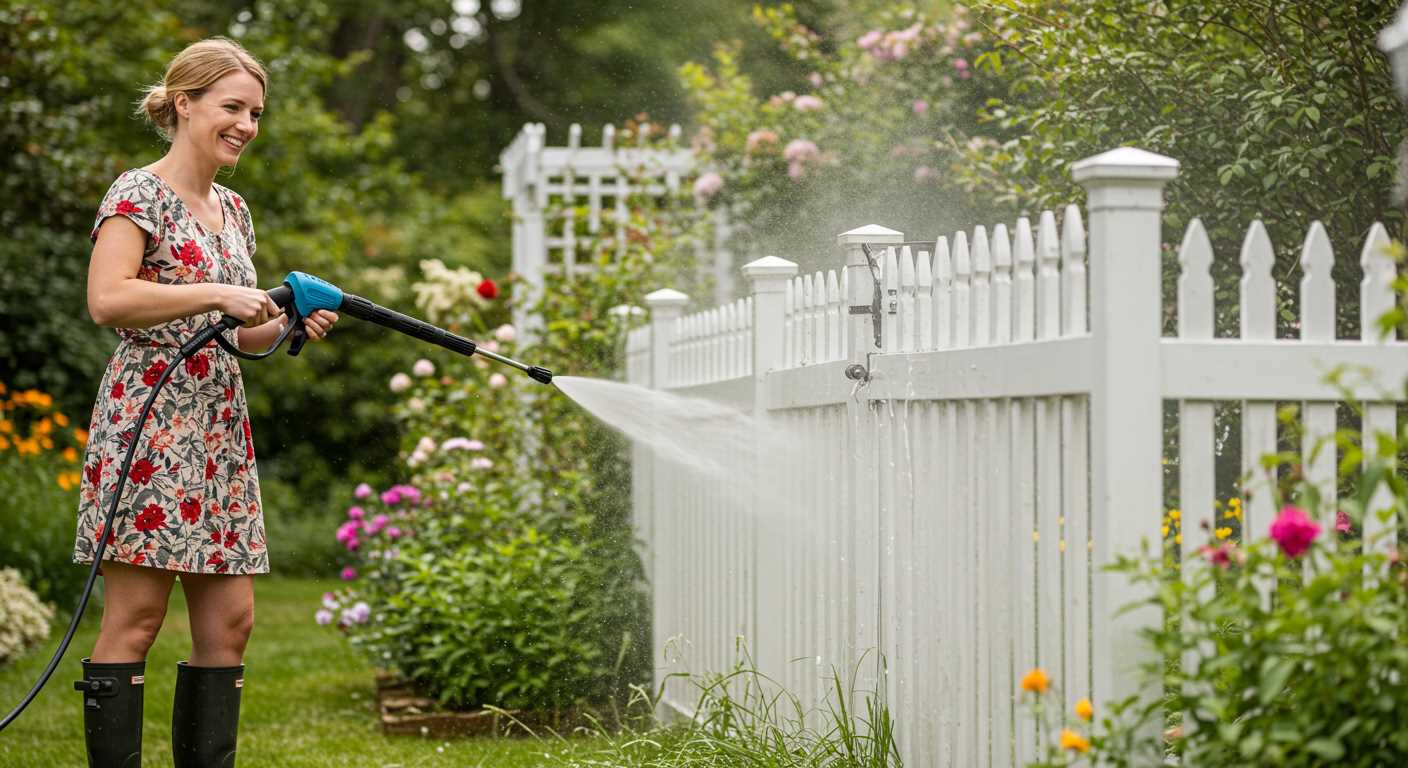
Begin by selecting the appropriate nozzle. A wide-angle spray tip, such as a 25 or 40-degree, disperses the water effectively, reducing the risk of damage. Avoid using a zero-degree nozzle, as it focuses the stream too narrowly, posing a threat to sensitive components.
Adjust the machine to a low pressure setting. A range of 1300 to 2000 PSI should suffice for most tasks. Higher pressures may cause harm to the bike’s finish or components.
Before starting, disconnect the battery if applicable, and remove any removable accessories, such as lights or bags, to prevent accidental water entry. It’s important to ensure the drivetrain is covered as well.
Begin washing from the top down. This method prevents dirt and debris from falling onto already cleaned areas. Always keep the nozzle at least 12 inches away from the surface to maintain a safe distance that minimises damage.
Pay special attention to the wheels. Start with the rims and work your way to the spokes. Consider using a gentle scrubbing brush for stubborn grime, followed by a rinse using the machine’s spray pattern.
Drainage and lubrication play a significant role after the washing process. Ensure water does not collect in tight spaces, as it can lead to rust or corrosion. After drying, apply lubricant to the chain and moving parts to keep them functioning smoothly.
| Step | Action |
|---|---|
| 1 | Select a wide-angle nozzle (25° or 40°) |
| 2 | Set pressure between 1300 – 2000 PSI |
| 3 | Disconnect battery and remove accessories |
| 4 | Wash top to bottom |
| 5 | Keep nozzle 12 inches away |
| 6 | Focus on wheels, rinsing thoroughly |
| 7 | Apply lubrication to chain and moving parts |
Post-Cleaning Maintenance for Your Ride After High-Pressure Cleaning
After utilising a high-pressure cleaner, immediate attention to maintenance is critical. Begin by reapplying lubricant to the chain, as excessive water can wash away the existing oil. A suitable bike-specific chain lube works best; ensure it penetrates properly between the links for optimal performance.
Inspect the brake components thoroughly. Water may infiltrate the friction surfaces or at the brake pads, causing decreased effectiveness. Clean any excess moisture with a soft cloth and check the pads for wear and tear. If they show signs of wear, consider replacing them before your next ride.
Wheel Care
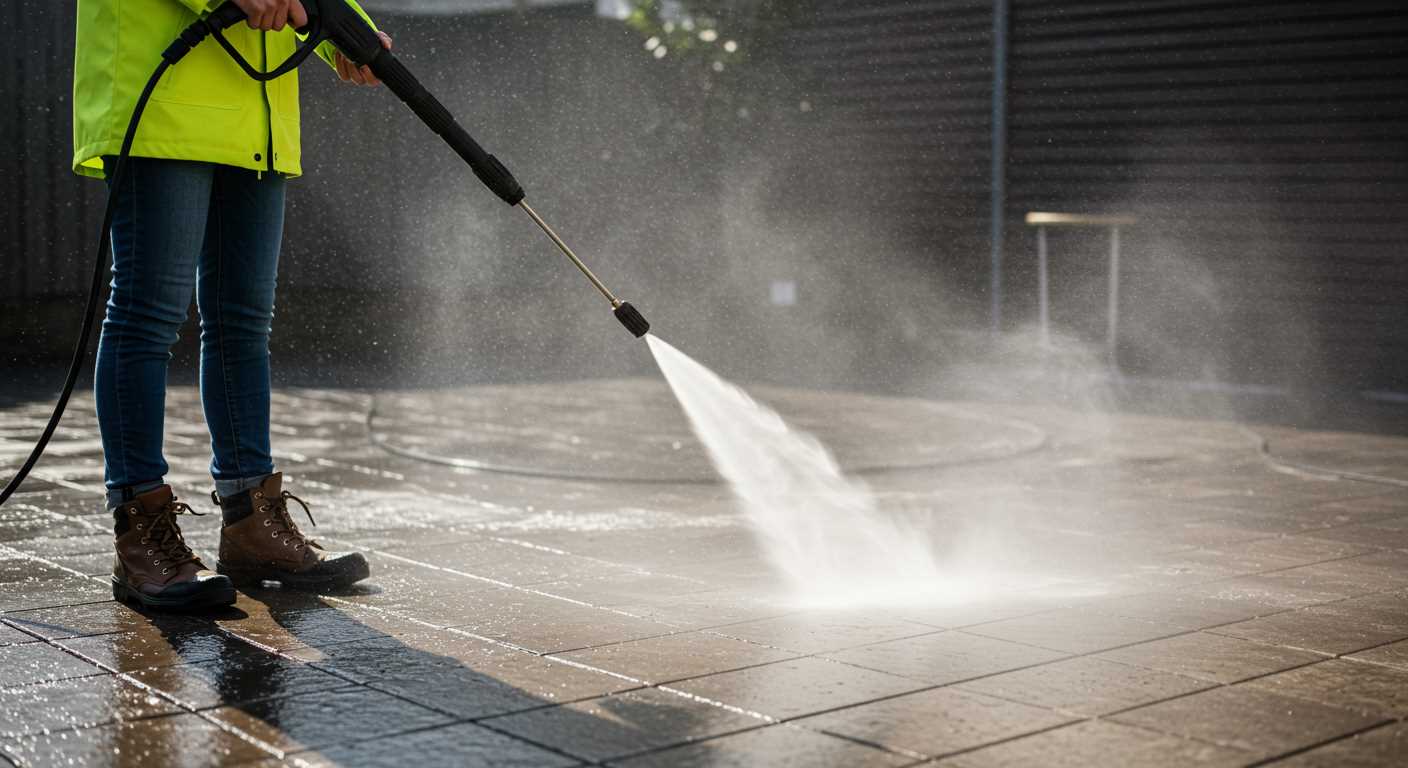
Dry the wheels manually, concentrating on the hubs and spokes to prevent rust. For alloy or carbon rims, a gentle wipe should suffice, while also checking for any damage or debris lodged within the rims. Pay attention to tyre pressure, as it might fluctuate after washing. Inflate them to the recommended PSI for your model.
Electrical Components
.jpg)
If equipped with electric gear, check for moisture around the battery and connections. Use a soft cloth to dry and ensure everything functions correctly. If there’s water trapped in any areas, consider using compressed air to remove it, as lingering moisture can lead to corrosion.
Finally, perform a general inspection of the frame and components, looking for loose bolts or parts that may require adjustments after a thorough wash. A quick check can help preempt issues, ensuring a smooth ride ahead.
Alternatives to Pressure Washing for Bike Cleaning
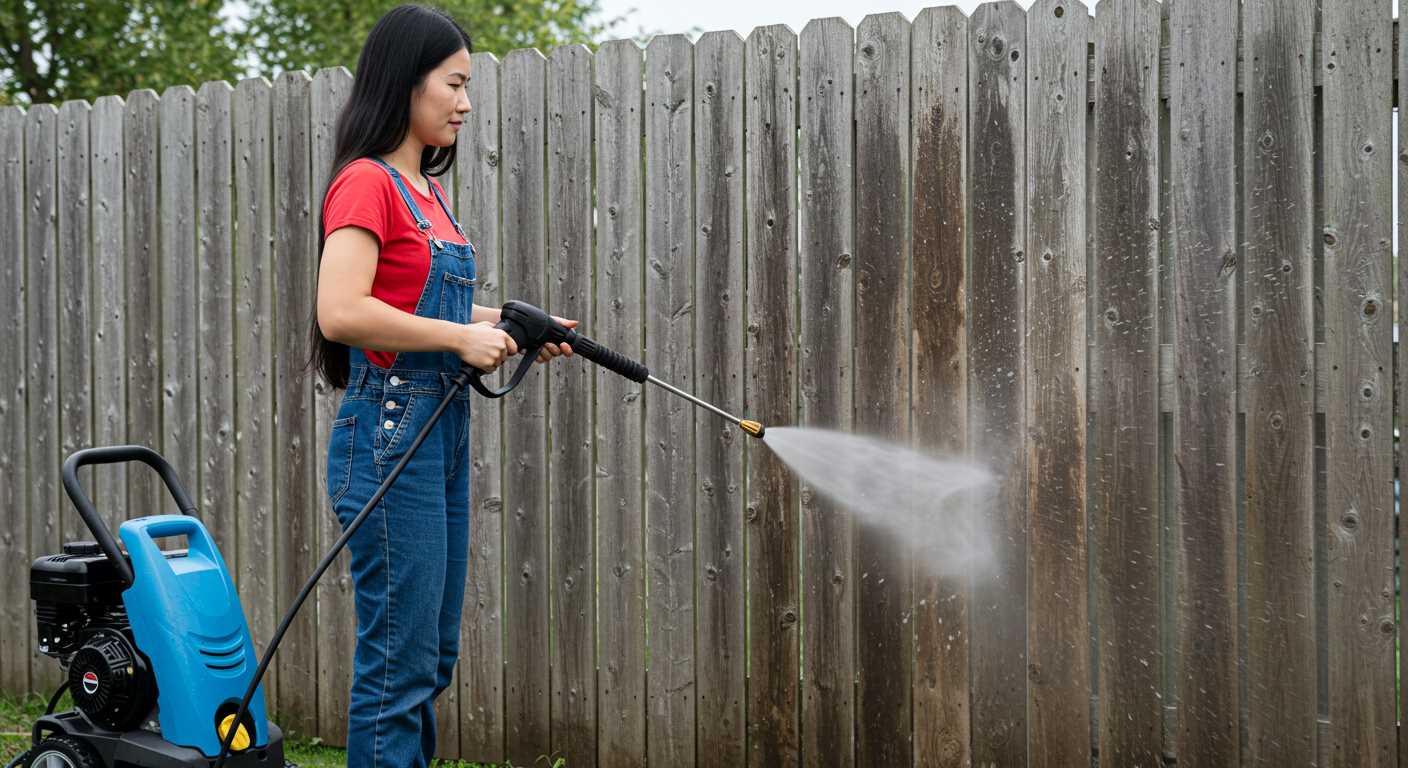
Utilising a bucket and sponge is a highly effective method for maintaining bikes. Combining warm water with a mild detergent creates a sudsy solution that helps lift dirt and grime without risking damage to sensitive components.
Employing a soft-bristle brush allows access to tight spaces and crevices, ensuring a thorough cleaning. Focus on the drivetrain using degreaser specifically designed for bicycles to tackle built-up grease and grime efficiently.
Microfiber cloths are invaluable for drying and buffing surfaces post-cleaning. They prevent scratches and absorb moisture effectively, ensuring a pristine finish.
A low-pressure garden hose can serve as an alternative for rinsing. However, avoid directing water toward bearings or electronic components to prevent potential issues. Ensuring that water does not accumulate can mitigate risks associated with moisture damaging critical areas.
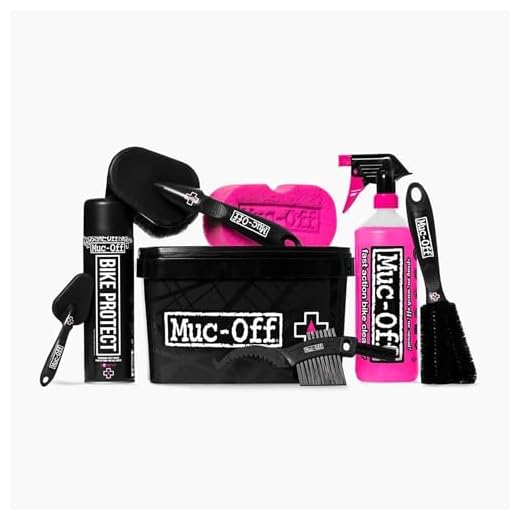
Consider using bike cleaning kits that often include brushes, degreasers, and protective sprays. These packages provide tailored products that are specifically designed for bicycles, simplifying the cleaning process while ensuring compatibility with materials.
Regular maintenance, such as wiping down the frame after rides and applying protective coatings, helps maintain a clean appearance and prolongs the life of components without the need for high-pressure cleaning methods.


