Yes, adding length to a cleaning machine’s tubing is possible, but it requires careful selection of compatible components. Using a high-quality connector ensures a secure fit between the existing tubing and the new section, minimising leaks and maintaining optimal performance.
Consider the pressure rating of the added tubing; it must match or exceed that of the original line to prevent any risks of failure. Additionally, the diameter of the new segment should be the same, which facilitates seamless water flow and avoids pressure drops or blockages.
When undertaking this modification, it’s crucial to follow proper safety guidelines. Always make sure the machine is off and disconnected from the power source before initiating any changes to the plumbing. Testing the setup after installation will help confirm that everything operates smoothly.
Engaging with various forums and online communities of users can also provide real-world insights about experiences with different brands and types of extensions, allowing for informed choices that suit specific cleaning tasks.
Understanding Pressure Washer Hose Compatibility

To successfully connect additional lengths of cleaning equipment tubing, focus on matching the diameter and fitting types. Most standard models feature 1/4-inch, 5/16-inch, or 3/8-inch diameters. Verify that both the original and new sections share the same measurement to maintain optimal performance.
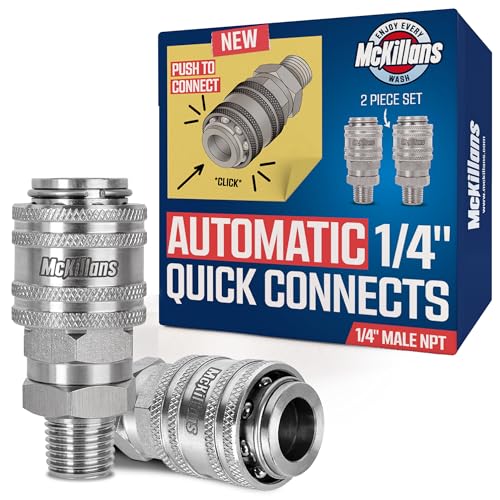
Examine the fittings as they vary by brand. Some brands use quick-connect couplings, while others may rely on threaded connectors. Ensure that both ends are compatible to prevent leaks or disconnects during operation.
Material Quality
Selecting high-quality materials is crucial. Look for reinforced PVC or rubber hoses that resist kinks and abrasions. These materials enhance longevity and maintain water flow under pressure. Avoid cheaper options that could compromise effectiveness and may require frequent replacements.
Length Considerations
When adding length, remember that excessive tubing might decrease pressure. Each additional metre introduces a slight pressure drop, which affects cleaning efficiency. It’s advisable to limit extensions and utilise shorter sections if possible to optimise the output.
Always consult the manufacturer’s specifications for your model to ensure that any added connections will not void the warranty or damage the equipment. Proper compatibility guarantees a safe and powerful cleaning experience.
Tools Needed for Hose Extension
For a successful lengthening of your cleaning equipment’s tubing, you’ll need several key tools and materials:
Essential Tools
- Wrench Set: A combination of adjustable and fixed wrenches is vital for securing fittings tightly.
- Hose Couplings: Choose high-quality couplings specifically designed for high-pressure applications to ensure a secure connection.
- Sealant Tape: Teflon tape or similar products are necessary to prevent leaks at joint connections.
- Cutting Tool: A sharp utility knife or hose cutter is important for clean cuts when preparing tubing for connection.
- Measuring Tape: Accurate measurements will help in selecting the appropriate length of additional tubing.
- Socket Set: A socket set will facilitate the process of tightening fittings effectively.
Recommended Materials
- Compatible Tubing: Make sure to select a length that matches the diameter and flexibility of the original tubing.
- Adapters: If necessary, use specific adapters to ensure compatibility between different brands or types.
- Protective Gloves: Always wear gloves to protect your hands during the installation process.
A well-prepared toolkit simplifies the entire modification process and ensures reliable results. Focus on quality components, as they directly influence performance and safety.
Step-by-Step Guide to Extending Your Hose

Selecting the right equipment is paramount. Begin with a high-pressure-compatible extension. Ensure the threading matches the existing connection on your current line.
Connecting Your Extension
First, lay out the hose on a flat surface to prevent kinks. Attach the extension to one end of the original line, twisting it securely to avoid leaks. Ensure a tight fit; use tape if necessary to enhance the seal.
Testing for Leaks
Activate the cleaner at low pressure after connecting everything. Inspect joints and connections for water leakage. If you notice any drips, disassemble and reattach as necessary. Perform a thorough check to confirm it is secure before proceeding with use.
Common Mistakes When Extending Pressure Washer Hoses
Avoiding incorrect hose selection is paramount. Using incompatible diameters can lead to pressure loss and inefficiency. Always match the inner diameter of the extended line with the original to maintain optimal performance.
Ignoring length limitations often results in decreased water pressure. Each additional metre can reduce pressure output, so consider the total length when planning your setup.
Neglecting proper connectors leads to leaks and potential damage. Invest in high-quality quick-connect fittings instead of cheap alternatives that can fail under pressure.
Failing to check for kinks or twists during installation can obstruct the water flow. Always ensure the line is laid out straight, with no tight bends that restrict performance.
Underestimating the importance of a compatible nozzle can create an imbalance between the washer and extended line. Ensure the nozzle matches both the washer’s specifications and the new hose capabilities.
Overlooking regular inspections after extension is another common pitfall. It’s crucial to check for signs of wear, leaks, or blockages, which can diminish efficiency over time.
Safety Considerations During Hose Extension
Always ensure that the equipment is powered off before attempting any modifications. Pressure systems can retain water and create hazardous conditions. Disconnect the source and relieve any residual pressure by squeezing the trigger of the gun until no water exits. This step is crucial to avoid unexpected bursts during the process.
Choosing Quality Components
Select components that meet or exceed the specifications of the original setup. Using inferior or mismatched fittings may lead to leaks or even failure at high pressures. Always check the manufacturer’s recommendations for compatibility and performance ratings.
Proper Storage and Handling
Store extended lines properly to prevent kinks or wear that could lead to failure. Avoid harsh bends or placing heavy objects on the extensions during storage. Inspect the hoses periodically for signs of damage, wear, or leaks. Proper maintenance greatly reduces the risk of accidents.
Maintenance Tips for Extended Pressure Washer Hoses

To ensure longevity and reliable performance of additional lengths of high-pressure tubing, incorporate regular checks for kinks, wear and tear. Signs of damage can lead to performance issues and potential hazards. Address them promptly by replacing affected sections or fittings.
Cleaning and Storage
After each use, rinse the tubes thoroughly to eliminate any debris or soap residues. Avoid harsh chemicals that might degrade the material. Store the hoses in a cool, shaded area to prevent UV damage. Coiling them loosely helps avoid sharp bends that can cause internal damage.
Regular Inspection

Establish a routine inspection schedule, checking connections for leaks and fittings for corrosion. Each season, replace any worn-out seals or adaptors. Keeping spare parts on hand will facilitate timely repairs, ensuring that there’s no interruption in usage.
| Maintenance Task | Frequency |
|---|---|
| Inspect for leaks | Before each use |
| Clean hoses | After each use |
| Check fittings and adaptors | Weekly |
| Replace seals | Seasonally |
By following these guidelines, efficiency and safety of your extended high-pressure tubing can be significantly enhanced. Consider keeping a maintenance log to track all activities and any repairs needed over time. This practice not only fosters accountability but also aids in troubleshooting future issues.