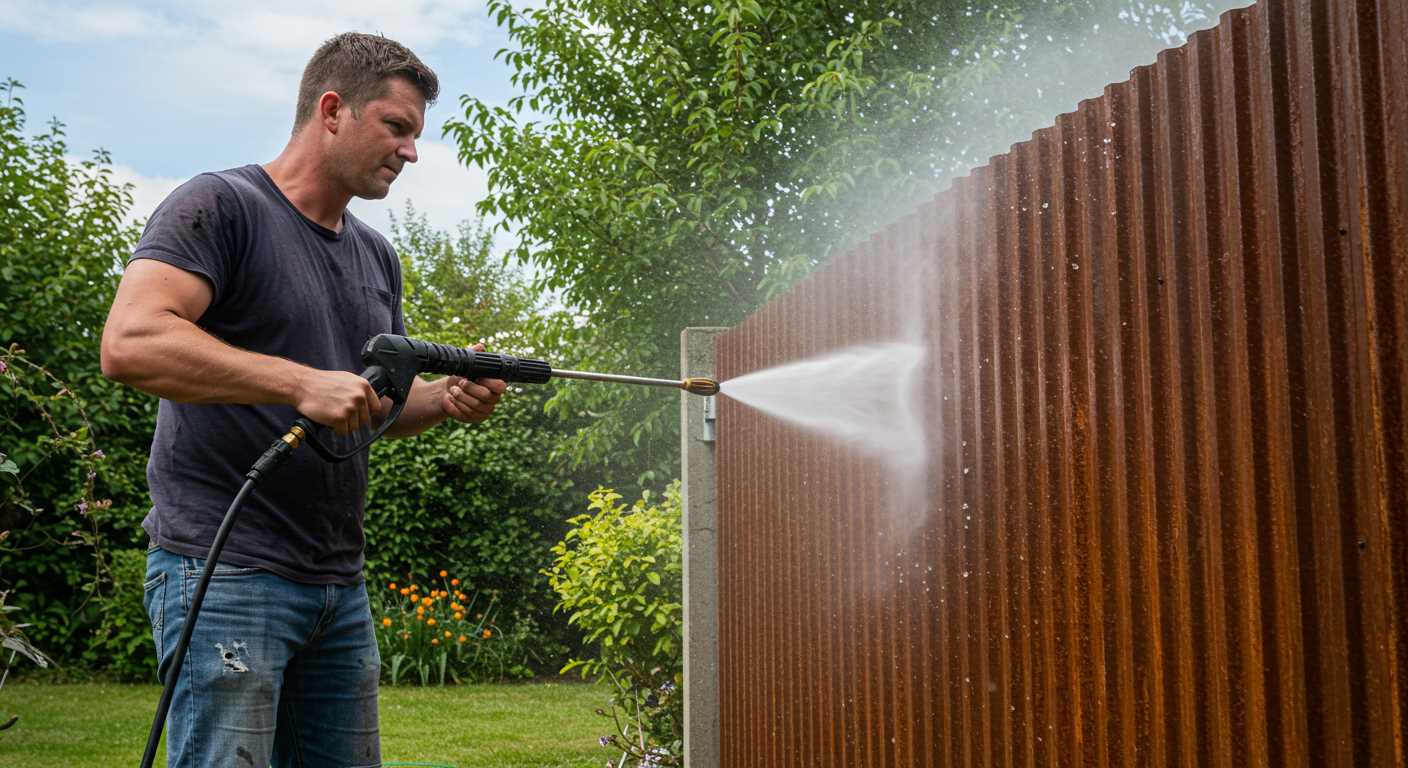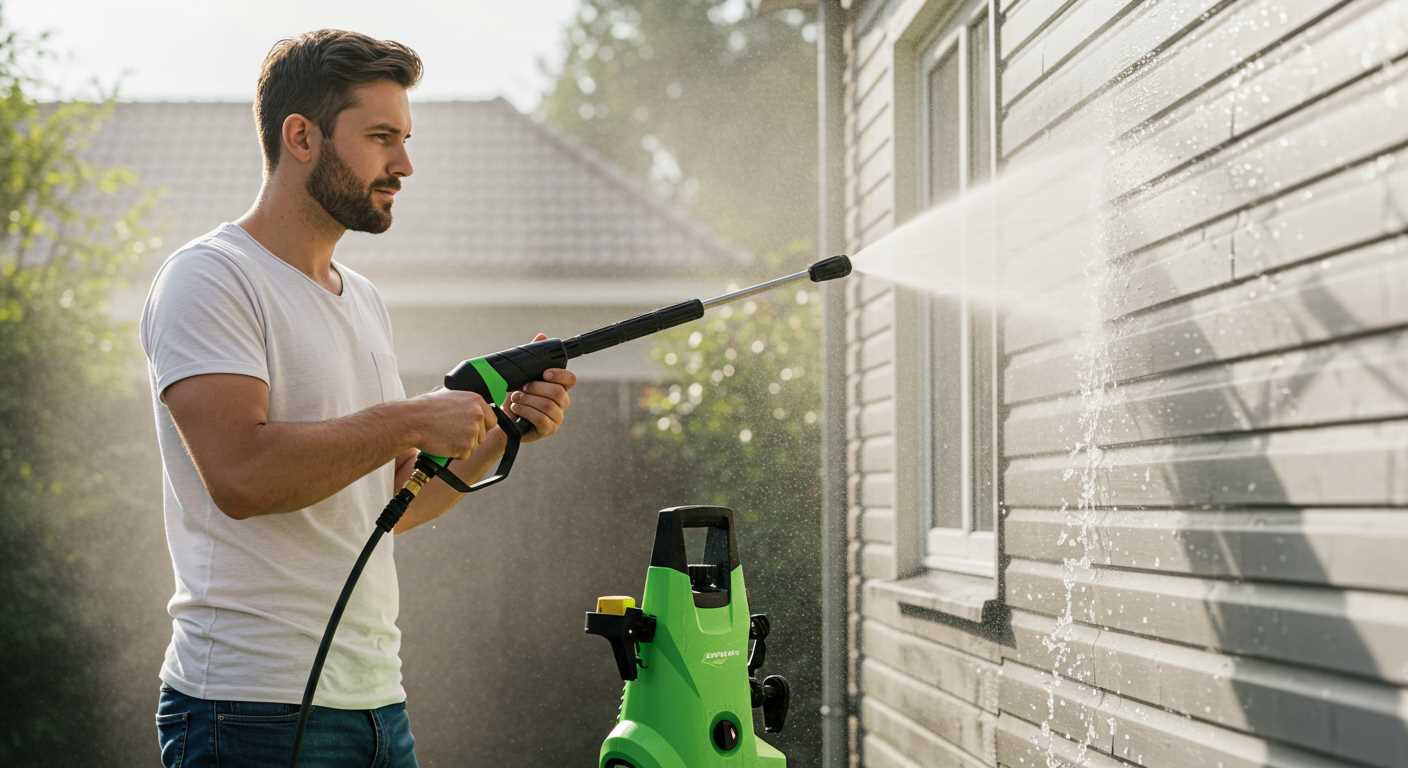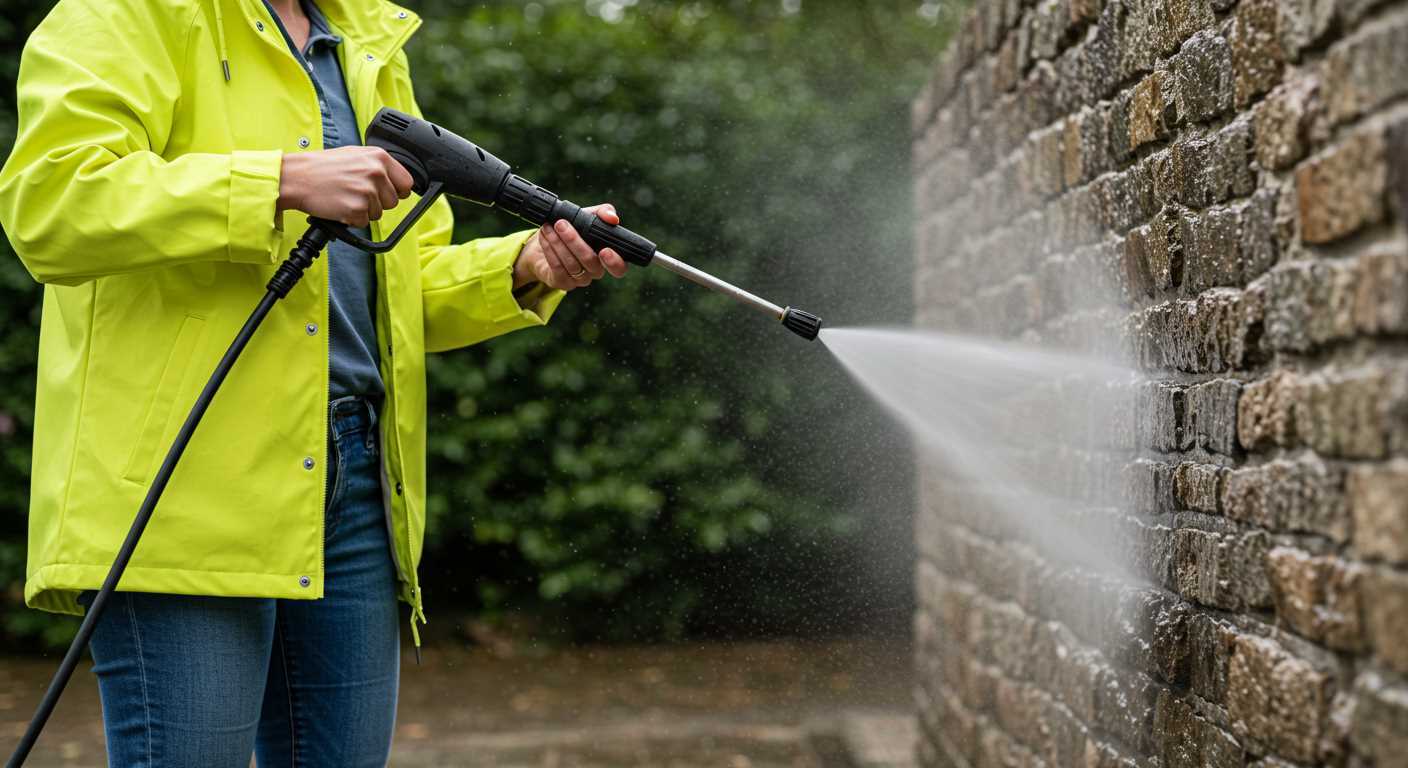


Setting the optimal pressure for your cleaning device is critical for achieving the best results while safeguarding surfaces. To reduce the force exerted by the nozzle, consider using a nozzle with a broader spray pattern. Nozzles labelled as low-pressure or soap nozzles, typically ranging from 40 to 60 degrees, are ideal for delicate tasks such as cleaning vehicles or wooden decks.
If your unit allows, adjusting the pressure setting directly on the machine is another approach. Many electric and gas-operated models feature a regulated knob or lever. Consult the user manual for specifics on how to safely modify these settings. It’s vital to follow manufacturer recommendations as excessive alteration can lead to equipment damage.
For tasks requiring a gentler touch, using a mix of water and detergent in the solution tank can enhance cleaning without needing excessive output. This method effectively cleans while preserving the integrity of softer surfaces. Always test on a small area first to ensure compatibility.
Remember, maintaining cleaning equipment regularly enhances its performance and longevity. Inspect hoses and fittings for leaks, and store the device in a dry location to avoid corrosion and ensure optimal functionality during use. By adjusting the pressure appropriately, optimal outcomes in various cleaning scenarios become readily accessible.
Adjusting Pressure on Your Cleaning Equipment
Reducing the output force on models designed for adjustable settings significantly enhances control and prevents damage to delicate surfaces. Start by consulting the user manual, as it often includes specific instructions for modification. Many units feature a pressure regulator or a nozzle that can be easily swapped to achieve different intensities.
Methods for Pressure Adjustment
- Adjustable Nozzle: Most units come with interchangeable nozzles that regulate spray intensity. Select a wider angle nozzle for less force.
- Pressure Control Knob: Some devices have a knob that adjusts the motor speed, thereby altering the output strength. Turn it to a lower setting for reduced force.
- Detaching the Hose: Temporarily detaching the hose from the unit can help reduce output if the machine features a constant pressure mechanism.
For users enthusiastic about peak performance, testing various adjustments on scrap surfaces first can help determine the most effective setting for sensitive materials, such as wood or painted surfaces.
Considerations Before Adjusting

- Always check the manufacturer’s guidelines to avoid voiding warranties.
- Think about the type of cleaning task; lower settings may not effectively remove stubborn dirt or grime.
- Test adjustments gradually to assess the impact on performance and desired cleaning results.
Implementing these methods allows for a tailored cleaning experience, safeguarding surfaces while maintaining cleanliness efficiency.
Understanding PSI and Its Importance in Pressure Washing
The rating known as PSI (pounds per square inch) is critical for determining the cleaning power of a machine. For effective dirt removal while minimising the risk of damage to surfaces, one must align the PSI level with the intended task. For instance, soft materials such as wood may require lower ratings, while robust surfaces like concrete can endure higher levels.
In practice, here are some common PSI ranges suited for various cleaning tasks:
| Surface Type | Recommended PSI |
|---|---|
| Delicate surfaces (e.g., cars, painted surfaces) | 1000 – 1500 |
| Wood decks and furniture | 1500 – 2800 |
| Concrete driveways and patios | 3000 – 4000 |
| Heavy-duty tasks (e.g., graffiti removal) | 3500 – 4000+ |
Using a machine with a suitable PSI ensures effective cleaning without causing harm. If the equipment operates at higher levels than required, the risk of surface damage increases, such as paint stripping or etching. On the other hand, using insufficient pressure may lead to unsatisfactory results.
In choosing the right PSI, remember that it’s always wise to start with the lowest effective setting and gradually increase until the desired outcome is achieved. Testing on a small, inconspicuous area helps gauge the appropriateness of the pressure.
Ultimately, understanding PSI and its impact on various cleaning jobs is fundamental in achieving optimal results while maintaining surface integrity.
Identifying the Right PSI for Different Cleaning Tasks
For various cleaning jobs, matching the appropriate force is critical. Here’s a breakdown of required pressures for common applications:
Surface-Specific Pressure Recommendations
- Concrete Driveways and Patios: 3000-3500 PSI is ideal for removing oil stains and grime.
- Wood Decks: Use 1200-1500 PSI to avoid damaging the wood fibres while ensuring dirt is removed.
- Vehicles: 1500-2000 PSI is effective for car exteriors, cleaning without risking paint damage.
- Brick and Stone: 2000-3000 PSI works well, but always test on a small area first to prevent chipping.
Delicate Surfaces and Precautions

- Windows: Limit to 1000-1200 PSI to avoid breakage or sealing complications.
- Painted Surfaces: For painted areas, stick with 1500 PSI or less to prevent peeling.
- Outdoor Furniture: 1300-1600 PSI is sufficient for plastics and fabrics, ensuring thorough yet gentle cleaning.
Always start at the recommended pressure and adjust as necessary based on the material and level of dirt. Make sure to keep a safe distance from surfaces to mitigate any potential damage during the cleaning process.
Methods to Adjust PSI on Your Pressure Washer
To modify the operating pressure of your cleaning device, use the adjustable nozzle method. Nozzles often come with varying degrees of spray angles, which directly affects the force of the water stream. Selecting a wider-angled nozzle will reduce the impact pressure, making it safer for delicate surfaces.
Another effective approach is the use of a pressure regulator. Many models feature a built-in regulator that allows for direct adjustments. By turning the regulator, I can easily decrease the intensity, allowing for a tailored wash suitable for diverse applications.
To further customise the output, consider varying the distance from the surface. Increasing this distance naturally reduces the force of the water, providing a gentler clean for more fragile materials without diminishing effectiveness.
If your equipment supports it, adjusting the flow rate can also impact the performance. Lowering the flow while maintaining the same motor speed can result in reduced pressure, granting greater control over the cleaning process.
Lastly, ensure that maintenance is up to date. A clogged nozzle or dirty filter can artificially increase pressure and affect overall performance. Regular cleaning will help in maintaining proper function and achieving the desired pressure.
Using Nozzles to Lower PSI Effectively

Utilising the right nozzle can significantly influence the output force of a cleaning device. I’ve observed that switching from a narrow to a wider nozzle effectively decreases the impact while retaining adequate water flow. This adjustment is particularly useful for tasks that demand gentler techniques, such as washing cars or delicate outdoor furnishings.
Nozzle Types and Their Impact
Different nozzle colours correspond to varying spray patterns and pressures. For example, the red nozzle delivers a concentrated stream, suitable for tough grime but too harsh for fragile surfaces. In contrast, the green nozzle provides a medium wide pattern, striking a perfect balance for residential cleaning tasks without causing damage.
Choosing the Right Nozzle for Your Task
Identifying the appropriate nozzle for your specific cleaning needs is paramount. The yellow nozzle is excellent for light to moderate cleaning, making it an ideal choice for patios and driveways. I always recommend testing the surface with the widest setting before narrowing it down, ensuring that the task is handled effectively without risk of harm.
How to Check and Measure PSI on Your Pressure Washer
To determine the performance of your cleaning unit, it’s crucial to test its output regularly. Begin by connecting a pressure gauge to the spray wand or a dedicated measurement point. Ensure all connections are tight to prevent any leaks.
Once set up, turn on the machine and pull the trigger on the wand. The gauge will display the exact output in pounds per square inch (PSI). This reading tells you whether the equipment is operating within the manufacturer’s recommended specifications. If you notice a significant drop, it may indicate the need for maintenance.
Tools Needed for Measurement
Use a high-quality pressure gauge, designed for cleaning devices. These can typically handle the maximal ratings of most models. An accurate reading is critical for assessing the efficiency of the device and ensuring safety during operation.
Additionally, a bucket or a large container may be helpful to catch excess water and ensure a clean workspace during the testing process.
Interpreting the Results
Compare your measurements with the specifications provided by the manufacturer. An output that aligns with these numbers means your machine is functioning correctly. If results vary significantly, inspecting for clogs, damaged hoses, or worn-out seals could save time and extend the appliance’s lifespan.
Regularly testing your gear guarantees optimal cleaning performance and prevents any power loss from affecting your projects.
Consequences of Lowering PSI Too Much
Reducing the water pressure excessively can lead to insufficient cleaning results. Stubborn grime, grease, and dirt often remain intact, requiring additional time and effort to remove.
Beyond cleaning inefficacy, there is a risk of damaging surfaces. For instance, delicate materials like painted finishes or certain types of wood may not withstand lower pressure effectively, resulting in scratches or other forms of wear.
Another concern is the potential for clogs in high-pressure hoses or nozzles. When the spray is weakened, debris may not be dislodged, causing blockages that necessitate further maintenance.
Moreover, using a weaker spray can extend the time needed for tasks, raising energy consumption and water usage. Efficiency is sacrificed, impacting both project timelines and operating costs.
In addition, relying on reduced pressure can lead to a false sense of security regarding surface integrity. Restoring the appropriate force after prolonged lower settings may not achieve expected results, requiring a re-evaluation of cleaning methods.
Finally, a pressure level too low may lead to inconsistent cleaning outcomes across different areas, creating patches of cleanliness and uniformity issues that are visually unappealing.
When to Seek Professional Help for Pressure Adjustment
Consulting a technician is advisable if adjusting your equipment’s output proves challenging. When dealing with electrical components or unfamiliar mechanical systems, professional expertise is essential. This ensures that alterations are performed correctly and safely, ultimately preventing potential damage to the unit.
Stop using your device if unusual noises or leaks are observed after attempting to modify its settings. Continuing usage under these conditions can lead to further complications and costly repairs. A specialist can diagnose the problem accurately and provide appropriate solutions.
If equipment malfunctions persist despite following adjustment instructions, reaching out to a professional is warranted. Sometimes, underlying issues beyond simple tweaks need addressing, which requires experienced hands.
Regular servicing by a qualified technician can help preempt potential problems. If you’re unsure how the pressure adjustments might affect the device’s performance long-term, it’s wise to consult an expert. Their insights can also enhance overall performance and lifespan.
Lastly, if you’re hesitant about the modifications’ safety or implications, prioritising safety by contacting a professional will save time and resources in the long run.
Tips for Maintaining Optimal Performance of Your Pressure Cleaning Unit
For consistent results, regular maintenance is key. Clean the inlet filter regularly to prevent clogs that can hinder water flow.
Inspect and Replace Hoses
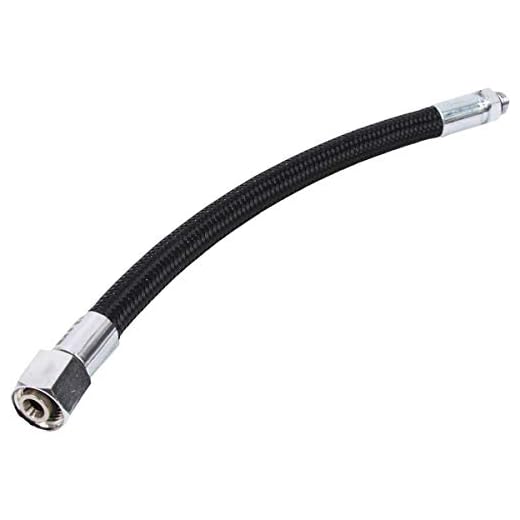
Examine hoses for any signs of wear or damage. Cracks and leaks can lead to a decline in effectiveness. Replace any compromised hoses to ensure a steady stream at the desired intensity.
Keep Nozzles Clean
Debris accumulation in nozzles can alter spray patterns and affect cleaning power. Clear any obstructions using a needle or compressed air for optimal functionality.
Ensure that connections are tight to prevent pressure loss. Regularly check for leaks around fittings and seals, which can reduce overall performance.
After each use, store the equipment in a dry place to avoid moisture exposure and potential corrosion. This practice can extend the lifespan of components significantly.
Always consult the manufacturer’s guidelines for specific maintenance schedules and recommendations tailored to your model. This insight can prevent unnecessary wear and ensure that the machine works effectively for years to come.


