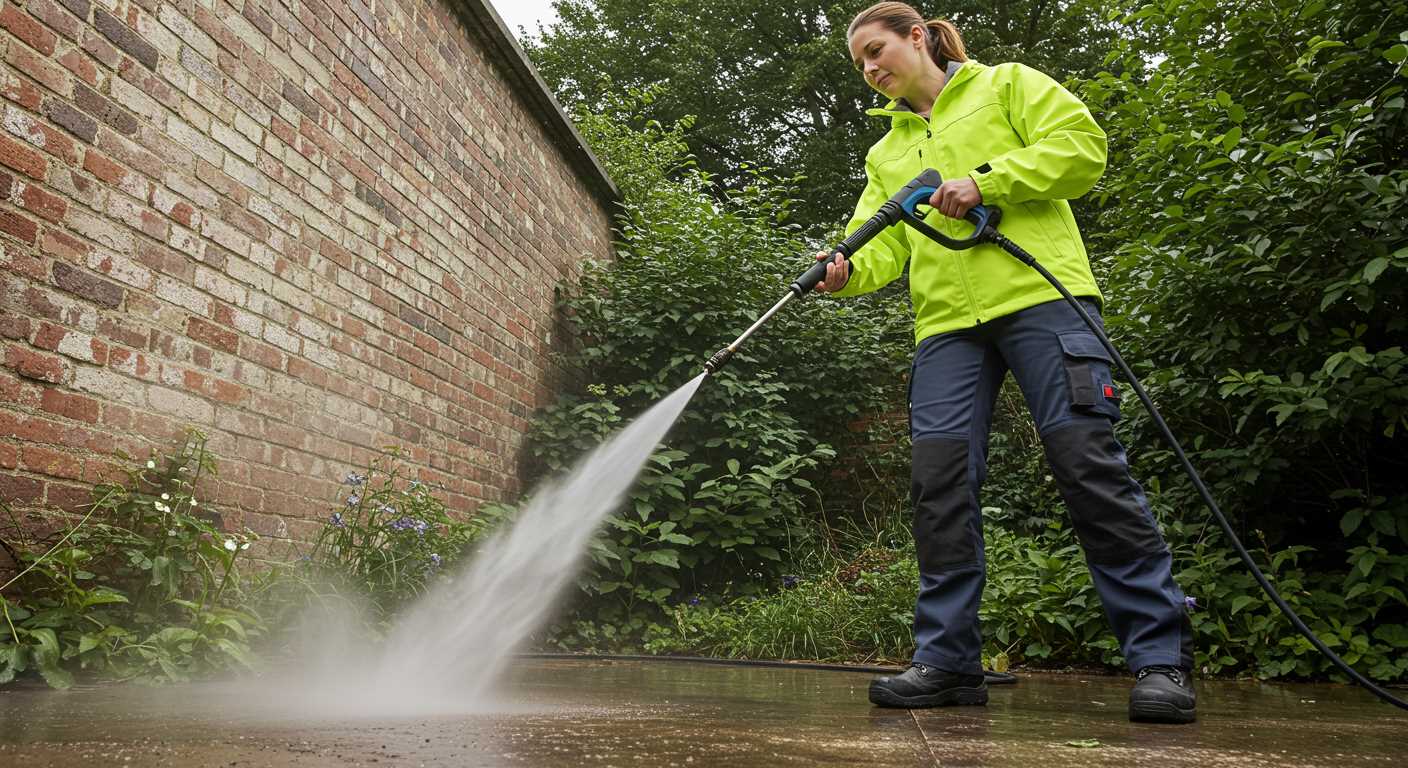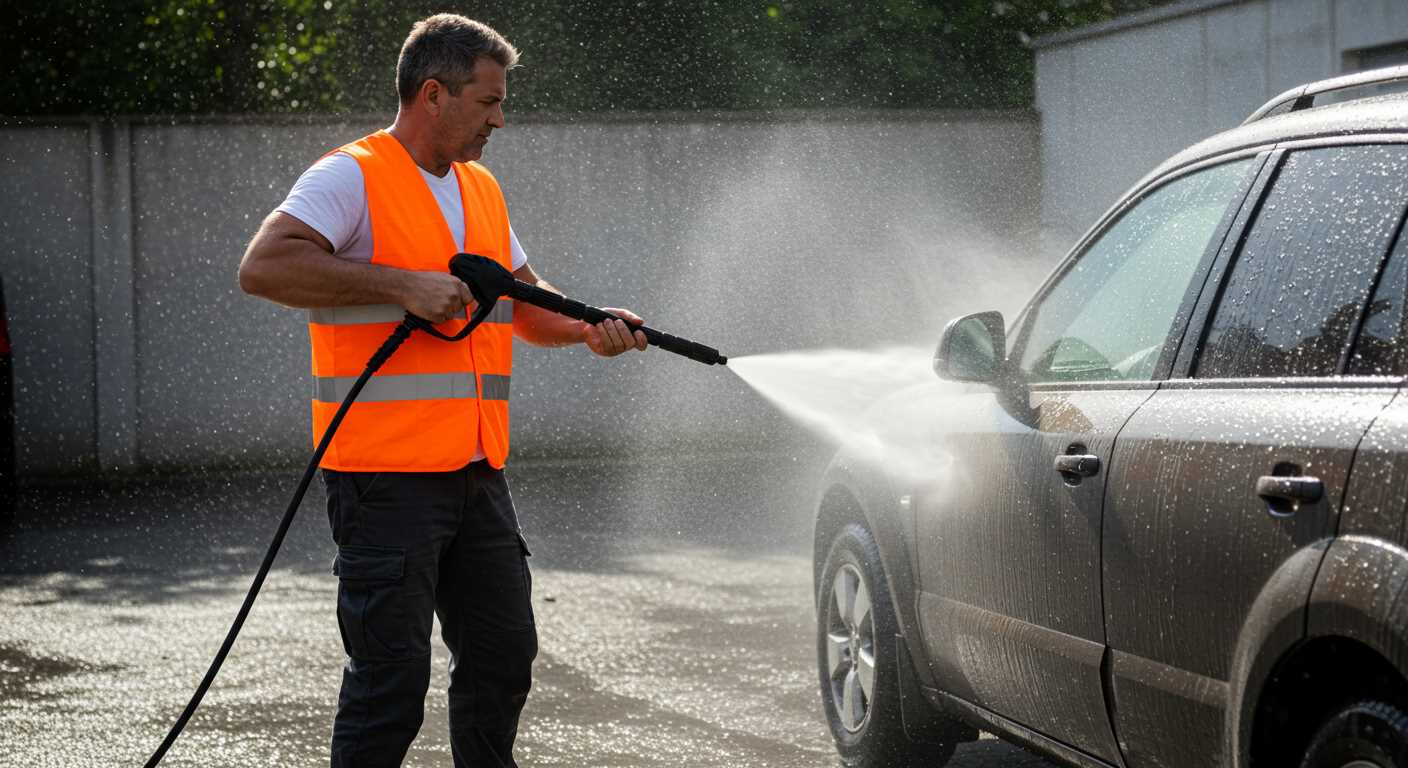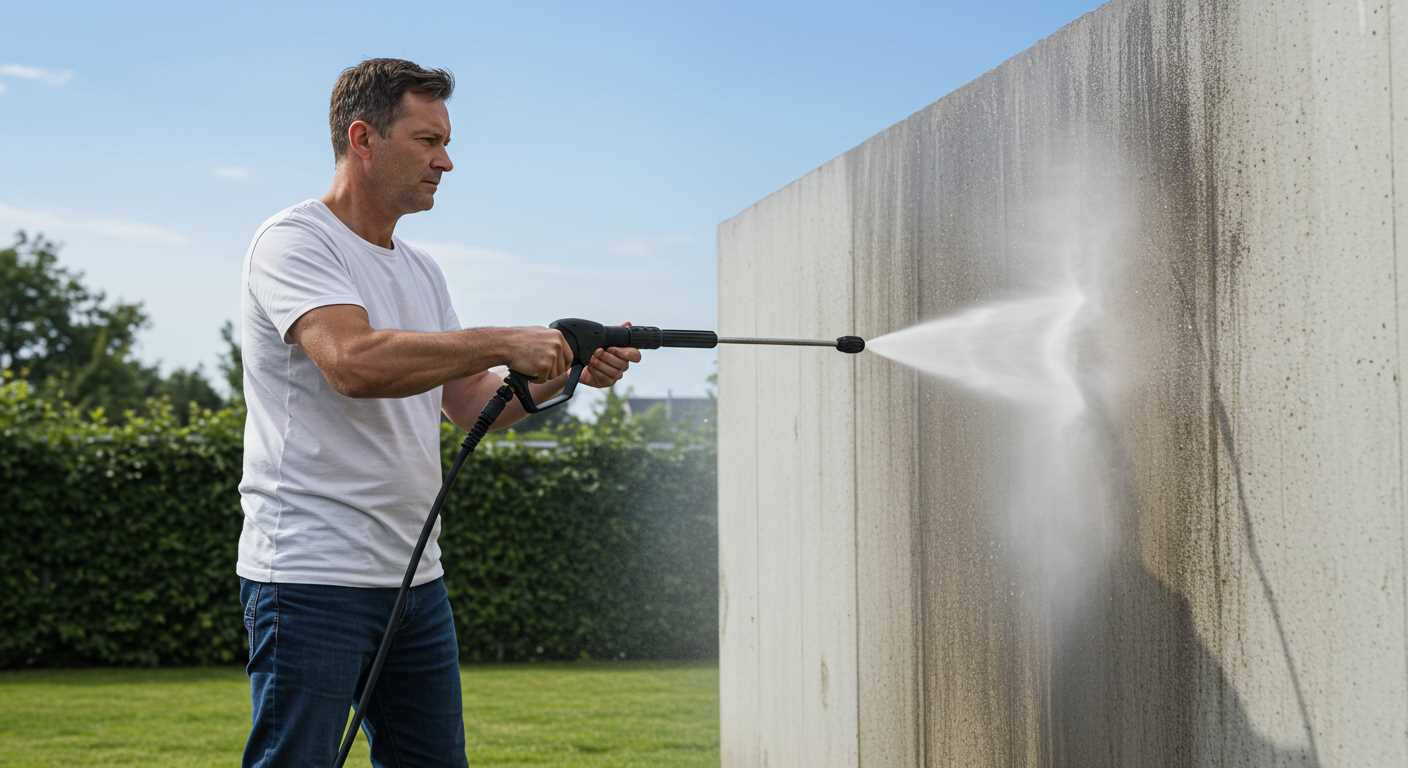


Using a high-pressure cleaning device to apply a coating is not advisable. While these machines excel in surface preparation by removing dirt, mildew, and old paint, the application process requires precision that such equipment cannot provide effectively. Traditional brushes and rollers allow for consistent coverage and control, essential for achieving a uniform finish.
When preparing surfaces prior to painting, harnessing the power of a pressure sprayer can be beneficial. Proper cleaning ensures that the new layer adheres correctly. This tool can efficiently strip away the remnants of previous coatings or grime, making it easier to get to a clean base. However, after this preparation, switching to conventional methods for the application is crucial.
Advising against the use of high-pressure mechanisms for paint application stems from the risks of oversaturation and uneven layering. The intricacies of achieving distinct edges or detailed work simply cannot be managed with such machinery. Instead, employ pressure sprayers to ready your surfaces before transitioning to standard application techniques.
Utilising High-Pressure Equipment for Coating Applications
Utilising high-pressure equipment for surface treatment is not advisable for applying coating materials directly. The primary function of such equipment is to eliminate grime and old finishes, not to distribute a finish uniformly. Instead, traditional application methods, such as rollers or sprayers, should be favoured for achieving an even coat.
Recommended Preparation Steps
- Begin by thoroughly cleaning surfaces to remove any dirt, mildew, or peeling paint.
- Allow the cleaned area to dry completely before proceeding with the next steps.
- Conduct any necessary repairs to the substrate, ensuring a smooth surface for optimal adhesion.
- Use a primer where necessary, as it enhances the performance of the final finish.
Helpful Tips for Application
- Select a high-quality finish that suits the material of the structure and the local climate.
- Follow the manufacturer’s instructions regarding drying times between coats.
- Consider the weather conditions; avoid application in high humidity or extreme temperatures.
- Test the finish on a small, inconspicuous area to ensure compatibility and desired aesthetics.
By following these detailed procedures, excellent results can be achieved, maintaining the integrity and appearance of the structure for years to come.
Understanding the Basics of Pressure Washing
Before starting any exterior surface preparation, it’s critical to grasp how high-pressure machines operate. High-pressure jets expel water at different strengths, usually measured in PSI (pounds per square inch). For delicate surfaces, such as wood siding, lower pressure settings between 1200 and 1500 PSI are ideal. Conversely, concrete or masonry can handle higher pressures, up to 3000 PSI.
Choosing the Right Nozzle
The effectiveness of cleaning depends significantly on the nozzle type. Various nozzles create different spray patterns, which influence how thoroughly a surface is cleaned. A 0-degree nozzle provides a concentrated beam, making it excellent for tough stains but risky on softer surfaces. A 25-degree nozzle offers a wider spray, suitable for most general cleaning tasks, while a 40-degree nozzle produces a gentle mist, perfect for delicate materials like painted wood.
Detergents and Cleaners
Select appropriate detergents to enhance the cleaning process. Using a cleaning solution specifically formulated for the surface material will yield better results. Always apply detergents through a dedicated tank or attachment, allowing them to dwell on the surface for a while before rinsing to maximise effectiveness. This tactic effectively loosens dirt, grime, and mildew, making the subsequent rinse much simpler.
Preparing Your Residence for High-Pressure Cleaning
Clear the area surrounding the exterior by removing furniture, planters, and decorative items. Ensure that windows are securely closed. Check for any cracks, loose paint, or protruding nails; address these issues prior to starting. Tighten any loose fittings or fixtures to prevent damage during the process.
Protecting Plants and Surfaces

Prior to beginning, cover any plants or landscaping in proximity to the cleaning zone. Use tarps or plastic sheeting to shield them from debris and overspray. If your property has sensitive surfaces, apply protective coverings to prevent any unintended impact from the high water pressure.
Preparing the Cleaning Equipment
Inspect the selected cleaning tool thoroughly for any damage or wear. Ensure that hoses, nozzles, and attachments are secure and functioning correctly. Fill the unit with water and check for leaks. Prepare any cleaning solutions recommended for the surface type to enhance the efficiency of the process.
Choosing the Right Paint for Pressure Washing
Select a high-quality, exterior acrylic latex formulation. This type provides excellent adhesion to surfaces and expands or contracts with temperature changes, making it suitable for varying weather conditions. Ensure the product is specifically designed for outdoor applications, as these have additives that resist mildew, fading, and moisture penetration.
Opt for paints with a semi-gloss or satin finish. These options are easier to clean and more resilient against dirt and grime accumulation. They also reflect light better, enhancing aesthetic appeal while providing fortification.
Consider the climate of your location. In humid areas, mildew-resistant variants are advisable, whereas regions with intense sunlight may benefit from UV-resistant formulas. Always check the manufacturer’s specifications for compatibility with prior layers, especially if an oil-based paint was previously applied. In such cases, a suitable primer may be necessary to ensure adherence.
When selecting colours, lighter tones typically withstand fading better than darker hues, which can absorb heat and become damaged over time. Additionally, test swatches on a small, inconspicuous section to observe how the product reacts with the existing surface prior to a full application.
Lastly, ensure that the chosen paint requires an appropriate drying time between washes to guarantee proper curing. This step is critical for achieving a long-lasting, durable finish, ensuring that the hard work put into washing and application doesn’t compromise the end result.
Steps to Pressure Wash Your House Properly

First, wear appropriate safety gear, including goggles, gloves, and non-slip footwear. This ensures personal safety during the cleaning process.
Next, assess the exterior’s condition. Look for loose paint, cracks or mildew. Specific areas may require additional attention, so note these before starting.
Prepare the surrounding area. Move furniture, potted plants, and outdoor decorations away from the walls. Cover windows and electrical outlets with plastic sheeting to prevent water ingress.
Choose a suitable detergent compatible with the equipment. A quality cleaner will enhance the removal of dirt and stains. Follow manufacturer instructions regarding dilution ratios.
Select the right nozzle. Typically, a 25-degree nozzle works well for most surfaces, providing a balance between cleaning power and coverage area. Adjust as necessary based on particular challenges.
Begin washing from the top down. This effective strategy allows dirty water to flow downwards without reapplying it to already cleaned areas. Maintain a consistent distance from surfaces to avoid damage.
Rinse surfaces thoroughly after applying the detergent. Allow the solution to sit for a few minutes, then use a wider nozzle to wash away the cleaning solution completely, ensuring no residue remains.
Inspect the results from different angles. In some cases, a second wash may be necessary for stubborn stains or remaining dirt. If needed, repeat the cleaning steps for optimal results.
Finally, allow the exterior to dry completely before any subsequent treatments, such as sealing or re-coating surfaces. This ensures good adhesion and lasting effects.
Safety Precautions During Pressure Washing
Always wear protective gear, including safety goggles, gloves, and sturdy footwear. The high velocity of the water can cause serious injuries if it comes into contact with skin or eyes.
Understanding the Risks

Be aware of the surfaces to avoid accidental damage. Fragile materials, such as wood or old paint, may not withstand intense water jets. Inspect the area for any hazards, such as loose wiring or weak structures.
Proper Equipment Handling
Ensure your equipment is functioning correctly before operation. Check hoses for leaks and nozzles for blockages. Follow the manufacturer’s instructions regarding distance and pressure settings to prevent property damage.
| Safety Gear | Description |
|---|---|
| Safety Goggles | Protect against flying debris and water spray. |
| Gloves | Prevent skin irritations and injuries. |
| Non-slip Footwear | Reduce the risk of slips and falls on wet surfaces. |
| Hearing Protection | Minimise noise exposure from the equipment. |
Maintain a safe distance from bystanders and pets. Mark designated areas to prevent accidents while working. Familiarise yourself with emergency procedures in case of injury or equipment failure.
Finally, ensure proper ventilation in enclosed spaces to avoid inhalation of harmful substances, like mildew spores or paint particles.
Common Mistakes to Avoid When Using a Pressure Washer
One significant error is using too high a setting for delicate surfaces. Opt for a lower pressure to prevent damage to materials like wood or stucco.
Another oversight is neglecting to test a small area first. This step helps determine how the surface reacts before proceeding with the entire space.
Failing to keep the nozzle at a consistent distance can lead to uneven cleaning results. Maintain at least 12 inches away from the surface to ensure an even application.
Not using the appropriate nozzle for specific tasks can hinder cleaning effectiveness. Different nozzles, such as fan-shaped or adjustable, serve unique purposes and should be selected based on the job.
Commonly, users forget to check for any loose or flaking paint beforehand. Addressing these areas prevents complications and ensures a smoother finish later on.
Overlooking safety gear is another frequent mistake. Always wear protective goggles and gloves to shield yourself from debris and chemicals.
Ignoring Weather Conditions
Attempting this task during rain or extreme temperatures can compromise the results. Ensure a dry, mild day to achieve optimal adhesion and drying times.
Skipping Cleaning Solutions
Relying solely on water may not yield desired results. Incorporating appropriate cleaning agents specifically designed for exterior applications will enhance the final outcome and efficiency.
Maintaining Your Pressure Washer for Future Use
To ensure longevity and performance of your cleaning equipment, follow these maintenance guidelines regularly:
Routine Care
- Check the oil level before each use. Change it every 50 hours of operation or as recommended by the manufacturer.
- Inspect hoses for cracks or leaks. Replace damaged sections immediately to prevent further issues.
- Clean the air filter periodically. A clean filter enhances air intake and engine efficiency.
- Examine the spray nozzle for blockages. Clean out any debris to maintain optimal pressure output.
- Store in a dry, protected location, ideally indoors, to prevent corrosion and damage from elements.
Winterising Your Equipment
- Drain all water from the system. This prevents freezing and potential damage in colder months.
- Add pump protector to lubricate internal components and prevent rust during storage.
- Store the unit upright. This avoids oil leaks and keeps components in place.
Periodic inspections and proper storage will prolong the life of your equipment, ensuring it’s ready for your next cleaning project.


