

Restoring the mechanism of a high-pressure cleaning unit is entirely feasible with the right tools and knowledge. The process typically involves disassembly, thorough inspection, and replacement of worn components. I recommend prioritising a quality repair kit that matches your specific model for seamless reintegration.
First, ensure you have the necessary tools: wrenches, screwdrivers, and a torque wrench, which are essential for accessing and tightening various fittings. Documenting your disassembly process with photos can aid in reassembly, allowing for a smoother workflow. Focus on components such as seals, valves, and pistons, as these are common failure points.
Also, consider the maintenance history of the unit before starting the repair. Existing wear and tear can provide insights into what might need replacing. Upon reassembly, test the device at low pressure initially, monitoring for leaks and abnormal noises, which may indicate issues that need addressing.
Identifying Common Pump Issues in Pressure Washers
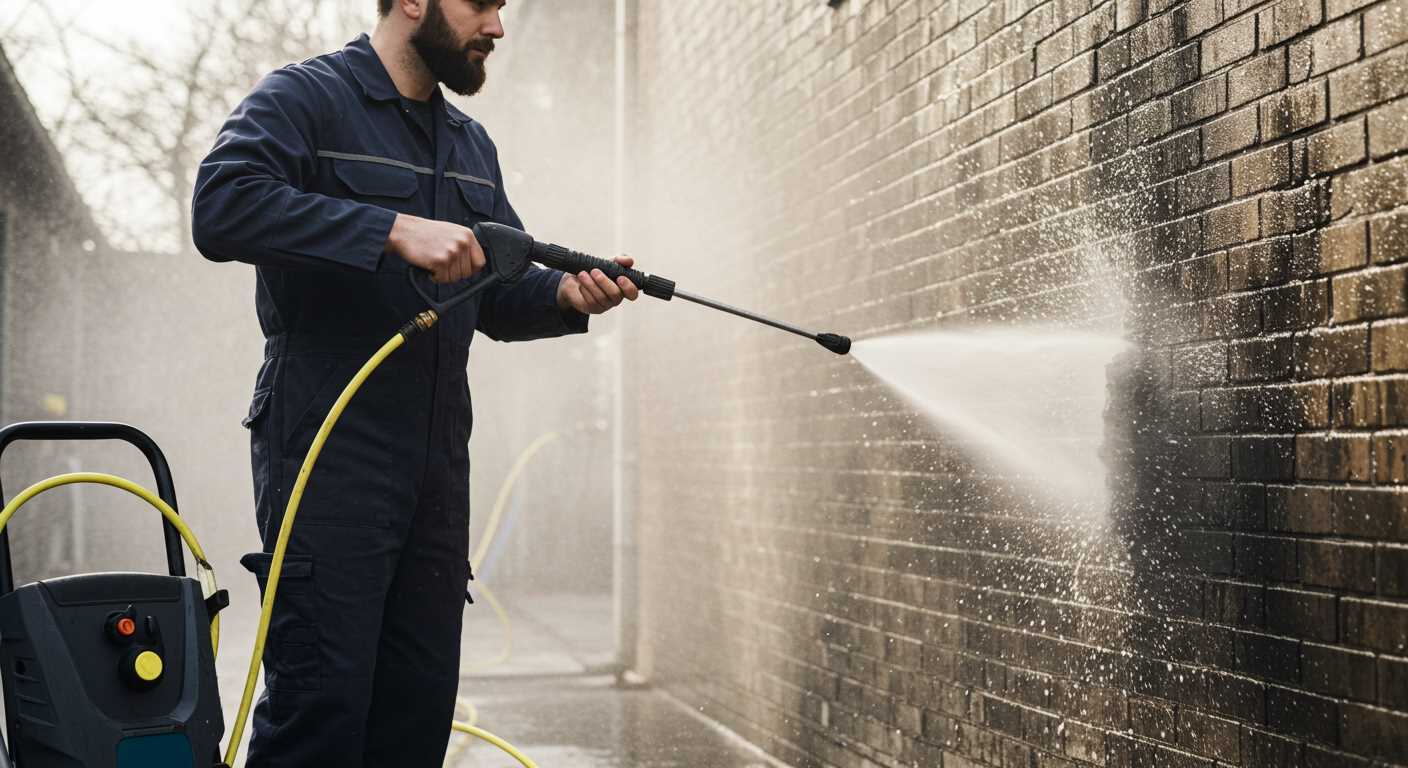
To effectively diagnose malfunctioning components, check for the following signs:
- Loss of Pressure: If cleaning efficiency drops, inspect sealing components for wear and tear or debris obstructing water flow.
- Leakage: Water pooling around the machine suggests faulty seals or cracks in the housing. Examine all connections and gaskets thoroughly.
- Unusual Noises: Grinding or whining sounds during operation may indicate internal damage or insufficient lubrication. Listen closely for any inconsistencies.
- Inconsistent Performance: Spasmodic spraying can be attributed to air trapped in the system. Bleed the line to release trapped air, ensuring a steady stream.
- Overheating: Excessive heat builds up when the fluid flow is restricted. Confirm that there is no blockage in the inlet and other pathways.
Utilising these indicators allows for effective troubleshooting, simplifying the process of identifying necessary repairs and replacements.
Keep the following tools handy for quick assessments:
- Adjustable wrench for tightening fittings.
- Flathead and Phillips screwdrivers for inspecting casing and covers.
- Lubrication oil to maintain moving parts.
- Replacement seals and gaskets for repairs.
Regular maintenance can preempt many of these issues, ensuring optimal function and longevity of the equipment.
Tools and Parts Needed for Pump Rebuilding
Gather the following tools and components before commencing your restorative task on the water delivery system:
Essential Tools
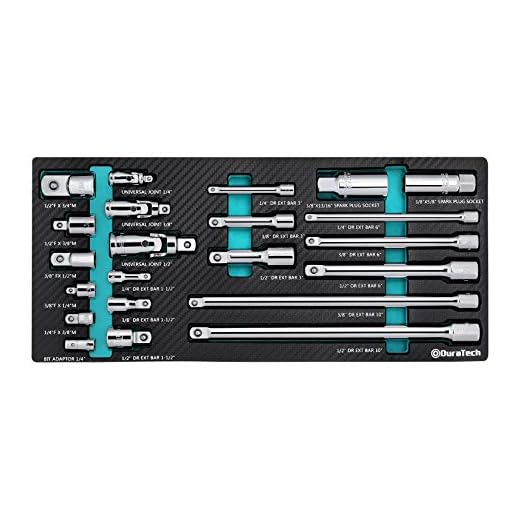
A comprehensive socket set is indispensable for loosening various bolts and screws, tailored to your specific model. Pliers, including needle-nose varieties, assist in gripping hard-to-reach items. Screwdrivers–both flathead and Phillips–are crucial for proper disassembly. A torque wrench ensures that all components are tightened to manufacturer specifications, preventing any leakage post-assembly. A cleaning brush facilitates the removal of stubborn dirt and debris within the pump. Additionally, having a multimeter on hand aids in diagnosing electrical issues that may arise during your inspection.
Necessary Replacement Parts
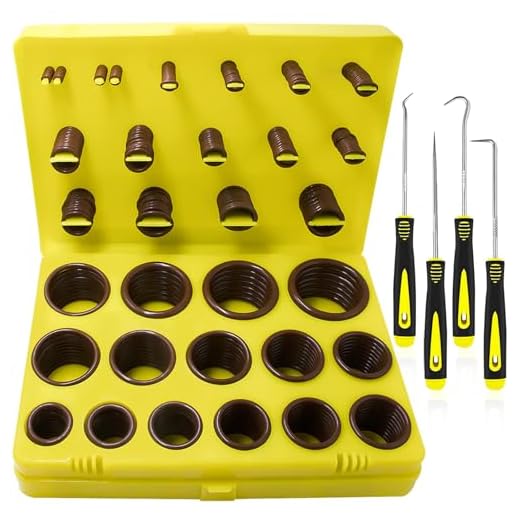
Purchase a rebuild kit that corresponds to your device model; this typically includes O-rings, gaskets, and any seals essential for maintaining optimal pressure. Depending on wear and tear, consider replacing the valves and plunger assembly to enhance performance. Ensure you have a new or rebuilt housing if yours shows signs of wear. Lubricants may also be necessary for moving parts, while a high-quality detergent will clean components prior to reassembly. Keep an extra supply of hoses and nozzles in stock to avoid delays should any break during the process.
Step-by-Step Guide to Disassemble a Pressure Washer Pump
To tackle disassembly effectively, ensure the unit is disconnected from any power source. Remove any detergent tanks or accessories attached to the equipment to gain a clear working area.
1. Gather Necessary Tools
Acquire a set of screwdrivers (both flathead and Phillips), a wrench set, pliers, and a small container for loose parts. Having a rubber mallet may also assist in dislodging stubborn components.
2. Remove the Housing
Start by loosening the screws or bolts securing the outer housing. Keep track of each fastener in your container to avoid losing any pieces. Once all fasteners are removed, gently pull the housing apart. If resistance is encountered, tap lightly around the seam with a rubber mallet.
3. Detach Internal Components
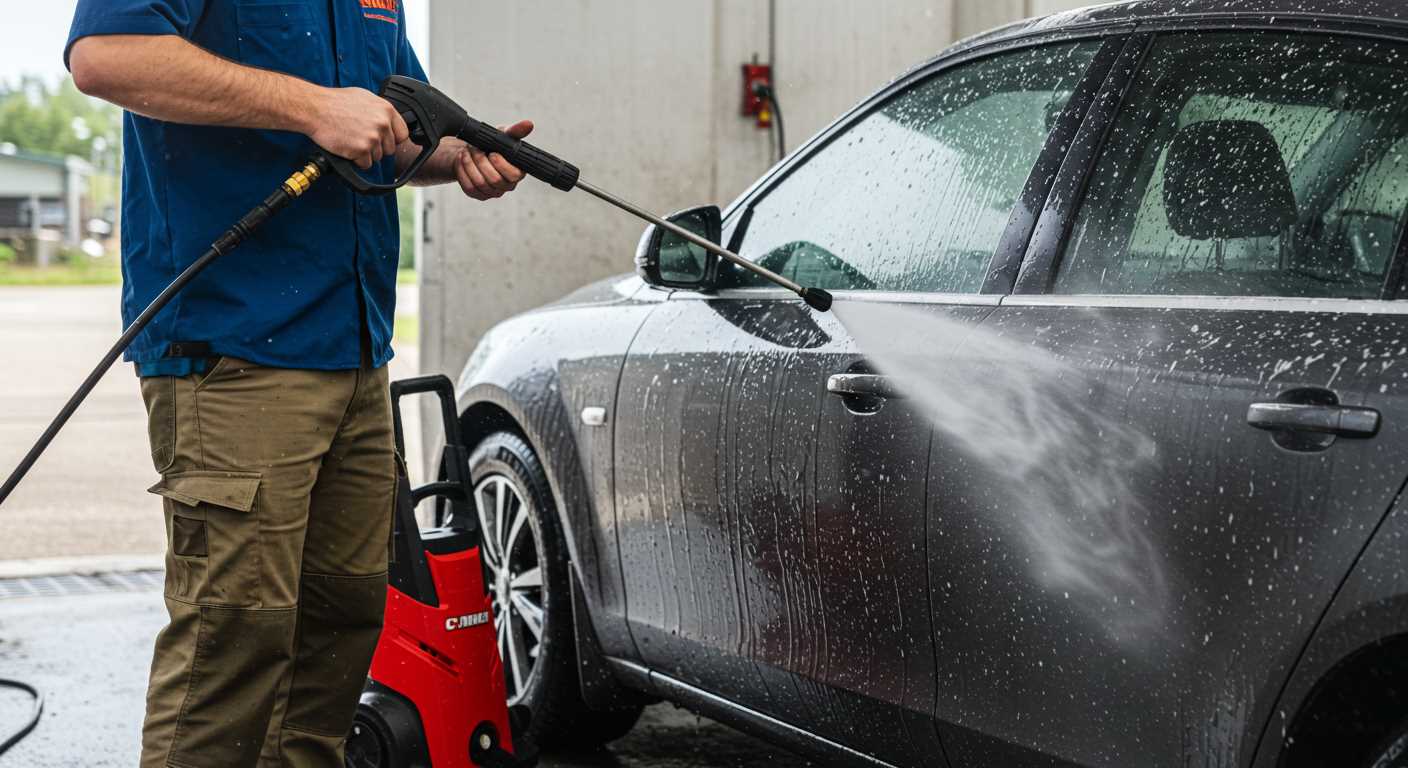
With the housing removed, inspect the internal assembly. Begin detaching any hoses connected to the mechanism, noting their placements for reassembly. Next, unfasten any retaining clips or screws holding internal parts in place. Use a wrench to carefully untighten any bolts securing the assembly.
As components are removed, keep them organised in your container. It may be useful to lay larger pieces out in the order they were removed to streamline the reassembly process.
4. Inspect and Clean
Once disassembled, examine each part for signs of wear or damage. Clean all surfaces using a non-abrasive cleaner to remove any build-up. This ensures optimal performance when the equipment is reassembled.
By following these steps diligently, you’ll be well on your way to an effective repair and maintenance routine for your cleaning apparatus.
How to Inspect and Replace Pump Seals
Inspecting and replacing seals is a critical maintenance task for restoring functionality. Proper seals prevent leaks and maintain pressure for optimal performance. Here’s how to do it effectively.
Inspection Process
- Begin by disassembling the cleaning device to access the seals.
- Visually examine the seals for signs of wear, such as cracks, fraying, or deformation.
- Check for leakage around the seal areas when the system is pressurised; this can indicate a need for replacement.
- Ensure that the sealing surfaces are clean and free from debris or corrosion that may compromise seal integrity.
Replacement Steps
- Order the correct replacement seals, referring to the manufacturer’s specifications for size and material.
- Carefully remove the old seals using a seal puller or similar tool to avoid damaging housing.
- Clean seal grooves thoroughly to ensure proper seating of the new seals.
- Lubricate the new seals lightly with petroleum jelly or silicone grease for a better fit and seal longevity.
- Install new seals, ensuring they are seated evenly and securely in their grooves.
- Reassemble the unit, ensuring all components are correctly fitted and tightened.
Testing after replacement is paramount. Run the machine at a low pressure initially and inspect for any leaks. If everything appears sound, gradually increase the pressure, reassessing as needed. This ensures functionality and reliability in cleaning performance.
Overhauling the Pump Valves: What You Should Know
Inspecting and replacing the valves is critical in restoring functionality. Start with removing the valve assembly from the casing. Use a socket wrench to undo bolts while ensuring all parts remain organised. Valves are typically made from durable materials, but wear can lead to leaks and reduced performance.
Observe the condition of each valve–cracks, deformation or significant wear mean it’s time for a replacement. Replacement parts are often available as kits specific to your model. Ensure compatibility and quality when sourcing these components. Maintaining original specifications is vital for optimal operation.
Clean the valve seats meticulously. Debris can hinder proper sealing, leading to loss of pressure. Utilise a soft brush and suitable solvent to remove any accumulated grime without damaging the surfaces. After cleaning, check for any pitting or scoring, which may require resurfacing or complete replacement of the valve seats.
Once the valves are assessed and cleaned, install new ones by applying a small amount of valve grease on seals to facilitate a smooth fit. This lubricant aids in sealing as well as preventing future wear.
After installation, reassemble the casing. Tighten bolts systematically, ensuring an even distribution of pressure to avoid warping the assembly. Double-check all connections for leaks or misfits before reinstallation and testing.
Regular checks of these components are advisable after significant use. Monitoring performance can help catch issues early, ultimately extending the lifespan of the unit. Frequent maintenance reduces the risk of larger, more costly repairs down the line.
Reassembling the Pressure Washer Pump Correctly

Align all components meticulously during assembly to ensure optimal performance. Start with the crankcase, ensuring it’s free of debris. Place the lower seal first, followed by the cylinders and their respective valves, making sure they seat properly. Pay special attention to the orientation of the valves; incorrect alignment will cause inefficiency and potential damage.
Securing the Components
Tighten all screws to the specified torque using a torque wrench. This prevents leaks and ensures a durable seal. Always check the manufacturer’s specifications for the precise torque values. Once secured, inspect each assembled part again to verify that everything is in its proper position.
Final Checks Before Testing
Once the assembly is complete, perform a meticulous inspection. Verify that seals are correctly positioned, no loose parts remain, and all connections are tight. Before powering up the equipment, add fluid to the reservoir and inspect for leaks during the initial test run. This proactive approach can save significant time and prevent costly repairs later.
Testing Your Rebuilt Pump for Optimal Performance
After reassembling your revitalised unit, it’s crucial to conduct a series of tests to ensure it operates at peak efficiency. Start by filling the reservoir with the appropriate cleaning solution and check for any leaks around the seals and connections. If leaks are present, they need immediate attention.
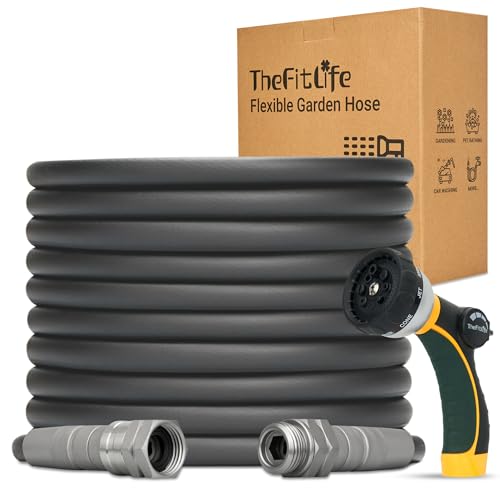
Next, attach the hose and trigger gun. Turn on the machine, allowing it to build pressure. Aim the nozzle at a safe surface and activate the gun. Observe the pressure and flow; they should be consistent with the specifications indicated by the manufacturer. Insufficient output may signal blockages or misalignment within the reassembled components.
During testing, listen for unusual sounds. A healthy operational unit should run smoothly, with a steady hum. Any grinding or excessive noise indicates potential internal issues that need addressing. Monitor the pressure gauge closely. If readings fluctuate unexpectedly, inspect for air leaks or valve malfunctions.
Perform a cleaning test on a small area to check the unit’s efficiency. Evaluate the cleaning results; if dirt and grime do not lift easily, adjustments may be needed. Confirm all adjustments align with performance metrics. A properly functioning assembly will not only save time but also enhance cleaning effectiveness.
| Test | Expected Result | Action if Unsuccessful |
|---|---|---|
| Check for leaks | No leaks present | Revisit seal placement |
| Pressure Output | Matches manufacturer specs | Inspect for blockages |
| Noise Level | Smooth operation sound | Investigate for internal issues |
| Cleaning Efficiency | Effective dirt removal | Adjust settings as needed |
Keep a log of the results for future reference. This documentation helps track performance over time, allowing for early detection of any potential issues as they arise. Regular testing extends the lifespan of the unit, ensuring it remains an effective cleaning tool.


