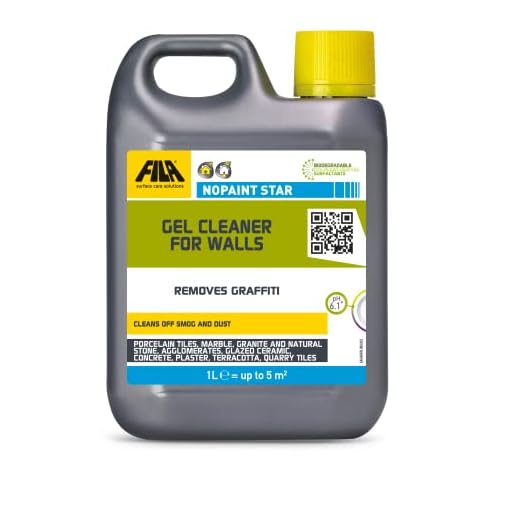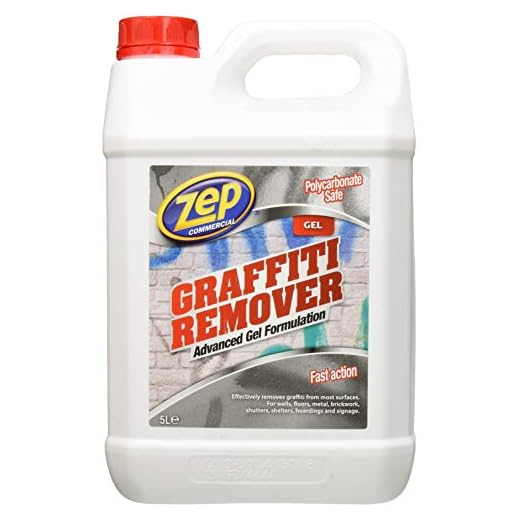


Using high-pressure water jets proves to be a successful method for tackling paint stains on various surfaces. The force generated by the equipment is capable of dislodging even the most stubborn markings from bricks, concrete, and other materials. However, understanding the right techniques and settings is vital to achieve optimal results without damaging the underlying surface.
Ideal settings typically range between 2500 to 3000 PSI, depending on the texture and condition of the surface. It’s advisable to start with a wider nozzle for broader areas, gradually switching to a narrower spray for detailed spots. This approach minimizes the risk of surface damage while maintaining efficiency in the cleaning process.
Prior preparation enhances the overall efficacy. Clearing the surrounding area of debris creates a safer working environment. Additionally, applying a suitable cleaning agent prior to using the high-pressure tool can significantly improve the removal process. This step ensures that more of the spray paint disintegrates, allowing the water jet to dislodge it effectively.
Always take precautions by testing a small, inconspicuous section first. This practice prevents unforeseen damage and allows for adjustments in technique as necessary. Armed with the right knowledge and equipment, tackling those unsightly paint splatters becomes a manageable task.
Understanding the Basics of Pressure Washing
Investing in a quality high-pressure cleaner is crucial for achieving desired results during exterior cleaning tasks. The performance of such equipment largely depends on several key factors, including nozzle selection, pressure settings, and distance from the surface being treated.
Nozzle Selection
Choosing the right nozzle significantly influences the effectiveness of the cleaning process. Different nozzles offer various spray patterns ranging from a wide fan to a narrow jet. A narrow jet concentrates the force and is ideal for stubborn stains, while a wider spray is suitable for larger surfaces without causing damage.
Pressure and Distance
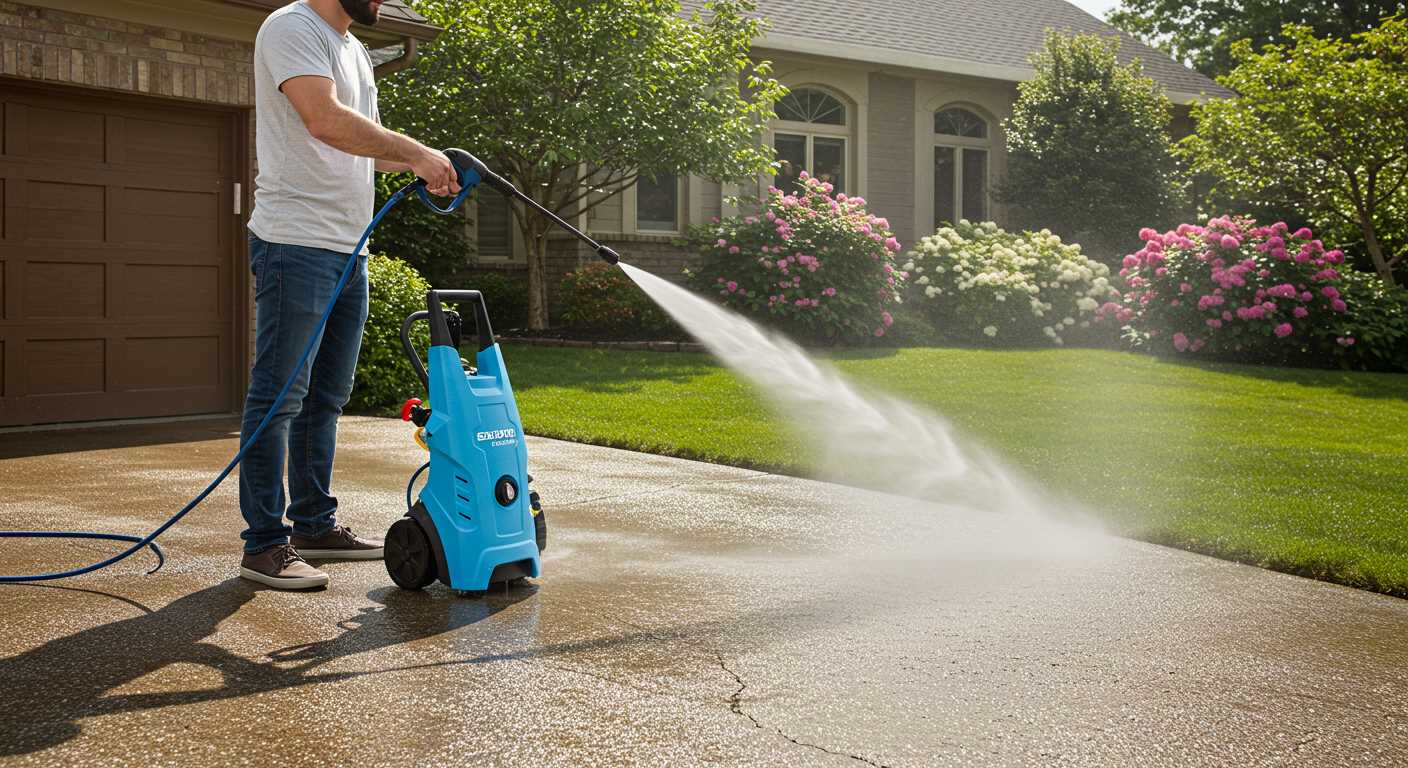
Adjust the pressure according to the surface material; higher pressure can damage softer materials like wood, whereas it’s effective on concrete. Maintain an appropriate distance from the surface to prevent unnecessary wear. For most applications, keeping a distance of around 12 to 24 inches provides an optimal balance between cleaning power and surface protection.
Types of Graffiti Suitable for Pressure Washing
Certain types of markings respond well to high-pressure water systems. The following categories can typically be addressed efficiently:
1. Water-Based Paints
- These paints are often used for murals and street art.
- Pressure techniques effectively dislodge residues, especially when combined with appropriate detergents.
2. Spray Paints
- Acrylics and latex spray paints can be troublesome, but they yield satisfactory results under pressure.
- Ensure to use the right nozzle and maintain an optimal distance to avoid damage to underlying surfaces.
3. Ink-Based Markers
- Permanent markers can be addressed moderately well, particularly on non-porous surfaces.
- Testing a small area first is advised to ascertain the response of the substrate.
Keep in mind that porous surfaces may absorb some types of paint, complicating the extraction process. Always evaluate surface condition and paint type beforehand. Safety gear and protective measures are crucial during operations to avoid injuries or environmental issues. Selecting the correct nozzle is also pivotal for ensuring optimal cleaning without causing surface erosion.
Choosing the Right Pressure Washer Settings
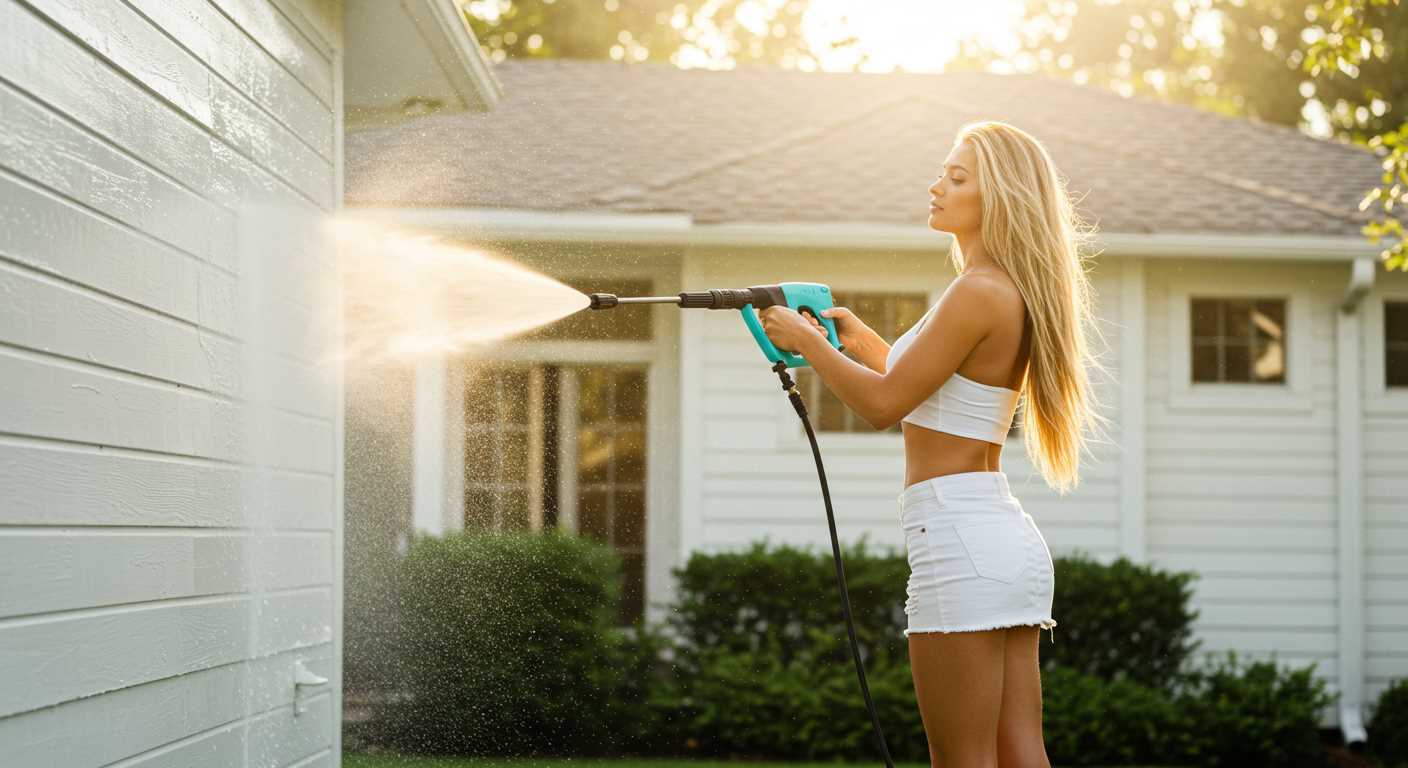
To effectively tackle unsightly marks, adjust the pressure setting between 2000 to 3000 PSI. A higher pressure offers better removal for tougher surfaces, while lower settings are suitable for delicate materials.
Next, select a nozzle type that complements the task. A 15-degree nozzle provides a concentrated stream for stubborn marks, whereas a 25-degree nozzle allows for broader coverage on more fragile surfaces. For some applications, a rotating tip can offer enhanced efficacy.
Adjusting the water flow rate is equally critical. A higher flow helps lift residues more efficiently. Aim for a flow rate of at least 2.5 GPM for effective results.
| Setting Type | Recommended Range | Purpose |
|---|---|---|
| Pressure (PSI) | 2000 – 3000 | Removes tough marks |
| Nozzle Type | 15-degree or 25-degree | Adjusts coverage and stream concentration |
| Flow Rate (GPM) | 2.5 or higher | Improves lifting of residues |
Finally, consider using a suitable cleaning solution. Specific detergents designed for surface marking will enhance the process, making the task quicker and more efficient. Always pre-test solutions on a small area to ensure compatibility with the surface.
Preparing the Surface for Cleaning
Assess the area thoroughly before initiating the cleaning process. Remove any loose items or debris that may obstruct the cleaning pathway. This includes furniture, plants, or obstacles near the surface to be treated.
Conduct a visual inspection of the surface. Identify any underlying materials that could be damaged by high-pressure washing. For example, delicate surfaces such as wood, certain types of brick, or painted areas require special attention and perhaps an alternative method.
Pre-Cleaning Steps
Wet the surrounding surface lightly to prevent any unwanted splatter or residue from spreading during the operation. This will also help in reducing the potential for damage to nearby materials. If the area has been notably neglected, consider applying a mild detergent or pre-treatment solution to help lift the stain prior to pressurised washing.
Safety Precautions
Always wear appropriate protective gear, including goggles and gloves. If the structure is elevated, utilise safety equipment to ensure personal safety during the operation. Furthermore, review any local regulations or guidelines regarding the use of high-pressure equipment, especially in communal or residential areas.
Safety Precautions When Using a Pressure Washer
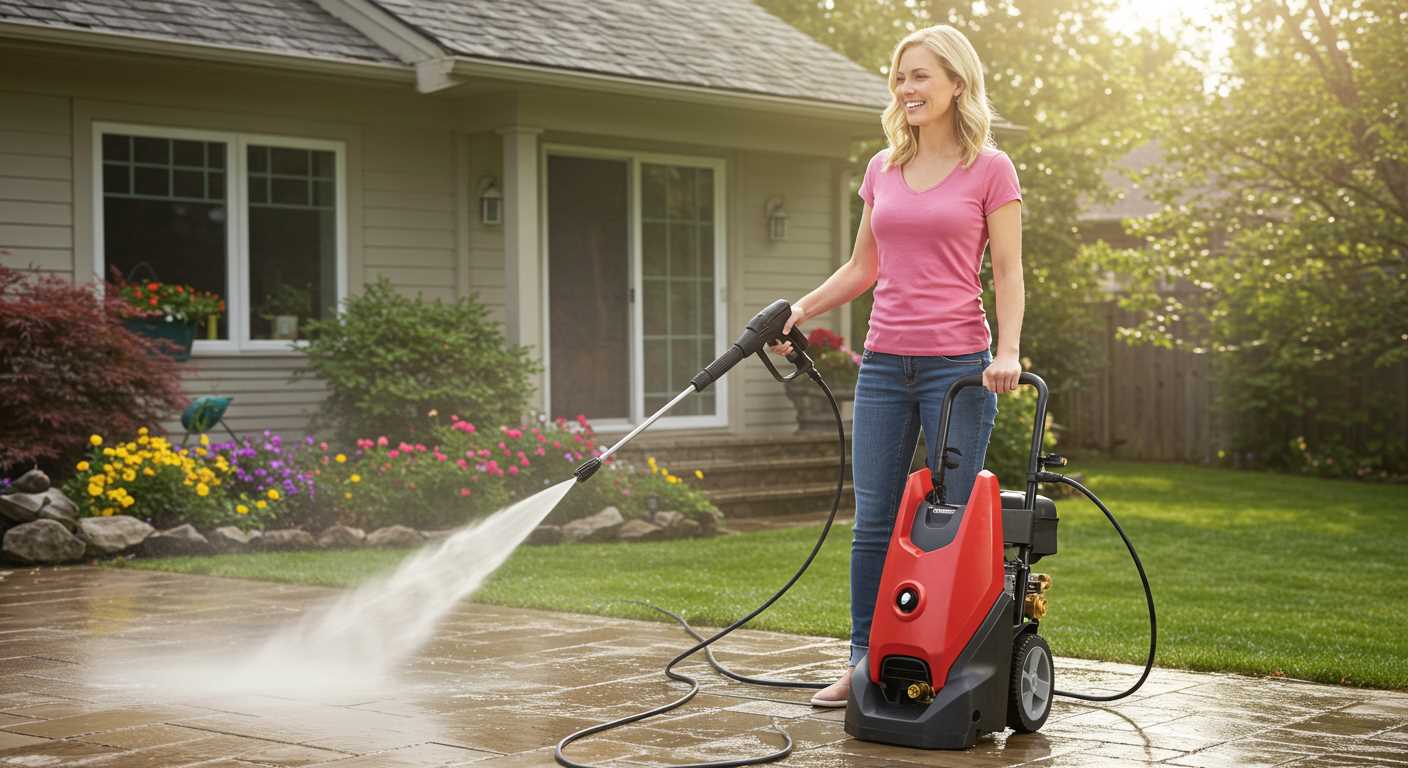
Always wear protective gear, including safety goggles, gloves, and sturdy footwear. This equipment reduces the risk of injury from flying debris or high-pressure water.
Protective Equipment
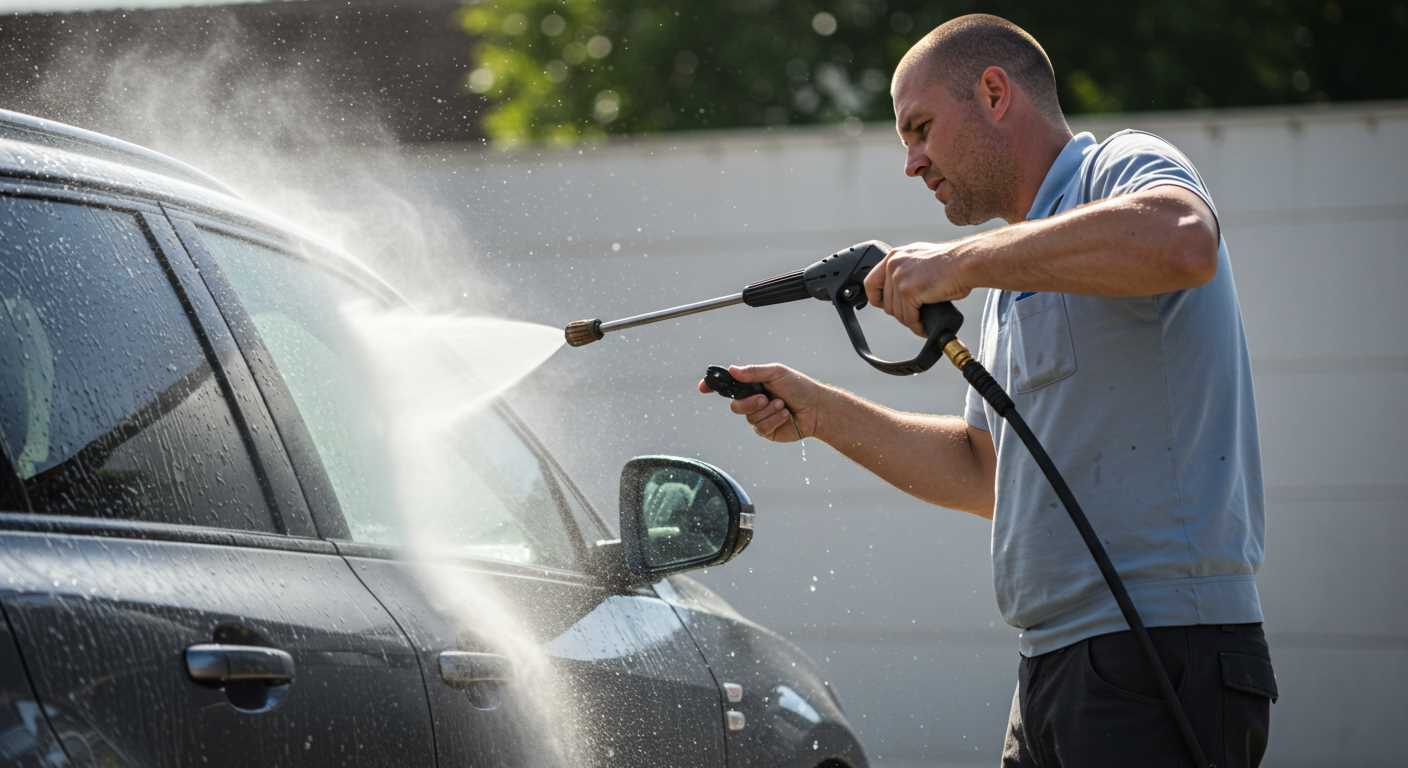
- Safety Goggles: Shield your eyes from splashes and debris.
- Gloves: Use heavy-duty gloves to protect hands from chemicals and pressure.
- Non-slip Shoes: Ensure a firm grip on wet surfaces.
Setting Up for Safe Operation
- Avoid using near power lines or elevated surfaces to prevent accidental electrocution.
- Inspect hoses for wear and tear to prevent leaks or bursts during operation.
- Maintain a safe distance from surfaces to avoid destructive outcomes.
Never point the nozzle at people, pets, or yourself. A direct hit can cause serious injury. Always be aware of surroundings and maintain control of the device.
Ensure the area is clear of obstacles and bystanders. This will minimize the risk of accidents and allow for efficient cleaning.
Follow manufacturer instructions for specific models. Regular equipment maintenance contributes to safety and prolongs lifespan.
Post-Cleaning Care and Maintenance
After completing the cleaning session, immediate care is crucial. Rinse the area thoroughly to remove any remaining residues from the cleaning solution and contaminants. This prevents potential surface damage or discolouration.
Sealing Surfaces
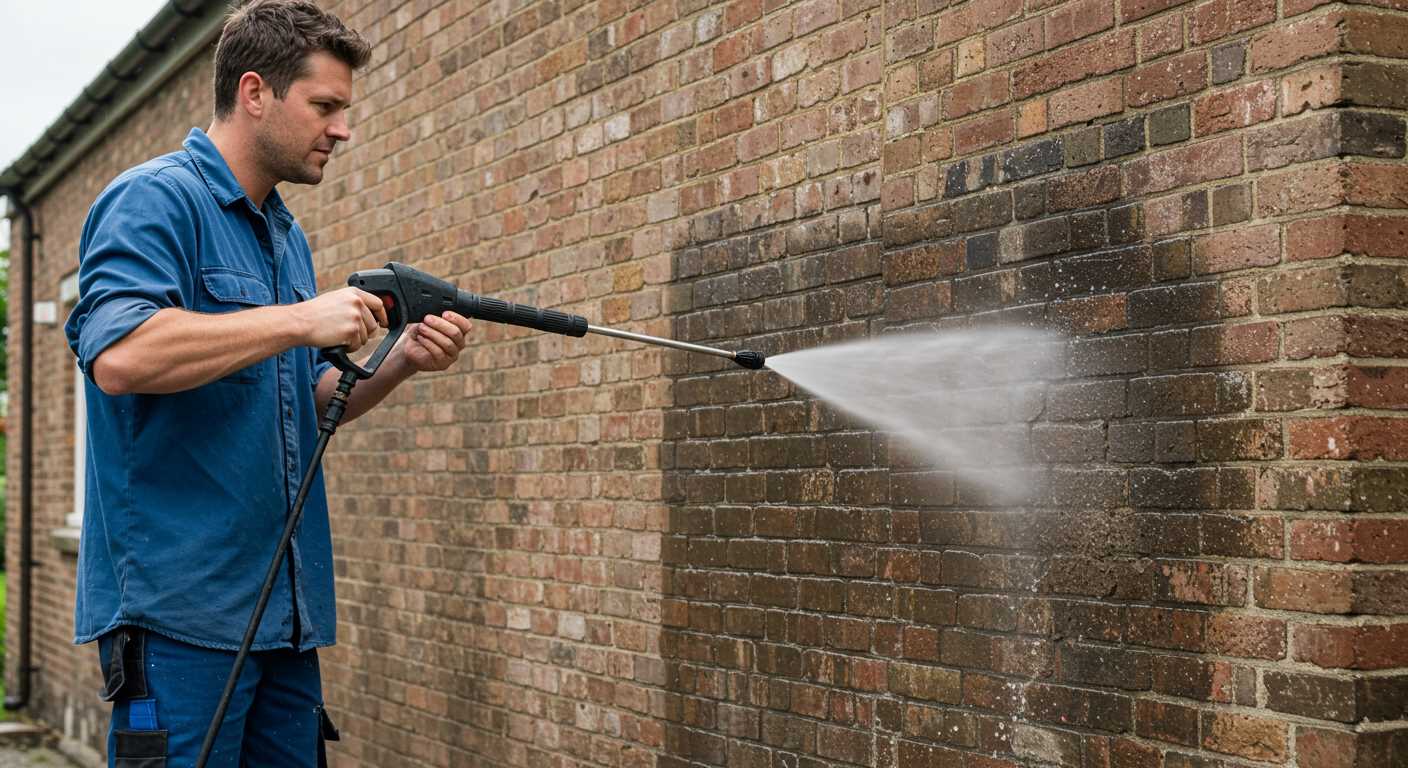
Applying a suitable sealant is recommended for porous surfaces. This not only protects against future staining but also simplifies future cleaning efforts. Choose a sealant designed for the specific material, ensuring compatibility and longevity.
Regular Inspections
Conduct routine checks on the cleaned surfaces. Look for any signs of new blemishes or wear that may require attention. Early detection allows for quick action, maintaining the area in optimal condition.
When to Consider Professional Graffiti Removal
If the surface material is porous, such as brick or concrete, or if the stains are extensive and deeply embedded, opting for specialists may be prudent. Experienced teams possess advanced techniques and solutions that penetrate and eradicate stubborn residues without damaging the substrate.
Property damage assessments are another significant factor. If prior attempts at DIY cleaning resulted in scarring or altered surface finish, engaging professionals ensures that aesthetics are preserved while achieving cleanliness.
When the vandalism covers large areas or involves complex designs, the workload may exceed a single person’s capability. Professionals will have the necessary manpower and equipment to handle large-scale clean-ups efficiently.
Keep an eye on local regulations; if the markings are on public property or involve intricate legalities, it’s advisable to consult experts who can navigate the compliance landscape appropriately.
Timing also plays a role. If the attack has occurred recently, immediate action is essential to prevent pigments from bonding. Professionals can mobilise quickly and employ strategies to mitigate long-term damage.
For delicate environments, such as heritage-listed structures, specialized knowledge is critical. Only seasoned professionals should undertake restoration in these circumstances to ensure adherence to preservation guidelines.


