
A puncture or tear in your high-pressure cleaning equipment’s tubing often presents a frustrating challenge. However, swift action can salvage both the tube and your cleaning tasks. Begin by thoroughly inspecting the damaged area to assess its size and severity–small abrasions might only need a patch, while larger rips may require a more robust solution.
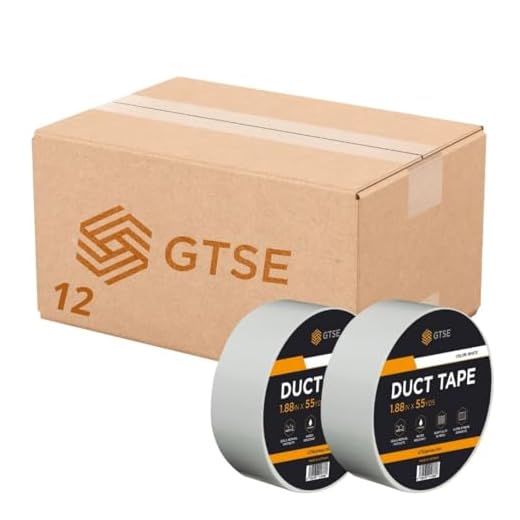
For minor leaks, using a high-strength adhesive tape specifically designed for such jobs can provide a quick fix. Wrap the tape tightly around the damaged section, ensuring it covers the area entirely to prevent further leaks. This method can be a temporary solution until an appropriate replacement part can be acquired.
In cases where the damage is extensive, consider replacing the affected section of tubing entirely. Most high-pressure cleaning systems allow for easy disassembly, enabling you to cut out the damaged segment and attach a new tube with proper connectors. Ensure the replacement piece matches the original specifications for optimal performance.
Maintaining proper care after the repair is crucial. Regularly inspect all tubing for signs of wear and store the equipment correctly to extend its lifespan. Implementing these practices not only ensures efficient cleaning but also prevents recurring issues.
Assessing the Damage to the Hose
First, inspect the tubing closely for any visible deformation or ruptures. A thorough examination is crucial to understanding the extent of the damage. Shine a light along the entire length to identify any cracks or weak points that might not be apparent at first glance.
Tools Required
- Flashlight or work lamp
- Measuring tape
- Marker for marking areas of interest
Procedure for Damage Assessment
- Empty any water from the system completely to avoid unwanted spraying during inspection.
- Run your hands along the tube, feeling for leaks or soft spots.
- Use the flashlight to inspect inner surfaces for any signs of wear or breaks.
- Measure the length of any significant damage with a tape measure and mark these areas for further attention.
Consider the operating pressure before proceeding. If the tears are minimal, they may be fixable. Take note of the width and location; less critical areas might be simpler to address than those near connectors.
Assessing damages accurately helps in making decisions about whether to mend or replace the component, ensuring the unit operates smoothly and maintains efficiency without compromise.
Choosing the Right Repair Materials
Silicone tape is a reliable choice for patching damaged sections. It’s waterproof and can handle high temperatures, making it suitable for various conditions. Wrap the tape tightly around the area several times for maximum effectiveness.
For a more permanent solution, consider using a repair patch made from either rubber or vinyl. Cut the patch to size, ensuring it covers the damaged area adequately. Use a strong adhesive designed for plastics and rubbers to secure the patch. Allow the adhesive to cure as per the manufacturer’s instructions to ensure a solid bond.
Epoxy resin is another option. It provides a tough, water-resistant fix. Mix the resin according to the instructions and apply it over the affected area. Once it cures, it offers a sturdy and durable repair.
| Material Type | Advantages | Usage Notes |
|---|---|---|
| Silicone Tape | Waterproof, easy to use | Wrap tightly around the damaged area |
| Rubber/Vinyl Patch | Permanent repair, versatile | Use strong adhesive, cut to size |
| Epoxy Resin | Strong and durable | Follow mixing instructions for best results |
When selecting materials, consider the diameter and type of the equipment to ensure compatibility. Avoid using materials not designed for high water pressure, as they may fail under stress.
Step-by-Step Guide to Repairing the Hose
Begin with gathering the necessary tools: scissors or a sharp blade, hose clamps, a heat gun (if applicable), and a suitable repair patch or tape. Ensure the equipment is unplugged and the water supply is turned off before proceeding.
Step 1: Prepare the Area
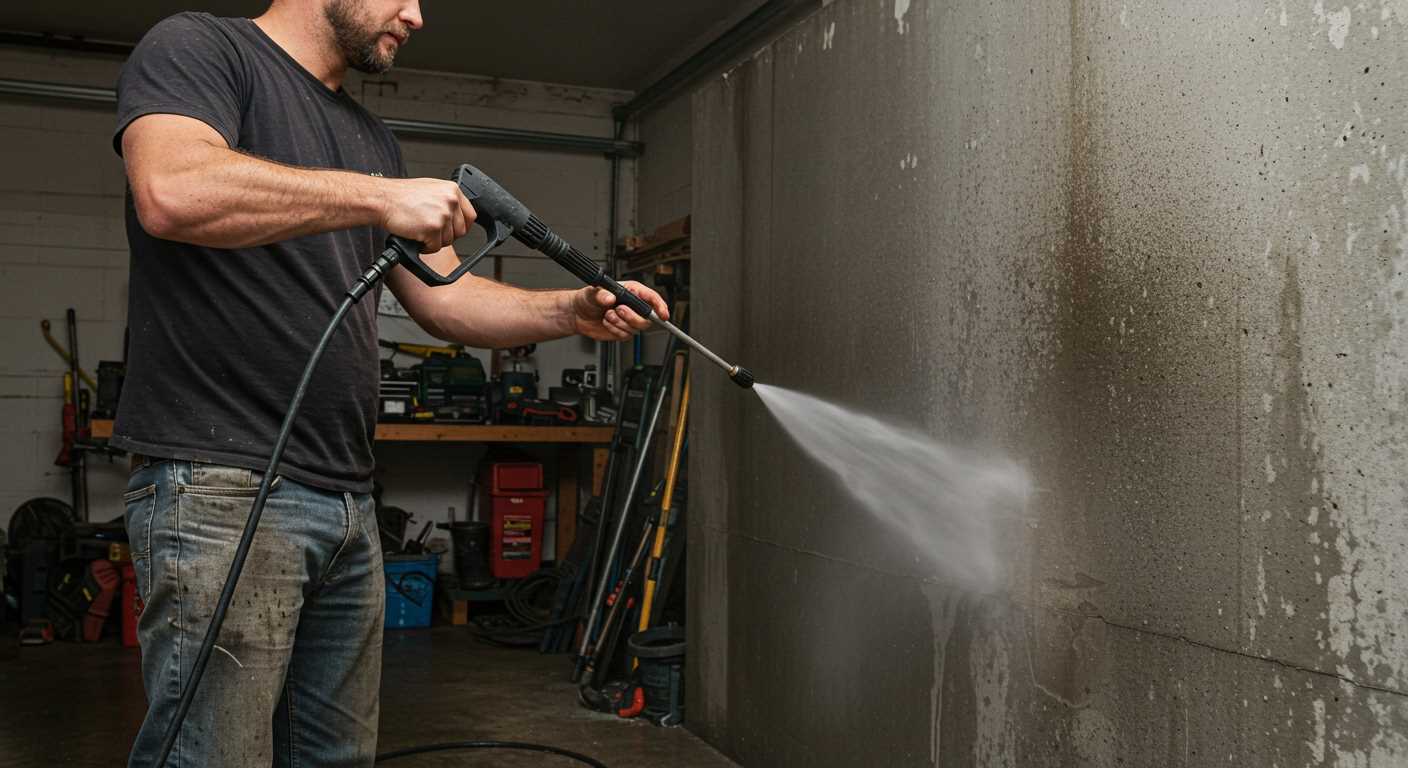
- Choose a flat, clean surface for the repair process.
- Ensure adequate lighting to clearly see the damage.
Step 2: Trim the Damaged Section
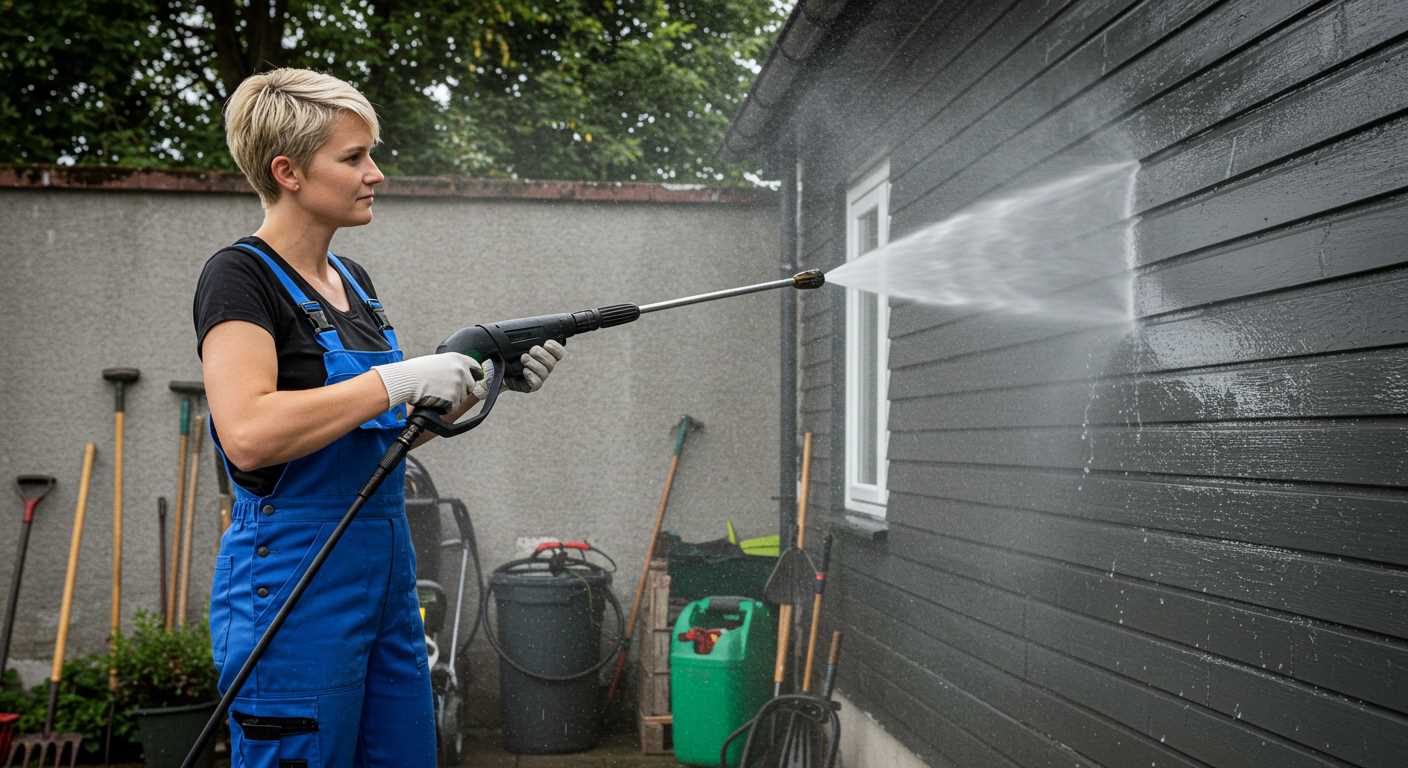
Examine the affected area closely to determine the size of the damage. Using scissors or a blade, cut around the damaged section, creating a smooth, clean edge. This will assist in a better seal.
Step 3: Apply the Repair Patch
- Take the repair patch and ensure it is slightly larger than the cut area.
- For adhesive patches, peel off the backing and firmly press it onto the clean, dry surface of the hose.
- For tape, wrap it around the damaged area, overlapping each layer for optimal coverage.
Step 4: Secure with Hose Clamps
Position a hose clamp on either side of the repaired section. Tightening these will help maintain pressure and prevent leaks. Use a screwdriver to secure the clamps snugly.
Step 5: Test the Repair
- After allowing adhesive to cure (if used), reconnect the hose to the water supply.
- Turn on the water slowly and inspect for any leaks.
If successful, clean the work area and store any leftover materials. Regular inspection of the hose will help maintain its longevity.
Testing the Repair for Leaks
After completing the fix, testing for leaks is essential. Begin by reconnecting the assembly to the water source and activating the system at a low pressure. This ensures that the repaired section is under manageable stress while you observe for any signs of water escaping.
Watch for any dampness or moisture around the area that was addressed. A close inspection should be conducted for a few minutes to ensure that no leaks develop as the water pressure increases.
If moisture is noted, further assessments are necessary. It may indicate insufficient sealing or that additional sealing material is needed. Should this occur, consider reapplying your chosen adhesive or tape, ensuring complete coverage around the previously repaired area.
Once satisfied that no leaks are present, turn the pressure up gradually while continuing to monitor. Testing with higher pressure will confirm that the fix can withstand normal operating conditions without compromising performance.
Finally, after confirming the integrity of the repair under various conditions, take a moment to operate the entire mechanism for a brief period. This can reveal if the unit performs effectively without any interruptions or anomalies, assuring that the alteration meets operational standards.
When to Consider Hose Replacement
Replace the conduit if you encounter extensive wear, cracks, or multiple damage areas that compromise functionality. One significant tear, longer than a few inches, typically indicates it’s time for a new unit. Frequent leaks can also suggest that the lifespan of the existing fitting has been exhausted.
Evaluating Durability
Review the material and construction of the current attachment. High-quality rubber or reinforced synthetic materials can withstand pressure and wear longer. If the current piece isn’t made of durable materials, investing in a more resilient option is a smart choice.
Cost-Benefit Analysis
Consider the cost of repairs versus replacement. If repair materials start to accumulate and the hassle outweighs the benefits, a new hose offers peace of mind and consistent performance. Always weigh the investment in reliability against the potential for ongoing repairs.
Preventive Measures to Avoid Future Damage
Regularly inspect the water delivery line for signs of wear, such as cracks or abrasions. This proactive approach enables early detection and mitigation of issues before they escalate.
Store the equipment in a cool, dry location, away from direct sunlight to reduce material degradation. Elevated temperatures can weaken protective layers, causing premature failure.
Use protective sleeves or wraps on high-friction areas, especially where the line may come into contact with rough surfaces or sharp edges. These barriers can prevent abrasion-related damage.
Ensure that any fittings and connections are securely tightened to avoid undue strain on the conduit. Loose connections can lead to stress and cause leaks over time.
Avoid dragging the delivery line across rough terrain during operation; instead, carefully manage the cord to prevent unnecessary stress and damage.
Flush the line with clean water after use to remove debris that can accumulate inside and lead to blockages or damage during subsequent use.
Consult the manufacturer’s recommendations for maintenance schedules specific to your model. Adhering to these guidelines will extend the life of the equipment and optimise performance.
Tools Needed for Pressure Washer Hose Repair
Having the right equipment is paramount for a successful restoration of a damaged water line. Below is a list of tools that I have consistently found invaluable in such tasks.
Essential Tools
A sharp utility knife is crucial for making clean cuts on the hose. This ensures a better fit when sealing or installing new connectors. Additionally, a pair of pliers will help tighten fittings securely without causing damage.
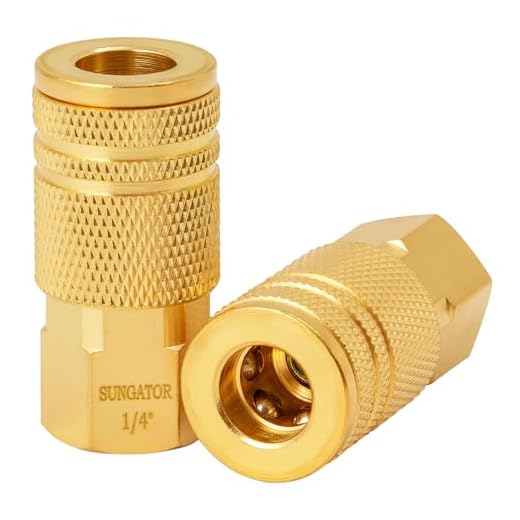
For effective sealing, high-quality hose clamps are necessary. They can prevent leaks by ensuring a snug fit around the repaired section. Depending on the nature of the damage, some might prefer using heat shrink tubing or rubber patches, which require a heat gun for proper application.
Additional Items
Having a multimeter on hand can assist in testing electrical components, especially if the cleaning device has integrated sensors. Don’t forget to stock up on adhesive and sealant. Look for products specifically designed for high-pressure applications.
Safety gear, including gloves and goggles, is advisable. They protect against sharp edges and any chemicals used during the restoration. Each tool mentioned plays a critical role in ensuring a seamless and safe repair operation.


