


Direct application of high-pressure cleaning tools on two-wheeled vehicles is generally inadvisable. The intense force can damage sensitive components such as electrical systems, hydraulic parts, and bearings. Instead, adopting a cautious approach is key to maintaining the integrity of your machine.
For thorough cleaning, it’s advisable to utilize a lower pressure setting, ideally around 1300 to 1500 PSI. This level is sufficient to remove dirt and grime without risking harm to delicate areas. Avoid spraying directly at seals, hoses, and electrical connections; a gentle side approach or a spray angle of over 30 degrees usually works well.
Incorporating the right attachments is also beneficial. A rotating nozzle or foam cannon can enhance cleaning efficiency by distributing detergent evenly, helping to break down stubborn dirt. Always opt for motorcycle-specific cleaning solutions, which are designed to be safe for painted surfaces and finishes.
After washing, rinse off thoroughly and ensure all components dry properly to prevent corrosion. A microfiber cloth is excellent for spot drying and detailing, ensuring your ride remains in pristine condition.
Understanding the Risks of Pressure Washing Motorcycles
Avoid using high-pressure equipment directly on two-wheel vehicles due to potential damage to sensitive components. Water force can dislodge or harm electrical connections, bearings, and seals. A jet stream can penetrate areas that are typically sealed, inviting moisture into parts where it should not be. This exposure can lead to corrosion and create long-term reliability issues.
Pay attention to the angle of the spray. Pressurised water needs to be directed at lower angles, as a perpendicular blast can exacerbate issues with seals and other vulnerable areas. Also, ensure not to focus on the same spot for extended periods. This can lead to paint chipping or surface abrasion.
Always keep a safe distance from the surface you’re cleaning. Maintaining at least two feet away from the body of the vehicle helps reduce the risk of damage. Consider using a wide-angle nozzle rather than a direct jet for safer cleaning. It reduces the intensity of the water without compromising on cleanliness.
Delicate parts like foot pegs, suspension systems, and instrument panels should be treated with extra caution. Opt for soft brushes and cloths instead, as they won’t pose the same level of risk. For removing stubborn grime, applying biodegradable cleaners can ease the cleaning process while protecting sensitive areas.
Assess the manufacturer’s guidelines for maintenance and cleaning. Some brands may advise against using high-pressure methods altogether and suggest alternative gentle cleaning solutions instead. Take the time to understand these recommendations to keep your vehicle in peak condition.
In conclusion, while the appeal of a powerful cleaning tool is strong, recognising its potential risks ensures the longevity of your two-wheeled investment. Focusing on safe methods will serve you well in preserving the integrity and functionality of your ride.
Choosing the Right Pressure Washer Settings
Selecting appropriate settings is key for effectively cleaning a two-wheeled vehicle without damaging sensitive components. First, opt for a low-pressure setting, ideally between 1100 to 1300 PSI. This range strikes a balance, enabling effective cleaning while reducing the risk of forcing water into crevices or electrical areas.
Adjusting Water Temperature
Utilising warm water can enhance the cleaning process, particularly for removing stubborn grime and grease. If your equipment allows, set the temperature to warm but not exceeding 60°C. High temperatures can damage plastic and rubber components, so moderation is essential.
Nozzle Selection
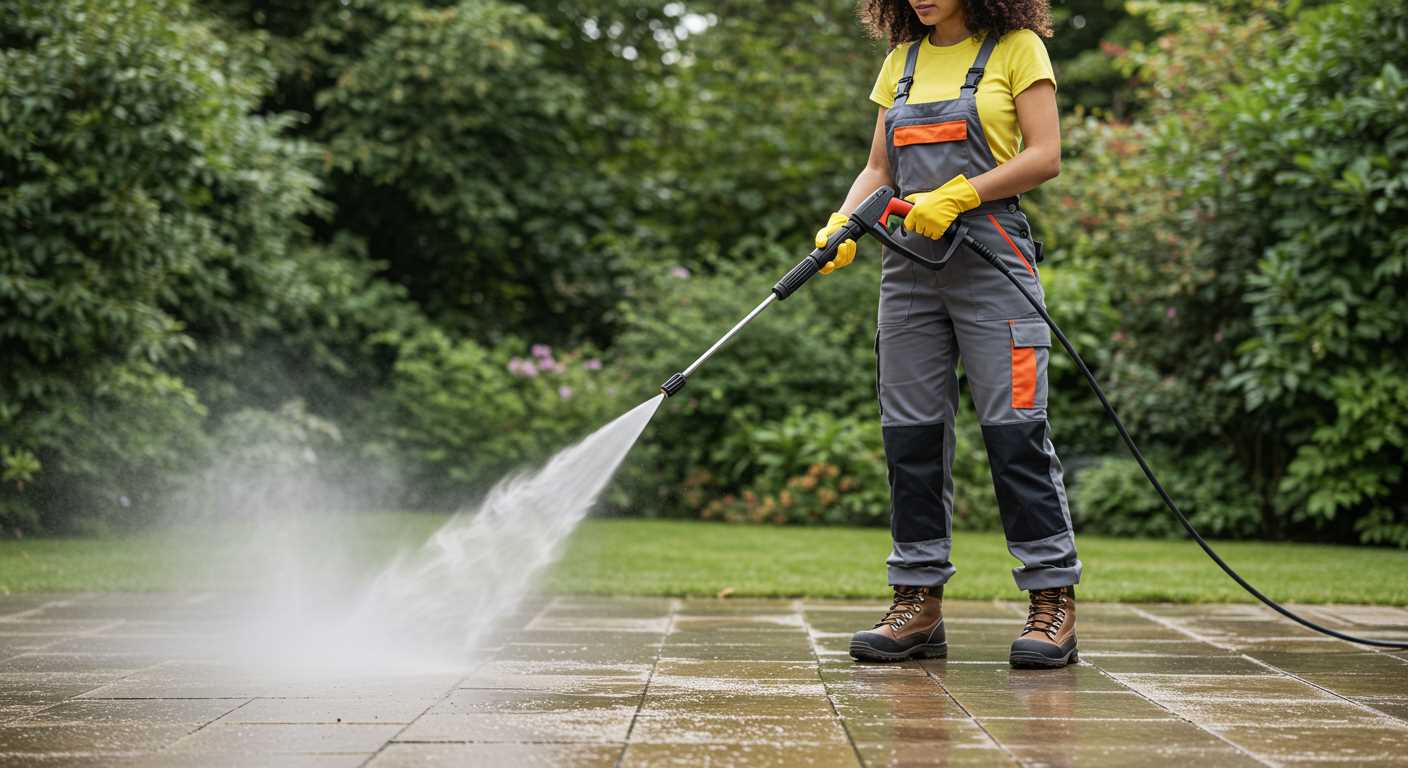
The right nozzle plays a significant role. A wide-spray nozzle (25-degree to 40-degree) will disperse water broadly, minimising the impact on sensitive areas. Avoid using a rotary nozzle, as the concentrated pressure can be too harsh. For detailed cleaning, consider using a foam cannon attachment to apply detergent more effectively.
| Setting | Recommended Value |
|---|---|
| Pressure (PSI) | 1100 – 1300 |
| Water Temperature (°C) | Up to 60 |
| Nozzle Type | 25° or 40° |
Regularly checking the washers and attachments will ensure optimal performance and longevity. With the correct settings and a cautious approach, maintaining a pristine appearance for your two-wheeled vehicle is entirely achievable. Always conclude with a gentle rinse using plain water to remove any detergent residue.
Key Areas to Avoid When Cleaning Your Motorcycle
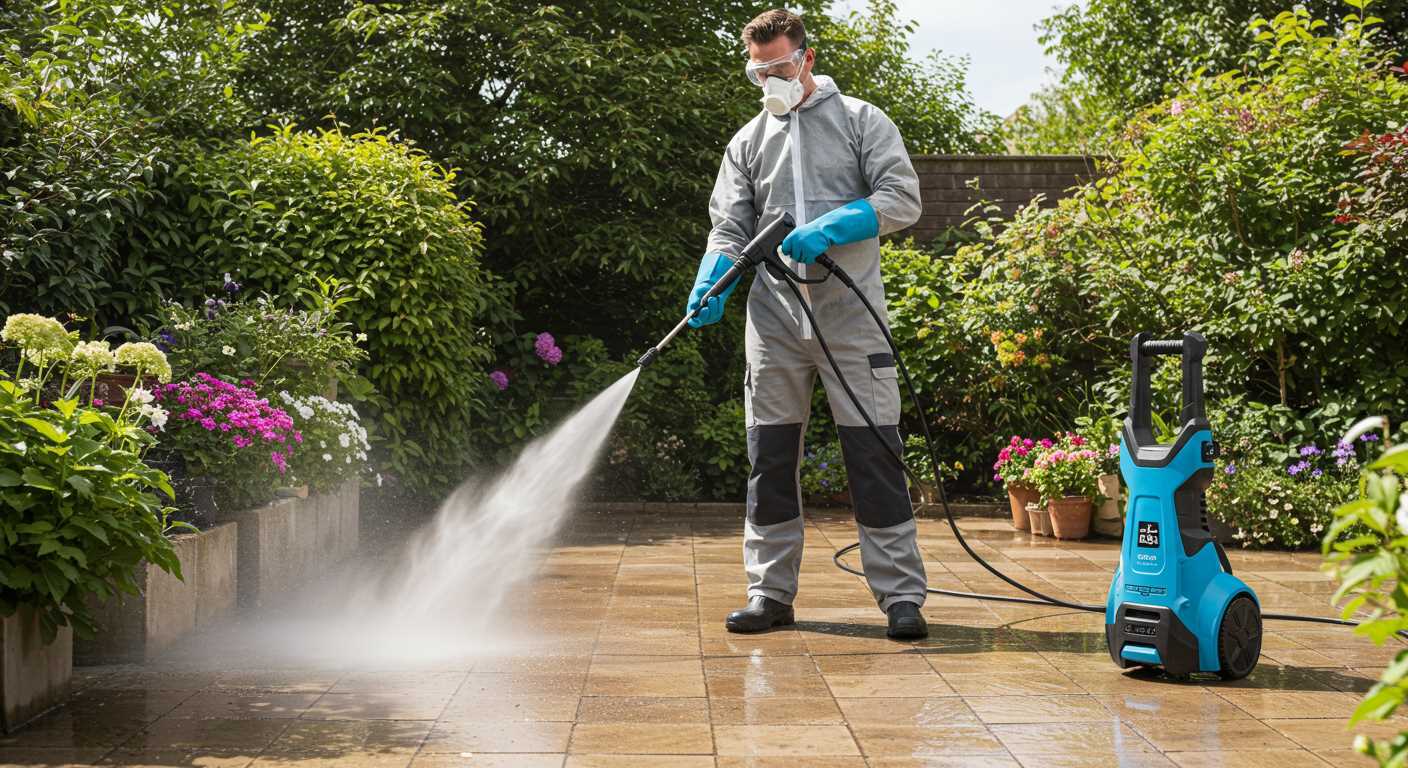
Always steer clear of electrical components. Areas like the ignition, battery, and wiring harness should not receive direct water pressure. Moisture in these parts can cause short circuits or disrupt functionality.
Protect sensitive areas such as the air intake and exhaust. Water penetrating these components can lead to engine performance issues or costly repairs. Cover them or use lower pressure while cleaning nearby sections.
Do not target brake components directly. Water exposure can contaminate brake pads and fluid, affecting safety and responsiveness. It’s best to clean these areas manually with a soft cloth.
Avoid spraying directly on the fuel tank and cap. High-pressure jets can force water into the fuel system, risking contamination. Clean around the tank with caution.
Steer clear of delicate surfaces, including the instrument panel and chrome accents. High pressure can chip or damage finishes, leading to costly refinishing. Use gentle methods for these areas.
Refrain from cleaning areas with protective coatings or decals aggressively. A strong jet may remove or damage these features, reducing the aesthetics of your ride. Treat them with appropriate care.
Best Practices for Protecting Motorcycle Components
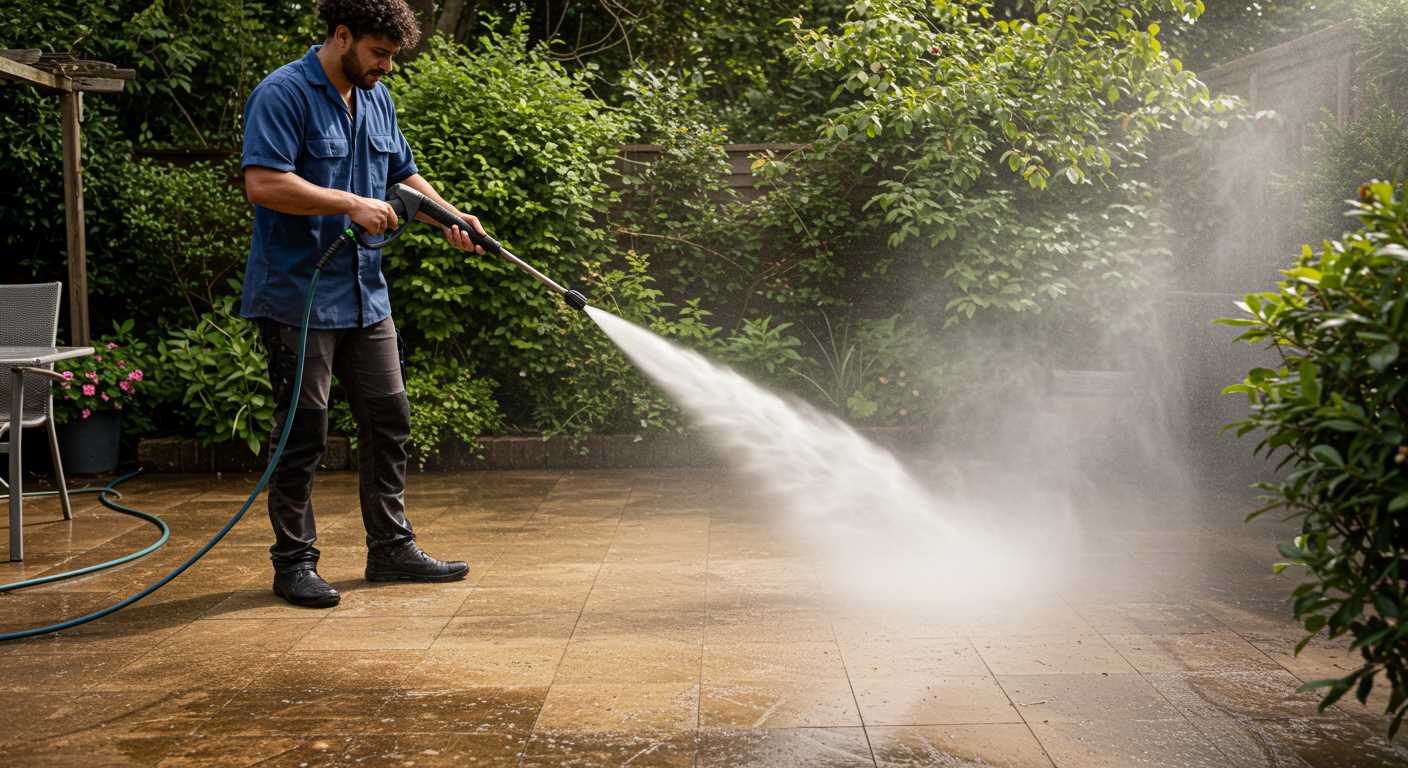
Before cleaning any two-wheeled vehicle, it’s crucial to shield specific components from water and cleaning agents. Here’s how to do it effectively:
1. Electrical Components
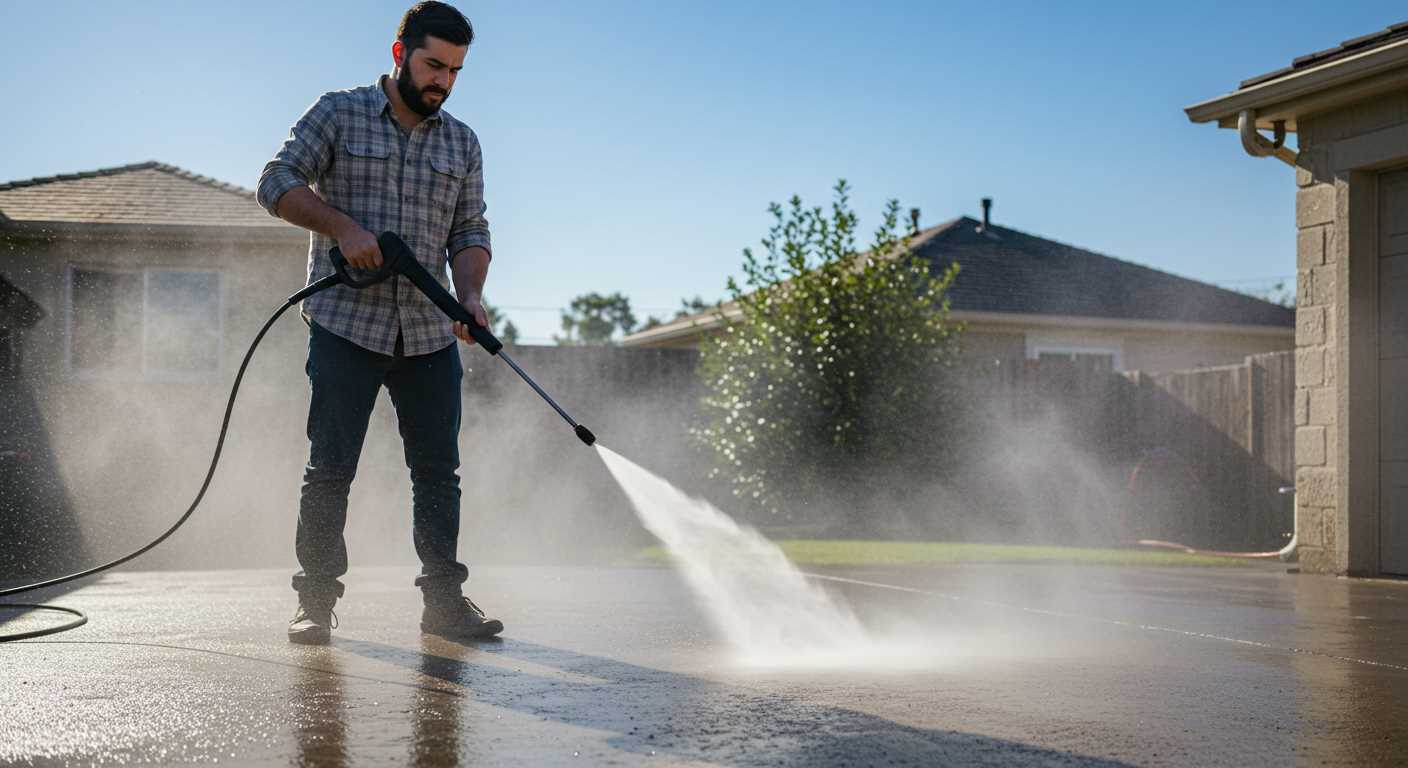
- Cover the battery terminals with plastic bags or electrical tape to prevent short circuits.
- Use waterproof covers for the control modules and any exposed wiring.
- Consider applying dielectric grease to electrical connections for added protection.
2. Bearings and Joints
- Seal wheel bearings and pivot points with grease to deter moisture ingress.
- Use a plastic wrap or tape to cover any exposed joints during the cleaning session.
3. Air Intake
- Block the air intake with a cloth to prevent water from entering the engine.
- Avoid spraying water directly towards the air filter area.
4. Exhaust System
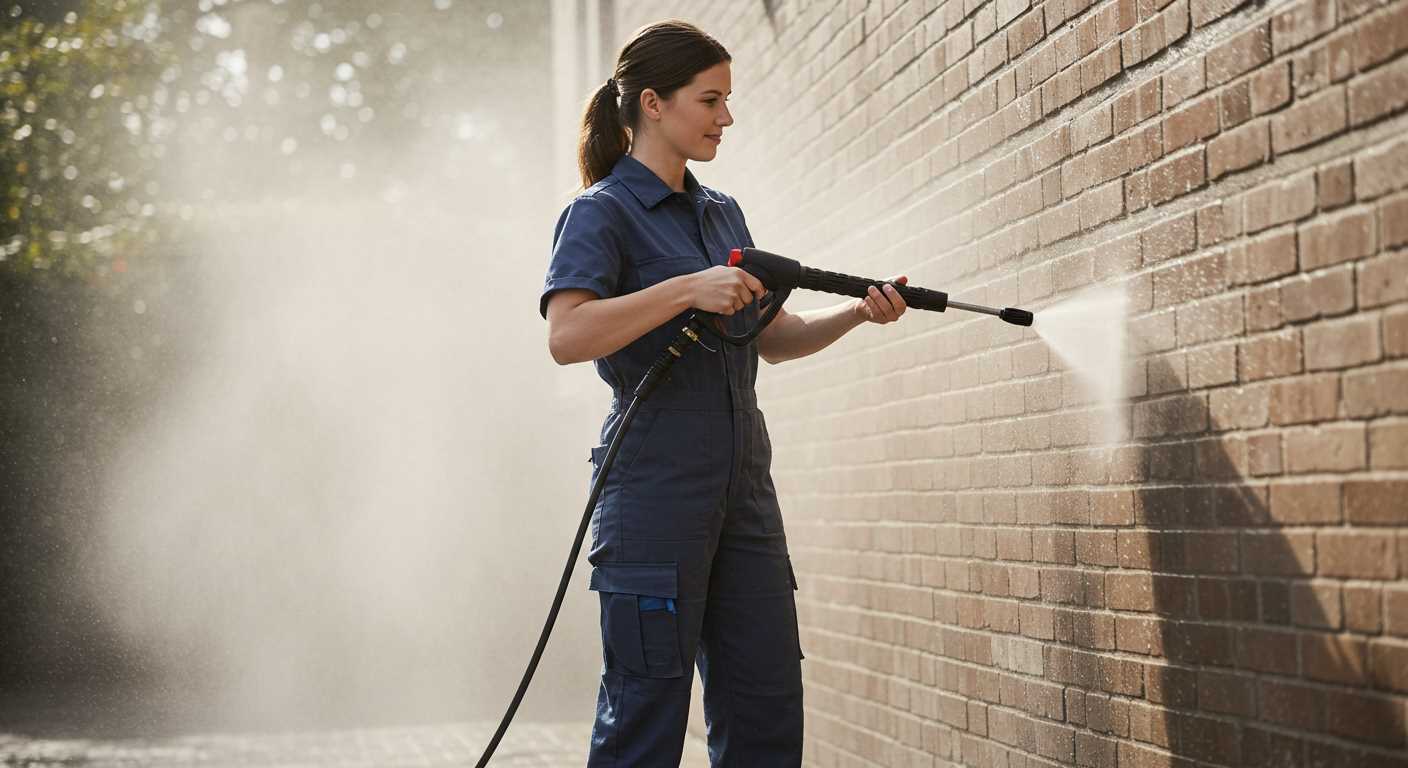
- Seal the exhaust outlet with a rag to keep water out, particularly when aiming at the rear section.
- Ensure the exhaust system is dry before starting the engine post-cleaning.
5. Sensitive Finishes
- Consider applying a protective wax or sealant on painted surfaces to prevent water spots and corrosion.
- Use a gentle cleaner specifically formulated to protect decals and clear coats.
By taking these precautions, significant damage to your two-wheeled vehicle can be avoided. Proper preparation ensures the longevity and optimal function of your machinery.
Steps to Safely Pressure Wash Your Motorcycle
First, ensure the engine is cool and all parts are dry. Start by removing any detachable accessories. This includes bags, mirrors, and electronic components that may be sensitive to moisture.
Next, position the bike on a stable surface. Align the nozzle of the sprayer at least two feet away from the surface to reduce the risk of damage. Angle the spray downward to avoid pushing water into sensitive areas.
Prior to applying water, pre-soak the vehicle with a mild detergent suitable for two-wheelers. Allow it to sit for several minutes to loosen any grime.
After soaking, switch to a low-pressure setting. Move the sprayer in a sweeping motion, starting from the top and working downwards. This sequence prevents dirty water from running down onto already cleaned areas.
As you clean, pay extra attention to wheel spokes, chain, and undercarriage components where dirt accumulates. Avoid direct contact with electrical parts and seals.
After washing, thoroughly rinse all surfaces to remove soap residue. Follow up with a gentle drying process using a microfiber towel to prevent water spots.
Finally, inspect all areas for moisture and ensure everything is properly reassembled before taking the vehicle back on the road. Regular maintenance contributes to the longevity of your ride.
Alternative Cleaning Methods for Motorcycles
An effective way to clean two-wheeled vehicles involves using traditional hand washing paired with specialised motorcycle cleaning products. Start with biodegradable soap designed for vehicles, applying it with a soft sponge or wash mitt to avoid scratches.
An additional technique is using foam cannons, which can create a thick layer of foam that clings to surfaces, breaking down dirt and grime more efficiently than standard spray methods. This approach ensures thorough coverage while being gentle on all components.
For those who prefer a less hands-on approach, selecting a dedicated motorcycle detailing spray can speed up the process. These solutions often incorporate cleaning agents and wax in one bottle, allowing for quick application and protection without extensive scrubbing.
Consider using microfiber towels for drying, as they absorb more moisture and reduce the risk of water spots. Additionally, small detailing brushes are invaluable for nooks and crannies, ensuring every part stays clean without damaging sensitive areas.
Steam cleaning represents another viable option, leveraging high temperatures to effectively remove stubborn grime without harsh chemicals. Ensure that this method is conducted with caution, keeping heat-sensitive components in mind.
Finally, regular maintenance after rides can minimize buildup. Wiping down surfaces after a journey can prevent dirt from caking on, making future cleaning sessions quicker and easier. Furthermore, utilising protective sprays after cleaning can enhance shine and repel dust, extending the time between washes.


