


Applying high-pressure cleaning on glazed tiles can yield impressive results, provided it’s done correctly. First and foremost, select an appropriate nozzle, ideally one with a wide spray pattern, to avoid causing damage. A 25-degree nozzle is typically a safe choice, optimising the water flow for effective cleaning without compromising the integrity of the surface.
Before the procedure, assess the condition of the tiles. Ensure that there are no cracks or chips that could worsen under intense water pressure. If the surface has not been cleaned in a while, pre-treat stubborn stains with a mild detergent and let it sit for a brief period to ease the cleaning process.
When starting the cleaning process, keep the nozzle at a distance of at least two feet from the surface. Gradually adjust the distance based on the effectiveness of the cleaning. It’s most effective to clean in a horizontal or vertical sweeping motion to ensure all areas are treated evenly, preventing the accumulation of debris.
Understanding materials and their durability
Choosing the right outdoor surface requires a solid grounding in the characteristics and durability of the materials involved. Ceramic tiles crafted for outdoor settings are known for their resilience, though not all variants perform equally. The best options resist chipping, cracking, and staining, making them suitable for various weather conditions and foot traffic.
When selecting tiles, density plays a crucial role. High-density units exhibit lower water absorption rates, improving their performance in freezing temperatures and damp conditions. It’s vital to check the manufacturer’s specifications regarding these features.
| Feature | Impact on Durability |
|---|---|
| Density | Higher density provides resistance to moisture and thermal shock. |
| Glazing | Glazed surfaces repel stains and simplify cleaning, enhancing longevity. |
| Slip Resistance | Essential for safety, particularly in wet environments. |
| Frost Resistance | Guarantees that materials withstand freezing without damage. |
Overall, understanding the inherent qualities of these materials helps ensure long-lasting and visually appealing outdoor spaces. Regular maintenance and timely care will further enhance the lifespan, keeping the surfaces looking fresh for years to come.
Recommended pressure settings for cleaning porcelain
For optimal results, I recommend setting the device to a pressure range of 1300 to 2000 PSI. This level effectively removes dirt and stains without risking damage to the surface. It’s crucial to maintain a distance of around 12 to 18 inches from the surface while working. This helps to prevent chipping or cracking.
If the surfaces have not been cleaned in a while, a lower setting starting around 1300 PSI may be advisable. This approach helps to assess how well built-up grime responds before escalating the pressure. When moving to tougher stains, gradually increasing within the 2000 PSI limit is the way to go.
Utilising a fan spray nozzle, particularly one with a wide angle, is beneficial in distributing pressure evenly. This technique minimizes the risk of concentrated force leading to potential damage. Always ensure to keep the nozzle at an appropriate angle; a 25 to 40-degree angle is ideal for effective cleaning.
Routine cleaning sessions, ideally every 6 to 12 months, can prevent the need for higher pressures by keeping surfaces in good condition. Matching the pressure setting to the specific cleaning task will yield the best outcome without compromising the integrity of the material.
Proper nozzle selection for porcelain surfaces
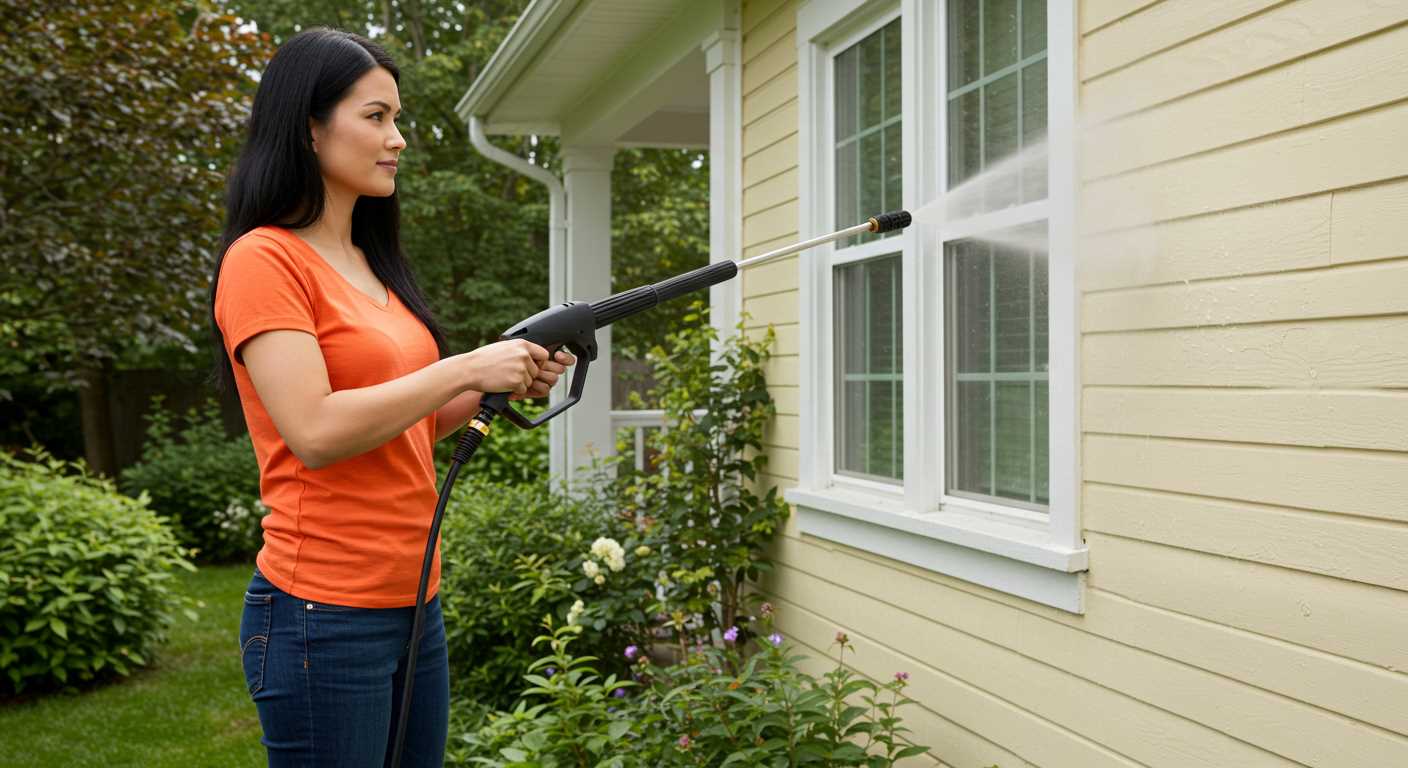
For optimal cleaning on ceramic surfaces, select a fan nozzle with a wide spray pattern, typically 25° or 40°. This helps to disperse water over a larger area, minimizing the risk of cracking or chipping. A 40° nozzle is particularly suitable for light cleaning and rinsing.
Understanding nozzle types
Different nozzles offer various benefits. The zero-degree nozzle delivers a concentrated stream for stubborn stains, yet it can damage delicate materials if misused. Avoid this for sensitive surfaces. A 25° nozzle provides a good balance of pressure and coverage, making it versatile for many cleaning tasks.
Technique for effective cleaning
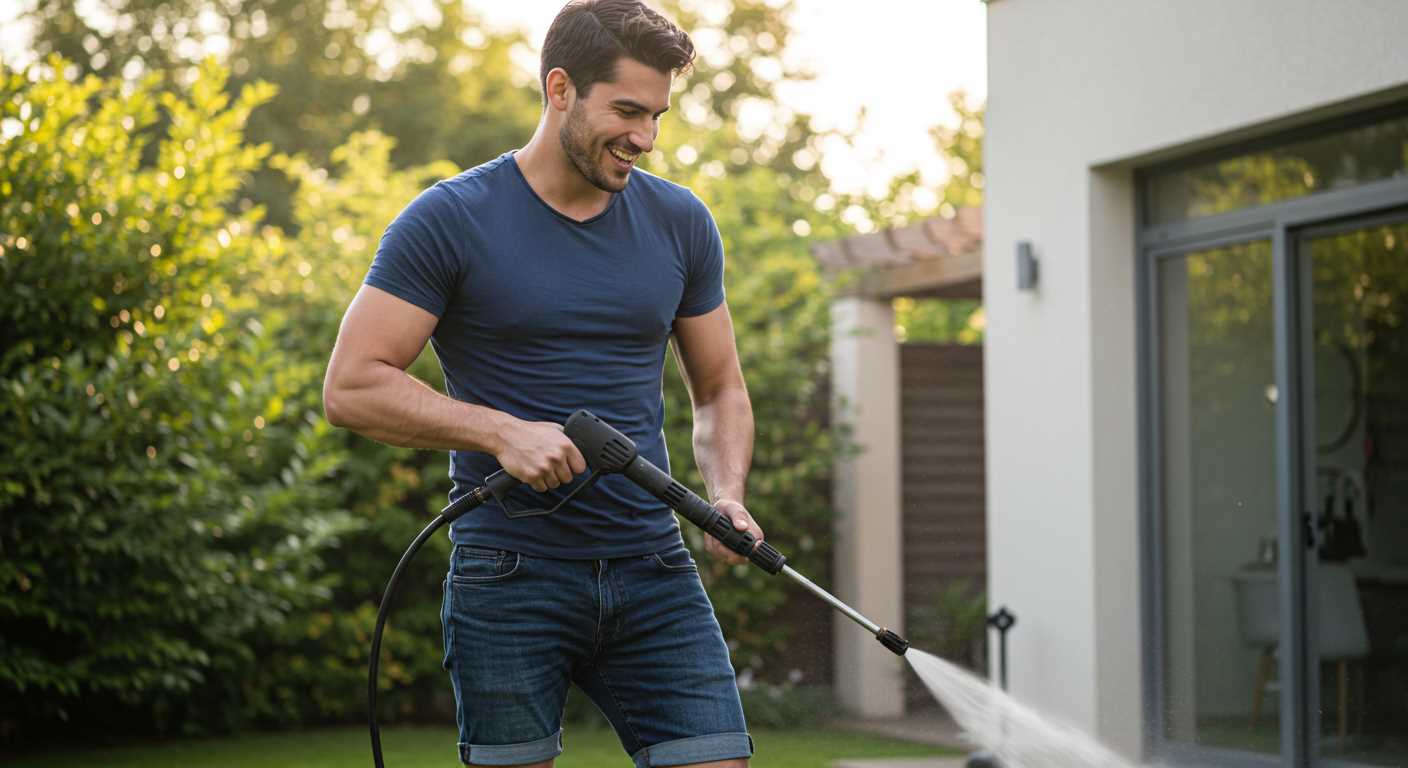
Maintain a distance of at least 12 inches from the surface when operating the nozzle. This prevents excess force from causing potential harm. Move the nozzle in a sweeping motion, ensuring even coverage while avoiding static pressure on any one spot. Washing sections at a time helps manage results more effectively.
Testing on a small, inconspicuous area is advisable before proceeding with the entire surface. Monitor the reaction of the material to ensure integrity is maintained throughout the cleaning process.
By carefully selecting the correct nozzle and employing appropriate techniques, maintaining the pristine condition of ceramic areas becomes achievable without compromising quality.
Best cleaning solutions to use with a pressure washer
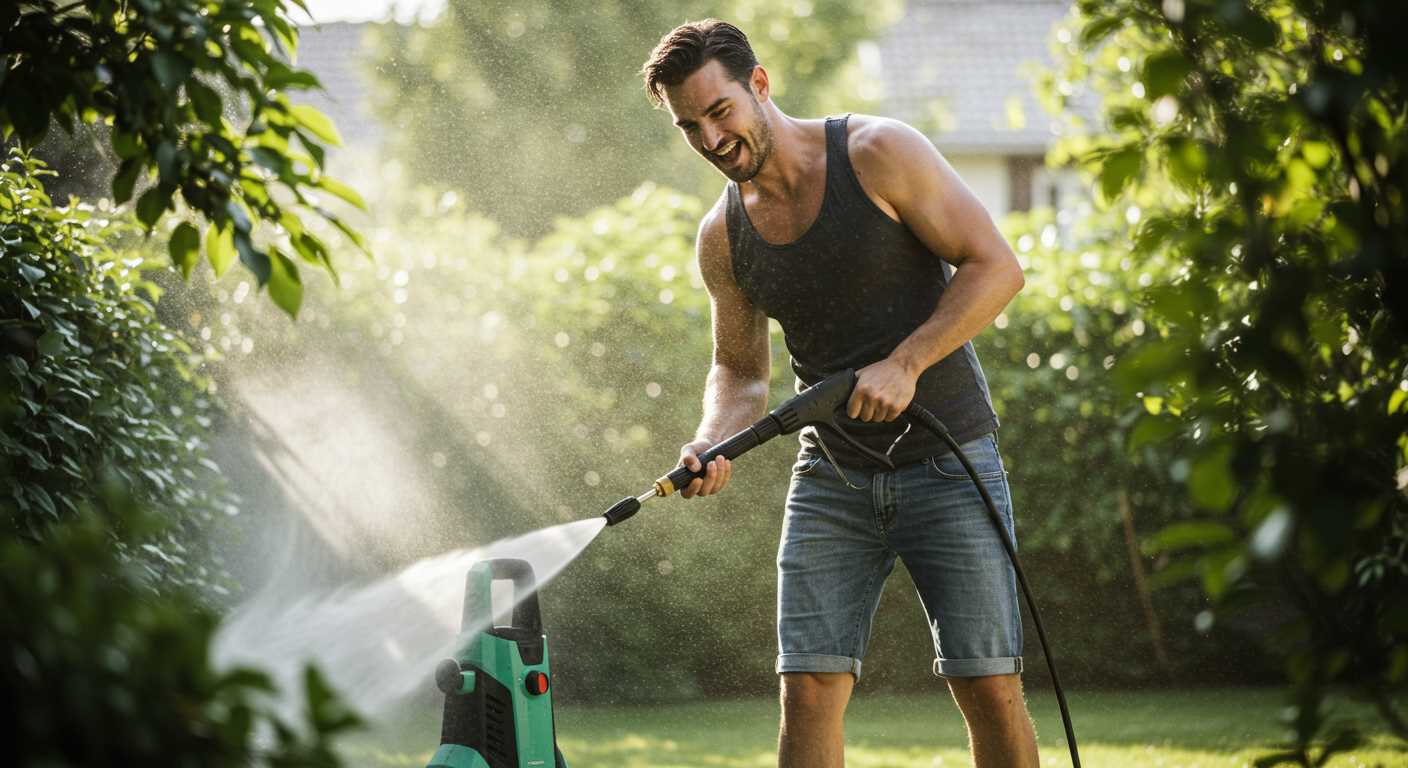
For optimal results, it’s best to consider specialised cleaning agents tailored for hard surfaces. I recommend using a mild pH-balanced cleaner specifically designed for ceramic tiles. These formulas effectively break down dirt and grime without risking damage to the surface.
When dealing with stubborn stains, incorporating a biodegradable degreaser can enhance the cleaning process. This type of solution is particularly effective against oil spots and organic residues, ensuring a thorough clean.
Mixing a solution with oxygen bleach can also yield excellent results. It not only whitens discoloured areas but is also safe for surrounding plants and the environment.
A vinegar solution is another option; it is effective for mineral deposits and can be easily made at home. Always dilute it properly to avoid any potential damage.
Lastly, for added convenience, consider pre-mixed cleaning solutions available in local stores, designed specifically for high-pressure cleaning tasks. Always follow the manufacturer’s guidelines for dilution rates and application methods.
Techniques for safely operating a pressure cleaning unit on smooth tiles
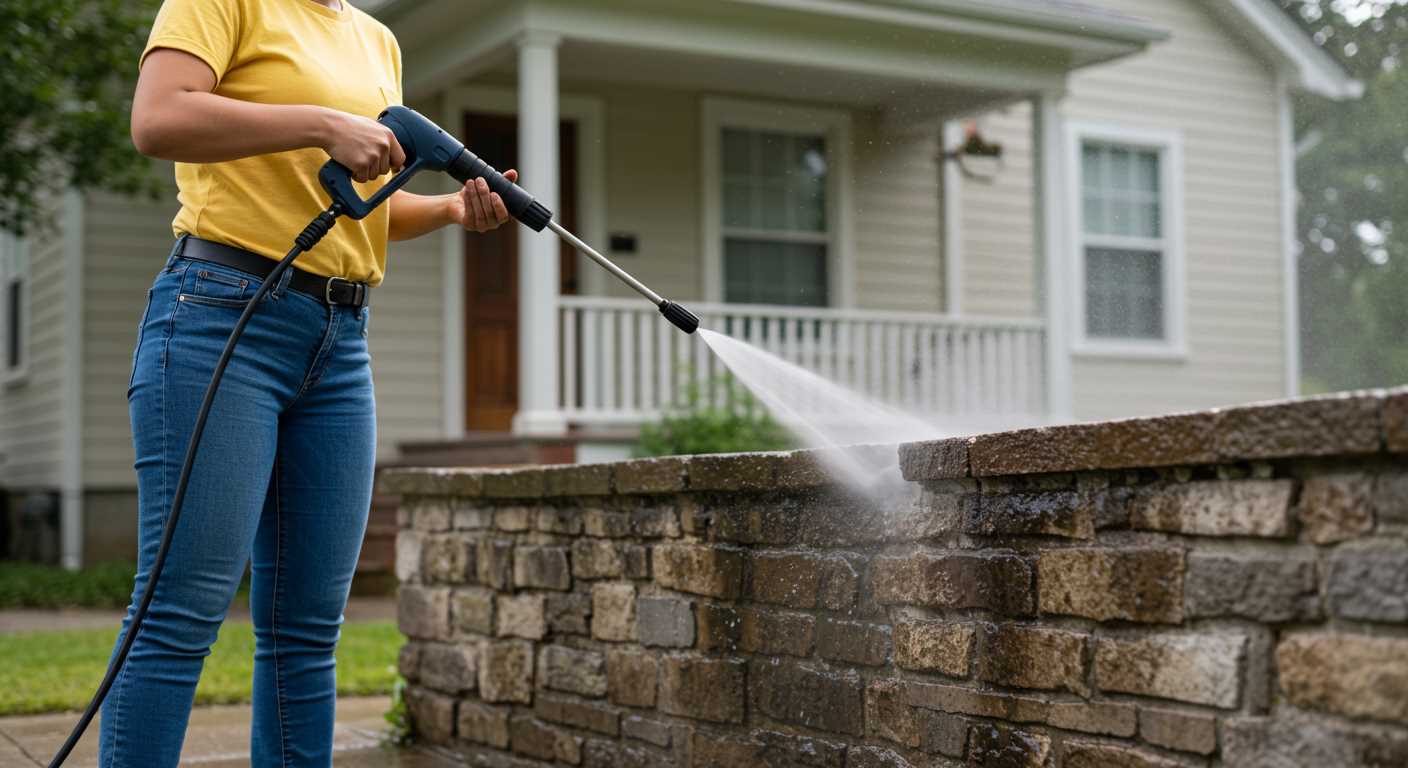
Start with a test section. Choose an inconspicuous area to gauge the effect of the equipment at full power before proceeding. This allows assessment of how the tiles react to the force and cleaning solution.
Maintain a safe distance from the surface; hold the nozzle at least 18 to 24 inches away. This prevents excessive abrasion that can lead to scratches or damage on the delicate finish.
Move the spray in a sweeping motion, rather than lingering too long in one spot. Keeping the unit in motion distributes pressure evenly and avoids concentrating force that could harm the tiles.
Use a fan spray pattern rather than a direct jet. This broader dispersion mitigates the intensity of the stream while still effectively removing dirt and grime.
Operate at an angle rather than straight on. This technique allows for dirt removal without forcing debris into any potential cracks, reducing the risk of further damage.
Be mindful of the chemical solutions in tandem with the machine. Always follow the manufacturer’s recommendations regarding compatibility, and apply cleaners ahead of time for maximum efficacy, allowing them to dwell before rinsing.
Lastly, regularly inspect the surface after cleaning. Look for signs of wear or damage, which will help in adjusting your approach for future maintenance sessions. Monitoring the condition will ensure that the tiles remain in optimal shape over time.
Maintenance Tips Post-Pressure Washing for Porcelain Patios
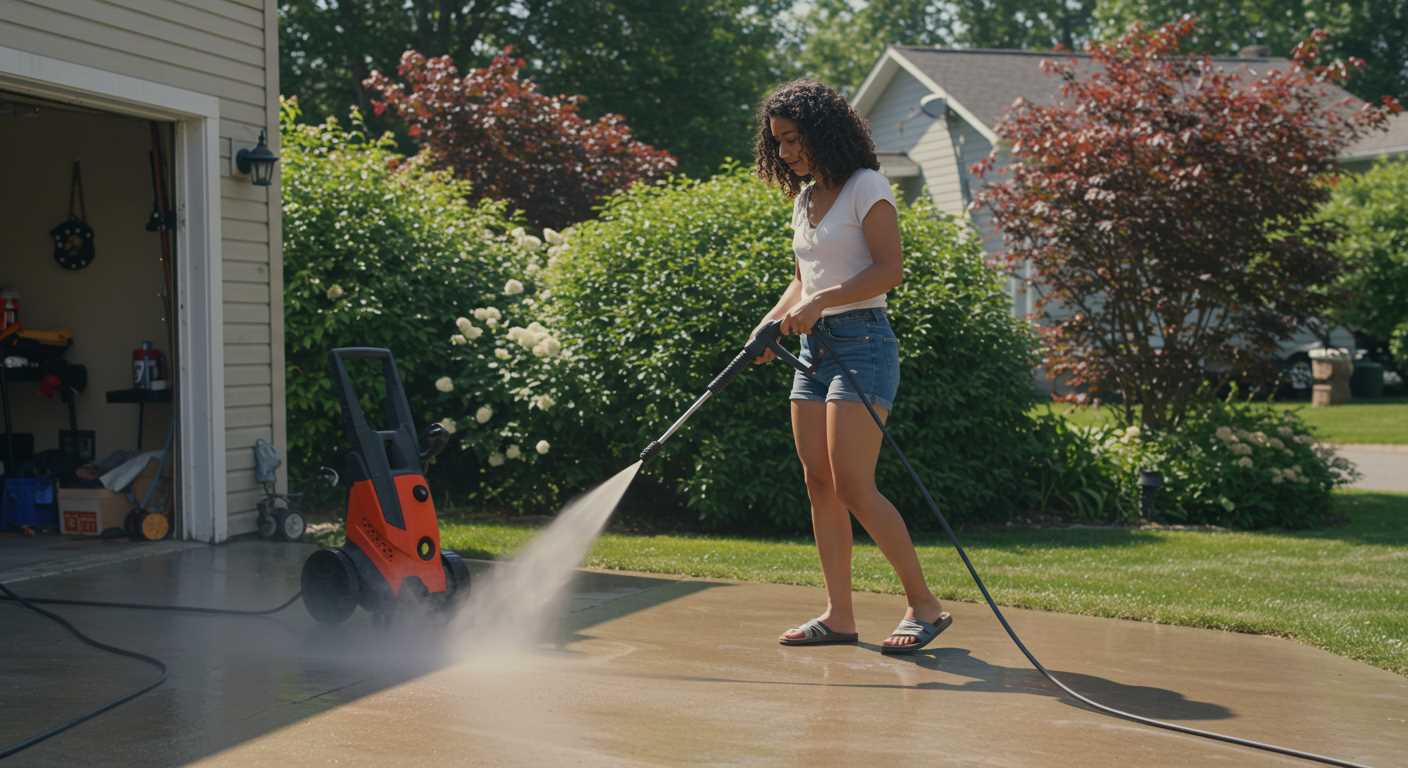
Rinse the area thoroughly with clean water to remove any remaining cleaning solution residues. This helps to prevent slip hazards and maintains the integrity of the surface.
Inspect the tiles for any signs of damage or loose grout. Repair any issues immediately to prevent further deterioration.
- Use a soft-bristle brush to clean between tiles where dirt may accumulate after washing.
- Consider applying a high-quality sealant specifically designed for tiled surfaces. This adds a protective layer and makes future cleanings easier.
Regularly sweep the surface to prevent dirt build-up. A quick sweep weekly can prolong the life of the tiles.
For stubborn stains, a mix of water and mild detergent can be used for spot cleaning. Avoid harsh chemicals that may harm the finish.
Plan seasonal deep cleans. Depending on the surrounding environment, a thorough cleaning every six months helps keep the tiles looking pristine.
Store cleaning equipment properly. Allow hoses and brushes to dry before storage to prevent mildew growth.
Monitor surrounding plants and landscaping. Prevent overspray from harming nearby vegetation by covering them during cleaning.
Keep the surrounding area free of debris that can scratch the surface. Regular maintenance ensures long-term beauty and function.


