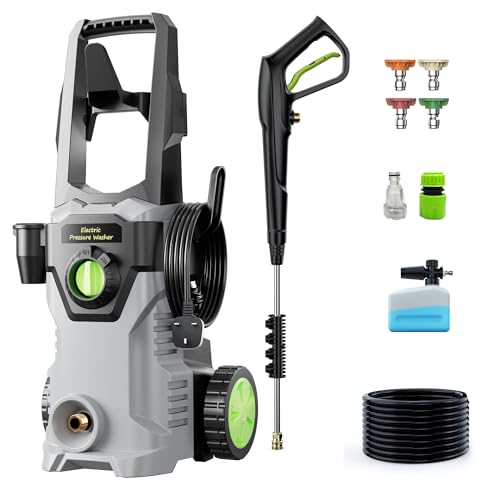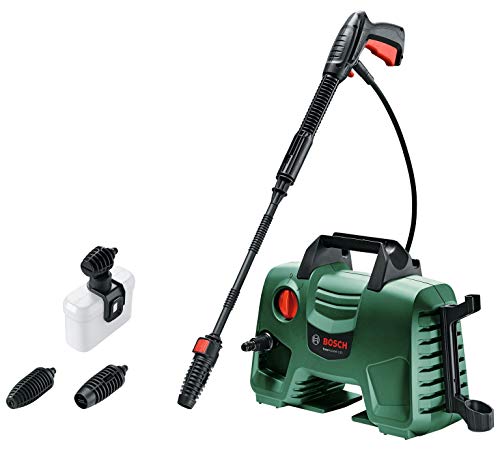
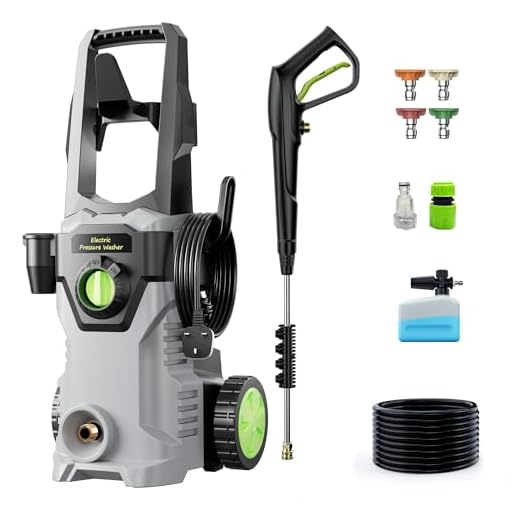


For optimal results, caution is paramount when addressing the cleanliness of timber surfaces. High-pressure cleaning apparatus can certainly remove stubborn grime and stains; however, careful assessment of the wood type and condition is required before proceeding. Gentle pressure settings, typically around 1200 to 1500 PSI, are advisable to prevent surface damage.
Ensure the nozzle selection is appropriate; a wide-angle spray nozzle is preferable to distribute water evenly, minimising the risk of gouging or splintering the wood. Maintaining a distance of at least two feet while cleaning allows for effective dirt removal without compromising the integrity of the fibres.
Preparing the surface is equally important. Clearing away furniture and debris, along with applying a wood-safe detergent, enhances the cleaning process significantly. After washing, a thorough rinse with clean water will remove any remaining residues, ensuring the timber remains in excellent condition for a longer period.
Understanding the Risks of Pressure Washing Wooden Decking
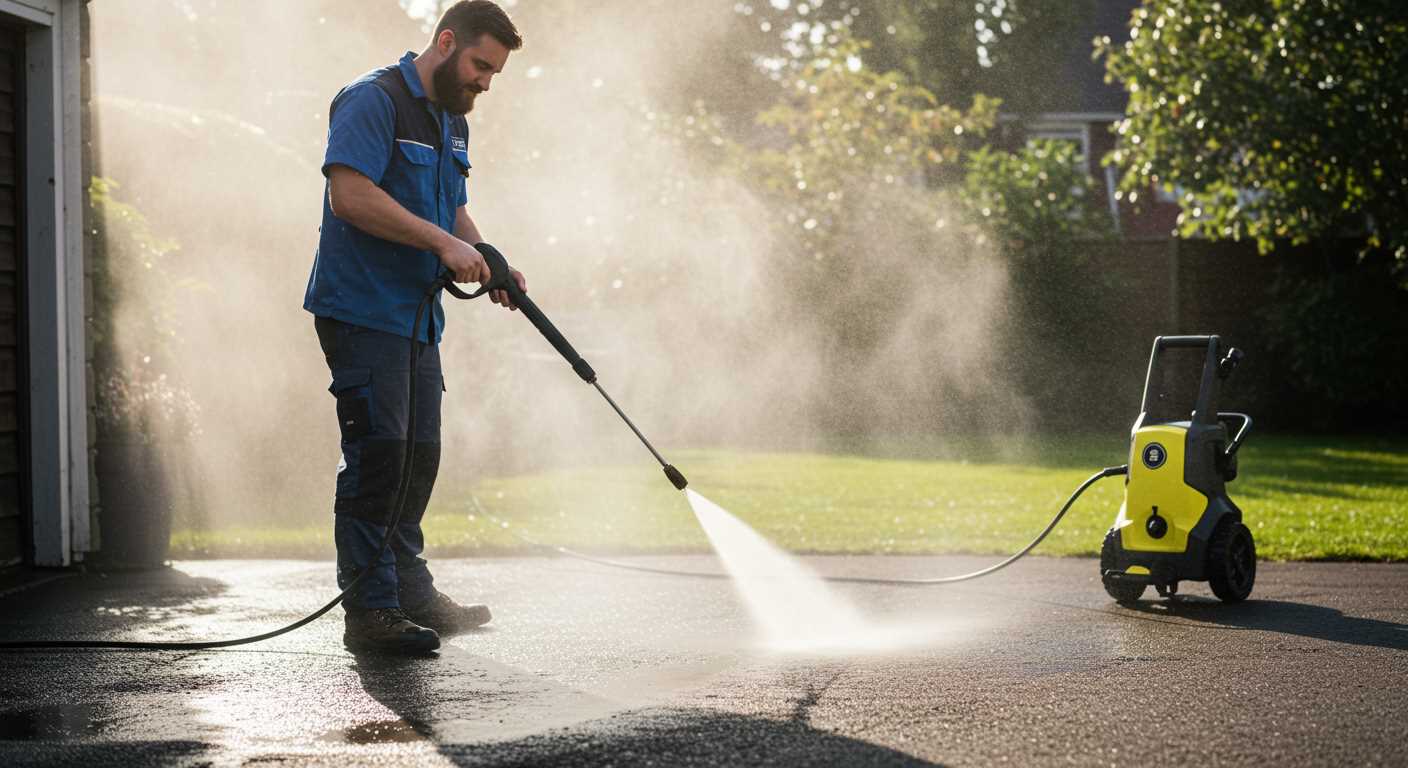
Avoid high-pressure cleaning methods on timber surfaces due to significant risks. Using excessive force can strip away protective coatings, compromise structural integrity, and cause irreversible damage to the material. Select a lower pressure setting if necessary, ideally below 1,500 PSI, to mitigate risks related to splintering and gouging.
Potential Damage Types
The following table outlines common issues experienced with inappropriate high-pressure techniques on timber surfaces:
| Damage Type | Description |
|---|---|
| Splintering | High force can create cracks and splinters, leading to unsafe conditions. |
| Gouging | Excessive force may result in deep grooves, permanently altering surface appearance. |
| Loss of Finish | Protective finishes may be stripped, exposing timber to moisture and decay. |
| Warping | Moisture penetration from high-impact jets can lead to warping and bending. |
Additional Considerations

Conduct a thorough examination of the decking before attempting cleaning. Look for signs of wear and decide accordingly on the cleaning method. Employ gentle scrubbing techniques with mild detergents for maintenance tasks, ensuring a longer lifespan for your timber surfaces. Utilize a wide fan nozzle to distribute pressure evenly if mechanical cleaning is deemed necessary.
Choosing the Right Pressure Washer for Your Deck
Opt for a machine that delivers 1300 to 2000 PSI for optimal cleaning without damaging the surface. Lower pressures lessen the risk of gouging while effectively removing dirt and mildew.
Prioritise models equipped with a variable nozzle. This feature allows for adjustment of the spray pattern, providing flexibility to tackle different areas and types of grime.
Consider electric options for smaller areas; they are lightweight, quieter, and suitable for residential use. For larger surfaces or tougher jobs, a gas-powered model may be more appropriate due to higher performance levels.
Check the flow rate, measured in gallons per minute (GPM). A higher GPM translates to quicker cleaning, making the task more efficient. Aim for a minimum of 1.3 GPM for best results.
Look for additional accessories like surface cleaners or detergent tanks; these can enhance cleaning capabilities, especially for more extensive maintenance tasks.
Finally, always refer to the manufacturer’s guidelines regarding safe operation on your specific decking material, ensuring that the equipment matches the requirements of the surface to minimise risk. This will prevent damage while achieving the desired cleanliness.
Optimal Pressure Settings for Cleaning Wooden Surfaces
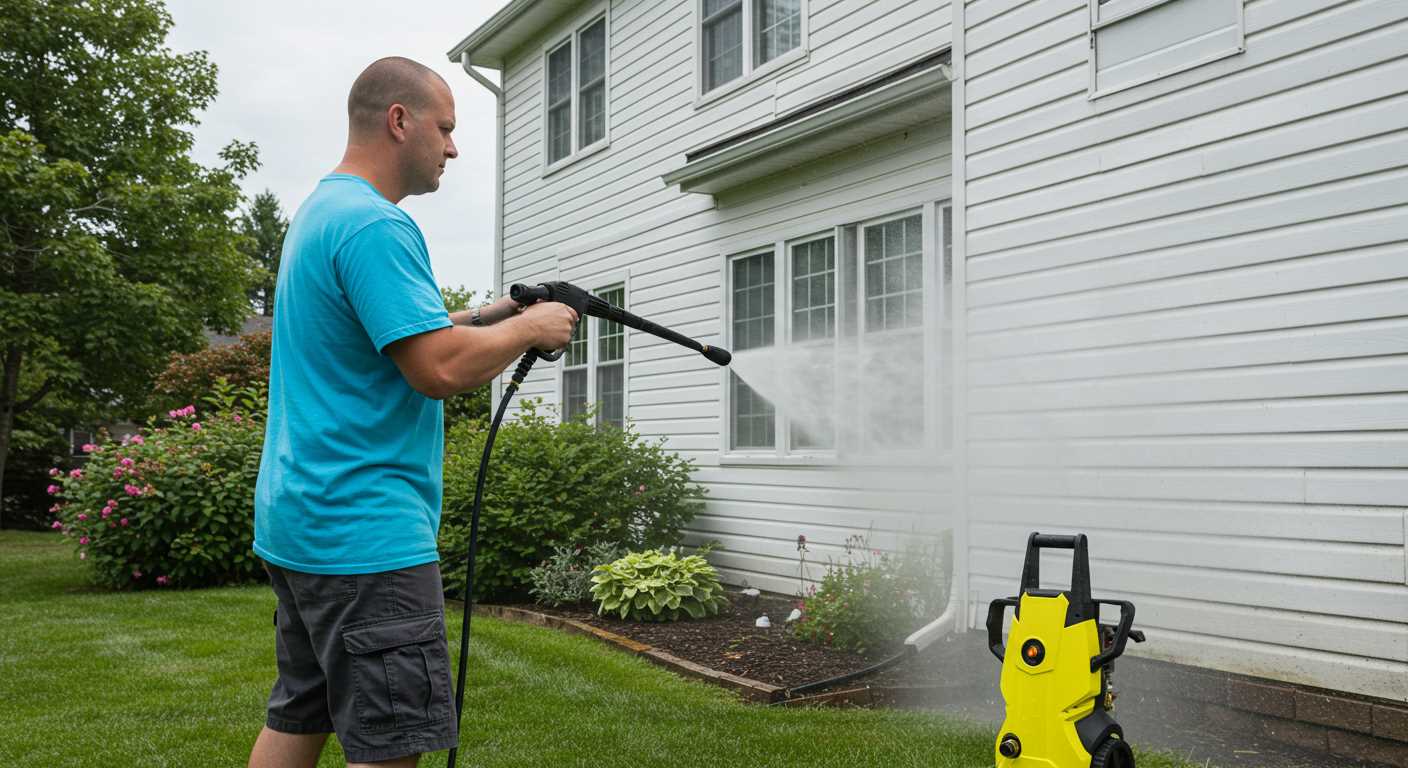
For the best results on timber surfaces, a setting between 1200 to 1500 PSI is recommended. This range effectively removes dirt and grime without damaging the material. If the deck has not been maintained for a while, you might need to approach the upper limit.
Adjusting Nozzle Types
.jpg)
Select a 25-degree nozzle for general cleaning tasks. This attachment strikes a balance between pressure and coverage, ensuring an effective cleanse without risking surface integrity. Avoid using narrower nozzles like 0-degree ones, as they concentrate too much force in a small area, potentially causing etching or splintering.
Testing Pressure Application
Before any extensive cleaning, test the adjusted output on a small, inconspicuous section. This step confirms that the chosen PSI and nozzle do not harm the surface. If results are satisfactory, gradually increase pressure while remaining vigilant for any signs of damage.
Preparing the Deck for Pressure Washing
Start by removing all furniture, planters, and accessories from the surface to create an uncluttered area for cleaning. This ensures that no items get damaged and allows for thorough access.
Next, sweep the entire area to eliminate dirt, leaves, and debris. Focus on corners where grime tends to accumulate, as this will make the deep cleaning process more effective.
Inspect the boards closely. Look for any signs of rot, splinters, or loose nails. Address repairs before initiating the cleaning process; this prevents further damage during cleaning.
After addressing repairs, cover any nearby plants and delicate areas with plastic sheeting. This precaution protects them from potential harm caused by high water pressure or cleaning agents used during the process.
Consider applying a wood cleaner before cleaning, especially if the surface appears particularly stained or weathered. Allow the cleaner to set as per the manufacturer’s instructions for optimal results, making it easier to remove stubborn grime.
Lastly, ensure the environment is safe. Check weather conditions and avoid wet surfaces that could create slip hazards. Prioritising safety guarantees an efficient and incident-free cleaning experience.
Cleaning Techniques: Moving Patterns and Tips
.jpg)
For optimal results, employ a consistent overlapping pattern while working over surfaces. Start at one edge and move systematically, overlapping each pass by about 30%. This approach ensures that no areas are missed and prevents streaks or uneven cleaning.
Adjust the nozzle to achieve the desired spray pattern. A fan spray is generally ideal for expansive areas, while a narrower jet can tackle stubborn stains. However, be cautious with narrower settings; they may cause damage if held too close or used on softer materials.
Maintain a distance of at least 12 inches from the surface to avoid gouging. Moving in a horizontal manner across the boards, rather than vertically, minimises the risk of water penetrating the wood grain.
When approaching corners or edges, reduce the pressure slightly and proceed with caution to prevent splintering. A handheld nozzle can offer more control in these tighter areas.
Incorporate a sweeping motion as you clean. This technique not only helps achieve uniformity but also allows for better control of water flow, thus aiding in quicker drying times post-cleaning.
If areas are particularly dirty, consider pre-treating those spots with a suitable cleaner before commencing the high-power washing session. Allow the cleaner to sit for a few minutes for best results.
Lastly, be mindful of the weather conditions. Always aim for a dry day with mild temperatures to avoid rapid drying, which can lead to streaks and marks.
Post-Cleaning Care for Wooden Decking
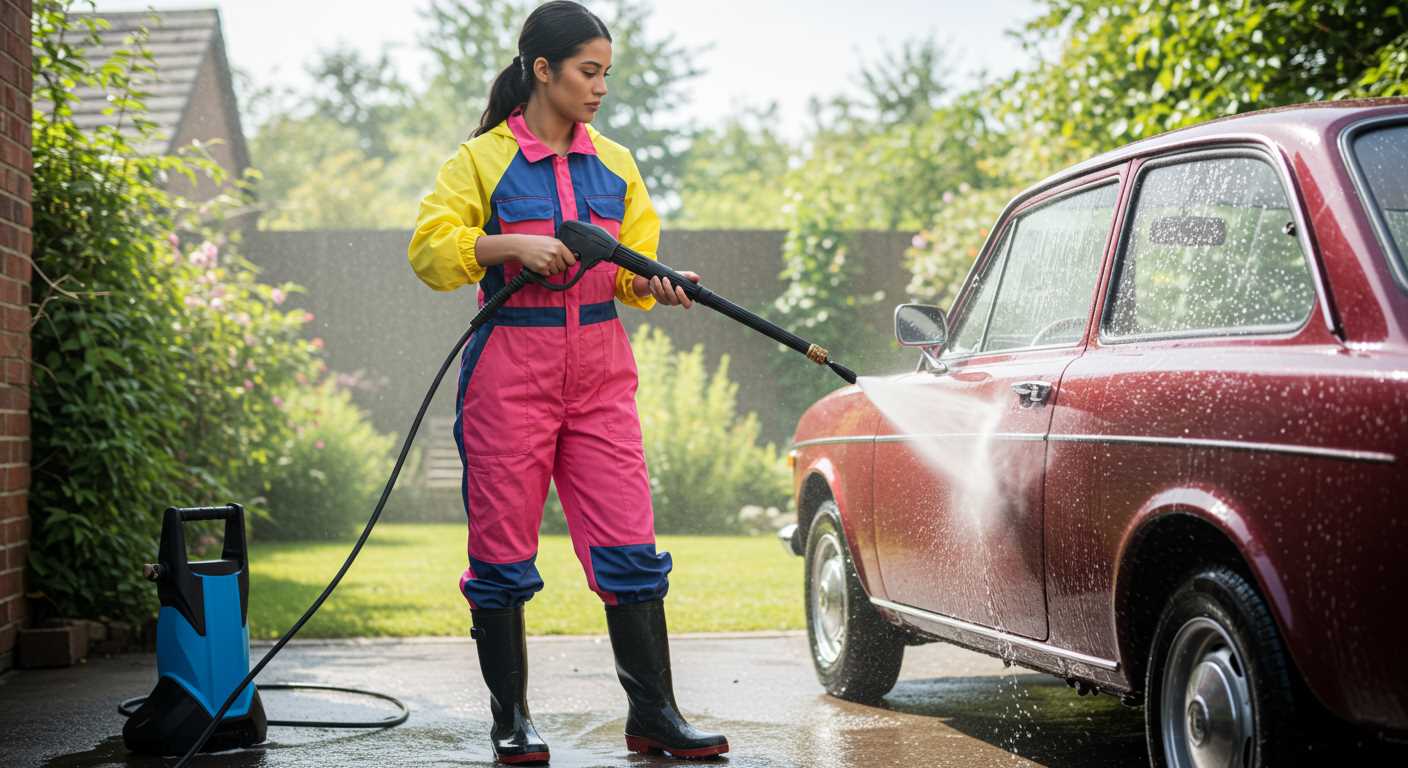
After thoroughly cleaning your outdoor surface, proper maintenance becomes crucial to prolong its lifespan and maintain aesthetics. Here are some key steps to consider:
- Drying: Allow the surface to dry completely. This can take 24 to 48 hours, depending on weather conditions. Ensure that no furniture or plants are placed on it during this time.
- Inspection: Examine the area for any damages or wear that may require attention. Look for splintering, cracking, or areas that require re-sealing.
- Sealing: Once the surface is dry, apply a quality sealant or stain. Choose a product specifically designed for outdoor usage to protect against moisture, UV rays, and mildew. Reapplication is usually needed every 1-3 years, depending on exposure and wear.
- Regular Maintenance: Implement a routine cleaning schedule. Sweep away debris regularly, and consider spot-cleaning any stains immediately to prevent long-term damage.
- Furniture Placement: When returning furniture to the cleaned area, use protective pads under legs to prevent indentations and scratches. Consider using outdoor rugs to help shield the surface further.
- Seasonal Checks: Prepare for seasonal changes by inspecting again before winter or summer. Adjust maintenance practices based on your local climate, and perform any necessary repairs before harsh weather sets in.
This routine will help maintain both the health and appearance of your exterior flooring for years to come. Consistency in care is key.”}
Signs of Damage After Pressure Washing: What to Look For
Inspect for splintering. Fragments of wood lifting from the surface indicate excessive force was applied. This can lead to decay if left unaddressed.
Look for fuzzy or raised grain. If the texture feels rough to the touch, it’s a sign that the cleaning process may have stripped away the protective finish and damaged the surface layers of the timber.
Check for discoloration. Uneven colouration or dark patches can hint at moisture penetration or uneven cleaning, possibly leading to mould or mildew if not treated promptly.
Monitor for loose boards. A loss of adhesion might occur, particularly around joints. This is a sign that water pressure was too high, jeopardising the structural integrity.
Watch for cracking or splitting. These structural damages may develop as wood fibres are compromised by aggressive cleaning techniques.
- Examine the edges of planks for any signs of wear.
- Assess railings and stairs as these areas are often subjected to higher levels of pressure.
- Look for surface peeling, especially if a sealer was previously applied.
If any of these signs emerge, it’s crucial to address them immediately. Consider applying a suitable wood treatment or sealer to restore protective elements and extend the lifespan of the outdoor surface. Regular monitoring post-cleaning will ensure the integrity remains intact for years to come.

