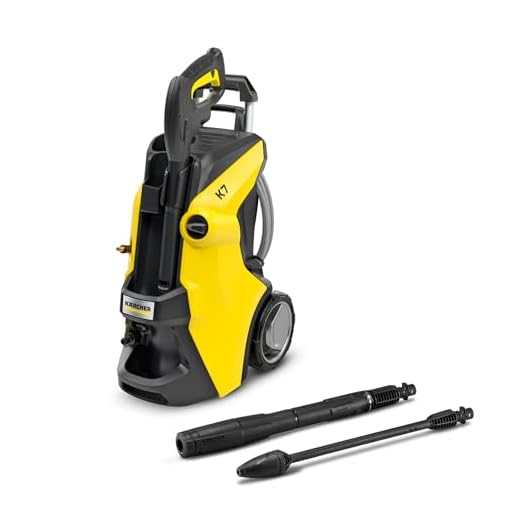


Direct answer: no. While high-powered cleaning devices excel at removing grime from various surfaces, tackling a shower’s delicate components requires more caution. The force generated by these machines can cause damage to tiles, seals, and glass, leading to costly repairs or replacements.
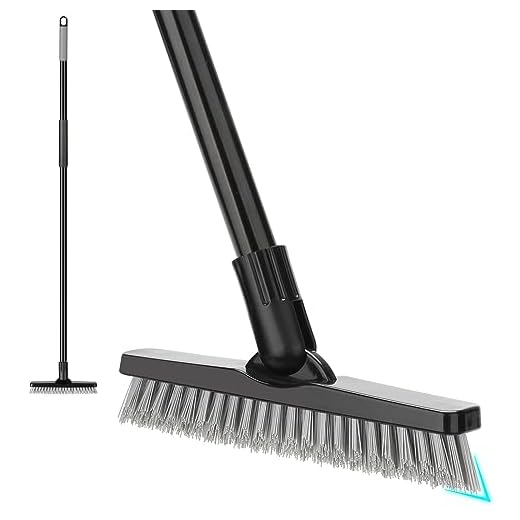
Instead, I recommend exploring alternative techniques to maintain a sparkling bathing space. Gentle scrubbing with appropriate cleaners, a soft brush, and warm water often yield excellent results without the risk of damage. Consider using specialised bathroom cleaners that target soap scum and mildew effectively, along with regular maintenance to prevent build-up in the first place.
Investing in proper tools designed specifically for bathroom surfaces can save time and hassle. Products like handheld scrubbers and non-abrasive cloths work wonders in combination with mild detergents. Regular upkeep will ensure your shower remains in top condition without compromising its longevity.
Assessing the Suitability of Your Shower Material
Assessing whether a high-pressure cleaning device is appropriate starts with identifying the material of your bathroom enclosure. Each surface reacts differently to intense water jets. Common materials include tile, acrylic, glass, and natural stone. Each needs careful evaluation before applying any cleaning method using powerful machinery.
For ceramic or porcelain tiles, they are generally robust and can withstand intense force, allowing for effective removal of grime. Ensure that grout lines are not damaged; they may require gentler treatment or sealing post-cleaning.
Acrylic surfaces are less durable. Using a high-pressure device can cause scratches or cracks. Opt for low-pressure techniques or softer washing solutions instead to maintain the integrity of the finish.
Glass walls can handle some pressure, but excessive force might shatter or crack panels, especially if they’re older or already have imperfections. Use a lighter touch and watch for stressing in the material.
Natural stone requires additional caution. Granite can typically withstand pressure, but softer stones like limestone or marble can be eroded. It’s advisable to consult the manufacturer’s guidelines or test on a small area first.
Always consider the condition of seals and joints. High pressure may compromise these, leading to leaks or water damage over time. Protecting these components is crucial for maintaining functionality.
Conduct a thorough assessment of your specific shower materials, ensuring the method chosen aligns with their durability before proceeding with any intense cleaning technique.
Preparing Your Pressure Washer for Indoor Use
I recommend ensuring your equipment is in optimal condition before starting any task indoors. First, check the water supply, ensuring it’s clean and free from debris. This prevents any contamination that might affect performance or leave residue.
Next, inspect hoses and fittings for leaks or wear. Leaks can lead to water damage in enclosed spaces and may reduce cleaning power. Tight connections are essential to maintain pressure integrity.
Attach a suitable nozzle, typically a fan or spray nozzle, as it reduces the risk of damaging surfaces. A narrower spray can increase force but may also cause harm to delicate materials.
Additionally, take note of the equipment’s settings. Adjust the pressure settings to a lower level suitable for indoor surfaces. High pressure can result in excess moisture, creating hazards such as slippery floors.
Plan your approach; consider ventilating the area if possible. This helps manage moisture levels and improves working conditions. Have towels or mops nearby to handle any spills promptly.
Finally, always wear protective gear, including goggles and gloves, to safeguard against splashes and potential irritants. This ensures safety while operating the device indoors.
Setting the Correct Pressure for Safe Cleaning

Adjusting the output is paramount. For delicate surfaces, such as tile or acrylic, the ideal range for the nozzle’s force is between 1200 and 1500 PSI. This range effectively removes mildew and soap scum without causing damage.
Choosing the Right Nozzle
The selection of the appropriate nozzle contributes significantly to application efficiency. A 25-degree or 40-degree nozzle is generally recommended, as it disperses water over a wider area, leading to less concentrated pressure on any one spot. This minimises the risk of chipping or scratching.
Pressure Adjustment Guidelines
| Surface Type | Recommended PSI | Nozzle Type |
|---|---|---|
| Ceramic Tile | 1200 – 1500 | 25-degree |
| Glass | 1000 – 1200 | 40-degree |
| Fibreglass | 1300 – 1600 | 25-degree |
| Natural Stone | 1500 – 2000 | 15-degree |
Start with the lowest possible output and gradually increase it, monitoring for any signs of surface damage. Pay attention to any changes in texture or appearance as you adjust the settings.
Techniques for Targeting Mold and Mildew
To effectively tackle mould and mildew in damp areas, the application method is critical. Here are specific techniques to enhance your success rate:
1. Pre-Treatment with Cleaning Solutions
Before engaging in any high-pressure operation, I recommend applying a suitable cleaning solution. Choose one designed for fungi removal. Allow it to sit for about 15 to 20 minutes, which will loosen stubborn growths.
2. Angle of Spray Nozzle
The selection of the right nozzle is vital. A 25-degree or 40-degree nozzle is best for tackling delicate surfaces. Ensure you maintain a distance of approximately 12 to 18 inches from the target area to prevent damage while effectively dislodging mould and mildew.
3. Sweeping Motion
Employ a sweeping motion while moving the wand. This technique helps distribute the force evenly. Start from the top and work your way down to avoid pushing debris further up or into untouched areas.
4. Multiple Passes
For resilient spots, consider making several passes over the same area instead of increasing the intensity. This method avoids risking surface damage while still achieving the desired results.
5. Aftercare
.jpg)
Post-removal, it’s important to manage any remaining moisture. Use a fan or dehumidifier to facilitate drying. This will help prevent regrowth of unwanted organisms.
6. Regular Maintenance

Incorporate regular cleaning sessions into your routine to keep mould and mildew at bay. Consistency reduces build-up and keeps surfaces hygienic.
Implementing these techniques has proven effective in my experience, allowing for a thorough and safe approach to eradicating unwanted growths without damaging surfaces.
Necessary Precautions to Avoid Water Damage
Before engaging in any high-powered cleaning indoors, confirm that the environment has adequate drainage. Ensure that the shower area retains no standing water to mitigate risks of water infiltration.
Next, seal open gaps around fixtures and fittings. Employ a waterproof tape or silicone to shield vulnerable areas where water could seep in, particularly around taps and shower heads. This simple step aids in minimizing the potential for damage to the surrounding walls and cabinetry.
Safeguarding Electrical Outlets
Take precautions regarding electrical outlets. Avoid aiming the jet at any outlet or electrical installation. Disconnect any appliances in the vicinity to prevent accidental contact with water jets, which could lead to short circuits or other electrical hazards.
Using Protective Barriers
Implement protective barriers such as tarps or plastic sheeting to shield surfaces not intended for cleaning. By using these materials, I can prevent unintended damage to adjacent fixtures, tiles or stonework. Pay particular attention to structural elements that may not withstand excessive moisture or high-pressure water streams.
Alternative Cleaning Methods if Pressure Washing Isn’t Suitable
If a high-powered cleaning device isn’t appropriate for your task, several alternative approaches can ensure your bathing area looks its best without causing damage.
Vinegar and Baking Soda
A mixture of vinegar and baking soda effectively tackles soap scum and mineral deposits. Here’s how:
- Sprinkle baking soda on stained areas.
- Spray white vinegar over the baking soda.
- Allow the combination to fizz for approximately 15 minutes.
- Scrub with a soft-bristled brush or cloth.
- Rinse thoroughly with warm water.
Steam Cleaners
Utilising steam cleaning equipment can be beneficial for removing grime and disinfecting surfaces. Follow these steps:
- Fill the steam cleaner with water and heat it according to the manufacturer’s instructions.
- Apply steam directly to heavily soiled areas.
- Wipe surfaces down with a microfibre cloth as the steam lifts dirt.
Both methods are environmentally friendly and provide a safe alternative to heavier equipment, while ensuring thorough cleaning.”


