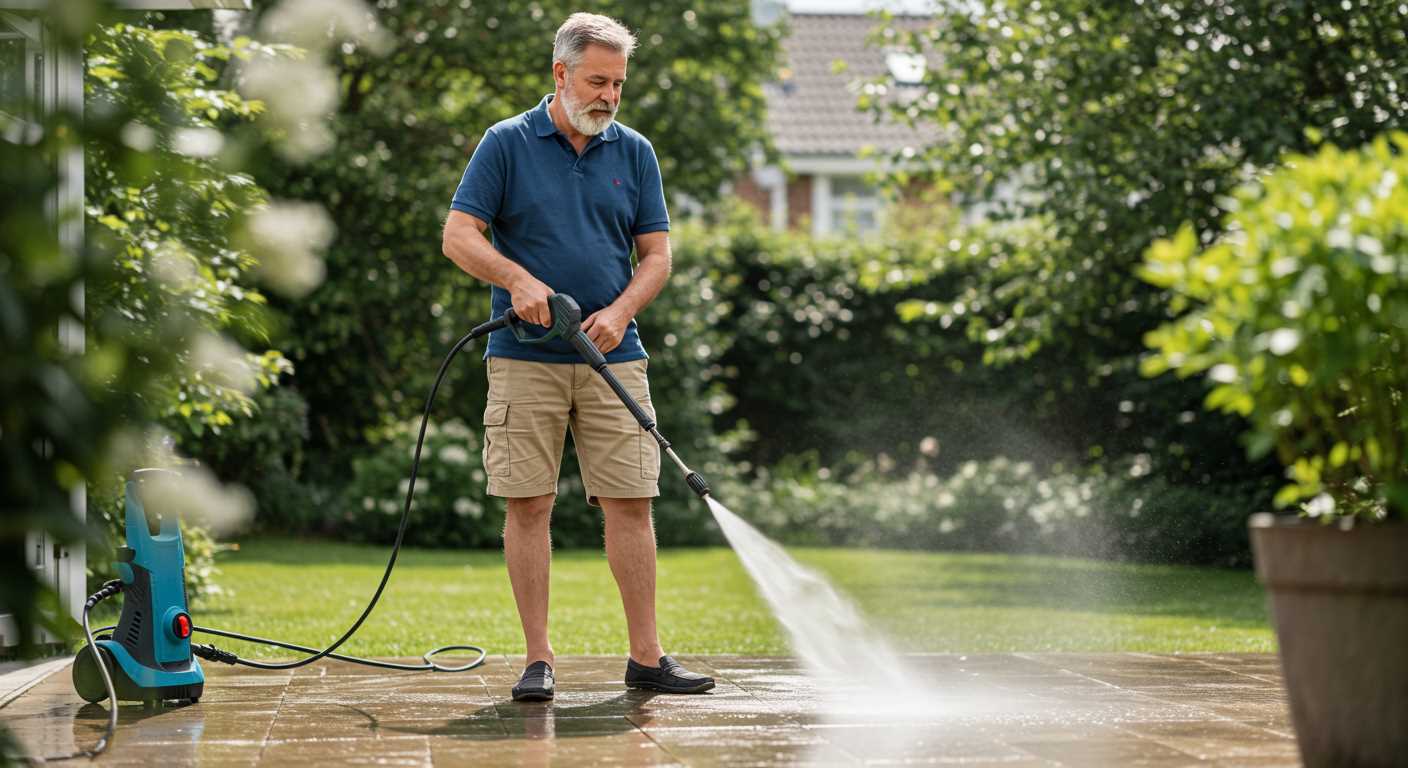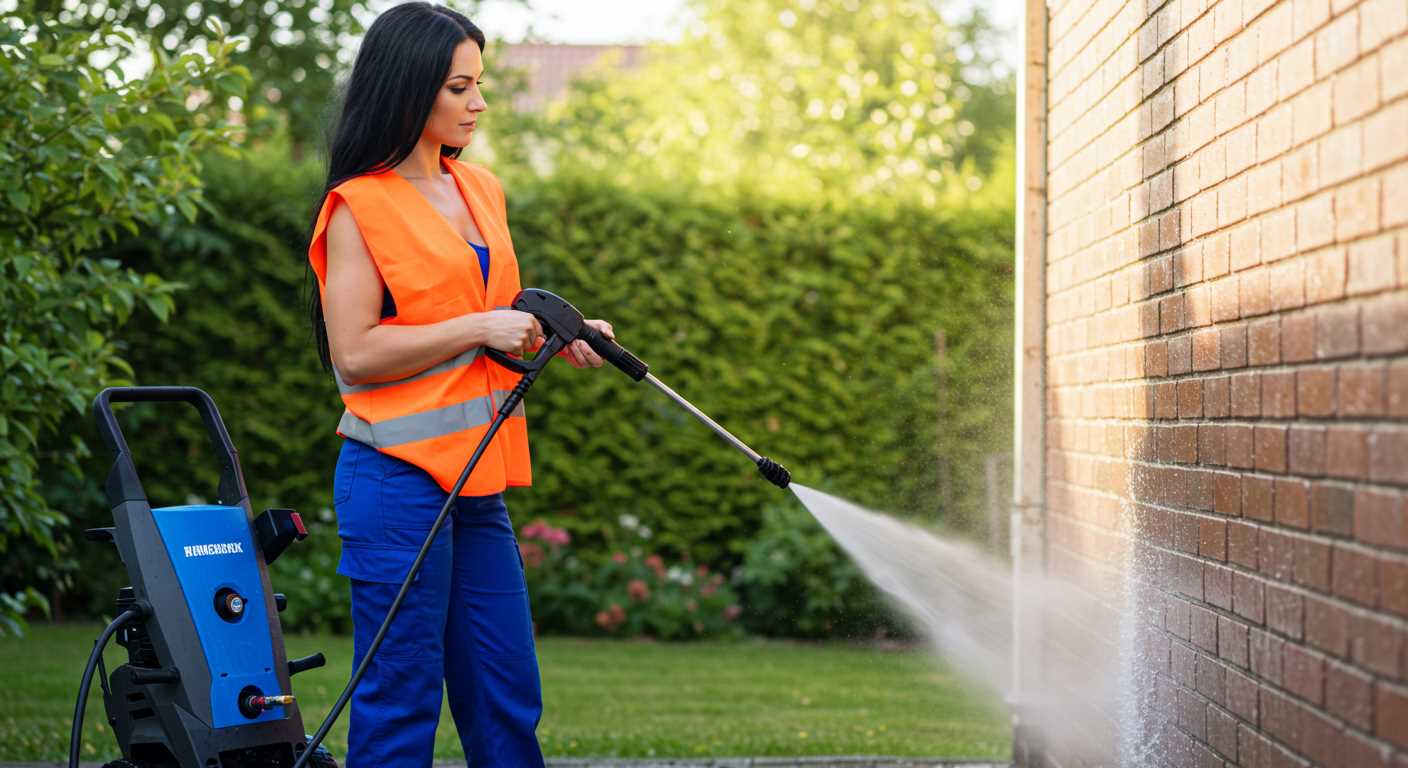


Combining snow foam with a high-powered cleaning device is entirely feasible and widely recommended for achieving superior vehicle cleanliness. The rich lather produced effectively lifts dirt and grime, making it easier to rinse away, thereby minimising the risk of scratches. For optimal results, a snow foam lance designed specifically for attachment to your cleaner is necessary. This ensures correct application and maximises the foam’s dwell time on surfaces.
When selecting a product for this purpose, focus on a snow foam solution that balances surfactants to ensure strong cling without being overly aggressive. The pH level of the foam should ideally be neutral to safeguard any delicate finishes on your vehicle. It’s advisable to check compatibility with various surfaces before application, especially with sensitive materials such as matte finishes.
For the best outcome, pre-rinse the vehicle to remove loose debris before applying the foam. This step further enhances the cleaning process and protects the application mechanism from obstruction. A generous layer of foam should be allowed to dwell for several minutes, promoting thorough cleaning. Subsequently, rinse with a steady stream of water, ensuring all residues are removed. Following these guidelines will not only simplify the cleaning process but will significantly elevate the results.
Using Foam Cleaner with High-Pressure Equipment
Applying a cleaning regimen with a high-pressure device enhances the removal of grime and residues. Mixing a specific foaming agent with water before using it in the applicator is highly recommended. Adhering to the manufacturer’s guidelines for dilution ratios ensures maximum effectiveness.
Follow these steps for optimal results:
- Check compatibility between the foaming agent and the high-pressure unit.
- Prepare the mixture according to the instructions, ensuring the right concentration.
- Attach the foaming attachment securely to the high-pressure device.
- Begin applying the foam, starting from the bottom and moving upwards, allowing it to dwell on the surface to lift dirt.
- Rinse thoroughly after the foam has set, ensuring all residues are removed.
Regularly inspect the equipment for blockages or wear, as maintenance directly impacts performance. Avoid leaving the foam on for too long, as it can dry and become difficult to remove. This method is particularly effective for pre-washing vehicles, which helps minimise swirl marks during the final wash process.
Always prioritise safety by wearing protective gear and ensuring the work area is clear of obstacles. This approach not only guarantees a thorough clean but also extends the lifespan of the high-pressure equipment.
Choosing the Right Snow Foam for Your Pressure Washer
Selecting an appropriate foaming solution enhances cleaning efficiency. Look for products specifically designed for performance with your equipment type, ensuring compatibility and optimal results. Concentration levels vary, so choose a formula compatible with your desired dilution ratio.
Types of Formulations
Alkaline formulations effectively break down dirt and grime, ideal for vehicles and outdoor equipment. Acidic variants target mineral deposits, perfect for hard surfaces like driveways and patios. Ensure the selected cleaner aligns with the surfaces you intend to treat.
Additional Factors to Consider

Viscosity impacts foam generation; thicker products cling to surfaces better, providing extended dwell time for effective cleaning. Check if the solution contains lubricants to prevent potential scratches on delicate surfaces. Always prioritise pH neutrality to safeguard painted finishes and sensitive materials.
Step-by-Step Guide to Applying Snow Foam
Start by gathering the necessary tools: a foam lance, an appropriate cleaning solution, a water source, and a reliable power sprayer. Ensure the equipment is in good working condition.
1. Prepare the Equipment

- Connect the lance to the sprayer securely.
- Fill the foam container with the chosen cleaning solution, following the manufacturer’s instructions for dilution.
- Attach the foam lance to the pressure device once prepared.
2. Set Up Your Area
- Park the vehicle on a flat surface, avoiding direct sunlight to prevent premature drying of the cleaning agent.
- Ensure the area is free from obstructions and has adequate drainage.
3. Apply the Cleaning Solution
- Adjust the device settings for the desired pressure.
- Starting from the bottom and working upwards, spray the cleaning mixture evenly across the surface.
- Allow the solution to dwell for approximately 5 to 10 minutes, depending on the product guidelines.
4. Rinse Off
- Switch to a rinsing nozzle or setting on the device.
- Begin rinsing from the top downwards, ensuring all residue is removed thoroughly.
- Check for any remaining spots, reapplying if necessary before rinsing again.
After completion, store the equipment properly and review the cleanliness of the surface to determine if further cleaning steps are required. Regular practice enhances proficiency with this technique.
Adjusting Pressure Settings for Optimal Foam Coverage

For optimum coverage, aim for a pressure range of 1000 to 1500 psi. This will ensure that the formulation adheres effectively to surfaces without risking damage.
Finding the Sweet Spot
It’s crucial to test varying settings to determine the most effective output for the product being applied. Start at the lower end of the spectrum and gradually increase. Observing foam consistency is key; ideal application should produce thick, clinging lather rather than a watery spray.
Impact of Nozzle Type
The choice of nozzle significantly influences the outcome. A wider fan nozzle creates broader coverage and helps distribute the product evenly. In contrast, a narrow nozzle may produce more concentrated foaming but can lead to uneven application. Experimenting with these options can validate the best method for specific tasks.
Common Mistakes When Applying Lather with a High-Pressure Cleaner
One frequent error is not pre-rinsing the vehicle before application. Skipping this step leads to inadequate cleaning, as dirt particles may scratch the paintwork during contact.
Another common oversight involves using an incorrect dilution ratio for the cleaning agent. Always adhere to the manufacturer’s instructions, as too concentrated or too diluted solutions can reduce performance and potentially harm surfaces.
Neglecting to adjust the attachment tip can significantly impact results. A wide fan spray is generally best for even coverage, while a narrow tip may concentrate the solution too strongly on one spot, risking damage.
Additionally, applying the product in direct sunlight can cause it to dry too quickly, making it less effective. It’s advisable to work in shaded conditions to allow the lather adequate time to dwell on surfaces.
Many individuals fail to allow sufficient dwell time for the cleaner to break down grime. Allowing the lather to sit for a few minutes enhances cleaning efficiency. Rushing through this process can lead to unsatisfactory outcomes.
Finally, not rinsing thoroughly can leave behind residues that attract dirt and grime in the future. A final rinse should ensure all traces of the cleaning solution are removed for optimal results on subsequent cleans.
How to Rinse Off Snow Foam Properly
Rinsing requires precision for an optimal outcome. Begin by selecting a nozzle that creates a wide spray pattern, ensuring even coverage while dislodging residue effectively. Adjust the flow pressure to a lower setting; a gentle rinse will protect the surface while removing accumulated dirt and chemical agents.
Technique Steps
1. Maintain a consistent distance of around 2-3 feet from the vehicle while rinsing. This prevents damage and enhances even cleaning.
2. Work from top to bottom; gravity aids in lifting off contaminants. Start at the roof, then the windows, and proceed downwards.
3. Ensure to apply a sweeping motion rather than focusing on one area. This prevents streaks and ensures that the entire area is rinsed adequately.
Drying Tips
After rinsing, dry surfaces using a microfibre towel to prevent water spots. Use a soft drying towel to gently blot off excess water. For larger vehicles, consider using a leaf blower to push water from crevices.
| Dos | Don’ts |
|---|---|
| Use a wide spray angle to cover more area. | Don’t get too close to surfaces to avoid damage. |
| Work systematically from top to bottom. | Don’t rush; allow adequate time for rinsing. |
| Use soft, lint-free towels for drying. | Don’t leave water to air dry, as spots can form. |
Maintaining Your Pressure Washer After Snow Foam Use

After applying a thick lather of cleaning solution, it’s critical to maintain the equipment to ensure longevity and optimal functionality. First, rinse any residue from the machine’s exterior, particularly the attachment nozzle and hose. This step prevents any buildup that might clog the components.
Following the exterior cleaning, it’s wise to flush the detergent tank thoroughly. Fill it with clean water and run the unit for a few minutes. This action clears out any remnants of the cleaning solution, preventing corrosion and blockages in the system.
Next, inspect the filter. A clogged filter can hinder performance, so removing and cleaning it is essential. If the filter is damaged or excessively worn, replacing it is advisable.
Additionally, check the spray nozzle and any other attachments. Clean them by soaking in water or using a brush to eliminate any dried solution. Maintaining these parts will help maintain proper pressure and spraying accuracy.
Finally, store the equipment in a cool, dry place, and avoid leaving any cleaning solutions in the tank. Regular checks and cleaning after each use will keep the washer in top condition, ready for the next cleaning task.


