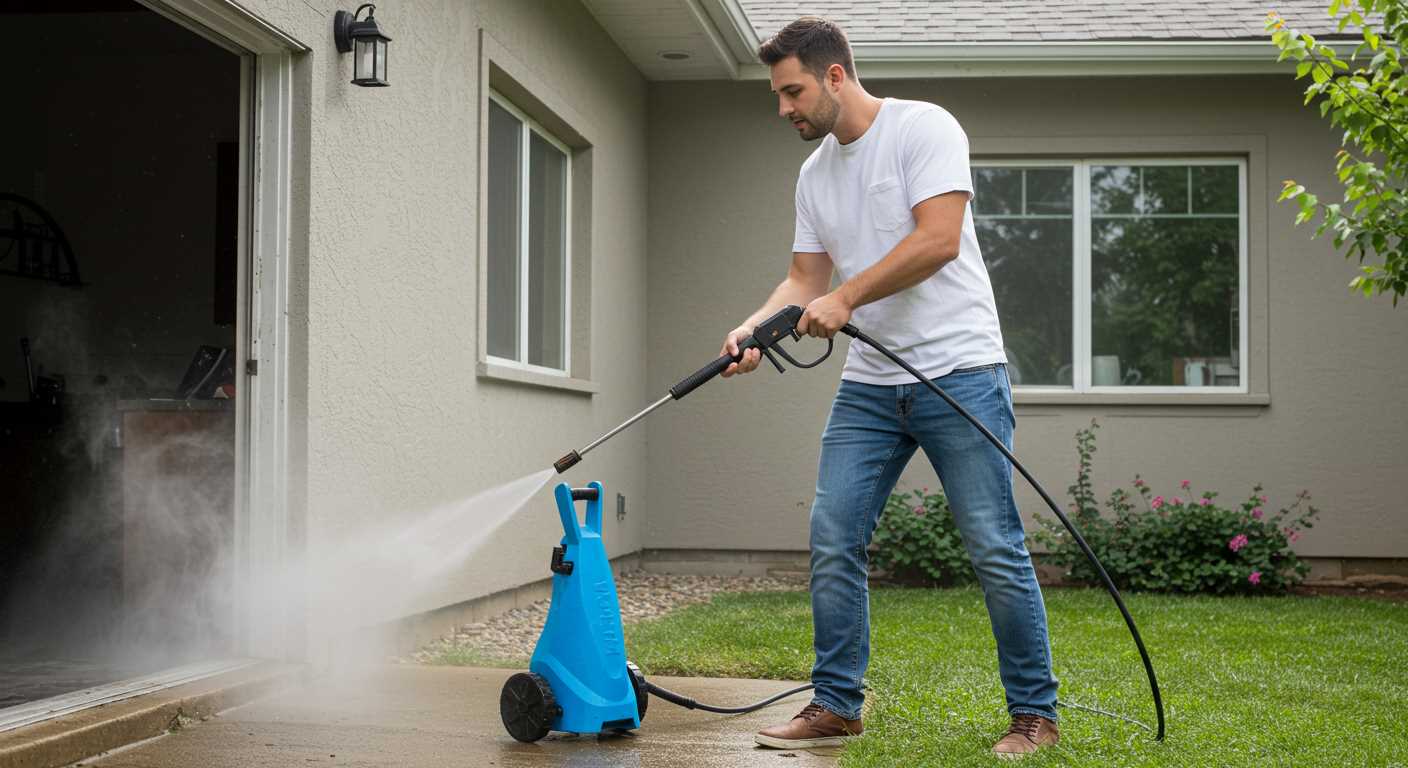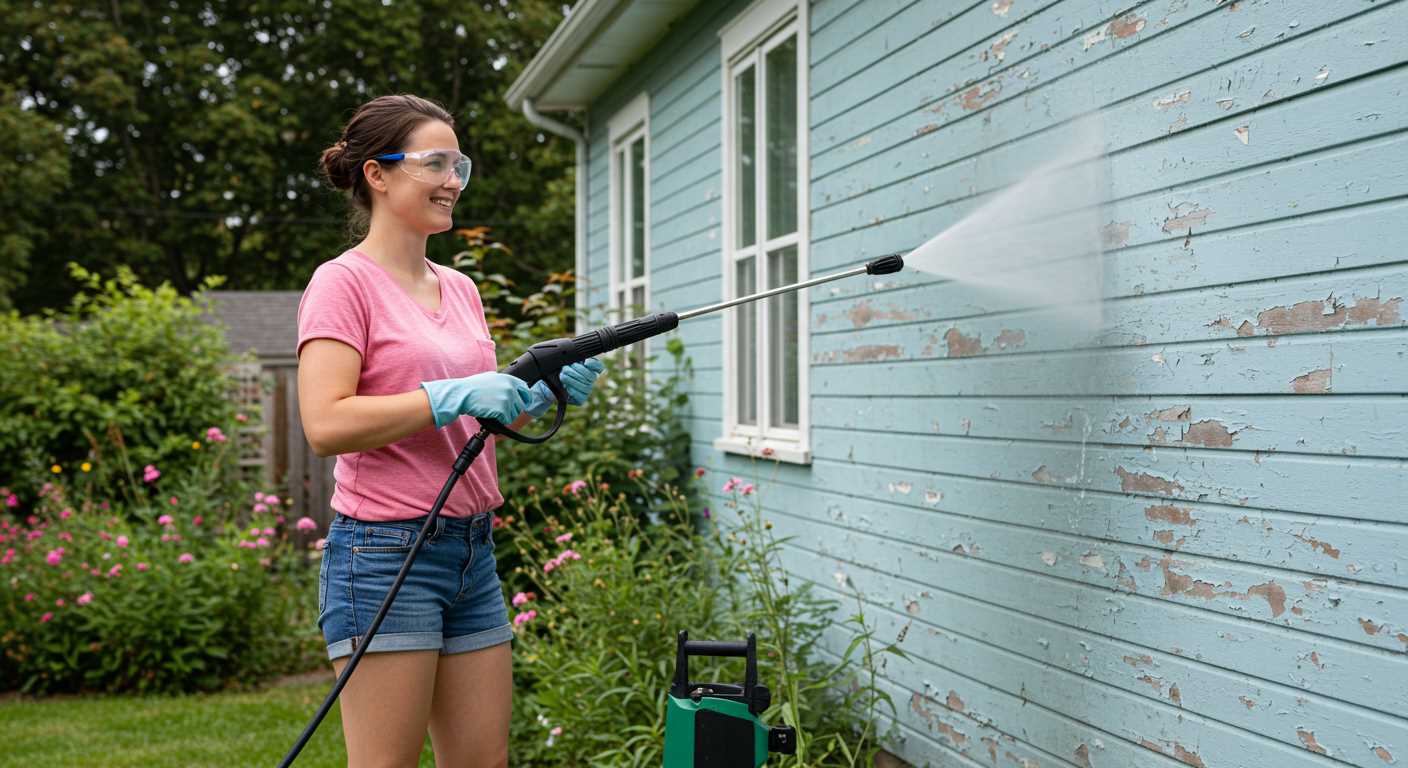


Absolutely, utilising high-pressure equipment can be an effective method for cleaning glass surfaces. However, several critical factors need attention to ensure safety and achieve optimal results.
Begin by selecting the correct nozzle type; a fan nozzle typically minimises the risk of shattering while still providing sufficient cleaning power. It’s also essential to maintain a safe distance from the surface–approximately 2 to 3 feet–especially for delicate glass, to prevent damage.
Prior to commencing, ensure that any loose dirt or debris is removed manually. This preliminary step avoids the potential of scratching glass during the process. Regular adjustment of the pressure settings is also vital; lower pressure levels are advisable for fragile surfaces.
Consider the cleaning solution utilised alongside the equipment. A gentle solution designed for glass is a good choice, as harsh chemicals may compromise the clarity and integrity of the surface. Always rinse thoroughly after application to avoid residue.
Finally, be ready to address any streaks after initial cleaning. A soft, dry cloth or a squeegee can effectively eliminate any remaining marks, resulting in a clear and polished finish.
Selecting the Right Pressure Washer for Window Cleaning
Opt for a unit with a maximum pressure rating below 1500 PSI to avoid damaging glass surfaces. A lower pressure effectively removes grime without the risk of etching or cracking.
Key Features to Consider

- Adjustable Nozzle: A versatile nozzle allows for adjusting the spray pattern, providing control over the water flow and intensity.
- Detergent Injection System: This feature enables the use of cleaning solutions, enhancing cleaning efficiency while preserving window integrity.
- Lightweight Design: Choose a model that is easy to manoeuvre, especially if reaching elevated areas.
- Electric vs. Gas Models: Electric units are typically quieter and more suited for home use, while gas models offer more power for larger jobs.
Additional Considerations
- Assess the availability of accessories, such as extension wands, for reaching high or difficult areas.
- Check the hose length to ensure it provides sufficient reach without needing additional extensions.
- Evaluate customer reviews and durability ratings to gain insights on performance and longevity.
In my experience, investing in a quality machine not only enhances cleaning results but also extends the lifespan of your equipment. Always prioritise safety measures, such as goggles and gloves, when operating high-pressure machines.
Preparing Windows for Pressure Washing
Remove any screen or protective barrier before starting the cleaning. Detach window screens gently to avoid bending or damaging them, and clean them separately if needed. Inspect the glass for cracks or chips; any imperfections can worsen during the cleaning process. Seal those areas using a suitable adhesive if minor repairs are necessary.
Clear the area surrounding the glass. Move pots, furniture, or decorations that could get in the way. Ensure that the surrounding ground is stable and free of debris to prevent slipping or accidents during operation.
Check weather conditions. Avoid undertaking this task in direct sunlight or extreme temperatures. If the glass is hot from the sun, it might lead to rapid evaporation of cleaning solutions, leaving streaks or residue.
Gather the right tools. A soft-bristled brush or sponge will aid in the pre-cleaning of dirt and grime from the surfaces. This step minimises the amount of high-pressure water needed and protects the glass from potential damage.
Lastly, consider protecting nearby surfaces. Cover any plants, vehicles, and structures that could be affected by overspray or runoff. Using tarps or plastic sheeting can keep those areas safe from accidental water exposure and cleaning agents.
Choosing the Appropriate Nozzle for Window Washing

Select a fan spray nozzle for optimum results on glass surfaces. A 25-degree or 40-degree nozzle angle is ideal, as it creates a wider spray pattern that effectively cleans without risking damage. Avoid using narrow nozzles, like 0-degree, since the concentrated jet can chip or crack the glass.
Different nozzles can be switched easily depending on the type of grime. For instance, if there are stubborn stains, using a rotating nozzle may help lift dirt more effectively due to its dynamic cleaning action. However, be cautious with the distance from the glass to prevent excessive force on delicate surfaces.
Consider the material of the nozzle itself. Plastic nozzles can be lightweight and less prone to rust, making them suitable for low-intensity tasks. Metal nozzles are more durable for frequent usage, providing a consistent performance over time.
| Nozzle Type | Angle | Best Use |
|---|---|---|
| 0-degree | 0° | Heavy-duty cleaning, not recommended for glass |
| 15-degree | 15° | Removing tough grime, approach with care |
| 25-degree | 25° | General cleaning, effective on glass |
| 40-degree | 40° | Light cleaning, safe for windows |
| Rotating | N/A | Targeting stubborn dirt, cautious application required |
Always test spray distance before commencing with the entire surface. A distance of at least two feet is generally advisable to ensure safe cleaning. Adjust according to conditions and specific surfaces. Following these guidelines will result in clear, pristine glass.
Adjusting Pressure Settings for Safe Window Cleaning

For optimal results, setting the right pressure levels is paramount. Generally, a range of 1000 to 1600 PSI works best for delicate surfaces like glass. Higher settings risk causing chips or cracks. Always start at the lower end, testing a small inconspicuous area first.
Understanding Your Equipment
Familiarise yourself with the specifications of your device. If adjustable, turn the pressure down to a lower setting before proceeding. It’s important to know the maximum PSI your equipment can deliver and select the suitable configuration for the task at hand. A gradual increase in pressure can prevent damage.
Consider Surface Condition

Evaluate how dirty the glass is prior to cleaning. Heavy grime may require a slightly higher pressure, but ensure it remains within the safe range. If necessary, use a pre-cleaning solution to loosen dirt, allowing for a thorough clean at lower pressures.
Techniques for Avoiding Window Damage While Pressure Washing
Employ a low-pressure setting, ideally below 1500 PSI, to minimise the risk of harm to glass surfaces. This setting reduces the intensity of the stream, protecting seals and frames from potential damage.
Begin the cleaning process from the top and work downwards. This approach prevents dirt and debris from sliding down onto already cleaned areas, ensuring a more effective and uniform result.
Maintain a distance of at least 2-3 feet from the surface during operation. This distance allows for effective cleaning while reducing the likelihood of breakage due to concentrated pressure.
Utilise a wide-angle nozzle rather than a narrow spray. Wider nozzles disperse water over a larger area, softening the impact on the glass and helping to maintain its integrity.
Incorporate a soft brush attachment for scrubbing prior to rinsing. This tool aids in the removal of stubborn grime without abrasive contact that could scratch or chip the glass.
Inspect all seals and frames for wear before commencing. This precaution helps identify areas of vulnerability that may be susceptible to leaks or further damage during the cleaning process.
Rinse thoroughly after applying any cleaning solution. Residual soaps can attract dirt more quickly, leading to further cleaning needs and potential streaking on the glass.
Avoid using excessive amounts of cleaning solutions. While some cleaners are designed to assist in the removal of tough stains, an over-application may lead to residue buildup, affecting clarity and shine.
After cleaning, ensure all surfaces dry properly. This not only prevents water spots but also allows for an inspection to confirm that no damage has occurred during the process.
Cleaning Solutions and Detergents Safe for Windows
Opt for a mild detergent specifically formulated for glass surfaces. Avoid harsh chemicals that can lead to streaking or damage the window’s protective coatings. Look for products labelled as suitable for sensitive materials. A pH-neutral cleaner works well, as it prevents any potential erosion of the window frame or surrounding surfaces.
Homemade Solutions
A mixture of equal parts distilled white vinegar and water serves as an excellent DIY option. This solution effectively cuts through grime and leaves a streak-free finish. Use a microfiber cloth for application to avoid scratches.
Commercial Options
Numerous brands offer concentrated glass cleaners designed for use with various cleaning equipment. Ensure that any commercial product is explicitly marked as safe for high-pressure application to avoid damaging glass surfaces. Products that contain biodegradable ingredients are preferable, providing a more environmentally friendly choice.
Always conduct a patch test on a small area if trying a new solution to observe any adverse reactions. This precaution can prevent unnecessary damage, ensuring a successful cleaning experience.
Post-Cleaning Inspection and Care for Windows
After completing the cleaning process, conduct a thorough examination of the glass surface. Look for streaks, spots, or any remaining residues that may have been overlooked. Address these immediately using a soft cloth or a squeegee.
Check for Damage
Inspect for signs of damage, such as chips or cracks that may have been exacerbated during the cleaning task. Any imperfections should be documented and repaired appropriately to prevent further issues.
Follow-Up Maintenance
Implement a regular maintenance routine to keep glass surfaces clear. This can include routine inspections, light cleaning with a soft cloth, and applying protective coatings to reduce the adherence of dirt and grime. Ensure that these products are suitable for the specific type of glass in use.
It’s also beneficial to evaluate the condition of any weather seals or frames surrounding the glass. Damaged seals can lead to moisture infiltration, which may compromise performance and aesthetics.
Lastly, plan for seasonal cleaning schedules to maintain clarity and provide optimal views throughout the year.


