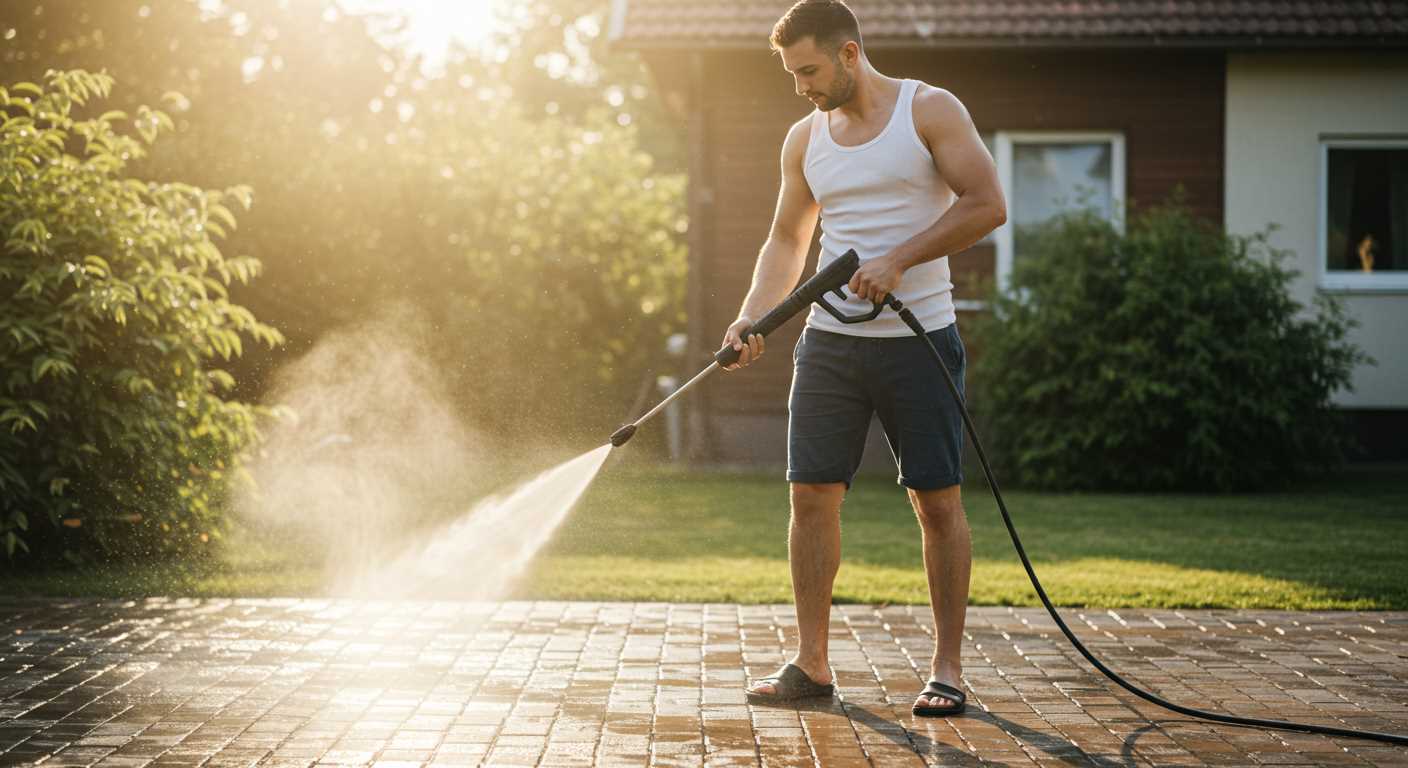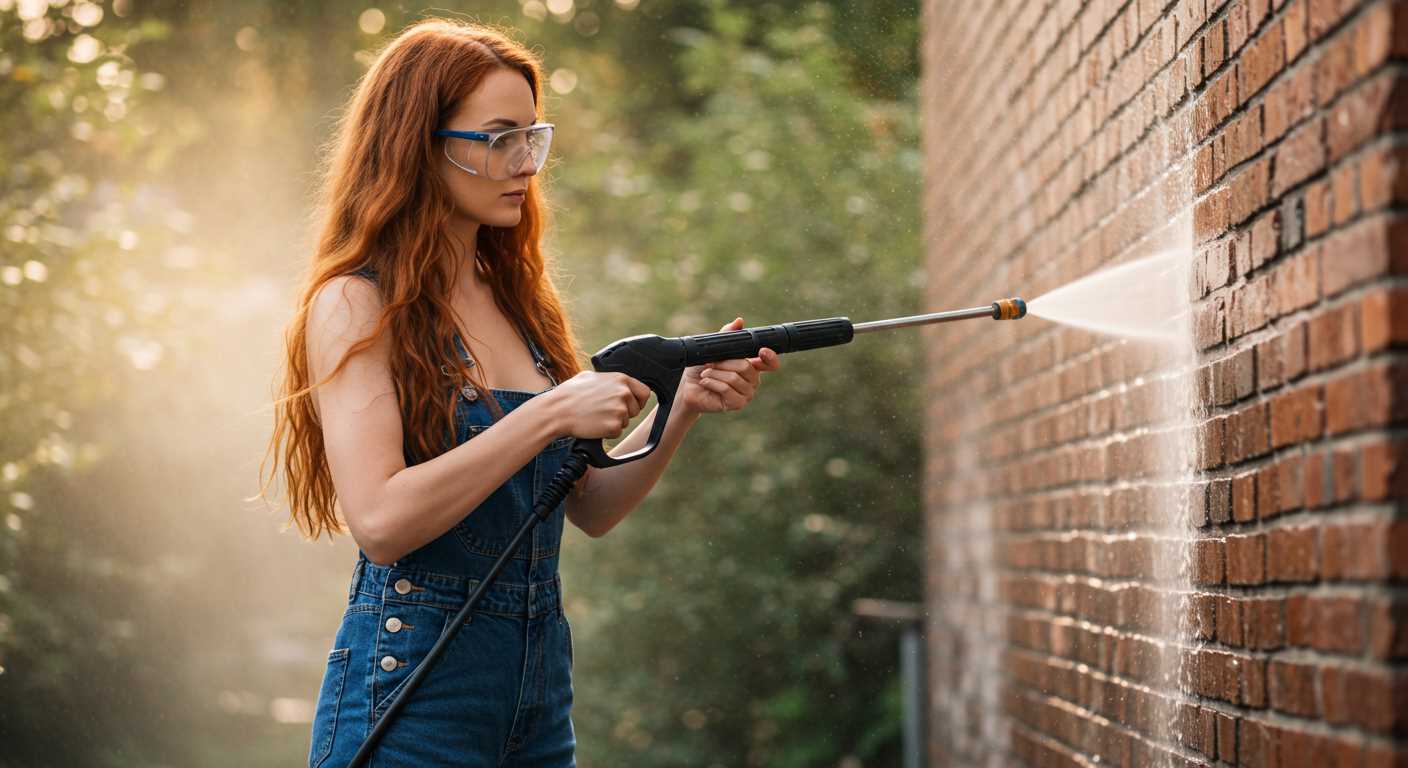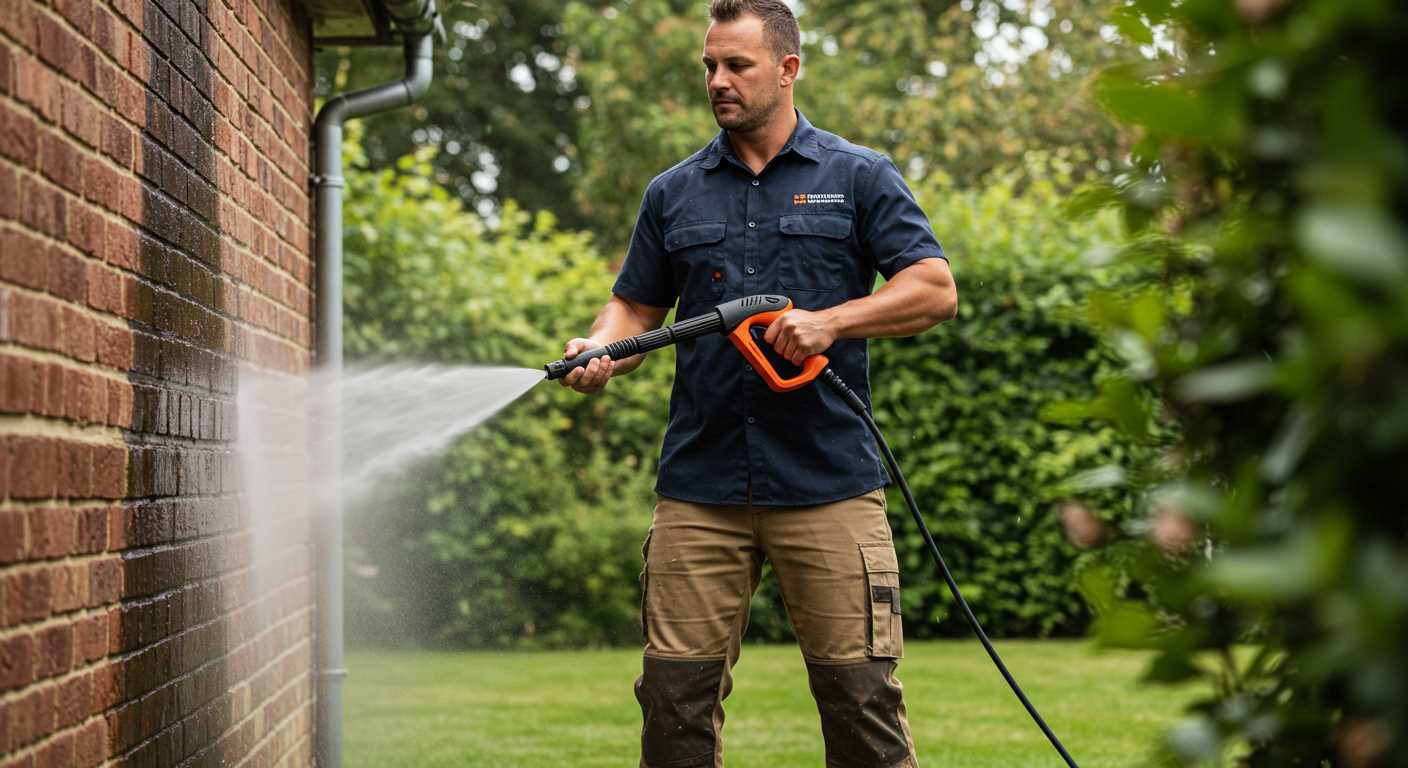


Using equipment for high-pressure cleaning can safely rejuvenate surfaces, but it’s crucial to proceed with caution. I recommend starting with a lower setting to assess how it affects the structure. Many materials respond differently; for instance, brick and concrete can usually withstand more force than wood or softer surfaces.
A pressure level above 1500 PSI is typically not necessary for most residential tasks. On softer materials, such as stucco or vinyl siding, using a milder approach at around 1200 PSI can yield positive results without risking harm. Maintain a distance of at least 2 feet from the surface to prevent any unintended consequences.
Regular testing on a small, inconspicuous area is essential before engaging in full cleaning. By doing so, you can determine if the method suits your specific texture and finish without compromising its integrity. Monitoring the results closely will ensure the effectiveness of the cleaning without destructive repercussions.
Do Pressure Washers Damage Walls
I recommend cautiously using high-pressure cleaning devices on surface structures. The intensity and direction of the water stream can lead to issues, particularly on older or more delicate materials. Prior to commencing any cleaning task, assess the surface condition thoroughly.
For instance, brick, stucco, and wood can react differently. On brick, excessive force can weaken mortar joints, while stucco may become chipped or cracked. Wood siding can suffer splintering if the stream is too concentrated. Always start with the lowest setting and gradually increase if necessary.
It’s prudent to maintain a distance of at least 12–24 inches from the surface. This spacing helps mitigate the risk of unwanted effects while still providing an adequate clean. Employing a fan tip nozzle rather than a pinpoint one can distribute water more evenly, reducing potential harm.
Testing a small, inconspicuous area before proceeding is advisable. This allows evaluation of how the material reacts to the applied pressure. If flaking, chipping, or other visible degradation occurs, it’s a clear signal to adjust the approach.
Always consider the purpose of cleaning. For routine maintenance, softer alternatives like a garden hose or manual scrubbing might be more suitable, preserving the integrity of the surface while ensuring cleanliness.
In summary, while powerful cleaning devices are effective, they require careful handling and consideration to avoid adverse outcomes on surfaces. Taking these precautions can greatly reduce the risk of harm while achieving desired results.
Understanding Pressure Washer Specifications
.jpg)
Choose a unit with the appropriate power level based on the surface you are cleaning. Units are rated in bar or PSI (pounds per square inch), which directly correlates to the force applied. For delicate surfaces, opt for lower settings (around 700-1200 PSI); for more robust materials, consider 2000 PSI or above.
GPM and Its Importance
GPM (gallons per minute) measures the flow rate of water, impacting the cleaning efficiency. A higher GPM means faster cleaning. Aim for a balance: a model with 1.5-2.5 GPM suits most residential tasks, while more demanding jobs might require up to 5 GPM.
Nozzle Selection

The nozzle can drastically influence the cleaning process. Different colours indicate various spray angles, from a focused 0° to a wide 40°. Use wider angles for large areas and narrower ones for concentrated effort on stubborn stains. Consider interchangeable nozzle capabilities for versatility, enabling you to tackle diverse tasks without hassle.
Types of Surfaces and Their Vulnerability
Different surfaces respond uniquely to intense cleaning methods. Understanding these variations is essential for effective maintenance without risk of harm.
1. Brick and Masonry

Brick and masonry are relatively robust, yet they can be damaged if the cleaning force is excessively high. Use a setting below 2000 PSI to avoid loosening mortar or causing surface degradation. Maintaining a distance of at least 12 inches can prevent any adverse effects.
2. Wood
Wooden structures are particularly susceptible. Softwoods such as pine can splinter or lose their protective coatings when exposed to intense power. Always adhere to settings of 1200 PSI or lower, and employ a fan nozzle to distribute the force evenly.
3. Stucco
Stucco finishes require delicate handling. A high-pressure spray can erode the texture, leading to costly repairs. Stick to a maximum PSI of 1500 and maintain a safe distance of at least 2 feet from the surface.
4. Vinyl Siding
This material is resilient but can succumb to extreme force. Keeping the pressure at or below 1800 PSI reduces the risk of warping or dislodging panels. A wide-angle nozzle is advisable for even coverage.
5. Concrete
Concrete can withstand considerable force but is not entirely immune. High-pressure settings can erode the surface over time. For general cleaning, a range of 2000-3000 PSI is typically safe, but be cautious of old or damaged concrete.
6. Painted Surfaces
Paint can be stripped away if the pressure is excessive. It’s safer to use a mild setting, ideally below 1500 PSI, and to use a low-pressure fan pattern to preserve the integrity of the paint.
Understanding these characteristics helps in selecting the right approach for cleaning various surfaces, minimising the potential for unintended harm while ensuring effective results.
Proper Pressure Settings for Different Surfaces
For optimal results and to prevent harm, it’s crucial to choose the right pressure levels tailored to each substrate. Here are specific guidelines based on surface types:
Concrete and Brick
For solid surfaces such as concrete and brick, I recommend settings between 2500 to 3000 PSI. This range effectively removes dirt and stains without compromising the integrity of the material. Ensure that the nozzle is set to a wide spray pattern to further reduce any potential abrasiveness.
Wood and Vinyl
When working with wood and vinyl cladding, lower settings of 1200 to 2000 PSI are optimal. It’s best to use a 25-degree nozzle to prevent etching or splintering. Maintaining a distance of at least 2 feet from the surface will further protect against potential issues.
Always test in a discreet area first to confirm the results are satisfactory before proceeding with the entire surface. Adjusting the angle of approach can also help in achieving uniformity and preventing unwanted marks.
Techniques to Minimise Wall Damage
Adjusting the nozzle type can greatly reduce the risk of harm. Opt for a wide fan setting rather than a concentrated stream. This disperses force, spreading the water impact over a larger area, which lowers the likelihood of erosion.
Maintain an adequate distance from the surface. A distance of at least 18 inches is advisable. This cushion allows the liquid to diffuse before reaching the material, minimising adverse effects.
Move the nozzle in a sweeping motion instead of holding it in one spot. This technique helps prevent concentrated pressure on a single point, reducing excessive wear or scarring.
Utilise the lowest effective setting on the device’s gauge. Higher levels can compromise the integrity of softer materials. Test on a discreet area before proceeding with the full task to ascertain the appropriate setting.
Incorporate a cleaning solution that’s suitable for the surface type. Using a less aggressive formula can enhance results without compromising the material’s durability.
| Technique | Description |
|---|---|
| Nozzle Adjustment | Use a wide fan nozzle to minimise concentrated force. |
| Distance Maintenance | Keep a distance of at least 18 inches from the surface. |
| Sweeping Motion | Move the nozzle side to side to avoid focal pressure points. |
| Pressure Setting | Select the lowest effective setting for the task. |
| Proper Cleaning Solutions | Use less aggressive cleaning agents for better results. |
Lastly, perform regular inspections of the surface post-cleaning. This helps identify minor issues before they escalate, ensuring that the structure remains intact and visually appealing.
Signs of Damage Post-Pressure Washing
After utilising high-powered cleaning equipment, monitoring for potential harm is paramount. Look for the following indicators to assess the condition of your surfaces:
- Chipping or Flaking: Inspect for areas where the surface has begun to peel or chip away. This may suggest that the intense force has compromised the finish.
- Visible Cracks: Check for cracks in masonry or other materials. The water stream can exacerbate existing weaknesses, leading to fractures.
- Discolouration: Notice any changes in colour or texture. Whether it be lightened or darkened patches, this can signal that the protective layer has been disturbed.
- Exposed Substrate: Look for bare spots where the outer layer has been stripped away, revealing the under-substance. This can leave surfaces vulnerable to further degradation.
- Moisture Retention: Monitor areas that remain damp longer than others. If certain spots don’t dry out, it may indicate water penetration into the material.
- Separation at Joints: Pay attention to the joints between materials. Separation can lead to water infiltration and future complications.
Take immediate action if any signs manifest, as early intervention can mitigate further deterioration. Regular inspections will help ensure the longevity of your surfaces following intensive cleaning procedures.
Alternatives to Pressure Washing for Sensitive Walls
Consider using a mild soap solution paired with a soft-bristle brush for delicate surfaces. This method allows for controlled cleaning without the risk of harming the material. Mix water with a gentle detergent, apply it with a brush, then rinse with water to remove the soap residue.
Utilising Steam Cleaning

Steam cleaning provides an effective alternative, using high-temperature vapour to lift grime without the abrasive force that can compromise sensitive textures. This technique sanitises surfaces and can efficiently eliminate mildew and stains. Ensure the steam cleaner is set to a suitable temperature for the material you are working on to avoid any adverse effects.
Consider Chemical Cleaners
Specialised chemical cleaners for specific materials can yield favourable results. Follow the manufacturer’s instructions and conduct a spot test in an inconspicuous area to confirm compatibility. This option is particularly useful when dealing with tough stains, where mechanical agitation might not be ideal.
Maintenance Tips After Cleaning

After completing the cleaning task, inspect the surface for any remaining residue. A gentle rinse with clean water helps eliminate any cleaning agents left behind.
Drying the surface is crucial; this can be done naturally or with absorbent materials to prevent water spots or streaks. If using cloths, ensure they are clean to avoid introducing new contaminants.
Once dry, consider applying a protective sealant to surfaces that may be affected by environmental elements. This can prolong the cleanliness and integrity of the material.
Keep an eye on your tools. Clean the equipment immediately after use to maintain its functionality and extend its lifespan. Store it in a dry, sheltered place to prevent rust and damage.
Monitor the surface over the next few days for any signs of distress like discolouration or peeling. Address these issues rapidly to avoid escalation.
Finally, perform a routine assessment of the area monthly. This will help identify any potential problems early and maintain overall aesthetics and condition.


