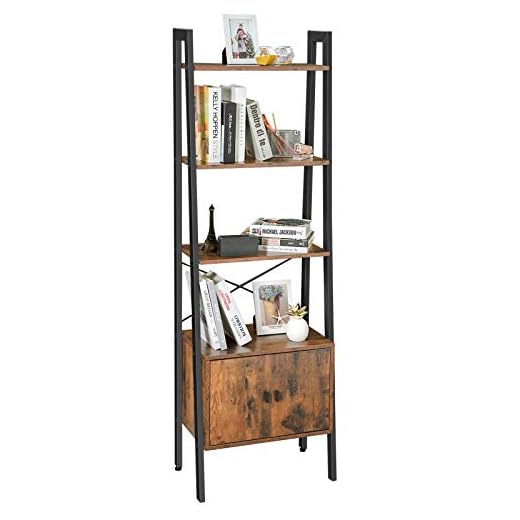


Utilise plywood or MDF for constructing a durable unit that accommodates all necessary cleaning gear efficiently. The dimensions should be tailored to the specific size of your equipment, allowing for added accessories, such as hoses and nozzles, to fit seamlessly within.
Incorporate adjustable shelves within the framework to customise the interior layout according to your evolving needs. A minimum of two or three shelves will provide ample space for various tools, while ensuring easy accessibility during your cleaning sessions.
Ensure ventilation within the design to prevent moisture build-up, which could lead to rust on metal components. Drill small holes at the base and top of the enclosure, promoting air circulation. Add a removable front panel for easy access without compromising on the unit’s aesthetic appeal.
Finish the exterior with a weather-resistant coating to protect against environmental factors. This will ensure longevity and maintain a neat appearance. Using wheels on the base can enhance mobility, allowing you to transport your equipment effortlessly whenever needed.
Creating a Convenient Storage Solution
First, select high-quality materials like weather-resistant plywood or treated lumber. These will ensure durability against environmental factors. Aim for dimensions of approximately 1.2 metres in height, 0.6 metres in width, and 0.4 metres in depth; this provides ample space without being overly bulky.
Assembly Steps
- Cut the plywood or lumber to the required sizes for the sides, top, bottom, and shelves.
- Assemble the frame using corner brackets for stability.
- Install shelves at adjustable heights to accommodate various accessories, such as nozzles, hoses, and cleaning solutions.
- Attach doors if desired, ensuring they open fully for ease of access.
- Finish with appropriate paint or sealant to protect against moisture and dirt.
Organising Content

- Utilise bins or containers to separate different items, making retrieval straightforward.
- Label each container to simplify item location.
- Consider adding a pegboard on the inside of the doors for storing smaller tools and cords.
This approach transforms clutter into a neat, organised area, enhancing the usability of space while keeping everything accessible. Regular checks on items can prevent stock from running low and ensure that cleaning tasks can be tackled efficiently.
Choosing the Right Materials for Your Storage Cupboard
Use marine-grade plywood for its durability and resistance to moisture, ensuring longevity in various environments. It’s ideal for settings where spills or humidity could be an issue. Alternatively, metal shelves made of stainless steel provide strength and are easy to maintain, making them suitable for heavy equipment.
For the frame, consider using treated lumber, which offers excellent structural support. Ensure that any wood is properly sealed to prevent rot and wear. If weight is a concern, aluminium framing can reduce bulk while still ensuring stability.
Utilise laminate finish for surfaces that may encounter frequent cleaning or scratches. This adds an extra layer of protection against wear and tear. Additionally, consider incorporating rubber padding or non-slip mats in the interior to prevent equipment from sliding and causing damage.
Acrylic or tempered glass doors can provide visibility of contents while safeguarding against dust. This transparency makes it easy to locate items without opening doors, an added convenience when handling multiple tools. Ensure hinges and fasteners are corrosion-resistant to extend the lifespan of these components.
Finally, it’s crucial to choose the right type of fasteners. Stainless steel screws and hinges will resist rust, especially in humid conditions. Avoid using standard screws or low-quality materials that might compromise the integrity of your assembly over time.
Measuring and Planning the Dimensions of the Cupboard
To effectively organise cleaning equipment, specific measurements are essential. Begin by evaluating the dimensions of the pressure cleaning unit and any associated tools. This ensures sufficient space for both the equipment and additional accessories.
Steps to Determine the Dimensions
- Height: Measure the height of the pressure cleaner. Include any attachments that may need storing vertically. A space of at least 12 inches above the unit is recommended for ventilation.
- Width: Account for the width of the cleaner and related tools. A minimum of 6–8 inches extra on each side allows for ease of access.
- Depth: Determine how deep the storage area must be to accommodate the unit and equipment. A depth of 24 inches is generally sufficient for most items.
Creating a Layout
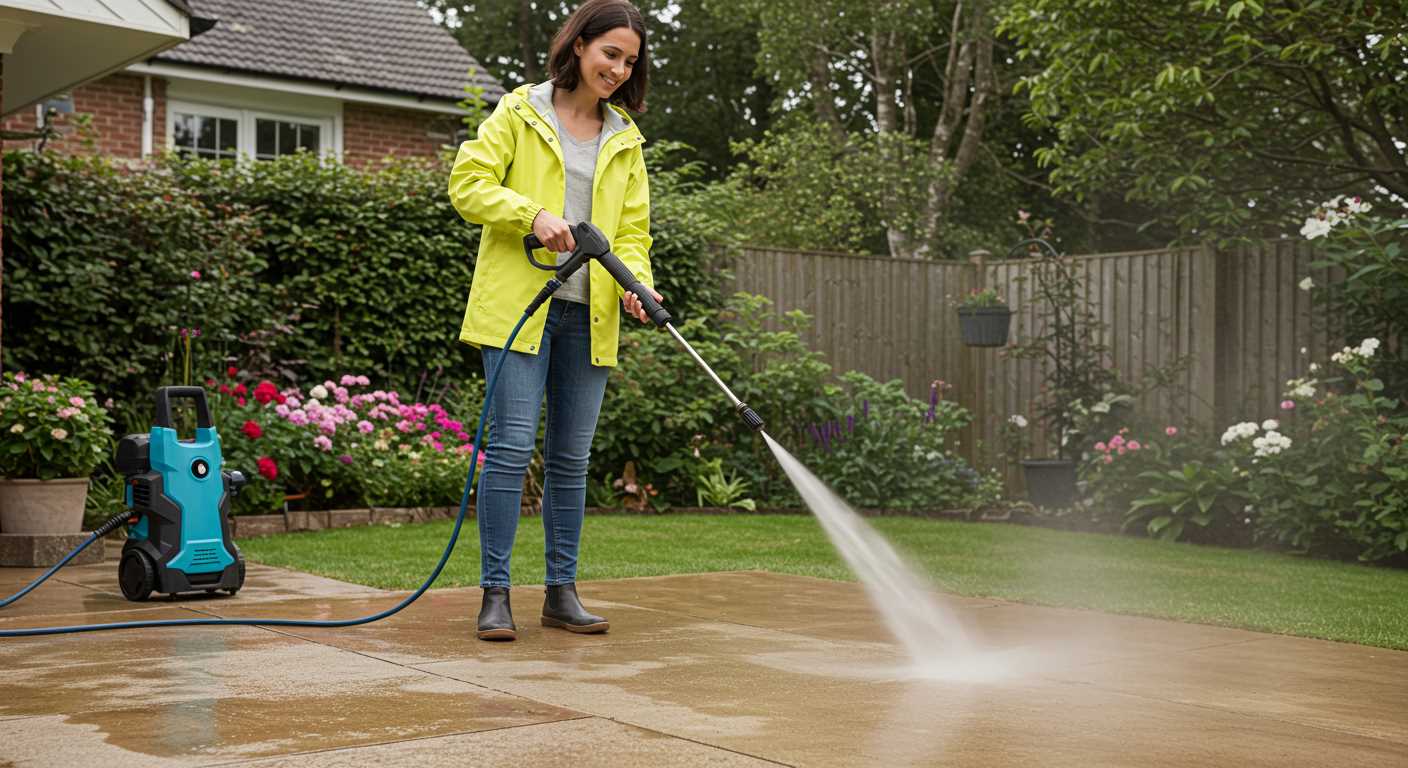
Once measurements are established, sketch a layout of the design. This should include all compartments, allowing for an easy workflow when retrieving tools. Consider adding shelves for smaller items, which maximises space efficiency and keeps everything within reach.
- Include adjustable shelves to accommodate various sizes of equipment.
- Plan for an easy-to-open door or sliding mechanism for quick access.
- Consider integrating hooks for storing hoses and cords neatly.
Optimising dimensions ensures an efficient and practical design, contributing to a smoother experience while using your cleaning tools.
Step-by-Step Guide to Assembling the Cupboard Frame

Begin with constructing the base using 2×4 lumber, measuring to fit your designated space. Cut two pieces to your desired length for the front and back, then two for the sides, ensuring a sturdy rectangular shape. Secure the pieces with wood screws at each corner to form a solid foundation.
Adding Vertical Supports
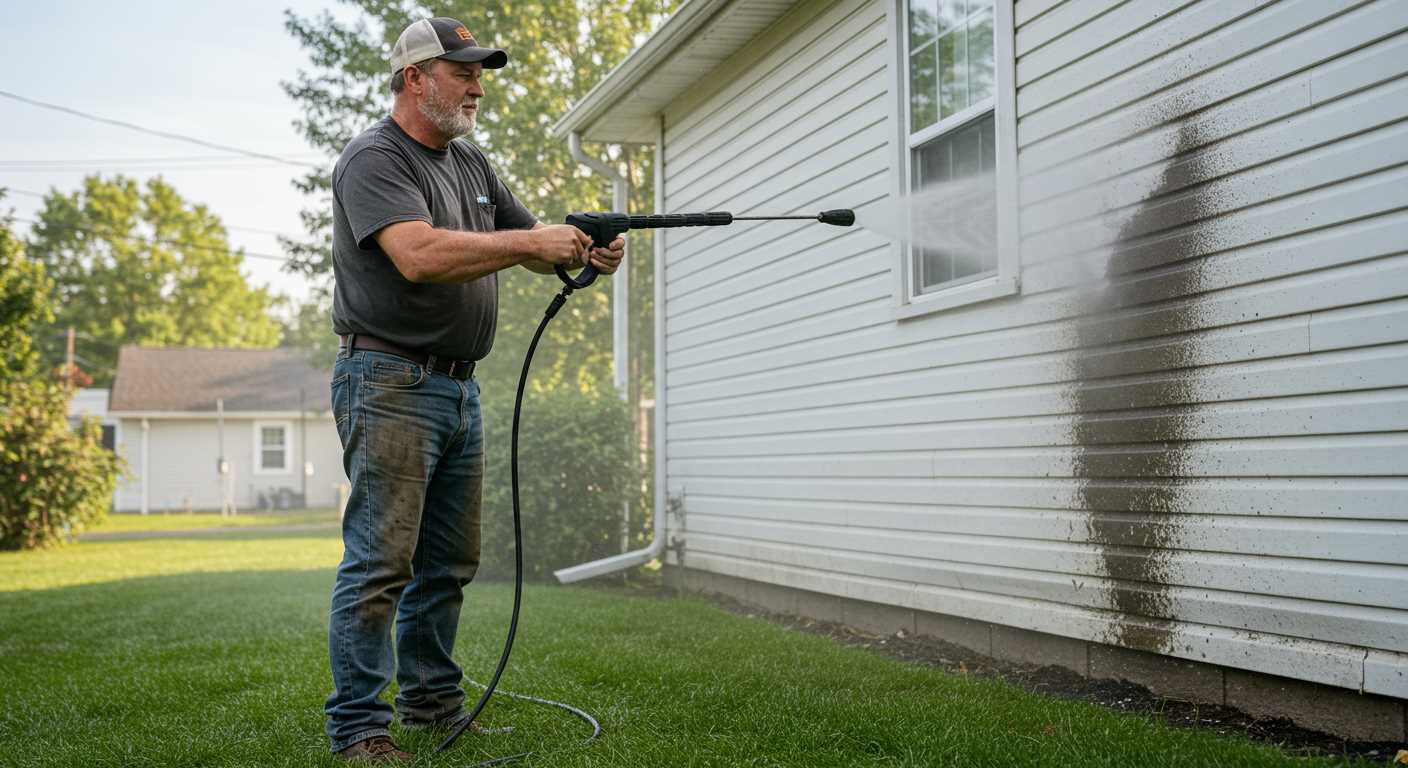
Once the base is prepared, add vertical supports. Measure the height you want for your assembly and cut additional 2x4s accordingly. Position each support at corners and spaced evenly along the sides for stability. Attach these vertical pieces firmly to the base using brackets and screws.
Framework for the Top
For the top frame, use the same 2×4 lumber. Cut two lengths to match the front and back, along with two shorter widths for the sides. Assemble this frame atop the vertical supports, ensuring it is level. Fasten securely, creating a solid upper structure that will bear any additional weight from shelves or items.
Creating Shelves and Organisers for Accessories

For optimal accessibility, incorporate adjustable shelving in your unit. This allows for flexibility when storing different sizes of attachments, hoses, and cleaning agents. Consider using a pegboard for hanging items like spray nozzles and brushes, freeing up shelf space while keeping specific tools within easy reach.
When designing the layout, allocate designated areas for various categories of accessories, such as nozzles, connectors, and cleaning chemicals. This organisational system will streamline your workflow. Label each section clearly to facilitate quick identification of tools when needed.
Utilise plastic bins or small containers to group smaller items. This prevents clutter and simplifies retrieval. Ensure these containers are stackable to maximise vertical space. Transparent bins can help you quickly locate what you need without rummaging through each one.
Add a small, shallow drawer for specialised items, such as maintenance tools or replacement parts. Keeping these essentials separate enhances your efficiency, particularly during service or repairs.
Incorporate a foldable shelf or work surface within your storage area. This can serve dual purposes: a place for assembling accessories and an additional workspace when required.
To protect your cleaning agents from spills, ensure shelves are slightly elevated and constructed from materials resistant to chemicals, such as treated wood or metal. This precaution will prolong the durability of your unit while maintaining a tidy environment.
Finishing Touches: Painting and Weatherproofing the Cupboard

Select a high-quality outdoor paint or wood sealant specifically formulated for exterior use. Applying a primer designed for your material enhances adhesion and durability. Once the primer dries, proceed with at least two coats of paint, which not only adds colour but also protects against moisture and UV damage.
Ensure proper preparation by sanding the surfaces to create a smooth base, free of dust or grease. This step is crucial for achieving a professional finish. Use a clean cloth to wipe down the surfaces after sanding.
<p.When selected, the finish should reflect your aesthetic preferences while complementing the surrounding area. Consider colours that blend with your outdoor environment.
<p.After painting, allow sufficient drying time as per the product instructions; this is key to forming an effective barrier against elements. To further enhance moisture resistance, especially on the base, use a water-resistant sealant. This application can significantly prolong the life of your creation.
<p.Additionally, installing weather stripping around doors can help prevent rain from seeping in. A small overhang on the roof can also provide extra protection, ensuring the structure remains sturdy against rain and wind.
<p.Regular maintenance is essential post-completion. Inspect the surfaces annually for wear, and reapply paint or sealant as needed to maintain optimal protection. These finishing touches will ensure your project stands the test of time while remaining visually appealing.
Integrating Power Supply and Hose Management Solutions
For an organised workspace, consider installing a dedicated power source for your cleaning unit. Use a weatherproof power strip, securely mounted within the vicinity of the cleaning equipment. Ensure that the power strip has surge protection to safeguard against electrical surges that can damage your devices.
Managing hoses is equally essential. I recommend using hose reels or hooks. A wall-mounted reel allows for easy retraction and storage, preventing knots and kinks. Install it at a height that suits your convenience, making the hose easily accessible without tangling.
Additionally, rubber or heavy-duty straps can be used to keep hoses neatly coiled. This solution is especially useful for longer hoses, ensuring they remain untangled and ready for use without excessive wear.
For mobile convenience, consider integrating a portable power supply. A battery-powered option can provide flexibility for outdoor use, located away from fixed electrical sources. This also helps in avoiding trip hazards from extension cords.
In every setup, prioritise safety measures. Weatherproofing electrical connections is crucial. Use waterproof connectors and sealants to prevent moisture intrusion. Verify that all installations comply with local electrical codes.
Maintenance Tips for Keeping Your Storage Solution Functional
Regular checks for moisture accumulation are vital. Use a dehumidifier in humid environments to prevent rust on equipment.
Inspect hinges and locks on doors periodically. Lubricate them with silicone spray to ensure smooth operation and longevity.
Clear out any debris and clutter inside the unit on a monthly basis. Establish a cleaning routine to avoid potential hazards and improve accessibility.
Ensure all tools and accessories are stored in a designated manner. Use labelled containers to enhance organisation and save time during retrieval.
Keep an eye on the structure for signs of wear or damage. Address any issues such as cracks or loose panels immediately to maintain structural integrity.
Adjust ventilation by installing vents if necessary. A well-ventilated area helps to mitigate dampness and odours, keeping tools in optimal condition.
| Maintenance Task | Frequency | Tips |
|---|---|---|
| Check for moisture | Monthly | Use a dehumidifier if needed |
| Inspect hinges and locks | Quarterly | Lubricate with silicone spray |
| Clear debris | Monthly | Establish a cleaning routine |
| Assess structure | Biannually | Repair cracks immediately |
| Check ventilation | Annually | Install vents if necessary |
Consider seasonal maintenance as well. Before winter sets in, ensure that all tools are dry and stored properly to avoid damage from freezing temperatures.
Implementing these routine checks and maintenance tasks will extend the lifespan of your setup and ensure that it remains functional for many years.


