

To achieve a fresh appearance for your outdoor surfaces, consider mixing warm water with a few drops of dish soap. This simple solution can tackle dirt and grime effectively. Spread the soapy water across the area using a mop or a stiff-bristled broom to ensure even coverage.
After allowing the mixture to sit for about 10-15 minutes, use a scrub brush or broom to scrub away stubborn stains. For deeply ingrained marks, it may be beneficial to employ a mixture of baking soda and vinegar. This combination creates a fizzing reaction that can lift tougher blemishes from the surface.
If you face persistent stains like oil or rust, a commercial cleaner specifically designed for these issues is advisable. Follow the manufacturer’s instructions for the best results. Once finished, rinse with a garden hose to wash away any residue and reveal a rejuvenated finish.
Effective Techniques for Concrete Restoration

For quick results, I recommend using a combination of vinegar and water. Create a solution of one part vinegar to three parts water in a spray bottle. Apply it generously to stained areas, allowing it to sit for approximately 15 minutes. Then, scrub the surface with a stiff-bristled brush. Rinse thoroughly with a hose to reveal an improved appearance.
Baking soda is another excellent alternative. Mix one cup of baking soda with two cups of water to form a paste. Spread this mixture over the affected areas and let it sit for 30 minutes. Scrub with a brush before rinsing. This method effectively tackles grease and grime.
For tough stains, consider using oxygen bleach. Dissolve half a cup of oxygen bleach in two gallons of hot water and apply it to the surface. After letting it sit for up to an hour, scrub and rinse the area. This approach targets deep-set stains effectively.
Using a floor mop or brooms designed for outdoor surfaces can help in larger areas. Combine warm water with a suitable detergent, such as dish soap or a deck cleaner. Mop or sweep in sections, ensuring all debris is lifted.
Regular maintenance can make a difference. Incorporating a brisk sweep to remove leaves and dirt can prevent build-up, making future cleaning easier. Also, sealing the surface after the clean-up helps resist future staining.
Always wear protective gloves and eye protection during the cleaning process, especially if using chemical solutions. Proper safety measures will help avoid any potential injuries.
Choosing the Right Cleaning Solution for Concrete
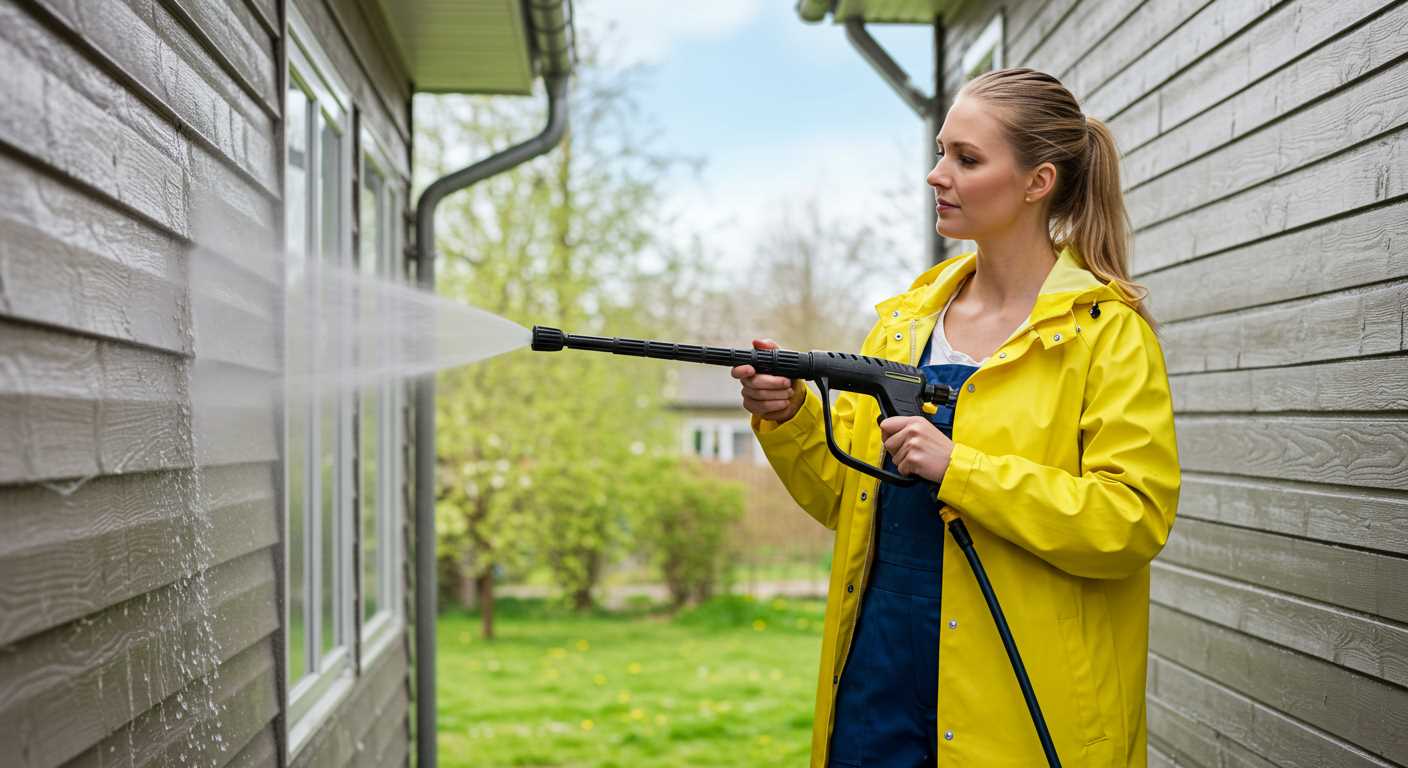
Select a solution based on the specific type of stain or debris. For oil marks, opt for a degreaser designed for masonry, ensuring it’s non-corrosive. Apply it directly on the stain and let it penetrate for the time recommended by the manufacturer.
For general dirt and grime, a mixture of warm water and dish soap serves well. Combine a few drops of soap with a gallon of water. Use a stiff-bristle brush to scrub the surface, ensuring even coverage. Rinse thoroughly with clean water afterwards.
If you’re tackling mildew or algae, a blend of white vinegar and water at a 1:1 ratio works effectively. Spray the mixture on the affected areas and let it sit for about 30 minutes before scrubbing. Rinse with water to remove all residues.
For tougher issues like rust stains, a commercial rust remover is advisable. Always follow the guidelines, applying as instructed and ventilating the area adequately. After treatment, scrub with a brush and rinse well.
For any solution, perform a spot test on a small, inconspicuous area to verify compatibility with the surface. Always wear gloves and protective eyewear when handling strong chemicals, and ensure proper ventilation in the area you are working in.
Preparing the Surface for Attention
Before tackling the upkeep of your flooring, thoroughly clear the area of debris, leaves, and any furniture that may obstruct access. This initial step is crucial for achieving optimum results and ensuring safety during the process.
Assessing the Condition
Examine the surface for stains, cracks, or other imperfections. Identifying problem areas allows for targeted treatment. Note any oil spots or grease that require special products designed for those specific stains.
Gathering Tools and Materials
Assemble necessary supplies, such as brooms, scrubbing brushes, buckets, rags, and detergents. It’s wise to have a mixture of soft and stiff brushes for varying levels of dirt. Additionally, ensure access to hot water if possible, as it can enhance the efficacy of your cleaning solution.
| Tool/Material | Purpose |
|---|---|
| Broom | Remove loose dirt and debris |
| Scrubbing brush | Agitate tough spots |
| Bucket | Mixing cleaning solutions |
| Rags | Wipe down surfaces |
| Detergents | Effective dirt removal |
Finally, ensure that the area is well-ventilated. If you’re utilising strong chemical solutions, it’s prudent to wear gloves and a mask to protect your skin and respiratory system. Taking these preparatory steps will set a solid foundation for restoring the beauty of your flooring.
Using a Broom and Scrubbing Brush Technique
Begin with a sturdy broom to sweep away loose debris, leaves, and dust. This initial step prepares the surface for a thorough scrub, ensuring more effective results.
Next, select a scrubbing brush with stiff bristles. For optimal manoeuvrability, a long-handled brush is preferable as it allows reaching difficult areas without straining your back.
Choose an appropriate cleaning solution based on the type of staining present. For oil stains, a degreaser works effectively, while a mixture of water and vinegar can tackle general dirt and grime. Apply the solution generously over the area.
Using the scrubbing brush, work the solution into the surface with circular motions. Focus on heavily stained spots, spending extra time to break down stubborn marks. Rinsing every few minutes with clean water can help to prevent residue build-up.
After scrubbing, rinse the area thoroughly to remove all cleaning agents. A simple garden hose will suffice for this task. Allow the surface to dry completely, which can take several hours depending on the weather conditions.
Finally, consider applying a sealant once it’s completely dry. This step adds a protective layer, making future upkeep simpler and prolonging the cleanliness of the surface.
Applying Homemade Cleaning Solutions for Stains
To tackle stubborn marks on your surface, I recommend using a simple yet powerful concoction of baking soda and vinegar. Mix one cup of baking soda with two cups of white vinegar in a bucket. This combination creates a foaming action that effectively lifts dirt and grime.
Steps for Application
- Start by pouring the mixture directly onto the stained area.
- Allow it to sit for at least 15-20 minutes to penetrate the stain.
- Scrub the spot using a stiff-bristled brush, applying firm pressure to work the solution into the surface.
- Rinse the area with water thoroughly to remove any residue.
For oil stains, mix a paste of baking soda and water to create a thick consistency. Apply this paste to the stain and let it sit for a few hours or overnight for best results.
Alternative Solutions
- For rust marks, a mix of lemon juice and salt acts as a natural exfoliant. Apply the mixture and scrub gently.
- If dealing with mold or mildew, a solution of 1 part bleach to 10 parts water can be effective. Be cautious with bleach, ensuring adequate ventilation and protective gear.
After applying any solution, always remember to rinse the area well. This helps in avoiding any residue that could lead to future stains. After cleaning, consider sealing your surface to protect it from future damage.
Utilising a Garden Hose with Different Nozzles
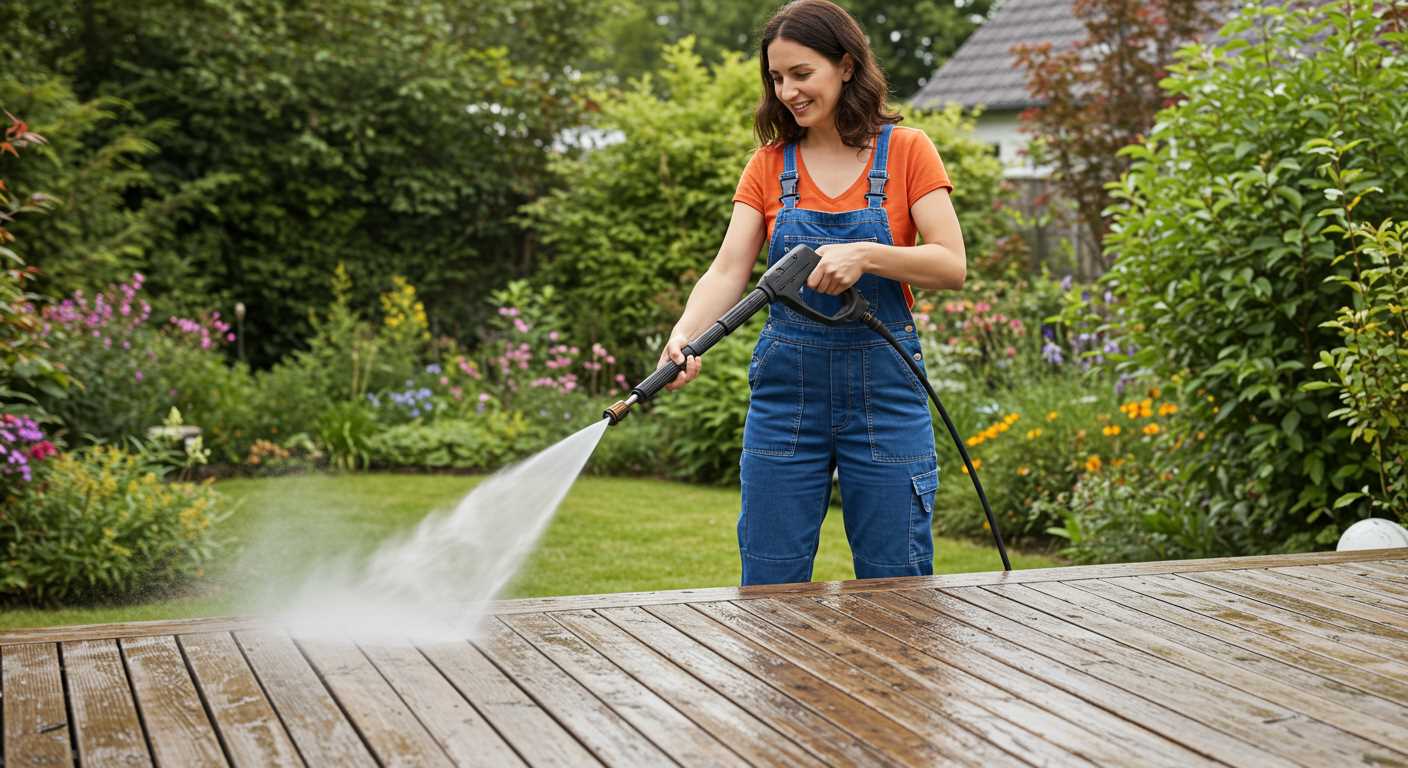
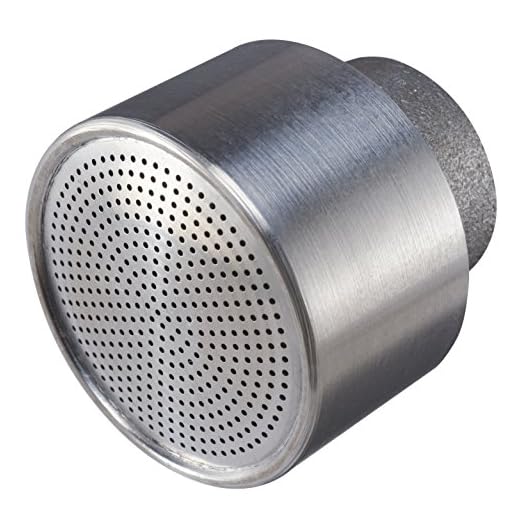
Attach a nozzle to your garden hose for versatility in water pressure and spray patterns. Selecting a nozzle with adjustable settings enables you to control the force of the water stream, adapting it for various tasks. A wide fan spray is effective for rinsing larger areas, while a concentrated jet can target tough stains embedded in surfaces.
For grime removal, I prefer using a nozzle that offers a high-pressure setting. This setting helps to dislodge dirt and debris effectively. Begin by saturating the area to loosen any caked-on material, then switch to a more concentrated setting for detailed work, especially around edges and crevices.
A rotating nozzle can also enhance your capabilities. This accessory cycles water in a circular motion, providing a more thorough clean without the need for excessive scrubbing. It’s particularly useful for larger areas that require significant cleaning power without intensive manual effort.
Using a nozzle with a soap dispenser feature allows for the application of cleaning solutions directly through the hose. This method permits a thorough soaking with your chosen cleaning solution, ensuring it penetrates the stains effectively before rinsing. Choose a biodegradable soap to minimise environmental impact while achieving optimal results.
Experiment with different nozzles to discover what works best for your specific needs. Each type offers unique advantages that can make the cleaning process more straightforward and efficient.
Drying and Maintaining the Clean Surface
After the thorough washing process, drying is essential for keeping the surface looking immaculate. Use a squeegee to remove excess water from flat areas. If the location permits, sunlight aids the drying process efficiently.
Once the surface is dry, it’s advisable to apply a sealant designed for the material. This creates a protective layer, making future cleaning easier and preventing stains from becoming ingrained.
Regular maintenance is key. Sweep the area weekly to minimise dirt accumulation. If spills occur, address them immediately with appropriate cleaning solutions. By doing so, you will preserve the integrity and appearance of the surface over time.
Consider periodic re-sealing every couple of years. This will reinforce the protective barrier created and ensure long-lasting results. Additionally, using mats or rugs in entryways will reduce the amount of dirt tracked onto the surface.
Monitor the condition regularly and respond to any signs of wear or stains quickly. Early intervention can save time and effort, keeping your surfaces in top shape for years to come.


