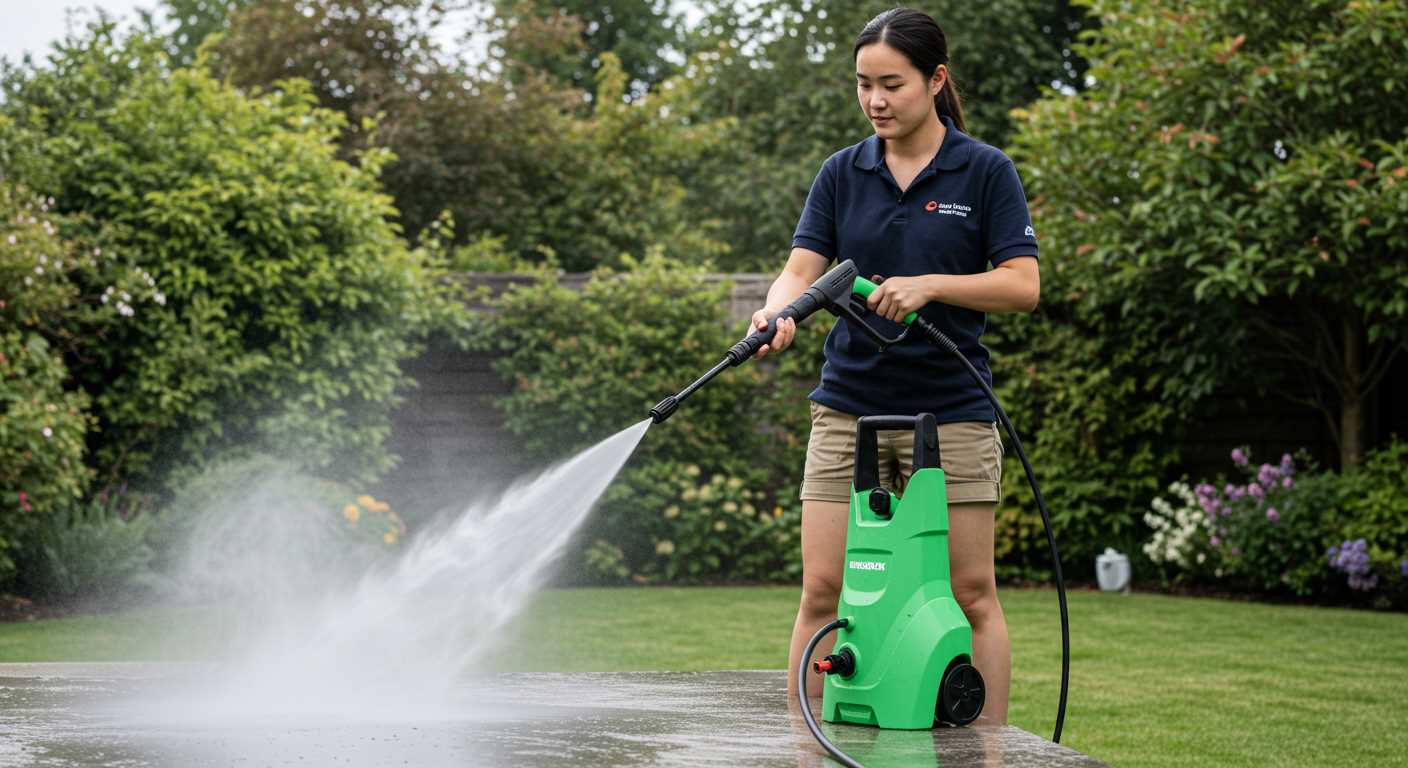


If the output from your cleaning device is lacking, begin with checking the water supply. Ensure the water source is at an adequate flow rate and pressure, as low incoming flow can directly lead to diminished force. Additionally, inspect the inlet filter for any clogs or debris that may be obstructing the flow, as a clean filter is vital for optimal performance.
Next, examine the hoses and connections for leaks or kinks. A compromised hose can significantly reduce the intensity of the stream. Pay particular attention to any fittings that might not be securely attached, as loose connections can also cause a drop in effectiveness.
Throttle the nozzle setting appropriately. If using a nozzle that has too wide of an opening, the force will be insufficient for the cleaning task. Switch to a narrower nozzle to concentrate the water jet. Don’t overlook checking the wand as well; if it is damaged or clogged, it can reduce the overall impact.
Lastly, assess the motor and pump components. If these central parts are worn out or malfunctioning, they will not generate the required force. Sometimes, routine maintenance might involve replacing seals or gaskets to restore full functionality.
Identifying Causes of Low Output
First, check for blockages in the inlet filter. Debris can obstruct water flow, leading to insufficient output. Remove the filter and clean it thoroughly before reattaching.
Second, inspect hoses for kinks or cracks. Damage can hinder water flow, so ensure all connections are secure and replace any faulty sections.
Third, examine the nozzle. A blocked or worn nozzle can drastically reduce effectiveness. Clean or replace it based on the condition.
Fourth, assess the pump. If it’s not functioning correctly, it could lead to low output. Listen for unusual noises. If present, it might indicate a need for professional servicing.
Fifth, verify the water supply. Ensure it’s turned on fully and that the hose has an adequate supply. Also, check for any restrictions or leaks in your source.
Lastly, consult the manual for troubleshooting tips specific to your unit. Manufacturer guidelines often provide insights that can resolve issues swiftly.
Checking the Power Source of Your Machine
First, ensure that the electrical outlet is functioning correctly. Use a multimeter to check for voltage; it should match the specifications of your device. If the outlet isn’t live, reset the circuit breaker or replace a blown fuse.
Next, inspect the power cord for any signs of damage or fraying. A damaged cord can lead to inadequate power supply, causing your unit to perform poorly. Replace the cord if any issues are found.
If you’re using an extension cord, confirm that it’s rated for the amperage required by your unit. An undersized extension can limit power delivery. Shorten the distance to the wall outlet whenever possible.
For gasoline models, ensure the engine is in good working order. Check the fuel level; stale or contaminated fuel may impede performance. Drain and replace any old fuel with fresh gasoline.
Finally, if everything appears correct and the issue persists, consider testing with another outlet to rule out problems with the original circuit. Sometimes, hidden electrical faults can disrupt performance without obvious indications.
Inspecting the Hose for Kinks or Leaks
Begin with a thorough visual examination of the hose. Look for any visible kinks or bends that might hinder the flow of water. These restrictions can significantly diminish the force generated by the equipment.
Next, inspect the length of the hose for any signs of leaks. Hold the hose while operating the unit and check if there are any spots where water seeps out. Even small cracks can result in a notable loss of performance.
If you identify kinks, straighten them carefully to restore optimal water flow. For leaks, consider using duct tape as a temporary fix or replace the hose entirely if the damage is excessive. Using a hose with a durable construction can prevent similar issues in the future.
Ensure all connections are tight, as loose fittings can also contribute to a drop in output. If issues persist after these checks, further investigation into the additional components of the system may be necessary.
Examining the Inlet Filter for Blockages

Inspect the inlet filter at the base of your machine. If it is clogged, water intake will be restricted, leading to inadequate output. Remove the filter carefully and rinse it under clean water. Check for any debris such as dirt, algae, or small particles that could obstruct the flow. If the filter is damaged or heavily soiled beyond cleaning, consider replacing it.
Steps to Clean the Inlet Filter

To clean the inlet filter, follow these steps: detach the filter from the inlet by turning it counterclockwise. Rinse it thoroughly with water until all visible contaminants are removed. Use a soft brush to scrub away any stubborn residue. Once cleaned, ensure it is completely dry before re-installing.
Regular Maintenance Tips
Conduct routine checks on the inlet filter, especially after long periods of use or when operating in dirty environments. Establish a maintenance schedule to prevent blockages from becoming a recurring issue. Keeping the inlet filter free from blockages is crucial for optimal performance.
Assessing the Pump Condition
Examine the pump integrity by checking for any signs of wear or damage. Inspect the outer casing for cracks or leaks. A compromised housing can significantly affect performance.
Next, focus on the internal components. Remove the pump cover, if applicable, to access vital elements like the pistons and seals. These parts should be intact without visible signs of degradation such as pitting or scoring.
Checking for Fluid Leaks
Fluid leaks are a clear indicator of pump malfunction. Look around the connection points and seals for any moisture accumulation. If present, replace these seals immediately to restore functionality.
Testing the Flow Rate
Conduct a flow rate test by disconnecting the hose and activating the unit. Observe how the water flows from the pump. A lack of water or a weak stream signifies possible internal blockages or pump failure. If the flow is adequate, ensure that the issue lies elsewhere.
Regular inspections of these components can prevent extensive repairs and prolong the equipment’s lifespan. Take immediate action upon detecting any abnormalities to maintain optimal operation.
Evaluating the Spray Gun and Nozzle Functionality

Inspect the spray gun for any signs of damage or wear. Ensure the trigger mechanism is functioning smoothly. A sticking trigger can impede flow, resulting in reduced output. If the handle feels loose or broken, replacing the entire spray gun may be necessary.
Checking the Nozzle Type
Identify the nozzle currently in use. Different tasks require specific nozzle sizes. If you’re using a wider nozzle for a concentrated clean, efficiency will diminish. Consider switching to a specific nozzle designed for the task at hand to maximise effectiveness.
Look for Clogs and Blockages
Examine the nozzle opening for debris or blockages. Use a thin wire or a brush to clear any obstructions gently. Regular cleaning prevents build-up, which can affect the flow of water and lead to inadequate performance during operation.
Reviewing the Pressure Settings and Gauges
Verify the settings on your unit’s control panel. Make sure they align with the task at hand. Adjust accordingly if you’re attempting a heavier cleaning job, as insufficient settings can lead to unsatisfactory results.
Examine the gauge closely. An inaccurate gauge can mislead you into thinking there’s a malfunction when the issue lies within the calibration. To confirm it’s functioning, compare readings with an external measuring device if available.
- Check if the settings are at the recommended output for the nozzle used.
- Inspect for any visible signs of wear or damage on the gauge itself.
- Ensure that the dials turn smoothly without obstruction.
If the readings seem unusually low, try recalibrating the gauge or consulting the equipment manual for the appropriate steps. Be mindful of any sudden fluctuations in readings while the machine is operating, as this may indicate underlying issues.
Also, evaluate whether any preset modes are engaged. Many models offer specific modes for different tasks, and using the wrong mode can impede functionality. Switching to a higher mode might resolve the lack of output.
Maintaining proper function of pressure settings and gauges is crucial for optimal performance. Regular checks can preempt more significant issues down the line.
Diagnosing Potential Internal Component Failures
Start by checking for internal malfunctions within the unit. These failures can stem from wear and tear or manufacturing defects, impacting overall functionality.
First, inspect the water pump assembly. Common issues include worn seals or gaskets, leading to leaks that can diminish performance. To assess, disassemble the pump and examine components for cracks or discoloration. Replace any damaged parts immediately to restore functionality.
Next, evaluate the unloader valve. If this valve is stuck, it can restrict water flow, resulting in insufficient output. Test its operation by manually engaging the valve and looking for any sign of resistance or blockage. Clear any debris if present, or replace the valve if movement is impaired.
Also, check the pressure relief valve. If it malfunctions, the system may fail to build adequate force. It’s advisable to compare its operation against manufacturer specifications, ensuring that it opens and closes as intended. Replace if necessary.
Additionally, examine internal hoses for obstructions or wear. A pinhole leak can lead to significant losses in flow. Remove hoses for a thorough inspection; if any cracks or kinks are discovered, they should be replaced to prevent further issues.
| Component | Potential Issues | Action |
|---|---|---|
| Water Pump | Worn seals, leaks | Inspect and replace damaged parts |
| Unloader Valve | Stuck or blocked | Test operation and clear debris or replace |
| Pressure Relief Valve | Malfunctioning | Check against specifications and replace if not functioning |
| Internal Hoses | Cracks or leaks | Inspect thoroughly and replace as needed |
Following these steps can help narrow down and rectify internal issues affecting performance. Regular maintenance and timely replacements will ensure the unit operates smoothly for years to come.


