


Consider utilising a simple mixture of warm water and mild detergent, which you can apply with a brush while securely positioned on a ladder. This approach is particularly useful for eliminating algae and dirt that tends to accumulate over time. A soft-bristled brush works best to prevent damage to shingles or tiles while scrubbing. Ensure to rinse thoroughly, directing water downwards to avoid moisture buildup under shingles.
A mixture of vinegar and water can also serve as a remarkable solution. This natural agent not only cleans efficiently but also discourages future growth. Combine equal parts vinegar and water in a spray bottle, apply generously to the affected areas, and allow it to sit for approximately 20 minutes before rinsing with clean water. This step enhances the removal of stubborn stains.
For debris such as leaves or twigs, use a sturdy broom with a long handle. Sweep the surface from top to bottom, ensuring that all loose material is cleared. This basic maintenance step can significantly prolong the lifespan of your structure while preventing blockages in drainage systems that could lead to further complications.
Effective Methods for Roof Maintenance
Mix a solution of water and mild detergent or a specially formulated cleaner. Use a soft-bristle brush to gently scrub the surface, working in sections. This method allows for thorough removal of dirt and moss without damaging tiles or shingles.
Tools Required

- Soft-bristle brush
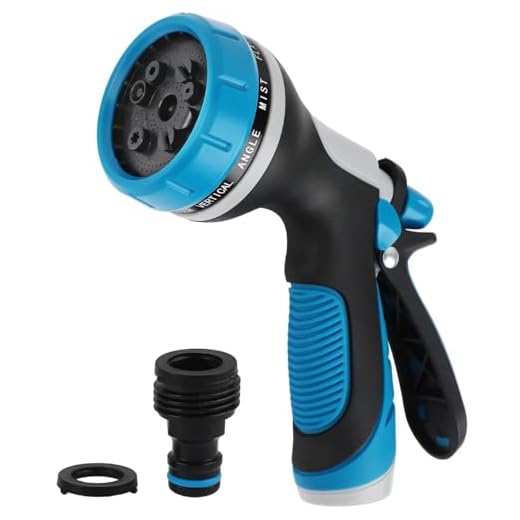
- Garden hose with spray nozzle
- Safety harness and rope, if necessary
- Ladder for reaching elevated areas
Steps to Follow
- Ensure safety by using appropriate ladders and harnesses.
- Prepare the area by removing any debris and covering plants or structures below.
- Apply the cleaning solution, focusing on the most affected areas.
- Gently scrub using the brush, taking care not to dislodge any roofing materials.
- Rinse thoroughly with a garden hose, ensuring that all residues are washed away.
Repeat the process as necessary for stubborn stains or heavy build-up. Regular maintenance prevents long-term damage and retains the appearance of the exterior. Don’t forget to inspect for any damage during this process to address any potential issues promptly.
Choosing the Right Cleaning Solution for Your Roof
Select a cleaning solution based on the material of your exterior covering. Different surfaces require tailored formulations to avoid damage.
Types of Cleaning Agents
Here are common options and their applications:
| Agent Type | Application | Benefits |
|---|---|---|
| Bleach Solution | Effective for mould and mildew removal | Starts working quickly; cost-effective |
| Vinegar Mixture | Mild cleaning for soft surfaces | Natural, non-toxic, and safe |
| Commercial Roof Cleaners | Designed for specific types of materials | Formulated to minimise damage |
| Water and Soap Solution | General grime removal | Gentle on surfaces; easy to use |
Safety Considerations
Select a solution with safety in mind. Always wear protective gear such as gloves and goggles. Ensure proper ventilation if working in enclosed spaces. Avoid mixing different chemicals, as this can produce hazardous reactions.
For optimal results, follow the manufacturer’s guidelines regarding dilution ratios and application techniques. Testing a small, inconspicuous area first helps assess compatibility with your material.
Gathering Necessary Tools and Safety Gear
To get started on this task, I recommend assembling a few key items. A sturdy ladder is critical for reaching high areas safely. Opt for a step ladder or extension ladder based on the height of your dwelling.
Also, secure a soft-bristled brush or broom. This will help you scrub the surface without causing damage. A bucket will be handy for mixing your cleaning solution or collecting debris.
Don’t forget about gloves! Protective gloves are vital for keeping your hands safe from chemicals and dirt. If your cleaning solution requires it, consider goggles to shield your eyes from splashes.
Heavy-duty work boots with good grip will ensure stability on potentially slippery surfaces. Lastly, wear a safety harness if your ladder work involves considerable height–this provides an extra layer of protection while you perform your task.
Having these tools and gear ready sets the stage for a thorough project, ensuring both efficiency and personal safety throughout the process.
Preparing the Area Around Your Roof for Cleaning
Before beginning the task, it’s crucial to ensure the surroundings are adequately set up. Start by clearing the area around the perimeter of the building. Remove any outdoor furniture, planters, or decorations to create an unobstructed workspace. This prevents accidental damage while working, and reduces the risk of personal injury.
Protecting Surrounding Plants and Structures
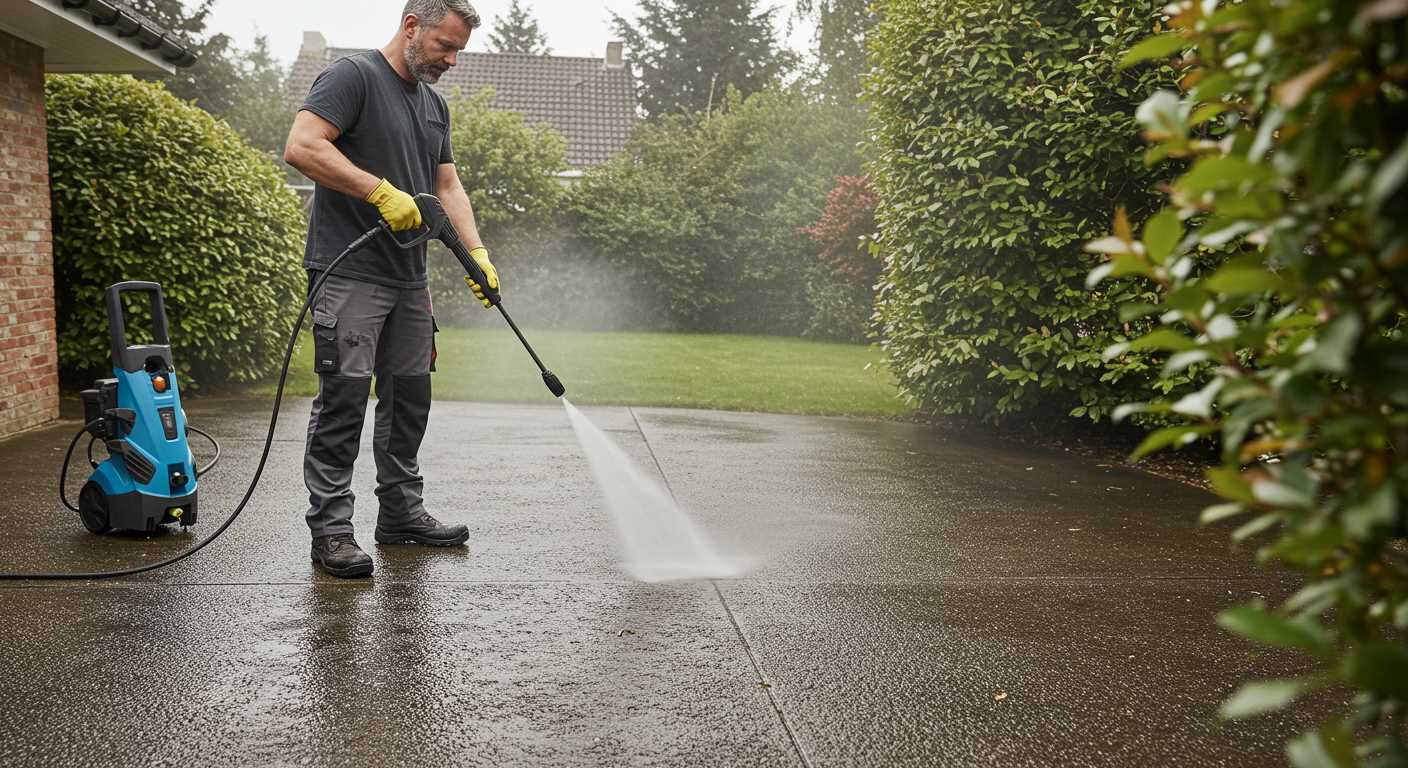
If you have flower beds or shrubs near the building, cover them with tarps or old sheets to shield them from potential damage. Chemicals often used in the cleaning process can be harmful to green life, so it’s wise to take preventive measures.
Also, pay attention to windows and walls. If any cleaning solution accidentally splashes, it could cause stains or damage. Use plastic sheeting or painter’s tape to protect windows and surfaces adjacent to the area where you’ll be working.
Securing Your Equipment and Tools
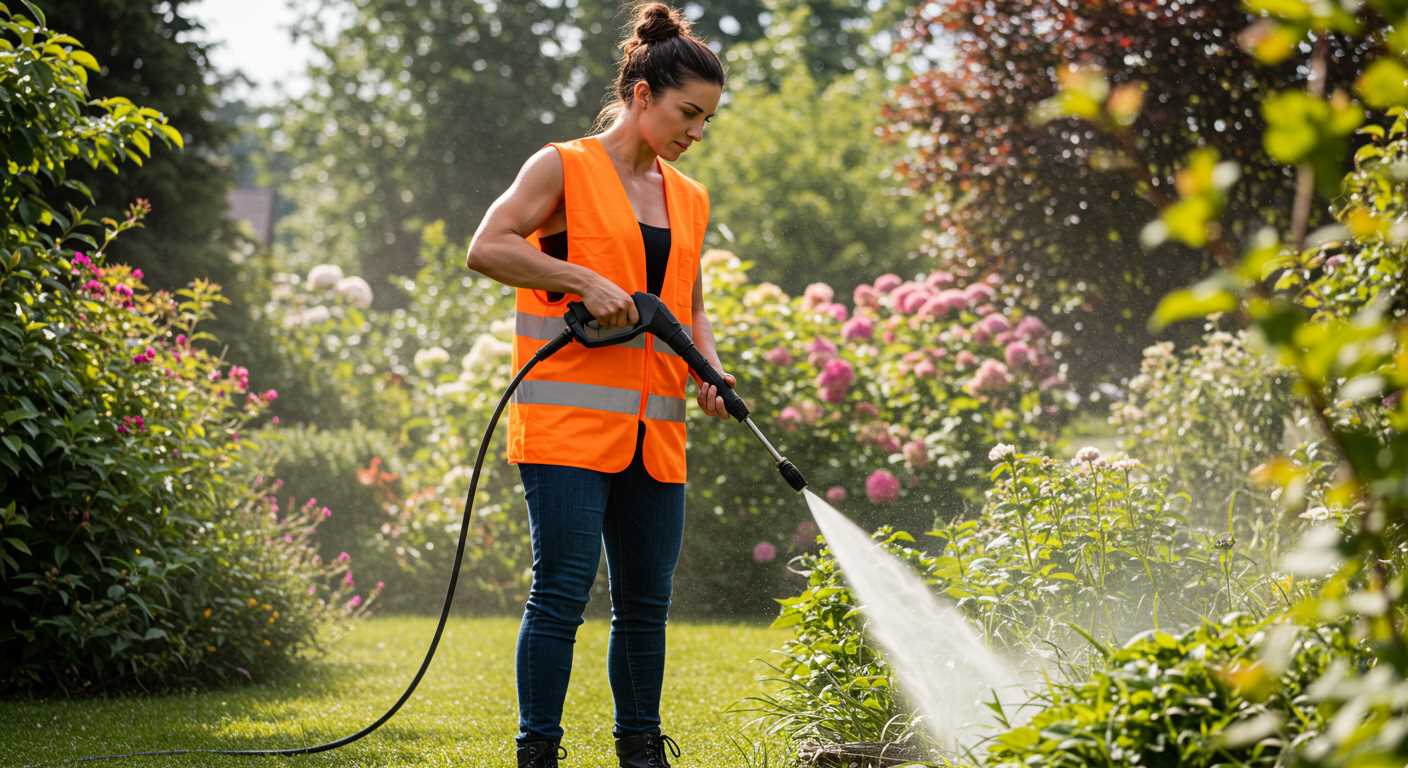
Organise your tools and materials near the base of the structure. Keeping everything within arm’s reach saves time. Secure ladders if you’ll be accessing higher areas, making sure they’re stable and positioned correctly. This helps to mitigate falls and ensures a safe working environment.
Lastly, ensure that any walkways or paths leading to your work area are free from obstacles. This includes removing any hoses, cords, or other items that could create tripping hazards.
Applying Cleaning Solution to Remove Moss and Algae
For effective results, mix a cleaning solution specially designed to target moss and algae. I recommend using a blend of water and a biodegradable cleaner, which is both environment-friendly and efficient.
Follow these guidelines for creating and applying the solution:
- Combine warm water with the cleaner, respecting the manufacturer’s recommended dilution ratio.
- Using a garden sprayer or a bucket, apply the mixture generously. Ensure that you saturate the affected areas thoroughly.
- Pay special attention to shadows and damp spots where growth is common.
After application, allow the solution to sit for 15 to 30 minutes, which will help break down the biological growth. During this time, avoid any rain or moisture, as it could dilute the effectiveness of the cleaner.
For stubborn patches, consider scrub brushes with soft bristles. Gently agitate the areas after the solution has soaked in to enhance removal. Rinse the surface with a hose, using a gentle stream to avoid damage.
Repeat the application as necessary until all remnants of moss and algae are gone. For preventive measures, consider treating the area annually to inhibit regrowth.
Using a Soft Brush to Scrub Roof Surfaces
For superior results in maintaining your upper structures, a soft brush is indispensable. Opt for one with synthetic bristles to avoid scratching and damaging the material. Ensure the handle is long enough to reach high areas without needing to climb excessively.
Technique and Application
Begin by soaking the bristles in your chosen cleaning solution. Use smooth, sweeping motions to apply the mixture evenly across the surface. Address small sections at a time, allowing the solution to sit briefly before scrubbing. Pay special attention to corners and edges where organic growth tends to accumulate.
Post-Scrubbing Care
After scrubbing, rinse the area thoroughly with water to remove any residue from the surface. Always work from the top down to ensure that dirt and solution flow downwards, preventing re-soiling of already scrubbed areas. Regular maintenance with this method will keep your upper surfaces free from debris and extend their lifespan.
Rinsing the Structure
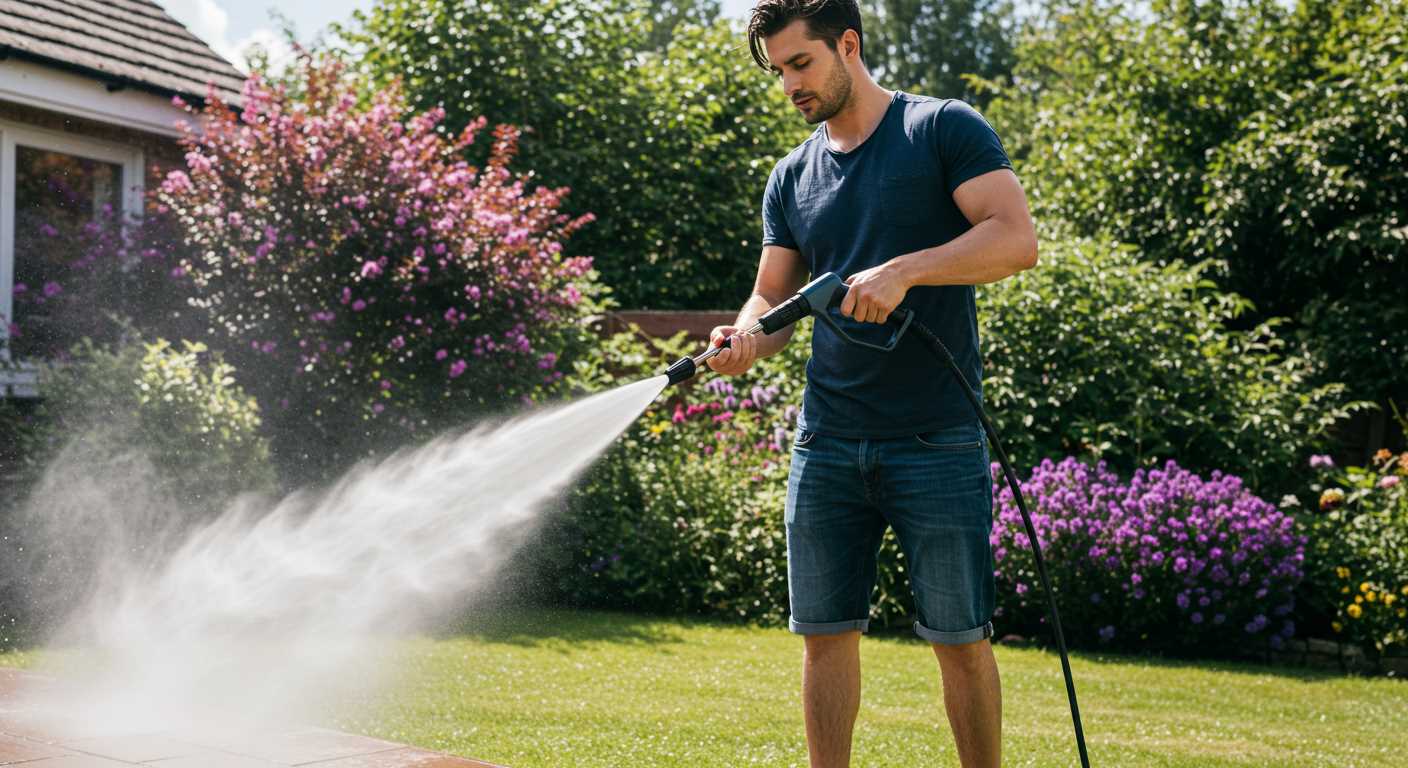
For a thorough rinse of the surface, consider using a garden hose equipped with a spray nozzle. Set the nozzle to a high-pressure setting to maximise water force while maintaining control. Begin from the peak and work your way down to ensure that debris and cleaning agents flow away, preventing them from being reabsorbed.
Technique for Effective Water Application
Hold the hose at a slight angle while directing the stream to avoid water pooling. Ensure to focus on hard-to-reach areas first. If possible, utilise an extension wand to gain extra reach. This helps to cover elevated sections safely, while still ensuring you remove all residues effectively.
Additional Tips
For extra cleaning power, consider attaching a variable nozzle for different spray patterns, allowing for intimate cleaning on stubborn areas. If using a telescopic pole, secure it firmly to maintain stability when spraying. Always check the local regulations regarding water use during such tasks to avoid unnecessary fines.
Maintaining Your Roof After Cleaning
Regular maintenance is vital after you’ve restored the surfaces above. I recommend inspecting for debris accumulation, particularly in valleys and around chimneys. This can prevent water pooling and subsequent structural damage.
Inspect for Damage
Conduct a thorough examination for broken or missing tiles. These areas can lead to leaks, so if I find any, I promptly arrange repairs to avoid further complications. Also, pay attention to flashing around edges and fixtures; ensure they are secure and not corroded.
Installing Preventative Measures
Consider adding protective treatments to surfaces. A preventative solution can inhibit moss and lichen growth, though I advise selecting a product compatible with your material. Additionally, installing gutter guards can significantly reduce debris build-up and simplify future maintenance tasks.
Lastly, set a reminder to review the area biannually. Keeping a consistent schedule not only maintains appearance but extends the lifespan of your investment.


