

For optimal operation of your Kärcher K4 cleaning device, ensure that you connect the water supply before plugging it in. This unit is designed to pull water effortlessly, but starting without a water source can lead to damage.
Next, locate the high-pressure hose and firmly attach it to the machine and the spray gun. A secure connection prevents any leaks during operation. Ensure that the spray lance is also properly connected prior to activating the flow.
Adjust the spray nozzle according to the surface you’re targeting–whether it’s a delicate car exterior or a sturdy patio. The adjustable settings provide versatility for various cleaning tasks. Always maintain a safe distance from the surface being cleaned to avoid causing any harm.
Be mindful of the cleaning agents as well; use solutions that are compatible with your equipment to prevent internal damage. Fill the detergent tank if necessary, and select the correct mode on the machine to incorporate the solution into your cleaning routine effectively.
After completing the task, disconnect the power before releasing pressure in the system. Letting the machine cool down and rinsing it thoroughly will prolong its lifespan and maintain performance quality.
Using the Karcher K4 for Optimal Cleaning
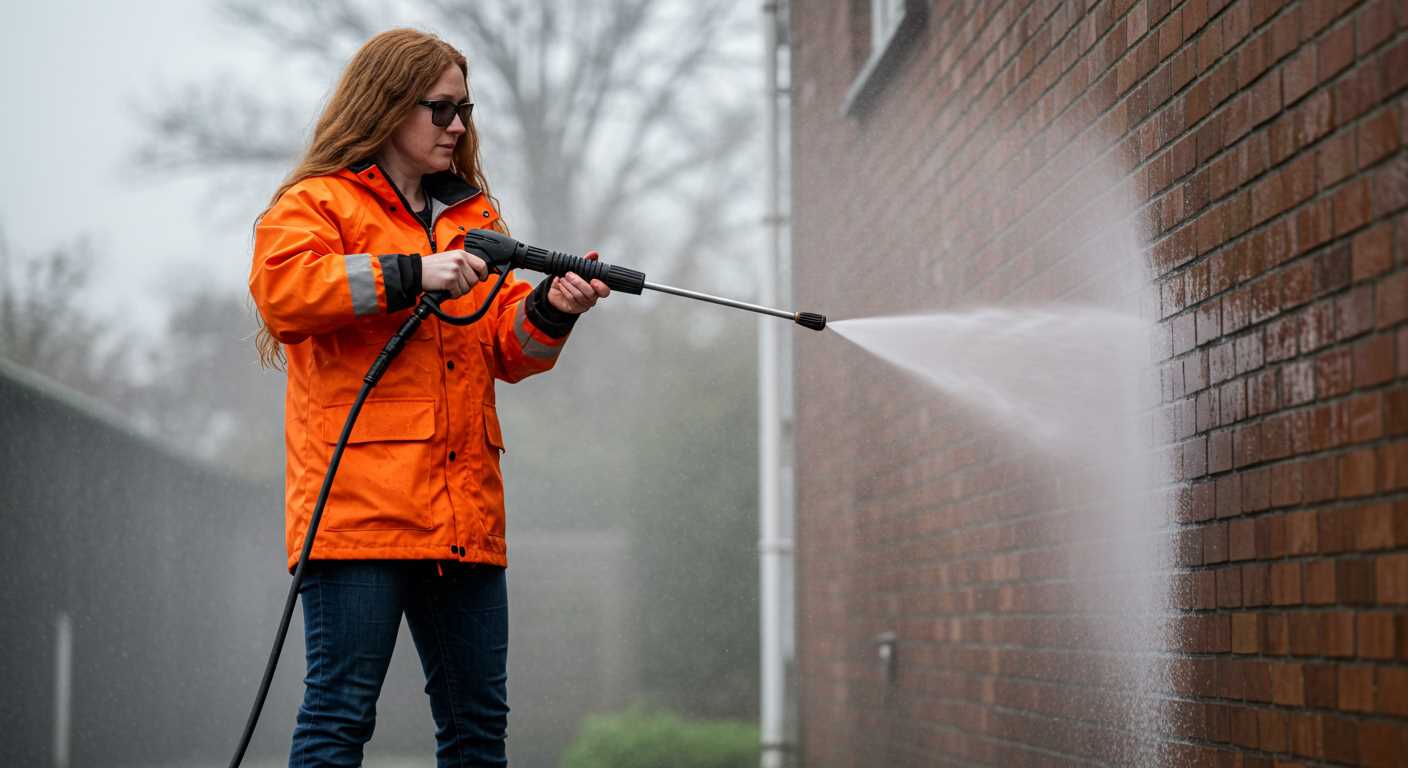
First, ensure that the unit is placed on a flat, stable surface and the power cord is plugged into an outlet rated for its consumption. Check that the water supply is connected securely, and turn it on.
Attach the desired nozzle to the lance. For general cleaning, I recommend the Vario Power Spray lance; simply twist to adjust the pressure according to your needs.
- To remove dirt from hard surfaces, select a higher pressure.
- For delicate areas like cars or wooden decks, switch to a lower setting to prevent damage.
After setting the lance, pull the trigger to activate the water jet. Keep a safe distance from the surface to prevent any unintended impacts. Move the lance evenly to cover the area efficiently.
In case of stubborn stains, consider using a detergent. Mix it in the appropriate tank and select the detergent mode on your lance before application. Rinse any detergent residues thoroughly once cleaning is completed.
After use, turn off the machine and disconnect the water supply. To clear the system, activate the trigger until water stops flowing, then release the trigger to relieve any pressure. Store the equipment in a dry place for longevity.
For maintenance, periodically check hoses for leaks and ensure nozzles are clear from blockages. Regular cleaning of the filter will also enhance performance.
Preparing Your Karcher K4 for First Use
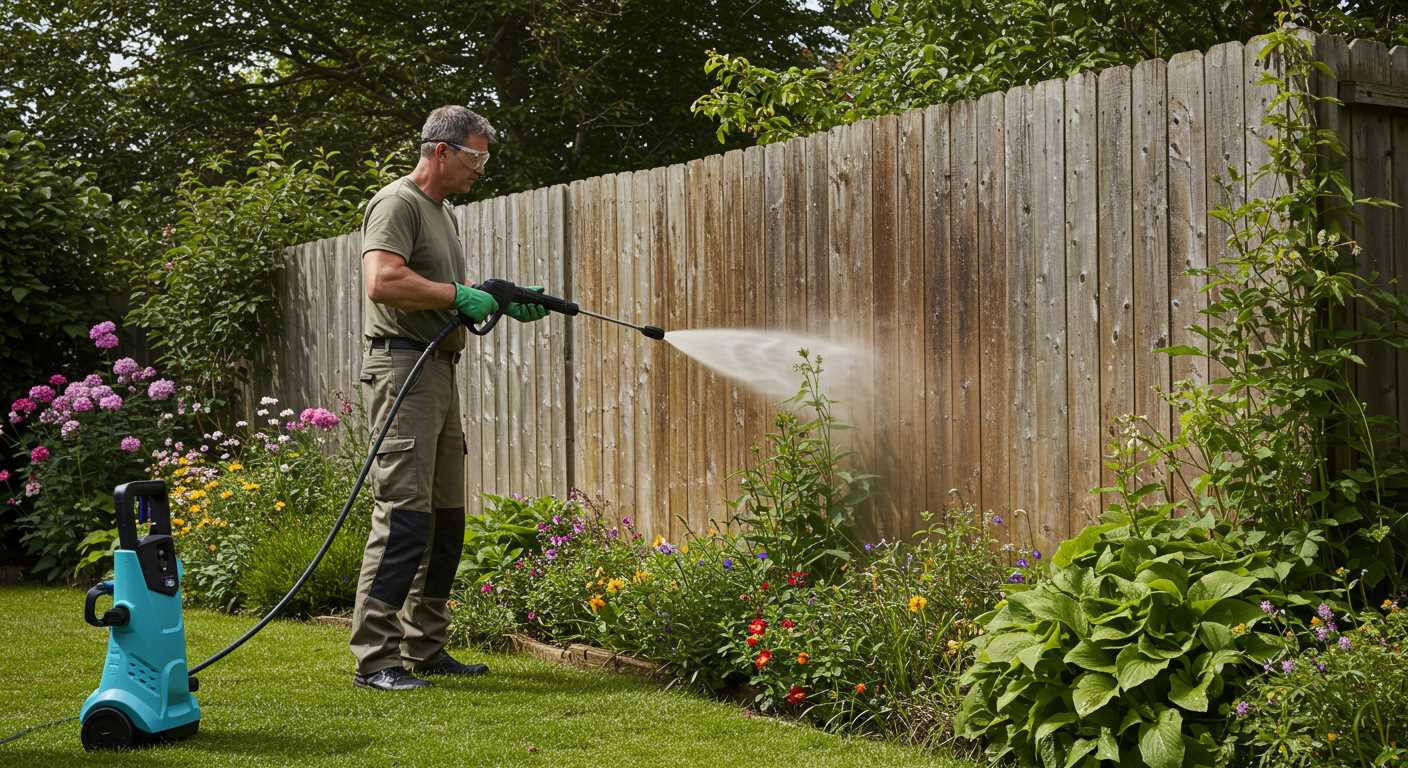
Attach the high-pressure hose securely to the unit and the trigger gun. Make sure both connections are tight to prevent leaks during operation.
Connect the water supply hose to the water inlet. Ensure it is properly fitted, and check for kinks that could impede water flow. Turn on the water supply to eliminate air pockets within the system.
Electrical Setup
Plug the unit into a grounded electrical outlet. Verify that the electrical cord is undamaged and capable of supporting the machine’s wattage. Avoid using extension cords, as they may cause voltage drops.
Setting Up Cleaning Solution
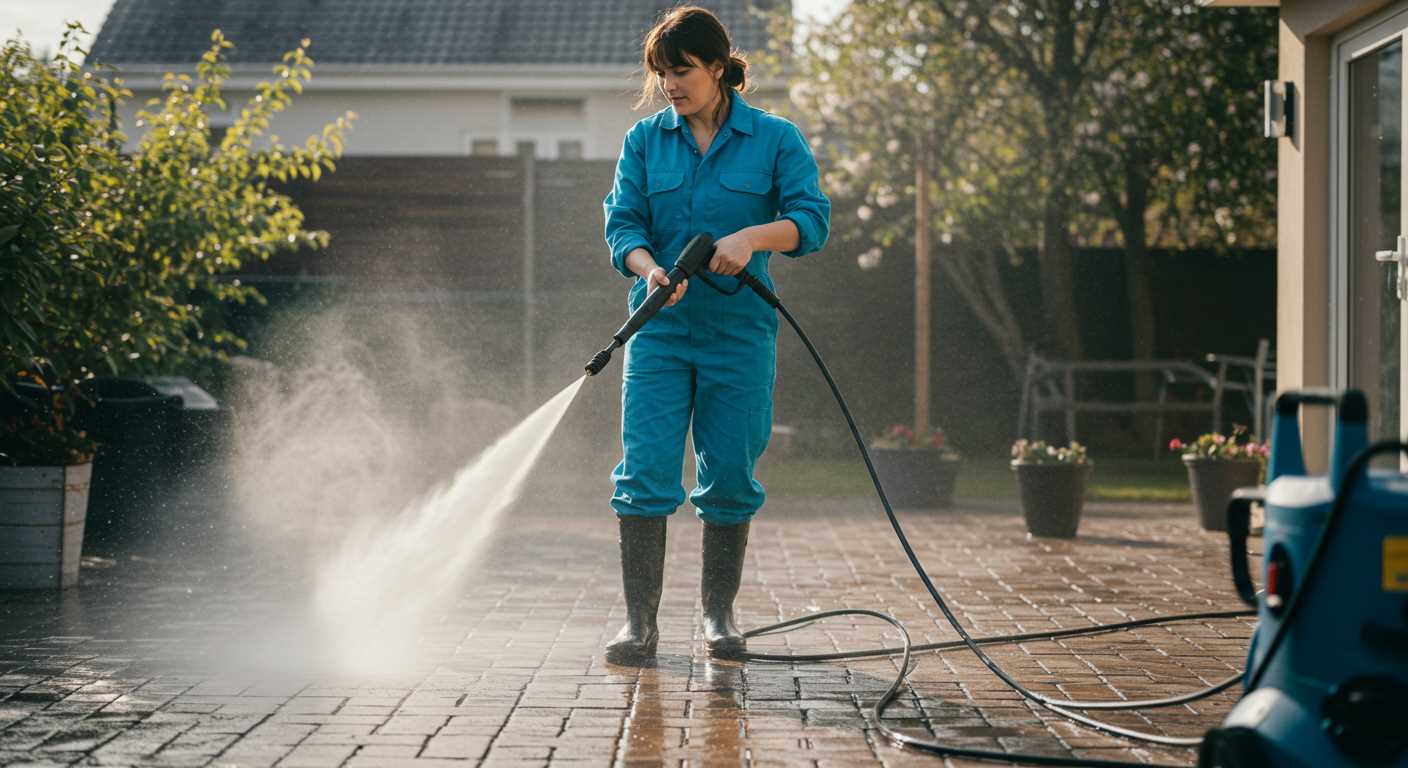
If you plan to use any detergents, mix them according to the manufacturer’s instructions. Pour the solution into the detergent tank, ensuring it does not exceed the maximum fill line.
| Step | Action |
|---|---|
| 1 | Attach high-pressure hose |
| 2 | Connect water supply hose |
| 3 | Plug into electrical outlet |
| 4 | Mix and pour cleaning solution |
Once the setup is complete, perform a short run to test for leaks. Pay close attention to all joints and connection points while the unit is operating. Ensure a clean area around the machine to maintain safety during functionality.
Setting Up the Pressure Cleaner for Operation
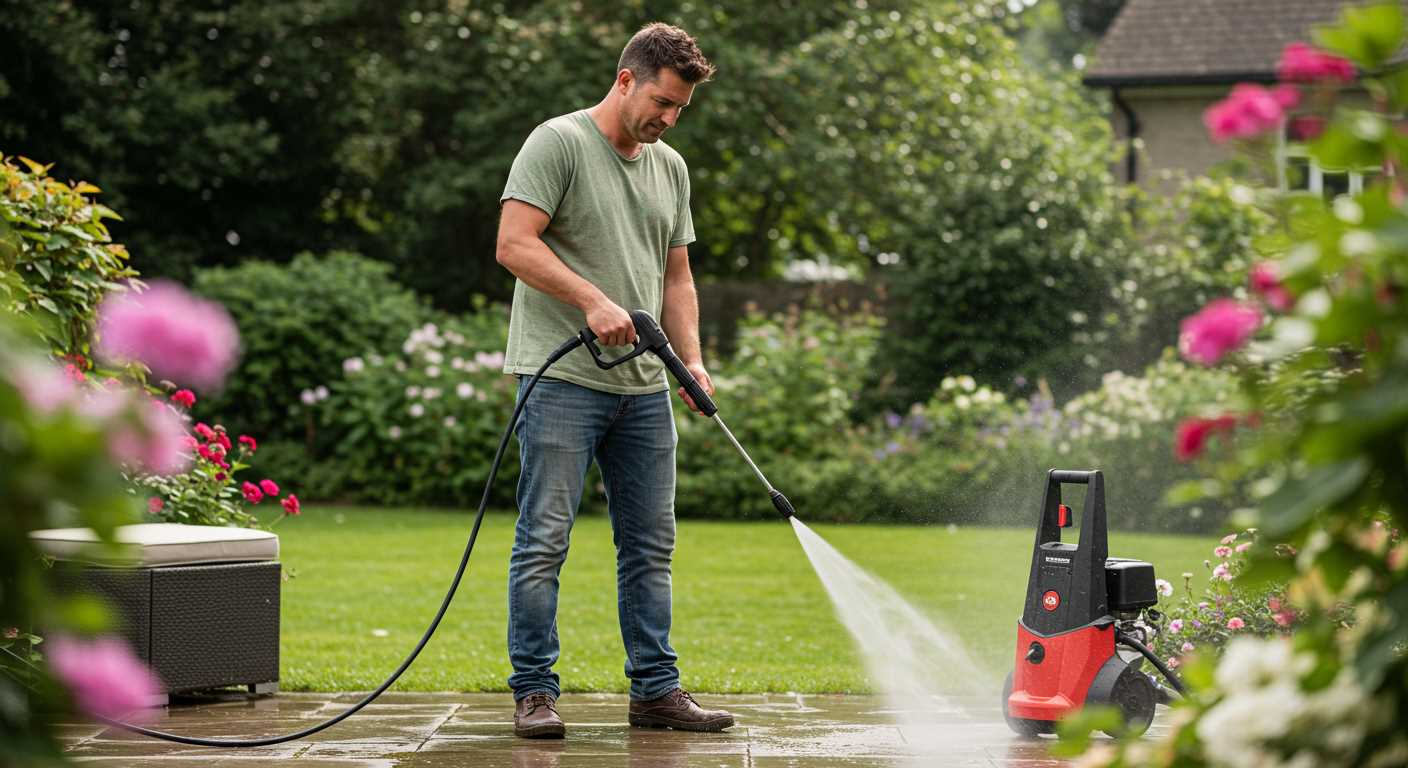
Begin by identifying a flat and stable surface to position the equipment. Ensure that there are no obstructions nearby to facilitate easy maneuverability during cleaning tasks.
Connect the water inlet hose to the designated input on the machine, making sure it is securely tightened to prevent leaks. Use a hose fitted with an appropriate connector to avoid any water flow issues.
Attach the other end of the hose to a water supply. Test the connection by turning on the water and checking for any leaks at the fittings.
Next, plug the device into a suitable power outlet. Ensure the outlet is not overloaded with other appliances, as this may affect performance. Verify the voltage compatibility according to the manufacturer’s specifications.
Before activating the device, check that all safety features are engaged. The safety lock must be in the correct position, and any required nozzles need to be firmly attached. Select the appropriate nozzle for the task at hand, typically beginning with a wider spray pattern to avoid damage to surfaces.
Depress the trigger to release pressure and pump water through the system. This eliminates air and ensures smooth functionality. Keep the nozzle away from surfaces during this initial purge to avoid unintended damage.
Once the system is primed, adjust the spray angle and pressure settings according to the cleaning requirements, ensuring to follow the manufacturer’s guidance for optimal results.
Ready to begin? Maintain a steady approach, keeping the cleansing angle consistent to maximise effectiveness. Take regular breaks to allow the equipment to cool down if required, and always monitor the water supply to prevent any interruptions during cleaning sessions.
Adjusting Pressure Settings for Different Surfaces
To optimise the cleaning results while safeguarding your surfaces, it’s critical to adjust the settings appropriately. For delicate areas like cars or painted surfaces, set the device to a lower intensity, specifically around 1000-1300 PSI. This prevents potential damage while effectively removing dirt and grime.
When dealing with intermediate surfaces such as deck wood or patio tiles, increase the output to about 1300-1600 PSI. This strikes a balance between power and protection, ensuring thorough cleaning without stripping materials.
For robust surfaces like concrete or brick, push the settings to 1600-2000 PSI. This higher pressure is advantageous in eliminating stubborn stains, moss, or grime that accumulates over time.
Keep in mind the nozzle selection is equally vital. A 25-degree or 40-degree nozzle suits lighter tasks, while a 15-degree nozzle is ideal for tougher stains on hard surfaces. Always test a small, inconspicuous area first to determine the safest and most effective combination of pressure and nozzle.
Adjusting these settings ensures efficient cleaning, prolongs the life of the surfaces, and maximises the appliance’s performance. Regularly reassess the pressure as you switch tasks to maintain optimal effectiveness.
Choosing the Right Nozzle for Your Cleaning Task
Selecting the appropriate nozzle is crucial for achieving optimal results with your cleaning tool. The Karcher K4 model comes with several nozzles, each designed for specific applications. For heavy-duty tasks like removing grime from driveways or patios, the rotary nozzle is ideal. It combines high-pressure water with a spinning motion to effectively dislodge stubborn dirt.
If the aim is to clean delicate surfaces such as vehicles or wooden decking, the fan nozzle provides a broader spray pattern with lower intensity. This prevents damage while still offering a thorough clean. For larger surfaces, a flat spray nozzle can cover more area quickly, making it perfect for cleaning flat surfaces without excessive effort.
Pay attention to the colour coding of the nozzles, as it indicates the spray angle: red (0º), yellow (15º), green (25º), and white (40º). Always start with the nozzle that has the widest angle, particularly for new surfaces. Gradually switch to a narrower spray as needed, allowing you to control the intensity of the clean.
Before beginning any cleaning task, it’s important to match the nozzle type with the surface condition and material to prevent any unintentional damage. Regularly check and clean the nozzles to ensure optimal performance and longevity. Take this approach and you’ll maximise the efficiency of your Karcher K4 while achieving impressive cleaning results.
Proper Technique for Using the Pressure Cleaner
Avoid direct contact with surfaces. Maintain a distance of at least two feet from surfaces while spraying to prevent damage. Use a sweeping motion, working from the top downwards, which ensures dirt is pushed downward and not smeared onto clean areas.
Angle of Approach
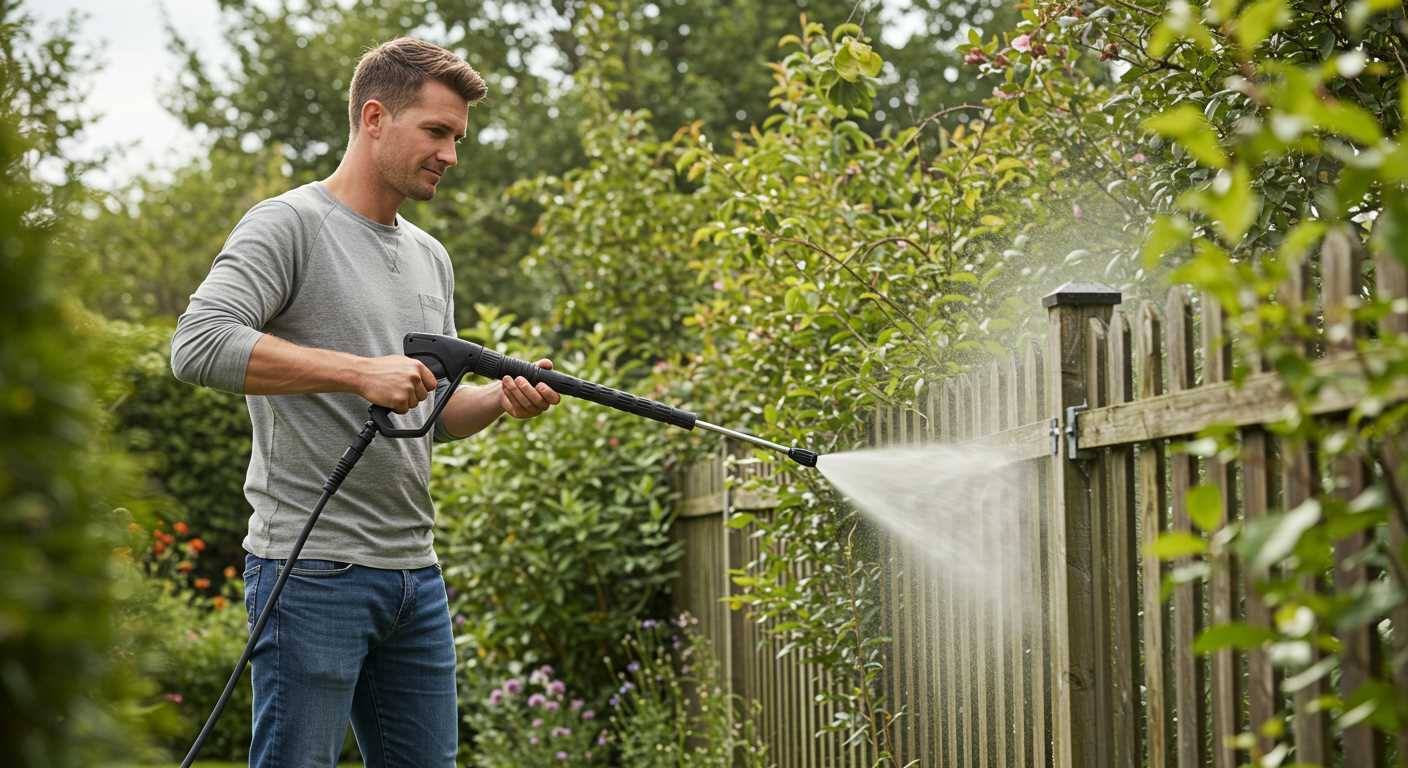
Adjust the angle of the spray nozzle to enhance efficiency. Tilt the nozzle slightly to the side rather than facing straight down for better dirt displacement. This method also reduces the risk of etching or damaging fragile surfaces.
Maintaining Consistent Motion
Keep a steady movement while cleaning. Stopping in one spot can cause excessive pressure buildup, leading to surface damage or streaks. A fluid motion ensures even cleaning and maintains an effective spray pattern.
Safety Precautions While Operating the Karcher K4
Before getting started, ensure you are wearing appropriate personal protective equipment, including safety goggles and gloves, to protect against flying debris and potential hazards. Closed-toe footwear with good grip is recommended for stability.
Checking Equipment and Environment
Inspect the unit thoroughly for any leaks, frayed hoses, or damaged components. Always work in a well-ventilated area, free from obstructions. Be cautious of overhead power lines and ensure that there are no electrical hazards in the vicinity.
Safe Operation Guidelines
Maintain a safe distance from others while operating. Always point the nozzle away from yourself and others when starting the device. Never attempt to adjust the nozzle while the equipment is running, and avoid using it while standing on unstable surfaces. Additionally, keep both hands on the trigger and handle for optimum control.
Be aware of your surroundings, especially when cleaning vertical surfaces or using extensions. Finally, disconnect the unit from the power supply when not in use and before performing any maintenance tasks.
Maintenance Tips for Longevity of Your Pressure Cleaner
Regularly check and replace the water filter. A clean filter ensures optimal performance and prevents clogging.
After each session, rinse the unit with clean water to remove detergent residue. This practice prevents chemical build-up that can lead to damage.
Inspect and replace worn or damaged seals and O-rings. These components are crucial for maintaining pressure and avoiding leaks.
Store the device in a dry, sheltered place to protect it from harsh weather conditions. Exposure can lead to corrosion and component degradation.
Drain any remaining water from the system and hoses. This prevents freezing and extends component life in colder climates.
Use manufacturer-approved detergent for optimal cleaning results and to avoid damaging internal parts.
Check and tighten all connections to prevent water leakage. Regular tightening can prolong the lifespan of the equipment.
Inspect hoses for any signs of wear or damage. Replace any frayed or leaking hoses immediately to avoid operational issues.
Perform a visual inspection before each use, ensuring all parts are in good condition. Catching issues early can save time and money in repairs.
Adhere to the maintenance schedule specified in the user manual. Regular servicing can prevent major breakdowns and ensure efficient operation.


