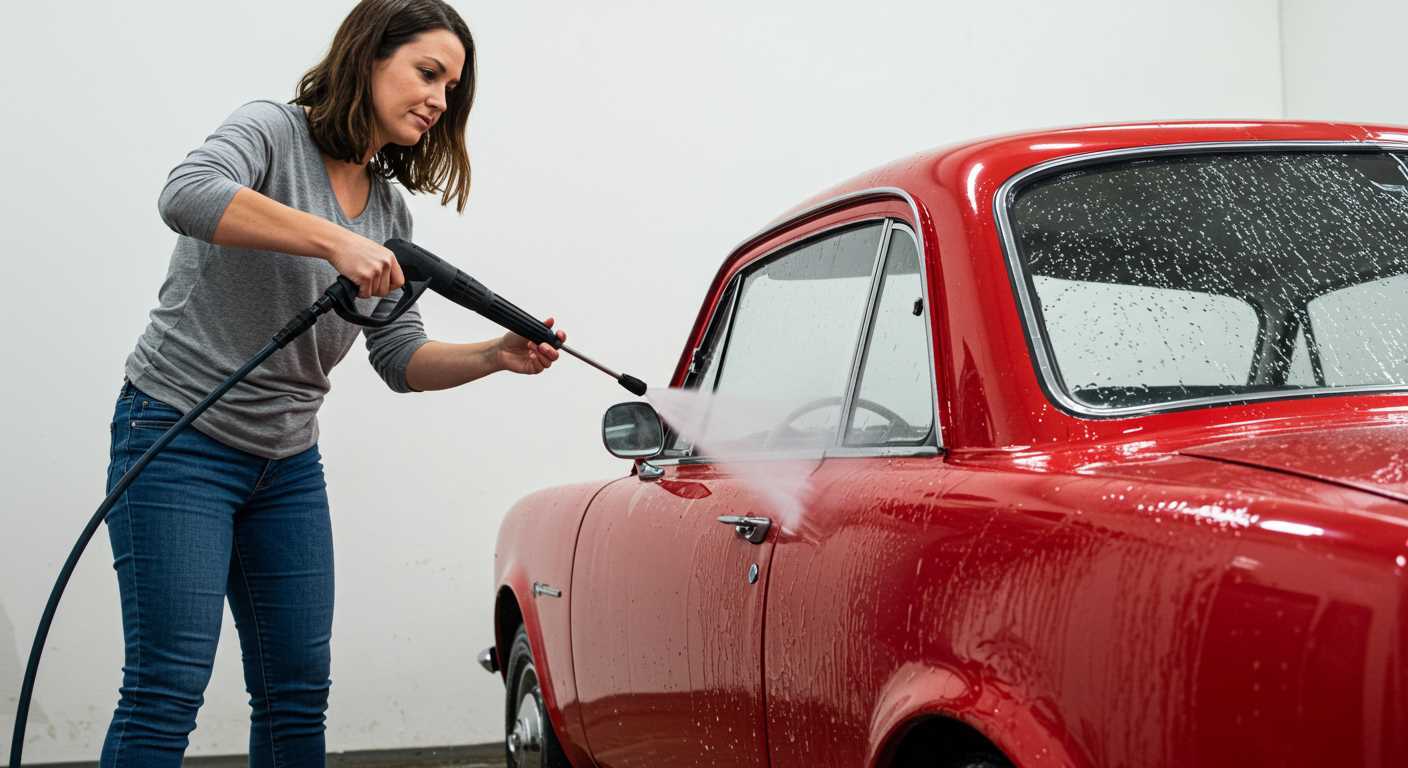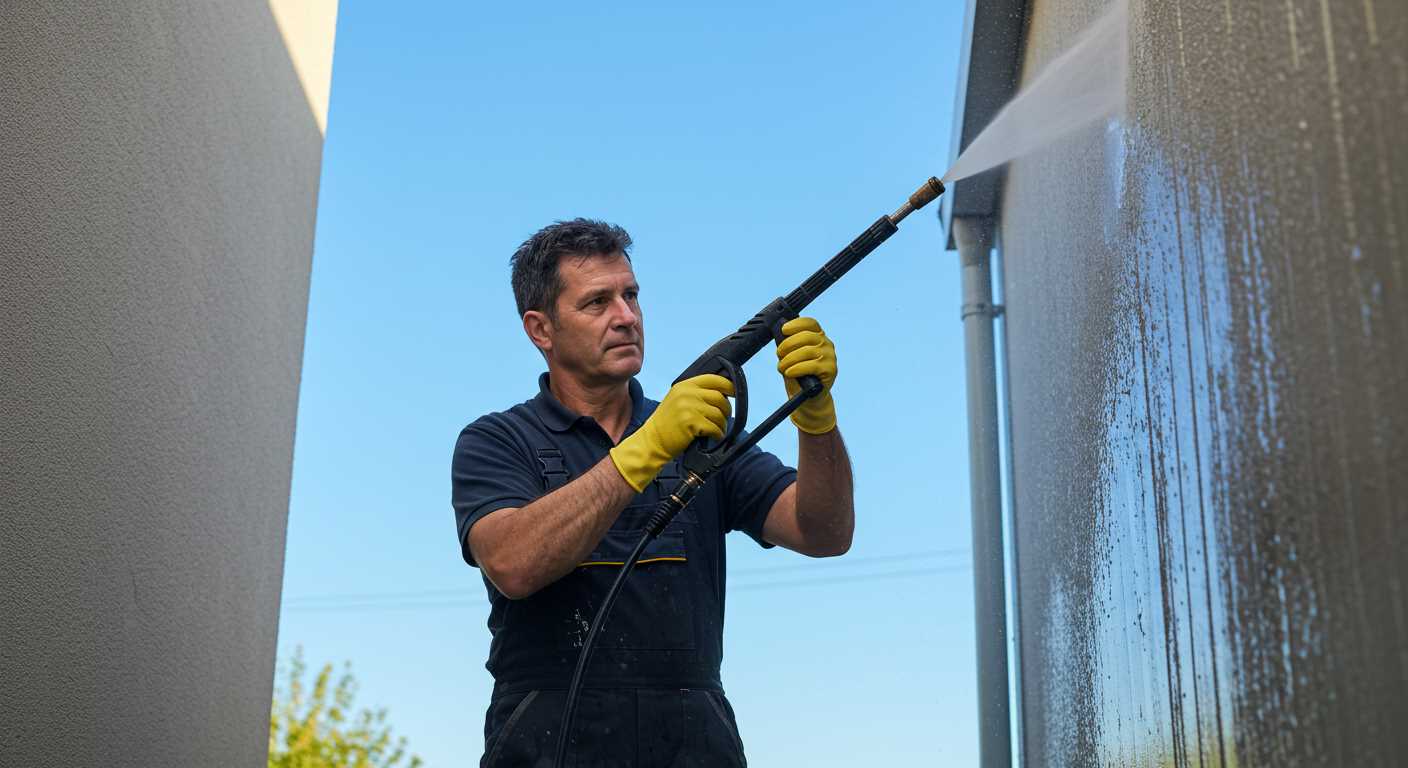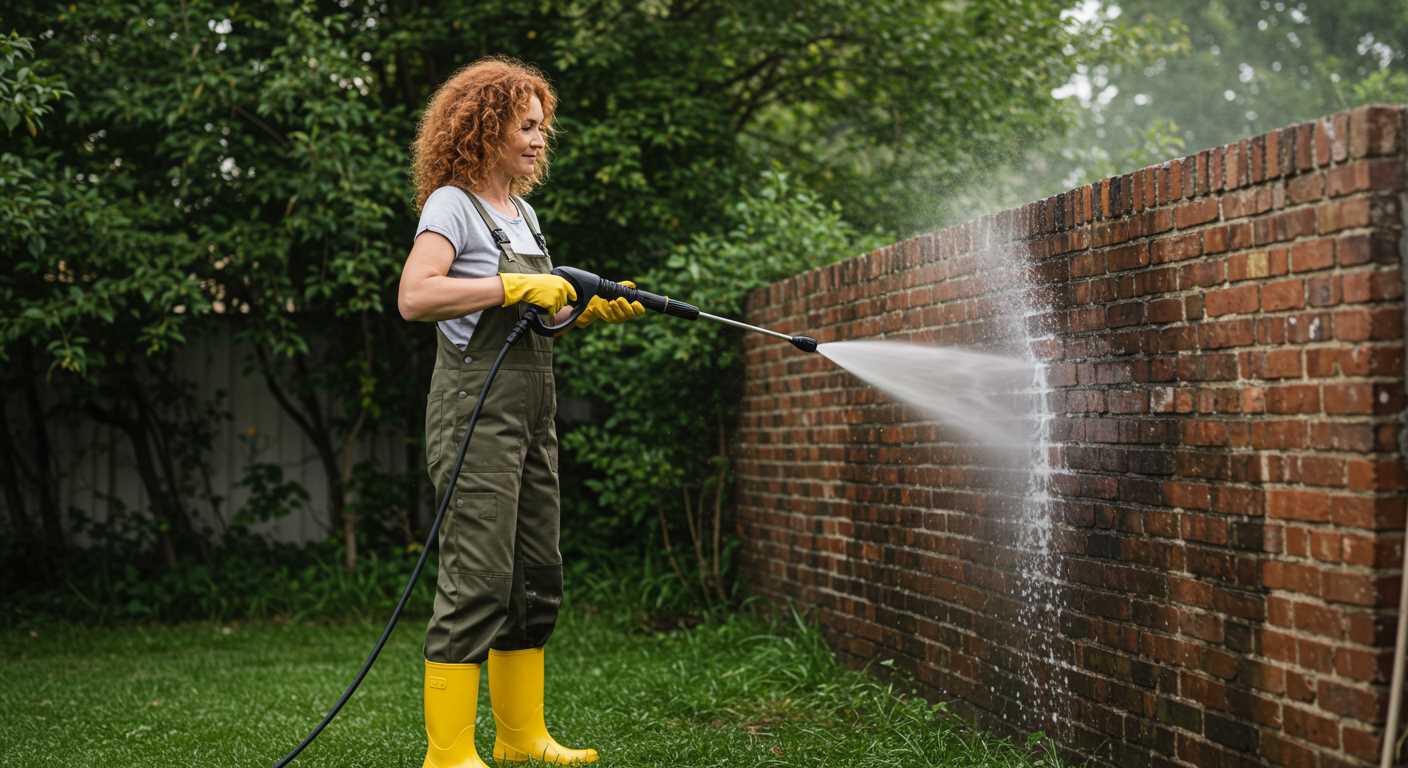


The most straightforward method for introducing a cleaning agent involves using a dedicated detergent tank if available. This reservoir typically lies adjacent to the water inlet. To proceed, simply pour the chosen solution into this compartment, ensuring adherence to the manufacturer’s guidelines regarding dilution rates and compatibility.
For devices without a built-in container, employing a foaming nozzle attachment proves effective. Connect this nozzle to the lance, then secure a bottle or reservoir containing the solution to it. Engage the device, allowing the mixture to blend with the water and generate a foam that adheres to surfaces, enhancing the cleaning process.
Always remember to rinse thoroughly after the application to prevent any residue from remaining on the surface. This step is crucial to assure that no chemicals linger post-cleaning, safeguarding both the surface and the device itself. Ensuring the correct settings on the machine guarantees optimal performance while utilising the detergent.
Understanding Soap Compatibility with Pressure Washers
Always select a cleaning solution specifically designed for high-pressure cleaning equipment. Standard household cleaners or dish soaps may create excessive foam, potentially harming the machine’s internals and reducing performance. Check product labels carefully for compatibility indicators.
Detergent Types
Opt for detergents that are biodegradable and non-toxic when possible. These formulations are safer for the environment and typically work effectively without leaving harmful residues. Many brands offer specific formulations for different surfaces, such as vehicles, decking, or stone.
Mixing and Dilution
Follow manufacturer recommendations for dilution ratios. Over-concentrating cleaning solutions can lead to inefficient cleaning and potential damage. Always measure and mix detergents in a separate container before introducing them to the equipment to ensure a consistent blend.
Choosing the Right Type of Soap for Pressure Washing

Select soaps specifically formulated for use with high-pressure cleaners. Use biodegradable options to minimise environmental impact while ensuring effective cleaning. Look for pH-neutral formulations to protect surfaces from damage.
Here are key types of cleaning agents suitable for various surfaces:
| Surface Type | Recommended Soap Type | Key Features |
|---|---|---|
| Vehicles | Car Wash Soap | Gentle on paint, removes grime and dirt without streaking. |
| Decks and Patios | All-Purpose Cleaner | Effective against mould and mildew; safe for wood and composite materials. |
| Concrete | Degreaser | Strong formulation ideal for oil stains, grease, and tough dirt. |
| Houses | Exterior Cleaner | Prevents growth of algae and moss; safe for siding materials. |
| Roofing | Soft Wash Solution | Gentle yet effective; prevents damage while removing stains and debris. |
Always read manufacturer recommendations before selection, ensuring compatibility with the equipment used. Testing a small area first prevents unwanted reactions. Proper dilution as instructed maximises effectiveness and safety. Regular maintenance with the right cleaning solutions extends the life of equipment and surfaces alike.
Identifying the Soap Reservoir on Your Cleaning Equipment

Locate the reservoir specifically designed for cleaning solutions. This compartment is often distinguished by a removable cap or a designated soap bottle holder, typically situated near the handle or the base of the unit. Models may vary; check manufacturer guidelines for precise location details.
Common Features to Look For
The reservoir may have markings indicating minimum and maximum fill levels. Some units feature colour coding or graphics to differentiate between the detergent compartment and water tank. While inspecting, ensure the compartment is accessible and easy to clean after use to prevent residue buildup.
Tools for Inspection
A flashlight can aid in examining darker areas of the machine. Keep an eye out for any hoses or attachments that connect to the reservoir, as these can provide insight into the cleaning process. If unsure, consult the user manual for visual references to aid in the identification of this crucial component.
Preparing the Soap Solution for Optimal Performance
For best results, combine soap with water according to the manufacturer’s instructions. Generally, a 1:5 ratio (one part soap to five parts water) works well for most scenarios. Mix in a clean container to ensure purity.
Utilise a stirring stick or a clean whisk to ensure thorough blending. This promotes a uniform solution that encourages effective cleaning when introduced to the equipment.
Testing the Solution Consistency
Evaluate the mixture by checking its consistency. It should not be overly thick or too watery. A soap solution with a light to medium viscosity adheres effectively to surfaces, allowing for optimal cleaning action.
Storing the Mixture

If not using the solution immediately, store it in a sealed container away from direct sunlight. This prevents degradation of the soap and maintains its potency. Before use, give the container a gentle shake to re-integrate any separated components.
Always refer to specific instructions provided with both the cleaning solution and the equipment to ensure compatibility and safety.
Properly Filling the Soap Dispenser
Precise filling of the detergent container ensures optimal cleaning results. Follow these steps for best practices:
- Make certain the dispenser is clean and free from residue before refilling.
- Consult the owner’s manual for recommended detergent types and appropriate mixing ratios.
- Using a funnel can simplify the process, minimizing spills and enhancing accuracy.
- Fill the container to no more than the maximum fill line to prevent overflow during operation.
- After filling, securely close the dispenser to avoid leakage during use.
For concentrated solutions, mix according to the guidelines and pour only the recommended amount into the tank. Consider the surface area and cleaning requirements to adjust the detergent volume accordingly.
Always test a small, inconspicuous area to ensure compatibility and effectiveness of the cleaning agent. Cleaning should be systematic to achieve uniform results across larger surfaces.
Adjusting the Pressure Washer Settings for Soap Application
Begin by selecting the appropriate nozzle to facilitate an even distribution of cleaning agent. The low-pressure nozzle, usually identified by a wider spray pattern, is optimal for ensuring the solution adheres effectively to surfaces. Switching to this configuration allows the mixture to penetrate grime and enhance adhesion.
Next, regulate the water flow rate. A moderate setting helps maintain a balance between delivering enough cleaning agent while avoiding excessive dilution. Too much force can rinse away the solution before it has time to work its magic.
Activate the soap mode, if available, to achieve maximum efficiency. This feature typically modifies the system’s flow and pressure specifically for applying the cleaning product. Check the user’s manual to understand how this affects both the water and solution output.
After adjusting settings, conduct a test spray on a small area. Observing the performance will indicate if further modifications are necessary. The goal is to ensure that the cleaning agent covers the surface without excessive splattering.
Maintaining a consistent distance from the surface while applying the mixture is also crucial. Aim for about 2 to 3 feet away to enhance adherence and prevent damage to delicate materials.
Once the adaptation is complete, allow the cleaning solution a sufficient dwell time to break down tough stains before rinsing. This waiting period is essential to maximise the cleaning results.
Techniques for Applying Soap Evenly on Surfaces

To achieve an even distribution of cleaning agent on surfaces, consider the following techniques:
- Use a Wide Nozzle: Opt for a wide spray nozzle, typically in the 25 to 40-degree range. This helps to disperse the solution more broadly, preventing streaks and ensuring a uniform application.
- Work from Bottom to Top: Apply the cleaning mixture starting from the bottom of the surface and moving upwards. This method prevents excess flow downwards, allowing the cleaning compound to adhere better to the area being treated.
- Overlap Passes: When moving across a surface, overlap each pass by about 50%. This technique ensures no spots are missed and contributes to a consistent layer of solution on the entire surface.
- Keep a Steady Distance: Maintain an even distance, around 2 to 3 feet, between the nozzle and the surface. This distance promotes a consistent application without oversaturation.
- Utilise a Low Pressure Setting: Use a lower setting on the equipment for soap application. This reduced pressure allows for a gentle and thorough spread of the cleaning agent, preventing it from being blown away before it adheres.
- Let It Dwell: After applying the cleaning solution, allow it to sit for the recommended dwell time. This enhances cleaning efficacy and permits the formulation to penetrate the grime before rinsing.
- Check for Even Coverage: Periodically assess the applied solution to ensure an even coat. Touch up any areas that may need additional attention before rinsing.
- Follow Up with Rinsing: After allowing adequate dwell time, use a high-pressure rinse at a suitable distance to remove the cleaning agent and debris, ensuring a thorough clean.
Implementing these techniques ensures an effective application and enhances cleaning results. Adjust as needed based on surface type and conditions for optimal performance.
Cleaning and Maintaining the Soap Dispenser After Use
After finishing with the cleaning solution, flushing the dispenser is vital. Begin by running clean water through the system to remove any residue. This prevents clogging and ensures optimal functioning during future uses.
Detach the reservoir, if applicable, and rinse it thoroughly with warm water. For stubborn buildup, consider using a soft brush to scrub the interior gently. Avoid harsh chemicals that could damage the components.
Inspect all connections and hoses for soap accumulation. Clean these areas with a damp cloth to eliminate any leftover detergent, ensuring they remain clear for next time.
Let the parts dry completely before reassembling. Storing the unit with moisture can lead to mould or mildew, negatively impacting performance.
Finally, check the manufacturer’s recommendations for any specific maintenance instructions related to cleaning solutions. Following these guidelines helps maintain the reliability of the equipment and prolongs its lifespan.


