

Start by ensuring the machine is shut off and disconnected from the power source. This step is vital for safety. Locate the connection point on the end of the lance where the attachment will be fitted.
Align the chosen attachment with the connection point. It’s essential to inspect both surfaces for any debris or damage before proceeding, as a clean interface maximises efficiency. Once aligned, apply firm pressure until an audible click is heard, indicating a secure fit.
To confirm the attachment is secure, gently pull on the nozzle. If it feels loose, repeat the previous steps to achieve a snug connection. Before commencing any cleaning task, conduct a brief test to ensure functionality and verify that water flows unobstructed through the nozzle.
Instructions for Fixing a Spray Head to a High-Pressure Cleaning Device
Begin by ensuring that the equipment is switched off and disconnected from the power supply. Next, take hold of the spray head and align it with the fitting on the lance. The connection points should match perfectly; if necessary, rotate the head slightly until the openings align.
Once aligned, push the spray head firmly onto the lance, making sure it is fully seated. Listen for a click or feel for a secure lock when the fitting engages. If the model allows, a simple twist may be needed to secure it further.
Verify the attachment is secure by gently pulling on the spray head to confirm it does not come loose. After confirming the fixation, check for any leaks by turning on the device. If water escapes from the joint, disconnect and reassemble to ensure a tighter fit.
Maintain the spray head periodically by cleaning it and inspecting for wear. Keeping connections clean will help ensure longevity and optimal performance during usage.
Understanding the Types of Nozzles Available
Choosing the right spray tip significantly impacts cleaning effectiveness and efficiency. Various options cater to specific needs and tasks.
Standard Spray Tips
These typically range from zero to 40 degrees, with each angle suited for different applications. A zero-degree tip delivers a concentrated stream ideal for stubborn stains, while a 15-degree option provides a strong jet for more general cleaning. For broader applications, a 25-degree tip is versatile, while a 40-degree tip creates a gentle mist, perfect for sensitive surfaces.
Specialised Attachments
Some tips are designed for particular tasks. For instance, rotating nozzles combine the power of a narrow spray with a spinning action, enhancing cleaning prowess. Turbo nozzles effectively tackle tough grime by creating a powerful rotating spray pattern. Surface cleaners utilise a set of spinning nozzles for extensive areas, ensuring even coverage and swift results.
Understanding these options maximises performance and tailored cleaning outcomes, ensuring the right choice for any task. Familiarity with available types aids in achieving optimal results with each use.
Gathering the Required Tools for Attachment
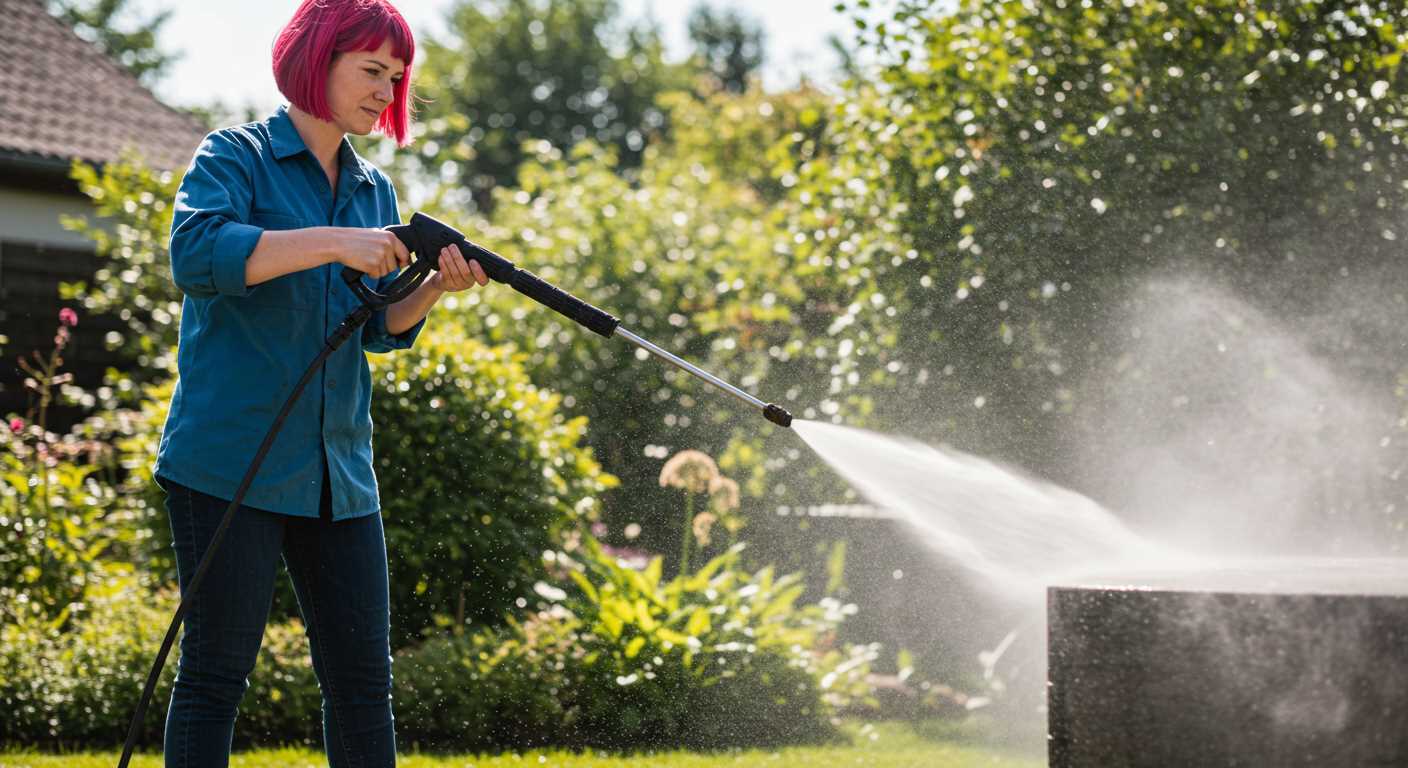
Gather a few specific tools prior to beginning the process. A pair of safety goggles offers protection against any debris propelled during the procedure. Equip yourself with gloves to ensure a secure grip and to protect your hands. A clean cloth will help maintain the components free from dirt and residue, enhancing the connection’s integrity.
A hose wrench, if available, assists in loosening connections that may be stubborn or tightly secured. For some models, a screwdriver or pliers may prove useful in ensuring a snug fit during installation. Review the user manual for any brand-specific requirements that may include unique tools or fittings. Having everything ready in advance ensures a seamless experience while enhancing both safety and efficiency.
Preparing the Cleaning Unit for Nozzle Installation
Before proceeding with installation, ensure the unit is powered down and disconnected from its water supply. This eliminates risks of accidents or injuries.
Steps to Prepare
- Turn off the engine or power switch. Ensure that all controls are in the off position.
- Disconnect the water inlet hose from the unit. This prevents backflow and contamination.
- Check for residual pressure by squeezing the trigger of the wand until no more water escapes.
- Inspect the wand and connectors for any debris or damage. Clean if necessary to ensure a proper fit.
Following these steps facilitates a smooth installation process and ensures optimal performance of the equipment. Familiarity with your specific model’s manual can provide additional insights related to maintenance and setup particularities.
Safety Checks
- Verify that safety locks are engaged for any adjustable parts.
- Examine hoses for leaks or signs of wear. Replace if needed to prevent malfunctions.
- Wear protective gear such as gloves and safety glasses during the process.
Taking time to prepare the apparatus properly leads to seamless nozzle connection and enhances overall operation. Preparation is key to maintenance and prolongs the lifespan of the cleaning system.
Attaching Nozzles: Step-by-Step Instructions
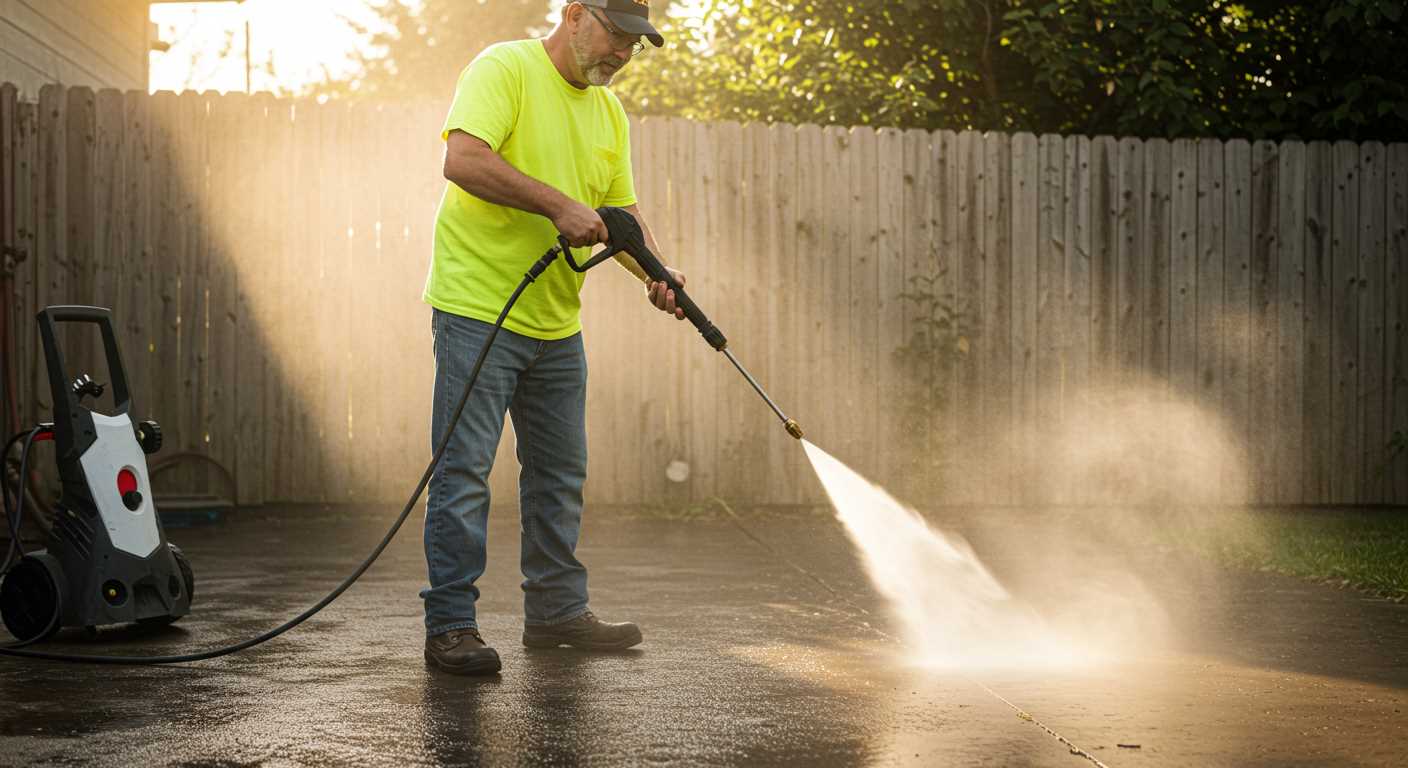
Ensure the equipment is powered off and disconnected from the fuel or power source before starting. This prevents accidental activation during the installation process.
1. Identify the Type of Connection
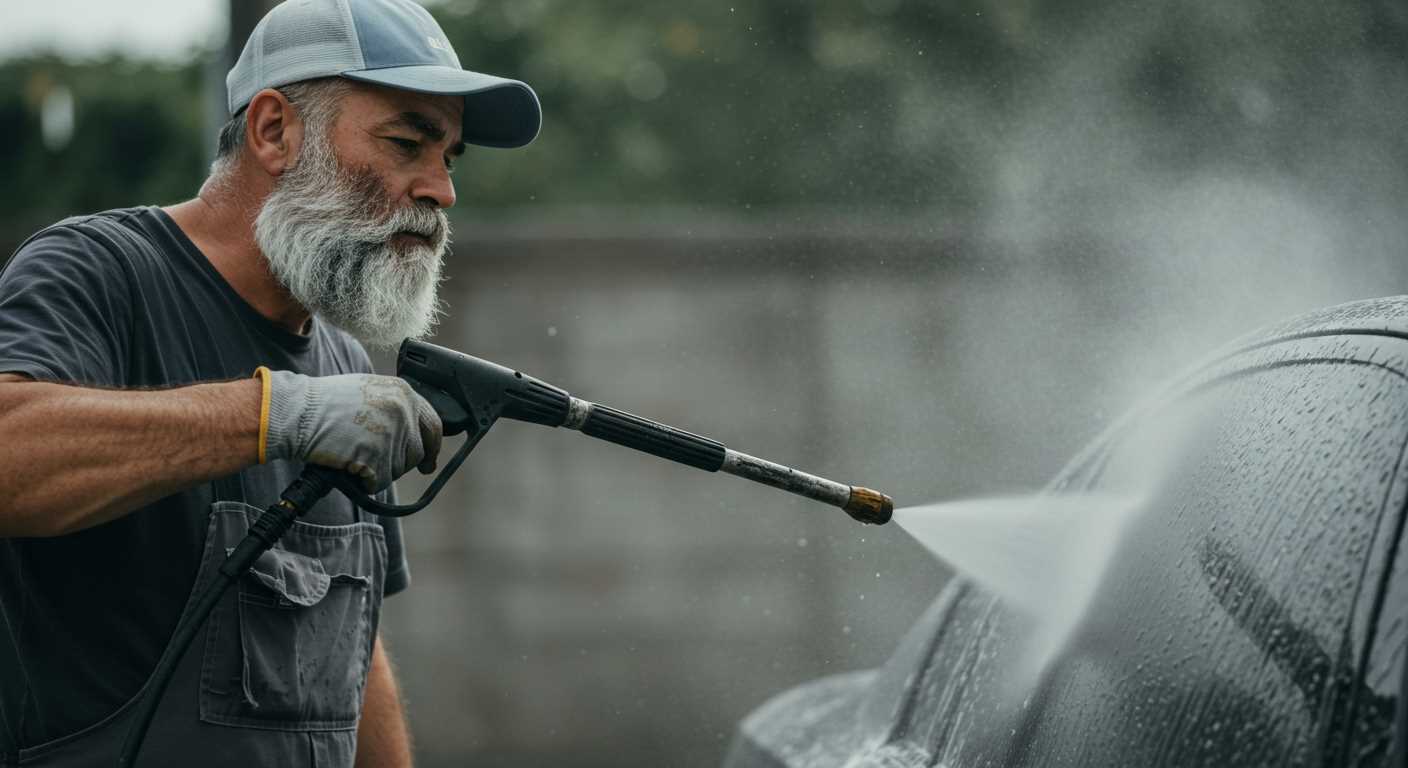
Examine the end of the lance or wand to determine if a quick-connect or threaded style is used. Quick-connect fittings allow effortless changes, while threaded connections may require a wrench for secure attachment.
2. Align and Secure the Fitting
For quick-connect nozzles, pull back the sleeve on the connector, insert the end firmly, and release the sleeve to lock it in place. For threaded styles, align the male and female threads, turning clockwise until snug. Avoid overtightening to prevent damage.
3. Test the Setup
After installation, perform a brief test run. Stand clear of the nozzle discharge area, power on the equipment, and check for leaks. If water escapes at the connection, re-tighten or adjust accordingly.
| Connection Type | Description | Installation Tips |
|---|---|---|
| Quick-Connect | Simple push-and-lock mechanism | Pull sleeve back, insert until it clicks into place |
| Threaded | Standard screw-on type | Ensure alignment of threads to avoid cross-threading |
Regularly check the integrity of connections and replace any worn or damaged parts for optimal performance during cleaning tasks. Maintaining these components ensures the longevity and efficiency of the entire system.
Ensuring a Secure Connection and Preventing Leaks
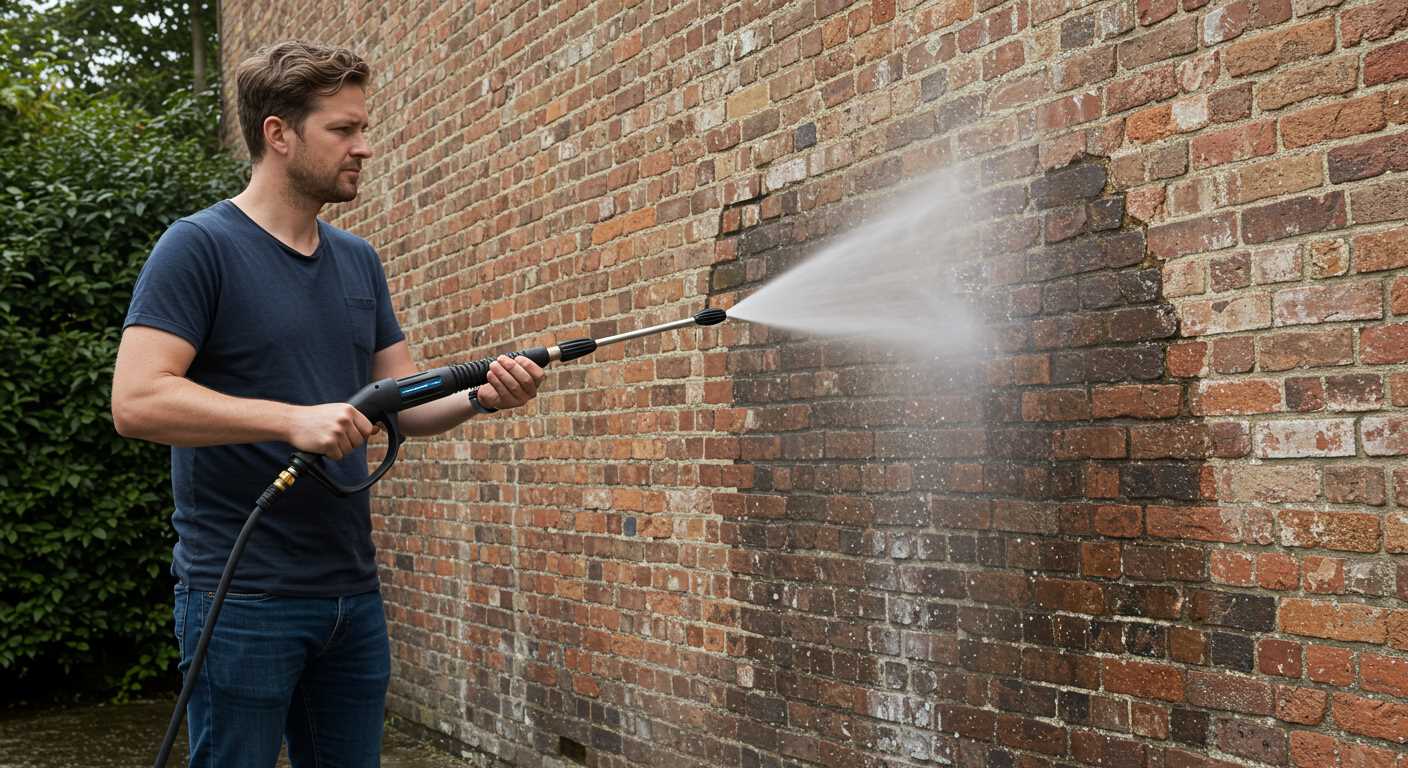
Before finalising the installation process, double-check the connection for stability and tightness. This can significantly reduce the risk of leaks during operation. Gently wiggle the attachment to assess any movement; it should remain firm and secure. If movement is detected, consider carefully tightening the connection further without overextending, which could cause damage.
Inspect the O-ring, frequently located at the base of the fitting where it meets the unit. Make sure it is intact and properly seated in its groove. A damaged or incorrectly positioned O-ring often leads to unwanted leaks. If it appears worn, replace it with a new one for optimal performance.
A bypass of high-pressure water can lead to leakage, so ensure that the attachment is designed for the specific model being used. Always consult the manufacturer’s guidelines to avoid compatibility issues. Utilising primary connections recommended by the manufacturer enhances reliability.
If liquid seeps during testing, release any trapped pressure in the system before adjusting any fittings. Use a suitable wrench to securely tighten the connection while maintaining a careful balance–you want it tight enough to prevent leaks but not so tight that it risks cracking the components.
Lastly, after confirming a secure fit, conduct a few test runs. Monitor closely for any signs of leaks during operation. If any issues arise, address them immediately to maintain safety and performance standards.
Testing the Nozzle Functionality After Attachment
To confirm proper functionality after installing the attachment, conduct a brief operational check. Begin by starting the motor and allowing it to reach the required pressure. Stand at a safe distance, ensuring the angle is appropriate for the cleaning task.
Follow these specific steps to verify that the connection is effective:
- Direct the spray towards a non-sensitive surface, such as a concrete driveway or a piece of wood.
- Engage the trigger for a few seconds while monitoring the pattern of the water stream.
- Inspect for any irregular patterns or inconsistencies. A properly fitted accessory should produce a steady, concentrated spray.
- Look for any indications of leaks where the component connects to the lance or washing device. Wet spots are a clear sign that the connection requires adjustment.
If the stream operates correctly without leaks, the setup is complete. Should any issues arise, consider re-evaluating the fit of the component or checking for any debris that may obstruct the connection.
This test not only ensures optimal performance but also maximises efficiency for cleaning tasks ahead. Consistently checking for effective operation at the start of each use will save time and prevent potential equipment damage down the line.


