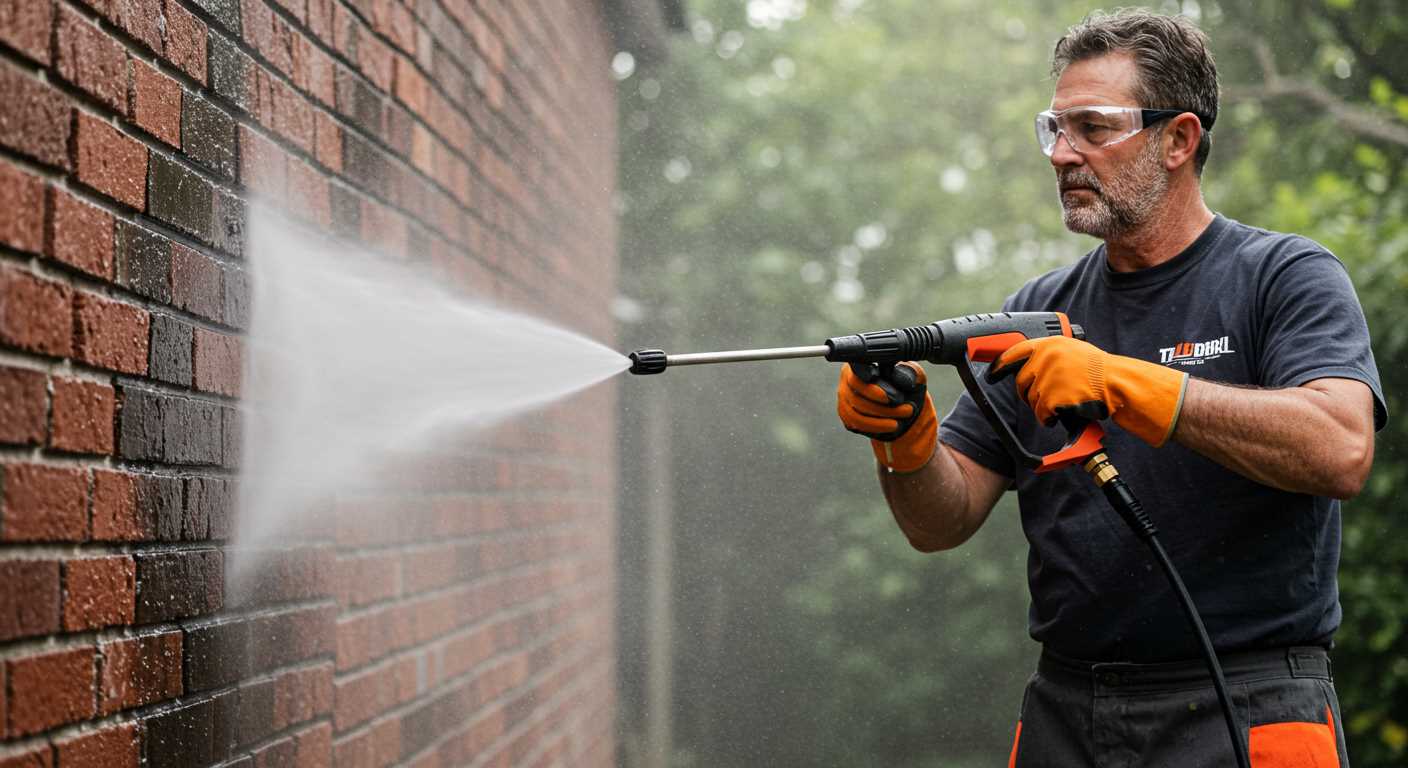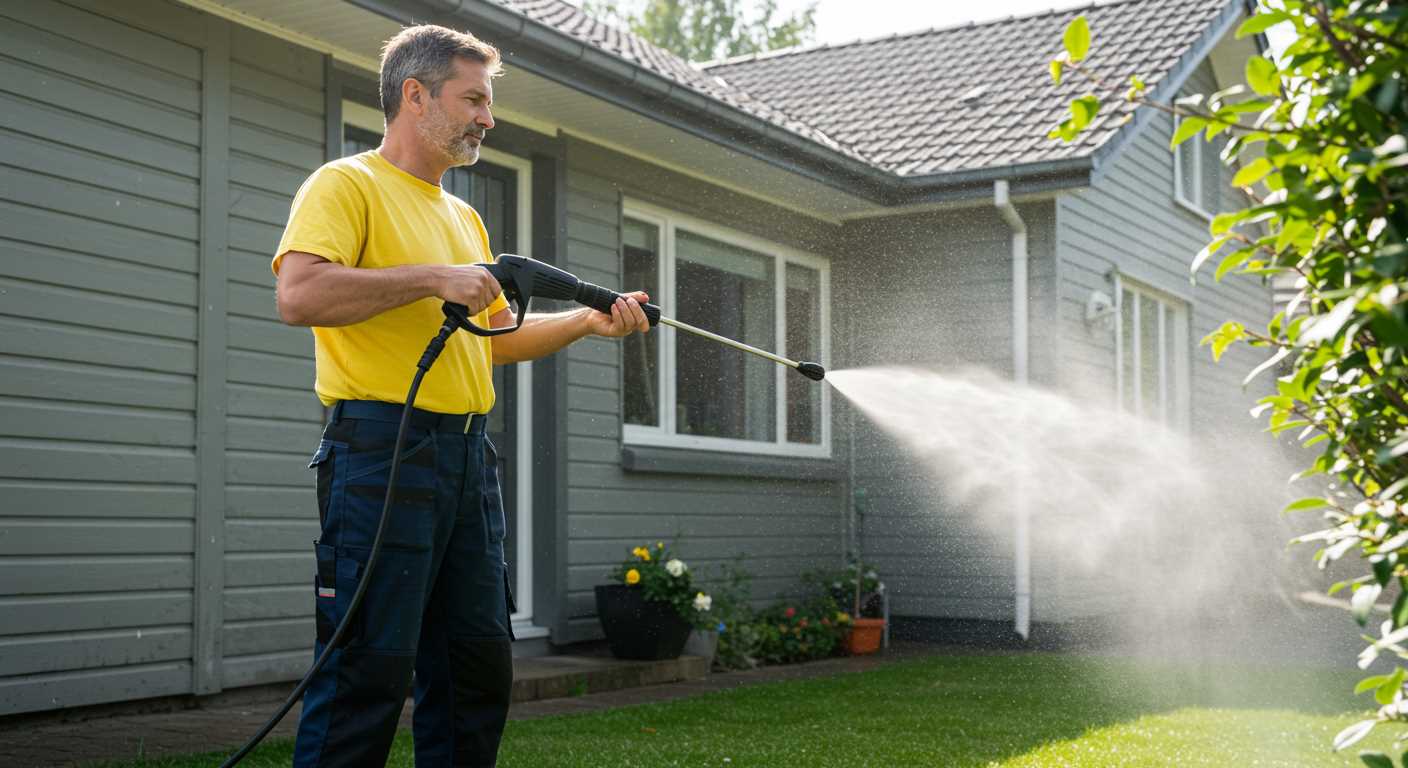


Utilising a high-pressure cleaning unit can significantly enhance the appearance and longevity of outdoor surfaces. Begin by selecting the right nozzle; a 25-degree nozzle typically offers a balanced spray that effectively removes dirt without causing damage.
Prior to activation, ensure that any debris or loose materials are cleared from the surface. This preparatory step prevents additional scrubbing and enhances the efficiency of the cleaning process. Position the nozzle approximately 30 cm away from the surface, adjusting as needed to maintain an optimal distance throughout the cleaning.
Employ a sweeping motion while applying the water jet, working in sections to achieve consistent results. For stubborn stains, a concentrated approach using a rotating nozzle can prove beneficial, as it focuses pressure on specific areas. After washing, consider rinsing the surface with plain water to remove any remaining cleaning agents or loosened grime.
Finally, allow the surface to dry properly to ensure that it remains clean and free from debris. Regular maintenance will not only keep it looking pristine but also extend its lifespan significantly.
Choosing the Right Pressure Washer for the Job
For optimal results, select a device with at least 2000 PSI (pounds per square inch). This pressure level ensures effective removal of dirt and grime. Consider a model with adjustable pressure settings; this versatility allows for tailored cleaning based on varying surface conditions.
Look for units equipped with a high flow rate, ideally above 1.8 GPM (gallons per minute). A superior flow rate complements pressure, resulting in better cleaning efficiency and thorough rinsing.
Pay attention to the type of motor. Electric units are quieter and ideal for residential use, while petrol-powered models usually offer greater power and mobility for larger areas.
Evaluate nozzle options. A rotating nozzle significantly enhances performance, enabling quick and efficient coverage. Additionally, a fan nozzle provides an adjustable spray pattern for meticulous control, especially in tight spots.
Assess the weight and manoeuvrability of the equipment. A lightweight model with wheels simplifies transport and reduces fatigue during extended use. Furthermore, a long hose and power cord enhance reach while minimising the need for frequent repositioning.
Prioritise build quality. Metal chassis and robust components indicate durability and longevity. Investing in reliable equipment ensures satisfactory performance over time, making the task less daunting.
Don’t overlook accessories. A brush attachment can assist in loosening stubborn debris, while extension wands help reach high or hard-to-access areas.
Lastly, consider the warranty and customer support offered by manufacturers. A solid warranty reflects confidence in the product and provides peace of mind.
Preparing the Area for Cleaning
Clear the designated space thoroughly by removing furniture, pots, and any other obstructions. Ensure that the surface is free from debris such as leaves, dirt, and stones to prevent damage and enhance the results.
Cover nearby plants or delicate features with tarps or plastic sheeting. This protects them from potential overspray and harsh cleaning agents. Pay attention to delicate plants, as the pressure can harm them if unprotected.
Check for loose or cracked sections on the surface before proceeding. Repair any significant damage to prevent further deterioration during the process. This upfront attention will save time and effort later.
Consider addressing any oil stains or specific spots with appropriate cleaning agents ahead of time. Pre-treating these areas allows for more effective removal during pressure cleaning.
Ensure that access to water supply is adequate and functional. A well-defined setup enhances workflow and avoids interruptions during the task.
Finally, ensure personal safety measures are in place. Wear suitable clothing and protective gear, including goggles and gloves, to guard against strong sprays and ensure a secure working environment.
Understanding the proper pressure settings
Selecting the correct pressure level is pivotal for achieving satisfactory results. For stone surfaces, a setting between 1500 and 3000 PSI generally suffices. Softer materials may require a lower PSI to avoid damage, while more robust stones can handle higher pressures without issue.
Determining the right PSI

Begin by examining the material of the surface. For instance, concrete often withstands higher pressures compared to sandstone or brick. If unsure, start with a lower PSI and gradually increase as needed. This approach minimises the risk of surface damage while allowing for more effective grime removal.
Adjusting nozzle types and angles
The nozzle type complements the pressure settings. A wider spray angle spreads the pressure over a larger area, ideal for cleaning sensitive surfaces. Conversely, a narrower nozzle concentrates the force, making it suitable for stubborn stains but requiring careful handling. Adjusting the distance from the surface also influences effectiveness; a distance of 18 to 24 inches typically achieves a good balance.
Regularly assess the pressure during operation, as dirt buildup can require adjustments. Always consult the manufacturer’s guidelines for specific recommendations related to particular models and their functions.
Selecting the Right Nozzle for Cleaning
For optimal results, a 25-degree nozzle is typically recommended for tasks involving hard surfaces. This nozzle strikes a balance between pressure and coverage, effectively removing grime without risking damage to the surface. If a more concentrated blast is needed for stubborn stains, a 15-degree nozzle can be employed; however, caution is advised to prevent etching or surface damage.
Consider the colour-coding system of the nozzles: green for 25 degrees, yellow for 15 degrees, and white for 40 degrees, which offers the gentlest spray. The white nozzle is particularly useful for rinsing and finishing touches. Selecting the appropriate nozzle not only enhances cleaning efficiency but also prolongs the life of the surface being cleaned.
Additionally, some pressure washer models feature rotating or turbo nozzles that combine the benefits of different angles, providing a powerful cleaning action suitable for various materials. These innovative nozzles can help reduce cleaning time while maintaining effectiveness.
Lastly, for those areas with heavy vegetation or debris, a surface cleaner attachment might be the best option. This tool enables thorough cleaning while minimising the risk of spraying dirt or water in unwanted directions. Always ensure the nozzle choice aligns with the surface type and the level of cleaning required for the best outcomes.
Applying cleaning solutions before pressure washing
Utilising the right cleaning solutions enhances the outcome significantly. Opt for a pH-neutral detergent, specifically formulated for outdoor surfaces. This type of cleaner effectively breaks down dirt and grime without damaging the surface material.
Application Techniques
Apply the detergent using a garden sprayer or a brush. Ensure even coverage, especially in heavily soiled areas. Allow the solution to sit for 10-15 minutes, but avoid letting it dry. Spraying additional water lightly can help maintain moisture.
Specialised Cleaners

In cases of mould or algae, select a cleaner containing a biocide. This not only removes stains but also prevents regrowth. For stains like oil or grease, consider using a degreaser. Always follow the manufacturer’s instructions for dilution and application.
After the cleaning solutions have done their job, rinse well before commencing with the washing equipment. This ensures that debris doesn’t get trapped under residual chemicals. Proper preparation maximises the efficiency of the subsequent washing process.
Techniques for Effective Pressure Washing
To achieve desired results, maintain a consistent distance from the surface during the task. Ideally, aim for about 30 cm to 50 cm; this prevents damage and ensures even cleaning.
Angles Matter

Adjusting the angle of the spray can drastically affect outcomes. Here are recommended angles:
- 15 degrees: Ideal for tough stains; work at a steeper angle to concentrate power.
- 25 degrees: Excellent for moderate dirt and grime; versatile for various surfaces.
- 40 degrees: Suitable for delicate areas; helps to avoid damage while still providing effective cleaning.
Techniques to Enhance Cleaning
Incorporate these methods for maximised efficiency:
- Overlap Sweeping: Move the jet in sweeping motions, overlapping previous paths by around 30%. This guarantees uniformity and thoroughness.
- Sectioning: Work on one section at a time. This allows for focused effort and prevents re-soiling already cleaned areas.
- Pre-treating Heavy Stains: For particularly stubborn spots, apply a suitable solution and let it sit for 5 to 10 minutes. Rinse off the residue before using the machine.
Clear any debris, such as leaves or dirt, from the surface beforehand to improve efficiency. Keeping the area free of large items allows for better access and effectiveness.
Post-cleaning care and maintenance of stone surfaces

After the thorough washing session is complete, it’s crucial to protect the surfaces from future stains and degradation. Begin by inspecting for any cracks or loose stones. Repair these immediately to prevent further damage.
Sealing the surfaces
Applying a high-quality sealant can significantly extend the life of your outdoor flooring. Choose a sealant compatible with your particular stone type. Ensure the surface is completely dry before application. Typically, a roller or sprayer works best for even coverage. Allow the sealant to cure fully according to the manufacturer’s guidelines.
Regular maintenance schedule
Routine upkeep is vital to maintaining appearance and durability. Sweep regularly to avoid debris build-up which can lead to staining. Establish a washing routine; once every six months should suffice in most environments. For heavier stains, consider specialised cleaning agents designed specifically for your stone’s material.
| Maintenance Task | Frequency | Recommended Action |
|---|---|---|
| Inspect for damage | Monthly | Look for cracks and repair as needed |
| Sealing | Every 1-3 years | Apply sealant as per product instructions |
| Washing | Every 6 months | Use appropriate cleaner and equipment |
| Debris removal | Weekly | Sweep away dirt and leaves |
These measures prevent permanent stains and enhance the longevity of your outdoor surfaces, ensuring they remain attractive and functional for years to come.
FAQ:
What should I do before using a pressure washer on my paving slabs?
Before using a pressure washer on your paving slabs, it’s advisable to remove any loose debris, such as leaves, dirt, and stones. This helps to prevent any particles from being sprayed onto your surfaces. Additionally, check for any significant cracks or damage in the slabs that could be exacerbated by the high-pressure water. If there are weeds or moss growing in the gaps, consider treating these areas with an appropriate weed killer beforehand. This will make the cleaning process more effective.
How should I adjust the pressure settings on my washer for cleaning paving slabs?
When cleaning paving slabs, the pressure setting on your washer is important for achieving a thorough clean without causing damage. Generally, a pressure setting between 1500 to 2000 PSI is suitable for concrete slabs. It’s advisable to start with a lower pressure and gradually increase it as needed. Additionally, maintain a distance of about 30 cm from the surface while cleaning to prevent etching of the slab. If your washer has different nozzle attachments, using a fan or wide-angle nozzle (25 to 40 degrees) can help disperse the water pressure evenly and be gentler on the surfaces.


