

Utilise a simple mixture of warm water and vinegar in a spray bottle to remove stubborn grime and stains. This eco-friendly solution combats mould and mildew, providing excellent results without harsh chemicals.
For baked-on dirt, a paste made from baking soda and water can be applied directly. Spread it over the affected areas and let it sit for 15-30 minutes. Scrubbing with a stiff brush will help dislodge the dirt effectively.
Consider employing a stiff broom or brush for routine maintenance. Regular sweeping prevents leaves and debris from accumulating, making subsequent deep cleans easier and less frequent.
For vegetation, vinegar diluted with water serves as an effective weed killer while also helping to brighten the surfaces. Apply it directly onto unwanted plants, being careful not to overspray onto desirable foliage.
Utilise warm soapy water for a straightforward yet efficient clean. A simple dish soap solution can work wonders when paired with scrubbing tools, tackling light dirt and stains with ease.
Lastly, addressing the joints between surfaces can prevent weed growth and further grime accumulation. A dedicated joint filling material can maintain aesthetic appeal while minimising future cleaning needs.
Gathering the Right Tools for Manual Cleaning
A sturdy broom with stiff bristles is crucial for removing loose dirt, leaves, and debris from the surface. Opt for a push broom if the area is large, as it covers more ground efficiently.
A long-handled scrub brush is indispensable for tackling stubborn stains. Look for one with durable bristles to withstand tough scrubbing on textured surfaces. If the area is particularly grimy, choose a brush with a metal handle for added leverage.
A bucket for mixing cleaning solutions is necessary. Select one that holds at least 10 litres to minimise the need for frequent refills. This will save time during the cleaning process.
For those tough stains, a concrete cleaner or similar solution works effectively. Ensure the chosen product is safe for the specific surface type. Always read instructions to determine the correct dilution ratios if needed.
A pair of gloves will protect hands from harsh chemicals and grime. Choose heavy-duty gloves designed for cleaning tasks to ensure durability.
If the slabs have a lot of algae or moss, a solution made from water and vinegar can be beneficial. Prepare a spray bottle for easy application in hard-to-reach areas.
To rinse away the cleaner afterwards, a garden hose will suffice. If complete rinsing is needed, a nozzle with an adjustable spray setting can help control the water flow while conserving water.
For areas where dirt accumulates in joints, a putty knife or similar tool can help remove debris stuck between the stones. This ensures a thorough cleaning and keeps spaces between slabs tidy.
Preparing the Area Before Cleaning
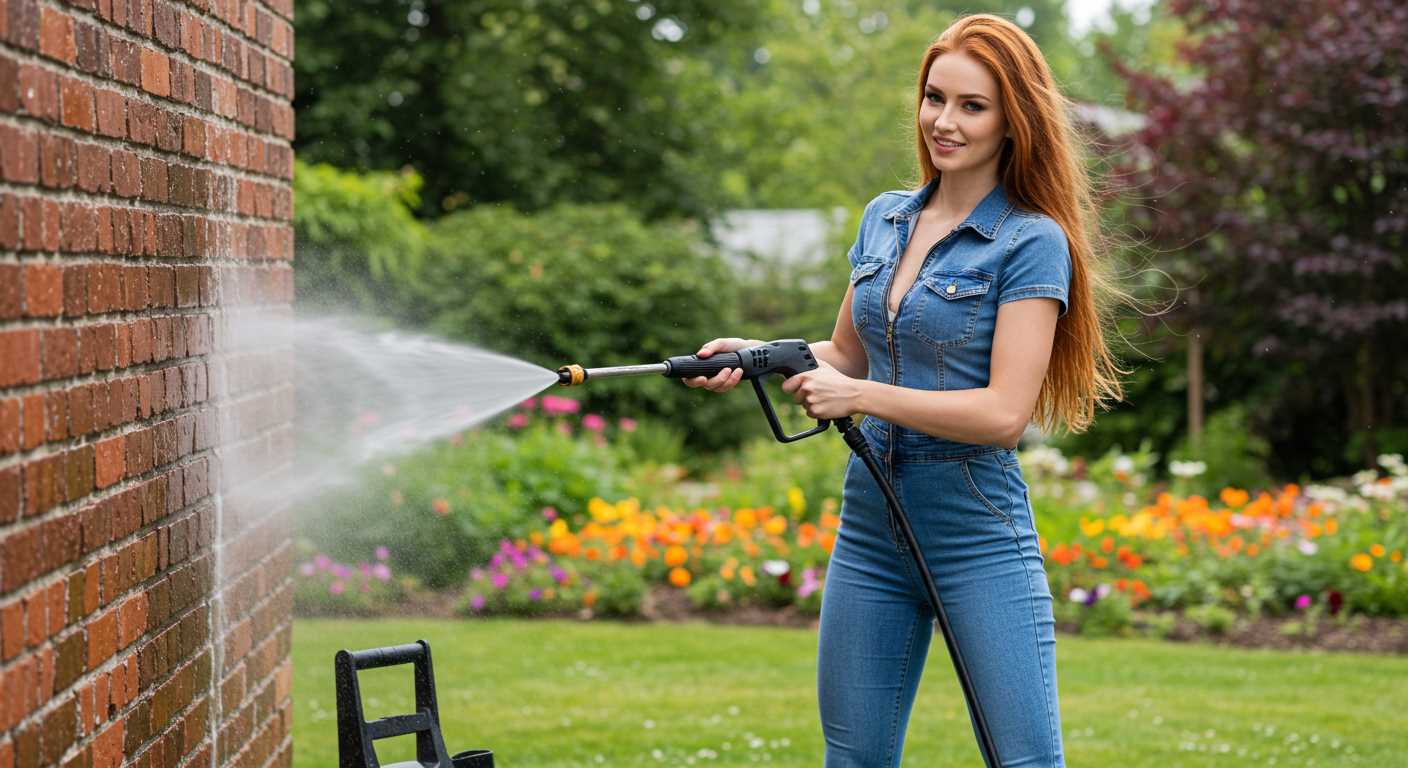
Clear the space of any furniture and planters. This allows for unrestricted access to the surface being treated.
Remove debris, leaves, and dirt using a broom or brush. Pay attention to corners and edges where grime tends to accumulate.
Inspect for weeds or moss. Pull them out manually or use a hoe to ensure a clear surface. This can also prevent the growth of more unwanted plants during the washing process.
Assess the condition of joints and gaps. Fill in any missing sand or grout to enhance stability and effectiveness of the cleaning process.
Consider covering nearby plants and delicate items with tarps or plastic sheets. Protecting the surrounding environment is key to maintaining an intact garden or patio area.
Lastly, ensure the area is safe to work in. Look for slippery spots or loose items that may pose a risk during the manual cleaning effort.
Choosing the Right Cleaning Solution for Paving Slabs
Selecting an appropriate cleaning product is crucial for effectively removing dirt, moss, and stains from outdoor surfaces. Opt for a solution that targets specific types of grime, such as oil, algae, or general build-up.
Commercial Cleaners
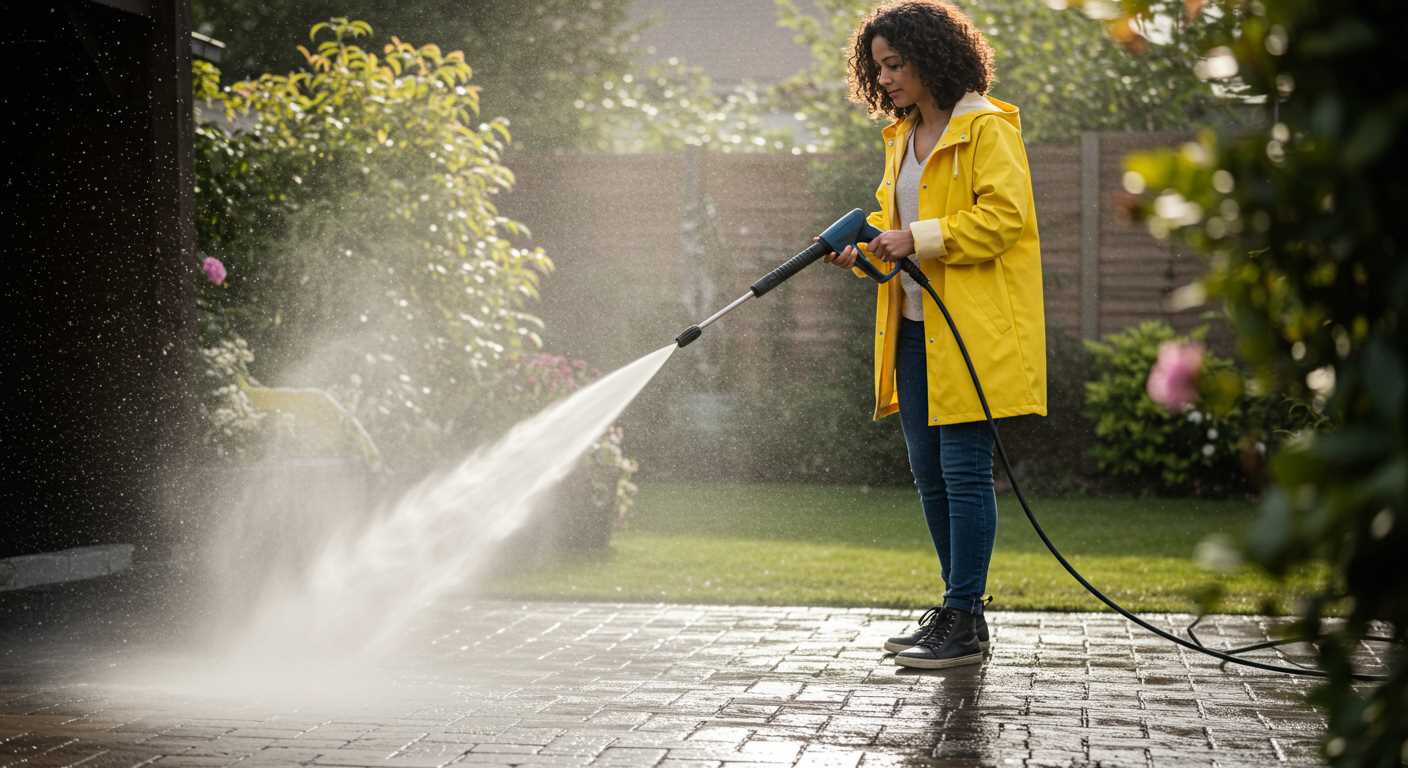
Many available branded cleaners contain powerful ingredients designed to lift tough stains. Seek out eco-friendly options that minimise environmental impact while still delivering impressive results. Read labels carefully to ensure compatibility with the materials of your outdoor floors.
DIY Solutions
Consider creating your cleaning formula. A mixture of vinegar and water effectively combats light dirt and algae. Mix one part vinegar with three parts water, apply it liberally, and let it sit for 15-20 minutes before scrubbing.
Baking soda also serves as an excellent abrasive for tougher jobs. Combine baking soda with water to form a paste; apply it to the stained areas and gently scrub with a brush.
Always test any solution on a small, inconspicuous area first to ensure it does not cause unwanted damage. This precaution can save time and effort in the long run.
Regardless of the chosen product, ensure that adequate rinsing follows the application to prevent residue build-up. Clean and clear surfaces enhance aesthetics and prolong the life of the materials used in construction.
Scrubbing Techniques for Stubborn Stains
Employ a stiff-bristled brush for optimal agitation on tough marks. Focus on sections, working systematically to avoid missing any spots. For deep-rooted grime, consider soaking the area with a chosen cleaning solution for around 10-15 minutes prior to scrubbing.
- Use Circular Motions: This technique enhances the effectiveness of scrubbing by preventing the brush from skipping over the stain.
- Vary Pressure: Apply more pressure on the problematic areas, while maintaining a gentler touch on surrounding surfaces to prevent damage.
- Two-Person Technique: Enlist a companion for larger areas; one can apply the cleaning solution while the other scrubs, improving efficiency.
For oily or greasy stains, a sprinkle of baking soda can help absorb excess liquid before scrubbing. Open pores of certain natural stones may trap debris, so ensure to brush in alignment with the stone’s grain.
- Target Specific Stains: Use a cloth or sponge dipped in cleaning solution for raised stains, following up with the brush.
- Rinse Frequently: Keep a bucket of water handy for rinsing the brush and the area being worked on to confirm progress.
- Follow-Up Treatment: After the initial scrubbing, a second cleaning solution application may be necessary for remaining stains.
Timing matters–scrubbing during cooler parts of the day can prevent cleaning solutions from drying too quickly. This allows for more effective stain removal and less risk of residue being left behind.
Using Natural Remedies for Eco-Friendly Cleaning
Baking soda and white vinegar create a powerful combination. Mix one cup of baking soda with a quarter cup of vinegar to form a paste. Apply it directly to stained areas and let it sit for about 15 minutes before scrubbing. Rinse thoroughly with water to reveal the cleaned surface.
Citric Acid Solution
For effective stain removal, lemon juice acts as a natural bleaching agent. Squeeze juice from several lemons into a spray bottle and apply it to the dirty sections. Allow it to sit for at least 30 minutes before scrubbing with a stiff-bristled brush. The acidity aids in breaking down grime and lifting stains.
Castile Soap Mixture
Combine a few drops of Castile soap with warm water in a bucket. This plant-based soap dissolves dirt effectively. Using a mop or scrubbing brush, apply the soapy water and work it into the surface. Rinse with clean water for a fresh finish. This approach is gentle on the environment while still achieving desired results.
Preventing Future Build-up on Paving Slabs
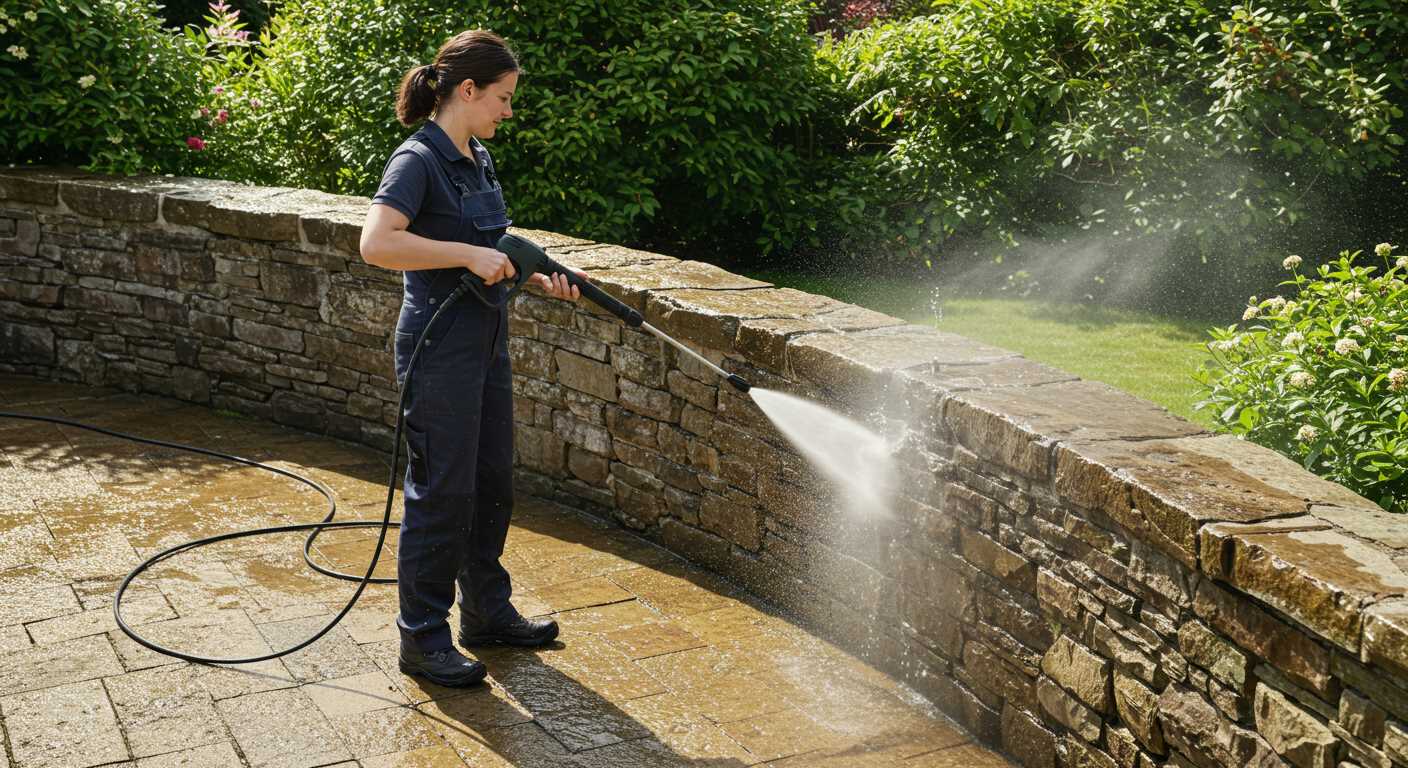
To avoid accumulation of dirt and grime, regular maintenance is key. Schedule bi-weekly sweeping to remove debris like leaves and soil that can contribute to moss growth.
Consider applying a sealant annually. A high-quality seal will create a barrier against moisture and stains, making surfaces less prone to build-up.
Regular Inspections
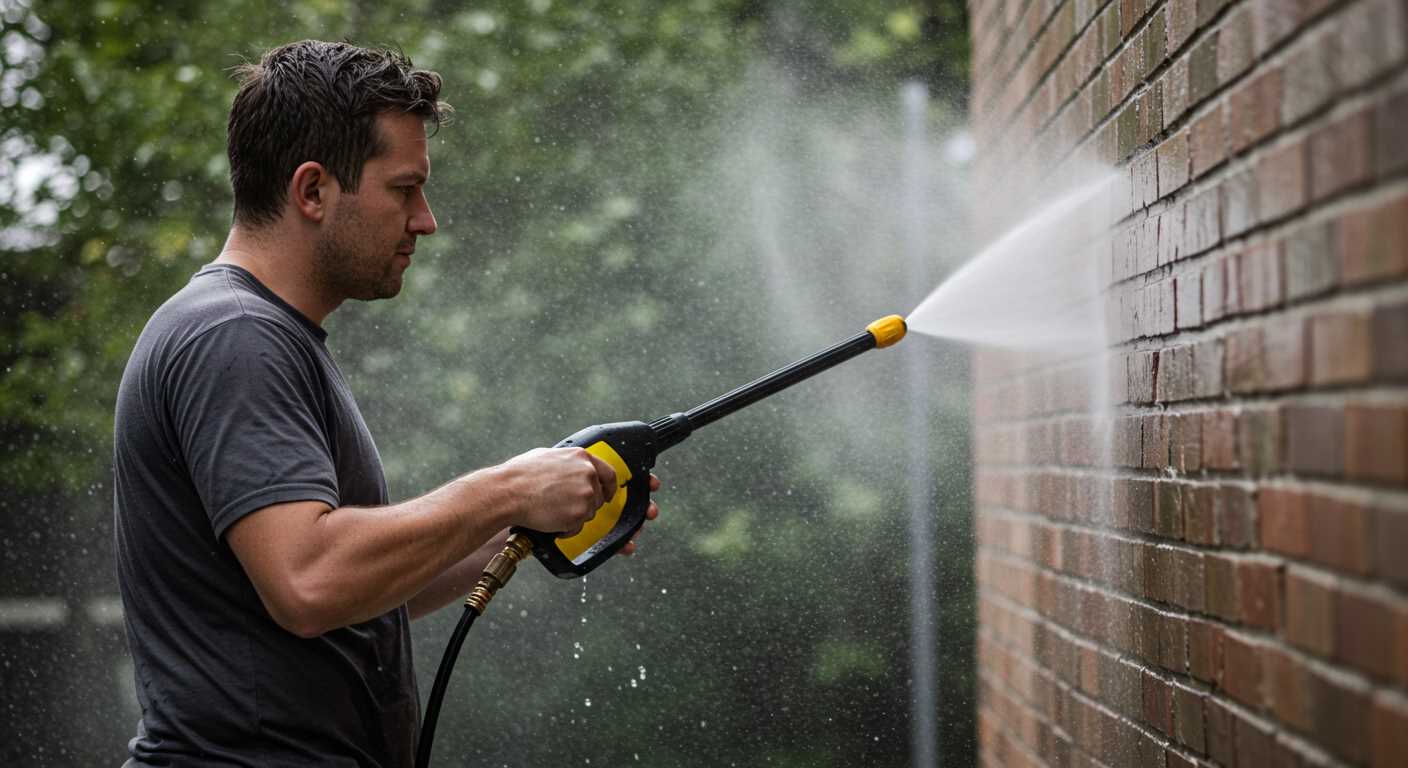
Inspect joints and edges regularly for signs of wear or gaps. Filling these cracks with appropriate filler will deter weeds and unwanted plants that thrive in these spaces.
Proper Drainage
Ensure effective drainage around your surfaces. Standing water can promote algae growth, so address any pooling issues by adjusting landscape features or installing drainage solutions.
Maintaining Paving Slabs Post-Cleaning
To prolong the results of your recent cleaning efforts, sealing the surface is a key step. A quality sealer reduces water absorption, preventing mildew and moss growth, and adds a protective layer against staining. Apply according to the manufacturer’s instructions to ensure proper adhesion and coverage.
Regular inspection is vital. Check for any signs of wear, cracks or efflorescence, which can indicate underlying moisture issues. Addressing these early can prevent larger problems later.
After rainfall, sweep away debris and accumulated dirt promptly to keep surfaces clear. This simple practice can greatly reduce grime build-up and the potential for slip hazards.
Consider implementing a routine maintenance schedule. Plan for annual deep cleans and reapplication of sealer every few years, depending on wear and exposure to the elements.
Another effective measure is to use a polymer jointing sand to fill cracks and joints between stones. This not only helps stabilise the structure but also inhibits weed growth.
| Maintenance Task | Frequency |
|---|---|
| Sealing | Every 2-3 years |
| Inspection for damage | Monthly |
| Debris removal | After every rain |
| Deep clean | Annually |
Implementing these practices will ensure that exterior surfaces remain in good condition, allowing them to withstand weather and wear while retaining their aesthetic appeal.


