

Begin by ensuring the water intake hose is securely attached to the machine. Follow the manufacturer’s specifications to avoid potential leaks or damage.
Next, affix the high-pressure hose. Ensure that both ends are tightly fixed, one on the washer and the other on the spray gun. A firm connection is vital to prevent water spraying from unintended areas during use.
Plug the appliance into a suitable power outlet designed for such devices. Check that the voltage matches the requirements listed on the unit, as incorrect voltage can cause operational issues.
Before starting the unit, turn on the water supply to allow the system to fill completely. This step is crucial; running the equipment without water can lead to severe damage. Once everything is set, activate the pressure lever momentarily to purge any air from the lines, ensuring a smooth flow when you begin cleaning.
Always refer to the user manual for model-specific instructions, as some variations may exist in operation or setup. Familiarising yourself with these guidelines helps ensure optimal performance and longevity of your equipment.
Connecting Your Karcher Pressure Cleaning Equipment
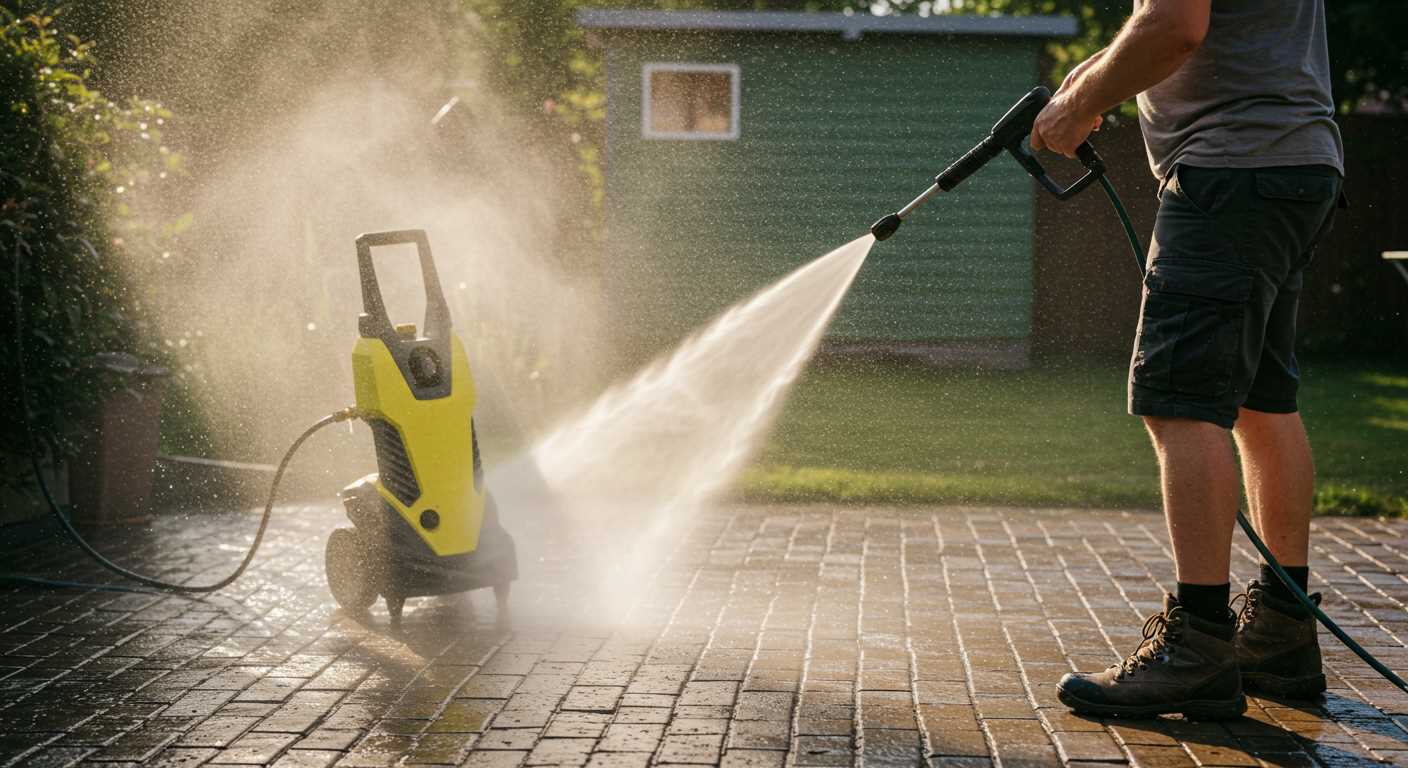
Attach the water supply hose firmly to the inlet connector. Ensure a tight seal to prevent leaks during operation.
Utilize a garden hose with a minimum diameter of 12mm (1/2 inch) to secure adequate water flow. Check for kinks or obstructions that could impede water delivery.
Next, connect the high-pressure hose to the machine. Align the fitting with the connector and push until it clicks into place, ensuring it’s locked securely.
For the nozzle, choose the appropriate one based on the cleaning task. Slide it into the lance and twist to lock. Make sure it’s firmly in place to prevent any slippage during use.
Powering up requires plugging the unit into a suitable outlet, ensuring that the voltage matches the requirements specified in the user manual. Avoid using extension cords unless necessary, as they can affect performance.
Before starting, bleed the system to remove any air. Turn on the water supply and pull the trigger on the lance until a steady stream flows.
Conduct a final check: inspect all connections for security and leaks. Once verified, turn on the unit and get to work with your cleaning tasks effectively.
Choosing the Right Hose for Your Karcher Model
Selecting the appropriate hose is vital for optimal performance. For most Karcher units, using a compatible accessory ensures seamless operation. Standard hoses generally have a diameter of 1/4 inch, which fits most models. However, depending on the specific model, verify the diameter needed for a snug fit.
Look for hoses rated for high pressure. A suitable choice typically withstands at least 200 bar. Using a lower-rated hose risks potential failure and may compromise safety during operation. Check the hose’s material as well; options made from PVC or rubber offer durability and flexibility.
Length matters; a hose that is too long can lead to pressure loss, while one that is too short limits mobility. Aim for a length that comfortably reaches your maximum working range without causing strain on connections.
Consider accessories such as quick couplers for ease of detachment and attachment. This can save time and enhance workflow when shifting between tasks. Additionally, ensure all fittings are compatible with both the washer and the hose.
Always consult the user manual for specifications particular to your model. This information prevents compatibility issues and prolongs the life of your equipment. Personal experience has shown that investing in a high-quality hose pays off in the long run, providing reliability and consistently excellent results.
Preparing the Water Supply for Connection
Clear access to a reliable water supply is fundamental. Always ensure the source provides adequate flow and pressure. A minimum of 7–8 litres per minute is typically required for optimal performance.
Checking the Water Source
- Inspect the faucet or tap for any leaks or damage.
- Ensure the tap is fully operational and can deliver water without restrictions.
- Consider using a flow meter to assess the output rate if necessary.
Hose Assessment
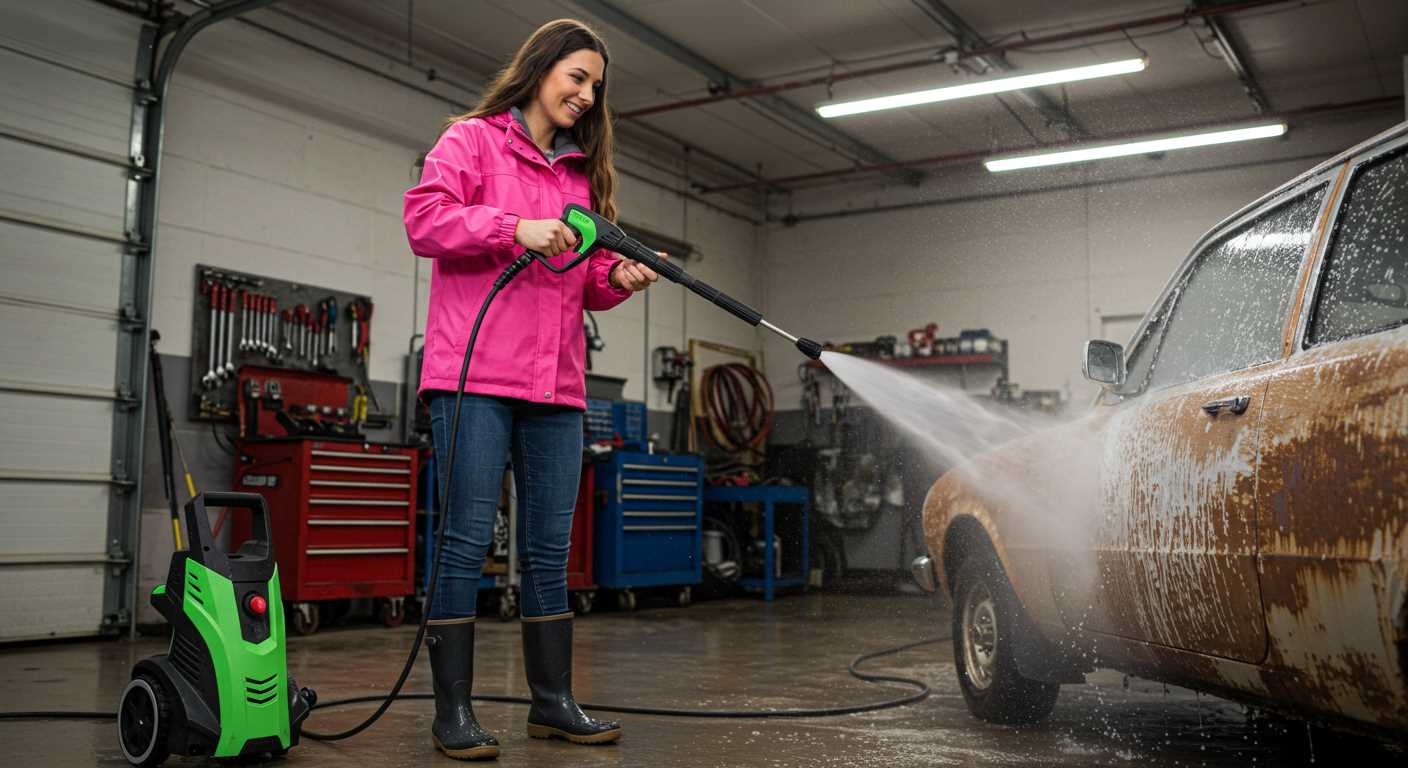
- Choose a compatible garden hose, ideally with a diameter of 1/2 inch or more.
- Avoid hoses longer than 30 meters to prevent significant pressure drop.
- Check for any kinks or blockages within the hose before attaching it.
Once these aspects are verified, it becomes a straightforward task to attach the hose to the cleaning device. Regular maintenance of the water supply system is advisable to prevent future issues.
Attaching the High-Pressure Hose Securely
Ensure a firm connection by aligning the fittings of the high-pressure hose and the appliance outlet. Verify that the rubber O-ring is in good condition to prevent leaks during operation. Tighten the hose connector by turning it clockwise until it stops, avoiding overtightening.
Checking compatibility between the hose and the machine model is vital. Consult the user manual for specific details related to hose attachment and recommended torque settings if available.
It’s beneficial to periodically inspect the hose for any signs of wear or damage. A well-maintained hose enhances performance and longevity, reducing the risk of accidents.
In situations requiring multiple attachments, consider a quick-connect system for effortless swapping. This feature simplifies the process while ensuring a secure fit.
| Step | Description |
|---|---|
| 1 | Align the hose fittings with the outlet on the unit. |
| 2 | Check the O-ring condition. |
| 3 | Tighten the connector clockwise. |
| 4 | Inspect the hose for wear. |
| 5 | Consider using a quick-connect system for ease. |
Connecting the Spray Gun to the Pressure Unit
Ensure the spray gun is compatible with the particular unit. Locate the quick-connect fitting at the end of the high-pressure hose. Align the fitting with the spray gun’s connection point. Push the hose into the spray gun until you hear a click, indicating a secure attachment. This sound confirms that the locking mechanism has engaged properly.
To release the hose, simply press the unlock button or pull back the collar on the spray gun fitting while gently pulling the hose away. This allows for easy detachment when needed, keeping the components in good condition.
Checking for Leaks
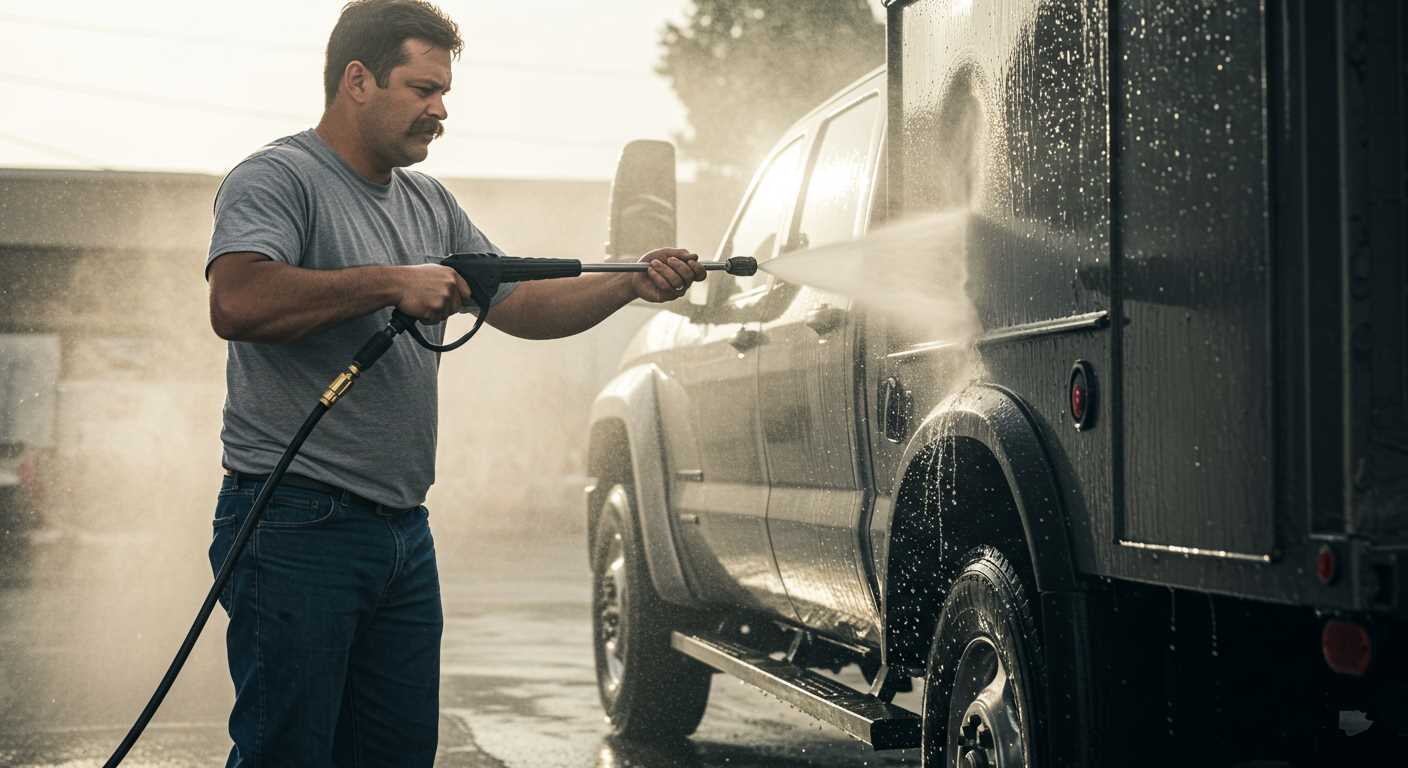
After securing the gun, turn on the water supply and check for any leaks at the connection point. If any water is seeping from the joint, it may mean that the hose isn’t properly attached. Re-examine the connection, ensuring the fitting clicks into place. It’s imperative to verify this step to avoid unnecessary water wastage and ensure optimal performance during use.
Adjusting the Spray Settings
Once everything is securely attached, configure the spray settings on the gun according to the task at hand. Most models feature a rotating head or a nozzle adjustment. This allows for a variety of spray patterns, from a fine mist to a powerful jet. Selecting the right setting maximises efficiency based on the cleaning challenge being addressed.
Ensuring Proper Electrical Supply for the Unit
A stable and suitable electrical supply is non-negotiable for optimal functioning. First, verify the voltage requirements specified in the user manual; typically, it ranges from 220V to 240V. Utilize a dedicated electrical outlet with a minimum current rating of 10A to avoid overloads.
Check the integrity of the power cord for damage. Using an extension lead designed for high current appliances may be necessary, but ensure it’s not longer than 25 metres to maintain voltage levels. Avoid daisy-chaining multiple electrical devices on the same circuit to prevent potential power fluctuations.
In instances of erratic power supply, consider installing a voltage stabiliser. This device helps maintain consistent voltage, protecting the equipment from surges or dips that could lead to malfunction.
For outdoor usage, verify that all electrical connections are weatherproof and compliant with local standards. Water ingress can lead to short circuits or electrocution risks. Always use residual current devices (RCDs) for additional safety.
Finally, remember to follow proper shutdown procedures after use. Unplug the unit when not in operation to prevent potential hazards and ensure longevity.
Checking for Leaks After Connection
Inspect all connections thoroughly for any signs of water leakage. Start by turning on the water supply and visually examine the attachment points, including the hose and spray gun interfaces. Ensure that seals are securely in place and that there are no visible cracks or wear in the fittings.
Run your hand along the hoses and connections while the system is operational to detect any dampness, which may indicate a leak. Pay close attention to areas where hoses meet the unit and where the spray gun is attached. If any moisture is felt, it’s essential to identify the source immediately.
To guarantee that no leaks exist, consider using a damp cloth to wipe down the connections after initial testing; this can help highlight any new moisture that isn’t immediately visible. If leaks are identified, tighten the connections or replace any worn seals as necessary.
Monitoring for leaks is crucial to maintaining operational efficiency and prolonging the lifespan of the machine. Regular checks can prevent unnecessary water waste and reduce the risk of damage to surrounding areas.
Starting Your Karcher Pressure Washer Safely
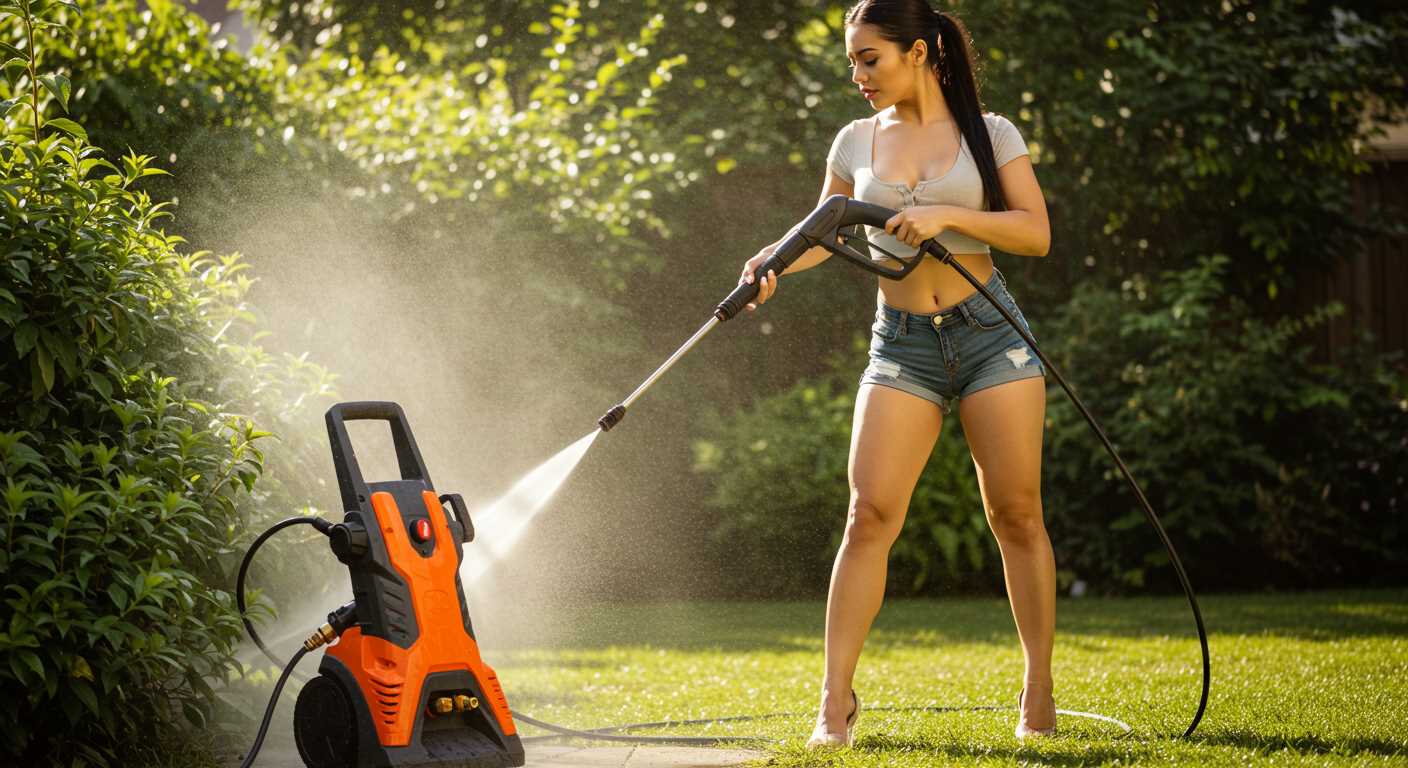
Before initiating operation, ensure the unit is placed on a stable, flat surface in a well-ventilated area. This prevents unnecessary movement and accidental tipping during use. Always double-check that the water supply is fully connected and the hose is devoid of kinks or obstructions.
Keep a safe distance from electrical outlets and ensure that the power cord is intact, with no signs of damage. A grounded outlet is preferable to prevent any electrical hazards. Plugging directly into the wall without the use of extension cords is advisable for optimal performance.
After setting up, perform a quick inspection of all connections for firmness. Loose fittings may result in water leaks or reduced efficiency. Test the system with the spray gun in the off position to confirm that everything is secure before starting the motor.
For optimal operation, engage the safety lock on the trigger gun until ready to use. This precaution minimises the risk of inadvertent activation. Once prepared, switch on the power and gradually release the trigger to prevent a sudden surge of pressure.
Following these steps ensures a safe and effective cleaning experience while maximising the longevity of your equipment.


