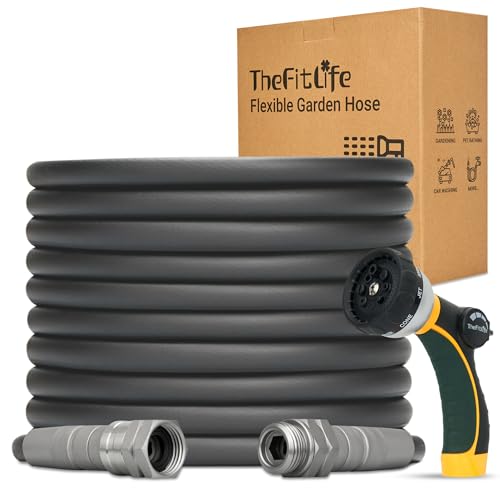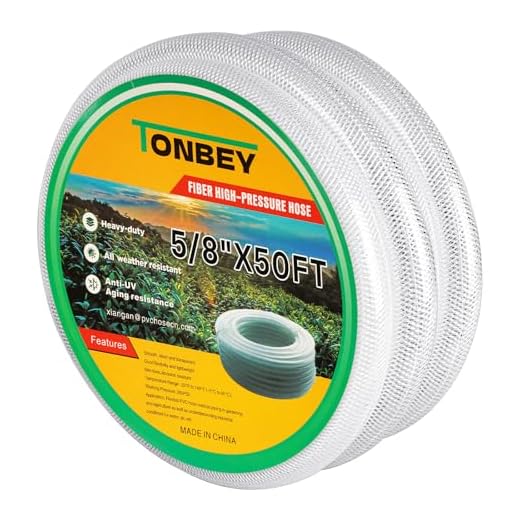


Begin with positioning the unit on a stable, flat surface, ensuring all parts are within reach. Attach the water supply hose to the inlet of the device. Confirm that the connection is secure to prevent leaks and ensure a steady flow during operation.
Next, connect the high-pressure hose. This typically screws onto the pump outlet; ensure alignment before tightening. A precise fit is crucial to maintain pressure and prevent detachment during use.
Finally, select and attach the desired nozzle to the end of the high-pressure hose. Different tasks require various tips, so choose accordingly for optimal performance. After assembling everything, check each connection for tightness and test the unit with the power off, running through a visual inspection.
Only once confident everything is securely attached should the power be turned on. A gradual introduction to the water source will avoid any sudden surges that could disrupt the system. Prior knowledge and meticulous preparation make all the difference when working with this type of equipment.
Understanding Pressure Washer Components
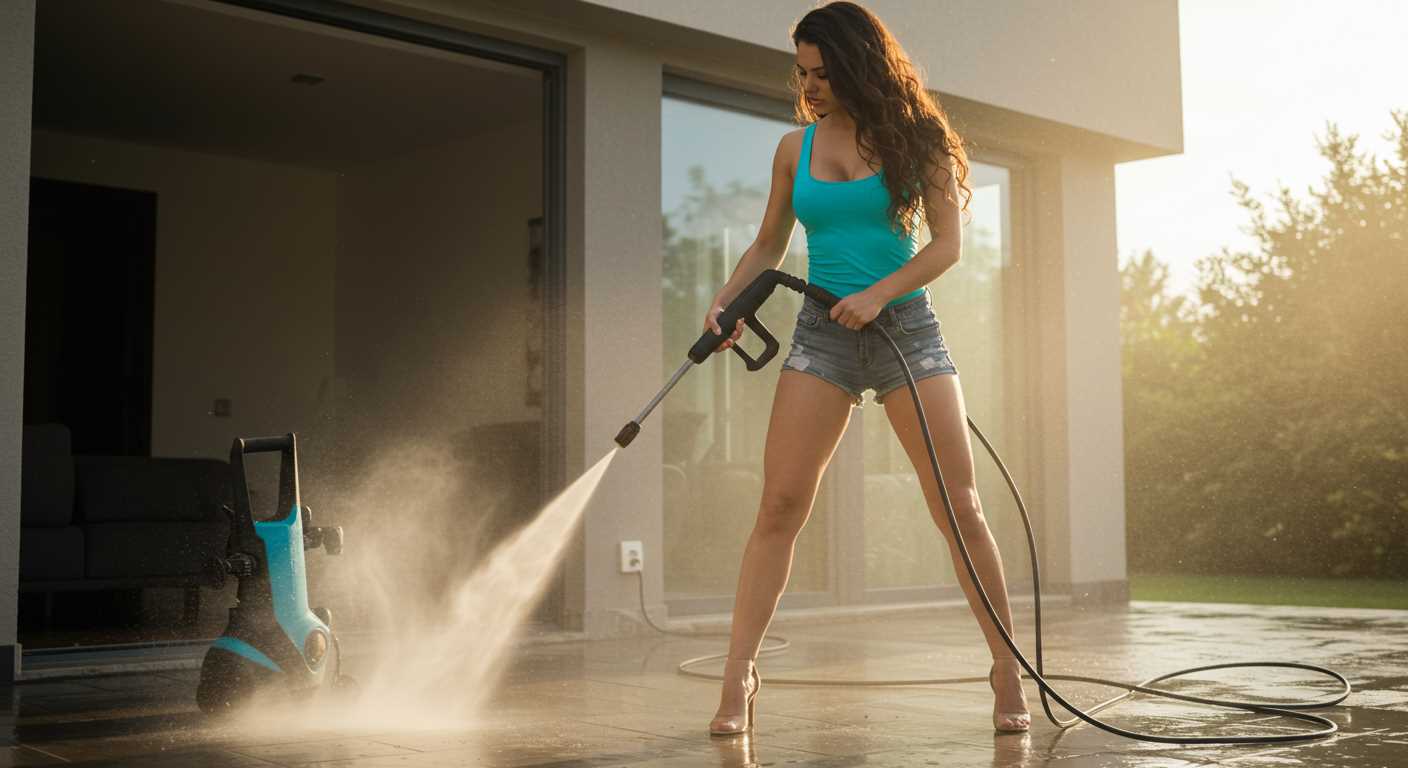
Familiarity with the elements of this cleaning device is crucial for optimal use. Here’s a breakdown of the main components.
Major Parts Overview
| Component | Description |
|---|---|
| Motor | Responsible for driving the pump. Options include electric and gas motors, each with distinct power and maintenance needs. |
| Pump | Converts the motor’s energy into water flow. Different types vary in pressure output and durability. |
| Nozzle | Adjusts the spray pattern and intensity. Swapping nozzles can improve performance for specific tasks. |
| Detergent Tank | Allows for the introduction of cleaning solutions. Placement and size can differ across models. |
| Hose | Transports water from the unit to the nozzle. Length and material affect reach and flexibility. |
Operational Insights
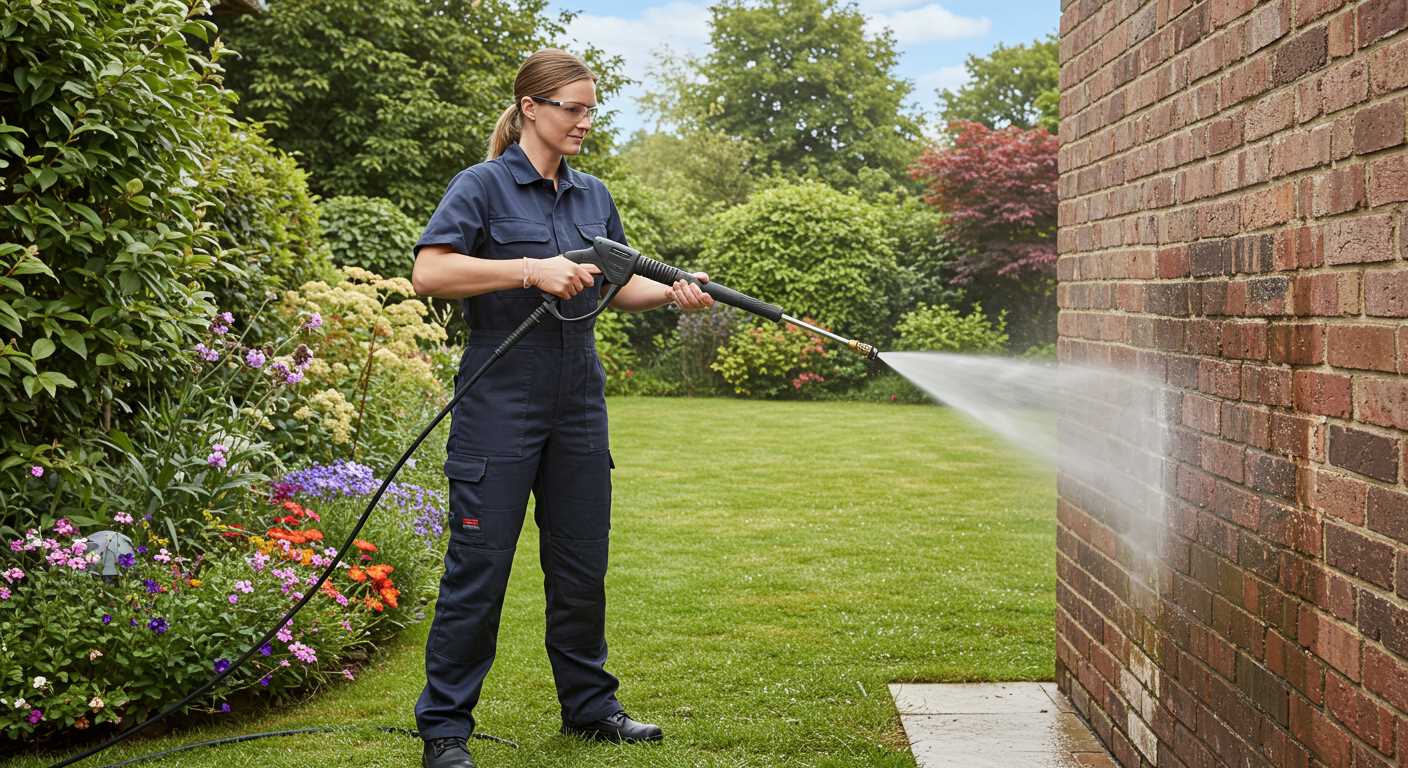
Understanding these components enhances functionality. Regular checks on the motor and pump can prevent breakdowns. Keeping the nozzle clean and adjusted for each task ensures effective cleaning.
Preparing Your Water Supply
Ensure the water source is readily accessible and capable of supplying a constant flow. A garden tap is typically sufficient, but verify the water pressure meets the minimum requirement stated in the manufacturer’s specifications. This is often around 20 psi (pounds per square inch) for most models.
Check for any debris or blockages in the hose and tap before connecting the water line. A clean water supply will prevent damage to the internal components of the equipment and maintain efficiency during operation.
Use high-quality hoses that can withstand pressure and are compatible with the fittings of your machine. Avoid using old or worn hoses, as they can lead to leaks or bursts, causing interruptions. Consider lengths that will provide ample reach without excessive tension.
If using a water source with a filter, ensure it’s clean and able to handle the required flow rate. Some systems have built-in filters, which can be helpful for removing larger particles before the water enters the equipment.
Before starting, open the tap fully to flush out stale water and any impurities. Allow water to flow through the hose for a couple of minutes, ensuring clear flow and no obstructions. This step is critical for optimal performance.
Connecting the Water Hose
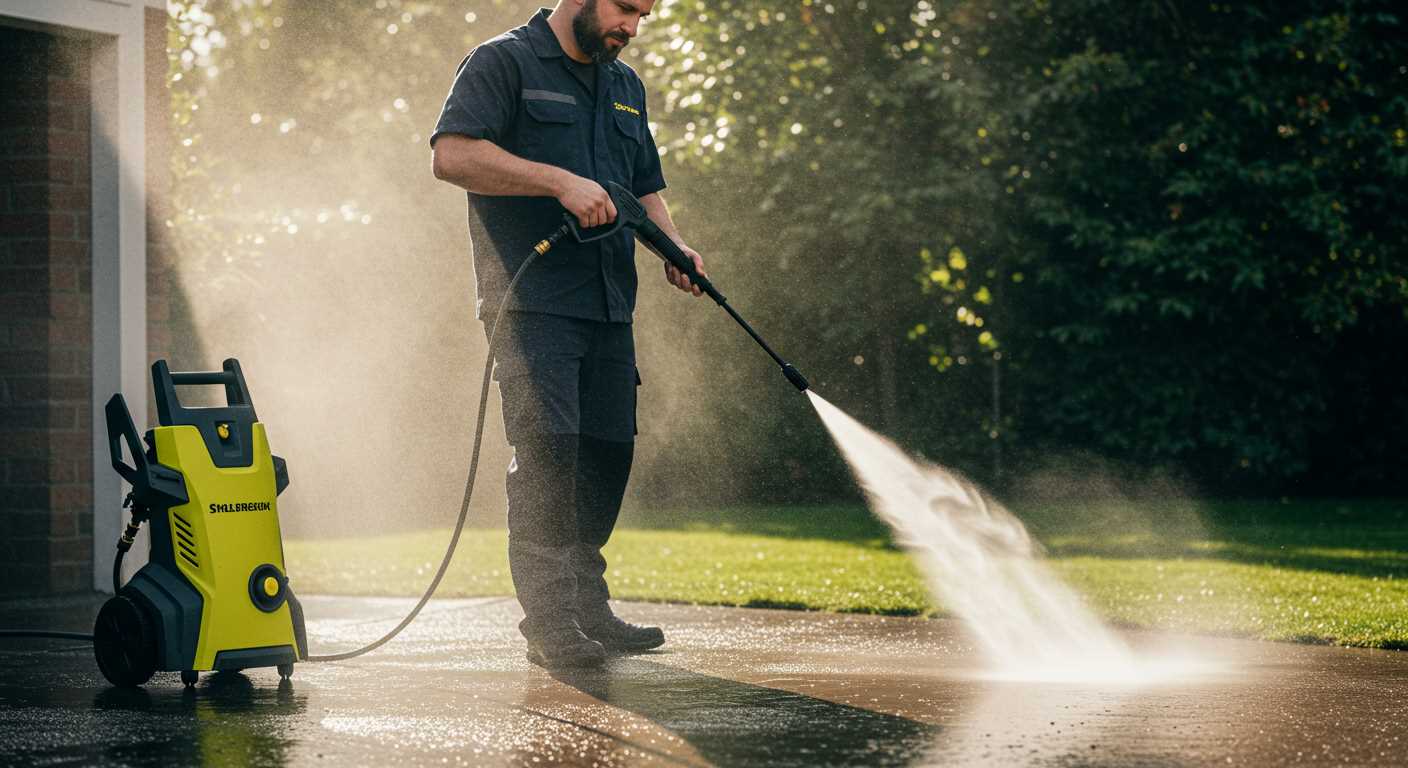
Attach the water supply hose to the inlet connection on the machine. Ensure a secure fit by turning it clockwise until tight, but avoid overtightening which may damage the fitting.
Utilise a high-quality, reinforced hose rated for outdoor use, typically ranging from 5/8 inch to 1 inch in diameter. This prevents kinks or leaks, ensuring a steady flow of water.
Before connecting, inspect the hose for any cracks or abrasions. A damaged hose can lead to reduced pressure and efficiency. If wear is evident, replace it with a new one.
Open the water source completely after attachment. This ensures there is no obstruction and offers optimal performance. Check for leaks around the connection point; if water seeps out, tighten the connection slightly until sealed.
Ensure the machine is in an area with adequate drainage to avoid creating puddles and to maintain a clean working environment. Standing water can create hazardous conditions.
Attaching the High-Pressure Hose
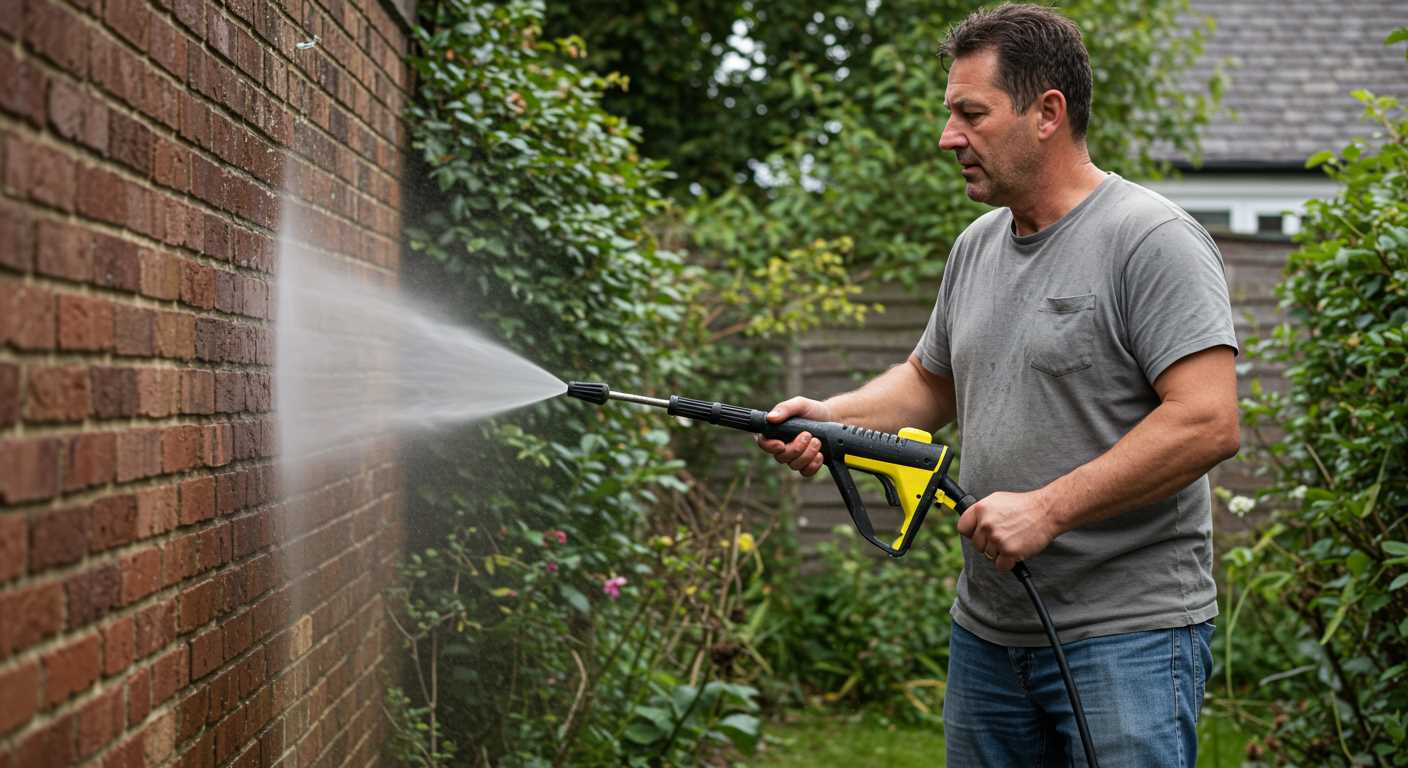
Align the high-pressure hose with the designated outlet on the machine. Begin by ensuring that the coupling on the hose is clean and free from debris to guarantee a secure connection. Firmly insert the hose end into the outlet, twisting it clockwise until it feels snug. This prevents any leaks during operation.
Next, tighten the connection using a wrench for added security, but avoid applying excessive force to prevent damage to the components. A proper seal is crucial; any looseness can lead to reduced performance.
Once attached, inspect the hose for any signs of wear or kinks before starting the equipment. A well-maintained hose contributes significantly to the effectiveness of the cleaning process. Lastly, ensure that the hose is fully extended and not tangled, allowing for maximum range of movement during use.
Setting Up the Power Source
Check the specifications of the unit to determine whether it operates on electricity or gas. If electric, locate a suitable outdoor socket or use an extension cord rated for the power draw. Ensure the cord is undamaged and of appropriate length to avoid strain on connections.
For gas models, ensure the fuel type matches the manufacturer’s requirements. Fill the tank with unleaded gasoline, but do not overfill. Close the tank cap securely and wipe off any spills to prevent fire hazards.
Electrical Connection
Confirm that the outlet is grounded and can handle the wattage of the equipment. If using an extension cord, ensure it is a three-prong type and rated for outdoor use. Avoid daisy-chaining multiple cords to minimise voltage drop.
Starting the Engine
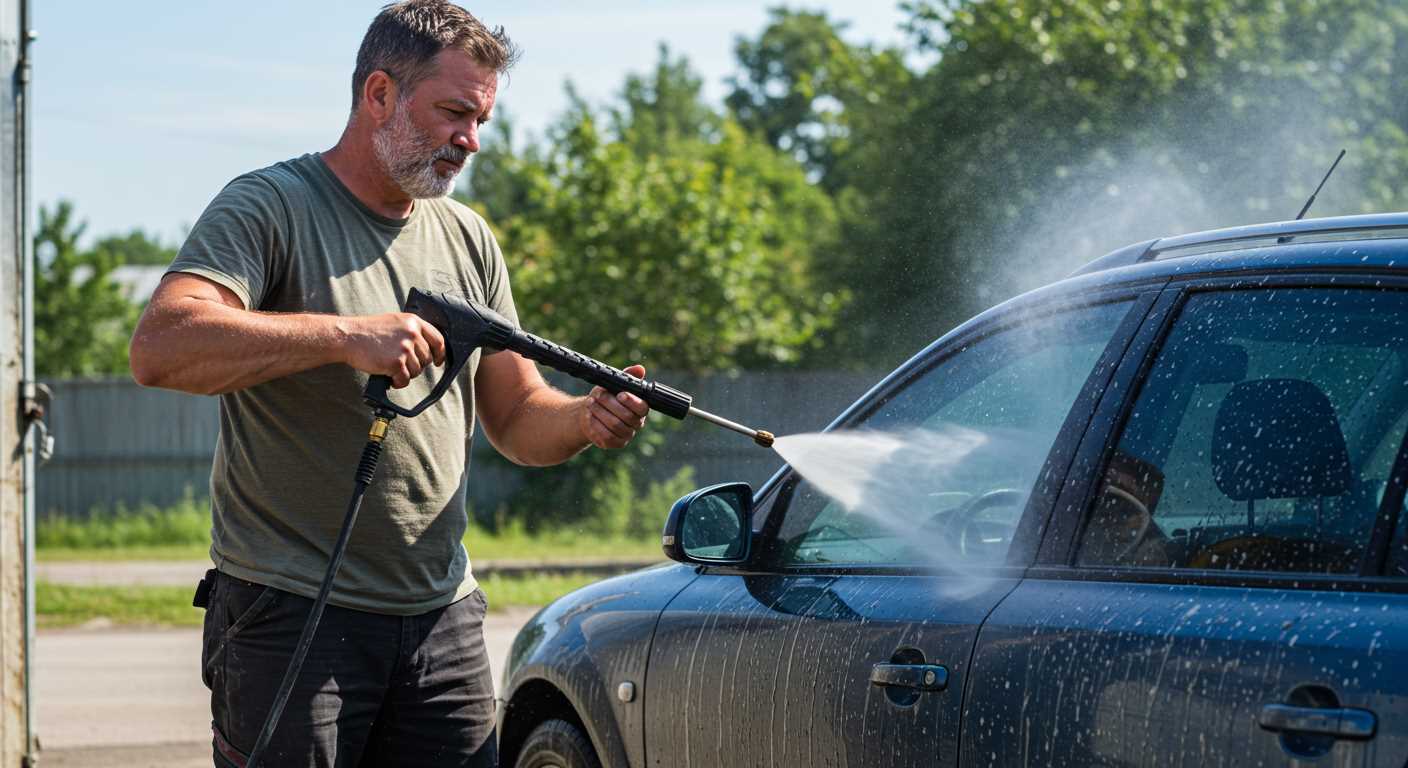
If dealing with a gas-powered unit, engage the choke if starting cold. Pull the starter cord firmly until the engine ignites. Adjust the choke gradually as the engine warms up. For electric options, simply turn the power switch on. Always follow the manufacturer’s guidelines for starting procedures to avoid damage.
Conducting a Safety Check Before Use
Examine the equipment meticulously before operating. Ensure all components are in good condition and secured properly.
- Inspect the power source for frayed cords or exposed wires. Damaged cables pose a significant risk and should be replaced.
- Check for leaks in hoses and connections. A leaking water line can cause inefficiencies and hazards.
- Verify that the nozzle is securely attached and free from any blockages. A clogged nozzle can lead to unpredictable spray patterns.
- Ensure the safety lock mechanism is functional, preventing accidental discharge during setup.
- Review the manufacturer’s manual for specific safety guidelines and recommendations pertinent to your model.
Utilise personal protective equipment such as goggles and gloves. Protecting your eyes and hands is paramount to avoid injuries from high-pressure water jets and chemicals.
Confirm the surrounding area is clear of obstructions and people. Maintain a safe distance to prevent accidents or injuries while operating the machine.
Before starting the device, examine the surface to be cleaned for fragile items. Shield windows and other sensitive areas from intense water pressure.

