

Begin with the assembly of the unit according to the manufacturer’s guidelines. Ensure all components, especially the hose and nozzle, are securely attached. A loose connection can lead to water leaks and reduced effectiveness during use.
Next, connect the device to a suitable water source. A standard garden tap works well, but consider using a filter to prevent debris from entering the system, which can cause damage and impair functionality. Turn the water supply on fully before proceeding.
After ensuring the water supply is steady, plug the appliance into a suitable power outlet. It’s advisable to check the specification on the device to ensure compatibility with the electrical source. Use an RCD (Residual Current Device) for added safety against electrical faults.
Once powered, adjust the pressure settings according to the cleaning task at hand. Different surfaces require different levels of intensity; for instance, delicate materials need lower pressure, while hard surfaces can handle more force. Test the spray pattern on a small area first to avoid damage.
Lastly, secure your footing and stand at a comfortable distance from the surface being cleaned. This enables better control over the nozzle and prevents any kickback effect. Following these straightforward steps will ensure optimal performance and longevity of the equipment.
Setting Up a Karcher Cleaning Device
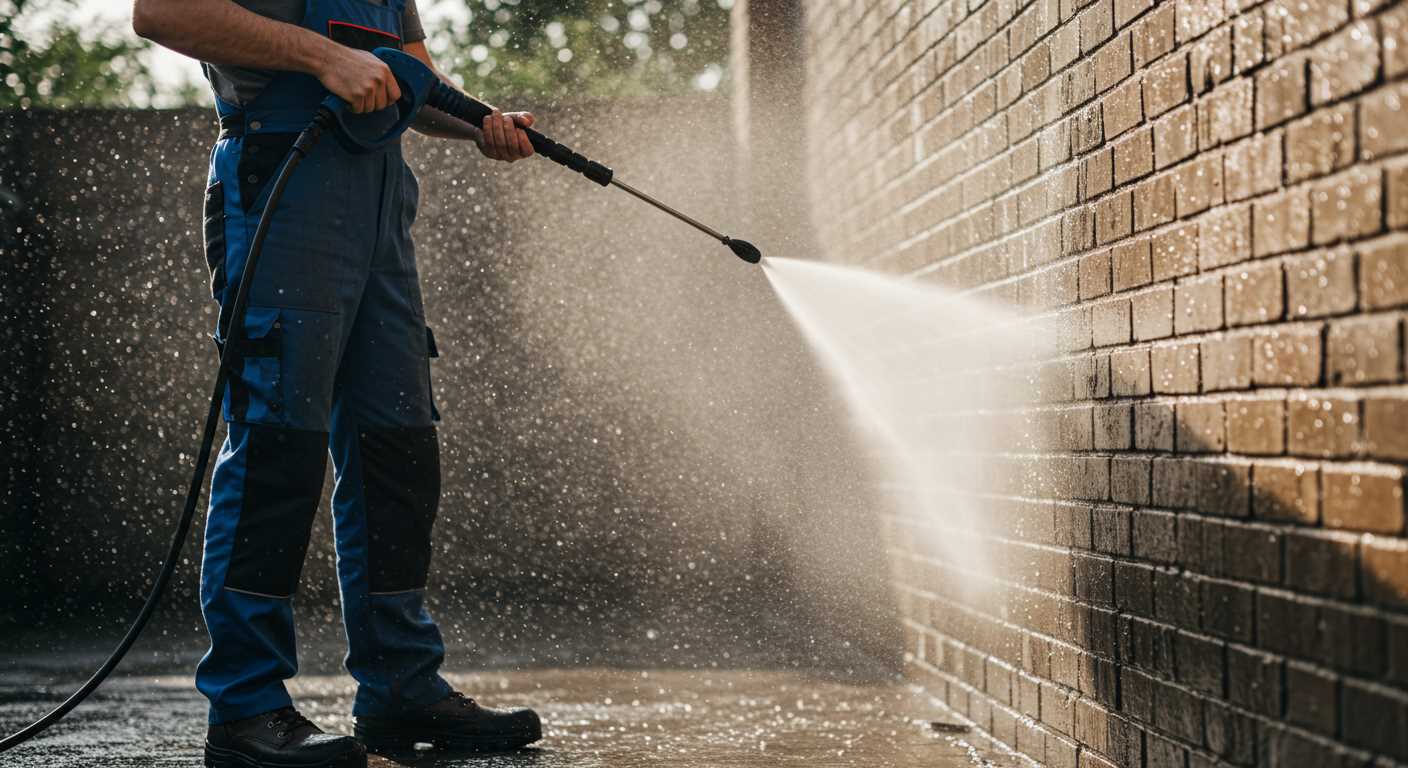
Begin with finding a flat, stable surface to ensure the equipment operates smoothly without tipping. Ensure the power cable and water hoses are in good condition, avoiding any visible damage or wear that could cause issues during use.
Attach the water supply hose to the inlet of the device. Ensure it fits snugly to prevent leaks. If possible, use a filter to keep debris out of the machine, prolonging its lifespan.
Connection and Safety Checks
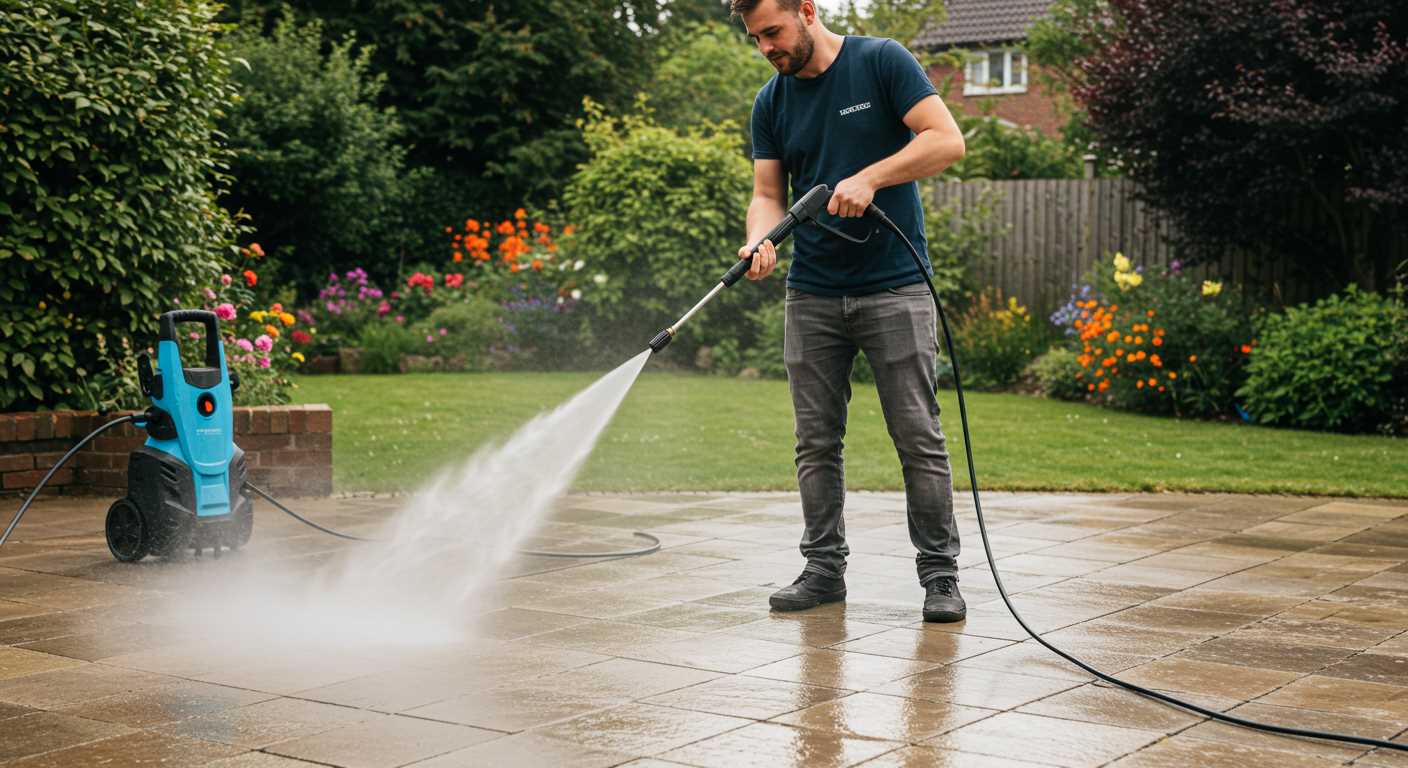
Connect the device to a suitable power source. Use extension cords only if necessary and check their ratings to match the device’s power requirements. Ensure the electrical components are dry and free from any moisture before plugging in.
Examine all connections for tightness, including the nozzle and spray wand. Inspect the safety features to confirm that all operational locks and triggers work as intended. Bypass any damaged attachments to maintain safety during operation.
Initial Testing
Before starting a thorough cleaning session, conduct a short test. Turn on the water supply and power, allowing the device to run for a few moments. Watch for any irregular noises, leaks, or vibrations that may indicate a problem.
Once satisfied, select the appropriate nozzle for the task at hand. Adjust the spray angle and pressure to match the surface being cleaned, reducing the risk of damage to delicate materials.
With everything in place, proceed with cleaning, monitoring the attachments and hoses throughout the process for any signs of wear or issues. Regular maintenance after use ensures optimal performance and longevity of the equipment.
Choosing the Right Pressure Washer Model
Prioritise the purpose of use. Identify whether the task requires a light, medium, or heavy-duty appliance. For simple chores, such as cleaning garden furniture or vehicles, a model with a lower bar rating (around 100-120 bar) is suitable.
Factors to Consider
- Bar Pressure: Higher ratings indicate greater cleaning power. For stubborn dirt and larger areas, consider models exceeding 150 bar.
- Flow Rate: Measured in litres per hour (L/h), it determines the volume of water used. A flow rate of 400-600 L/h fits most household needs.
- Accessories: Look for models that come with interchangeable attachments. Nozzles and brushes can enhance versatility and effectiveness.
- Portability: Evaluate weight and wheel design. Lighter devices with robust wheels are easier to manoeuvre.
- Electric vs Gas-Powered: Electric models are quieter and perfect for residential areas, while gas-powered ones offer higher pressure and mobility for larger tasks.
Budget Considerations
Establish a budget that accommodates both initial investment and ongoing maintenance costs. Some entry-level options perform adequately but may lack durability. Weigh the cost against features to avoid overspending on unnecessary functions.
Lastly, consult user reviews and expert recommendations to gauge reliability and satisfaction. Making an informed selection ensures effective performance tailored to specific cleaning needs, resulting in a valuable addition to cleaning routines.
Unboxing and Inspecting Your Karcher Pressure Cleaner
Begin by removing the packaging materials carefully. Check for any visible damage to the equipment and its components. Ensure that the manual is included, as it provides vital information for assembly and operation.
Component Checklist
Lay out all components on a flat surface. Typically, the box should contain the main unit, high-pressure hose, spray gun, nozzle attachments, and any additional accessories. Confirm that everything listed in the manual is present. If any parts are missing, contact the retailer or manufacturer for resolution.
Initial Inspection
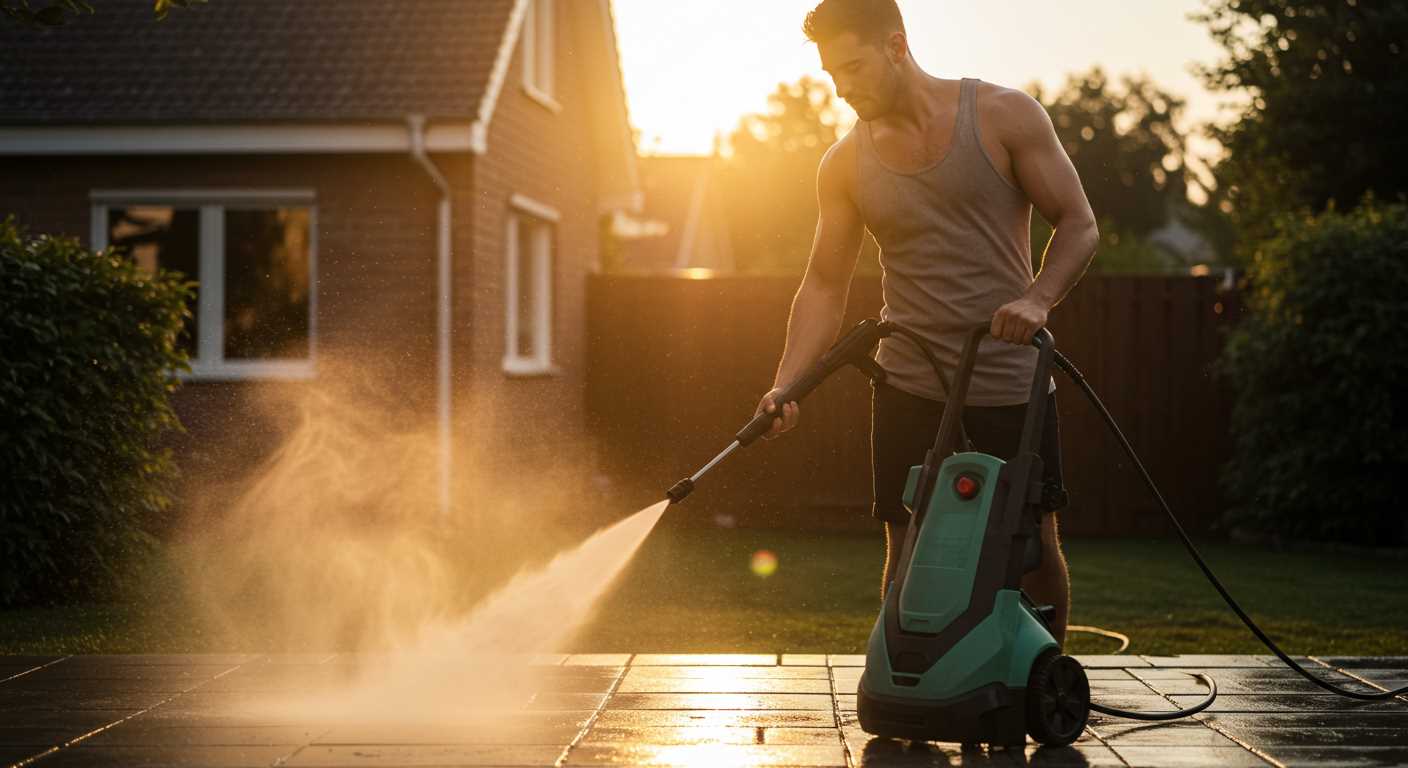
Inspect the main unit and all accessories for scratches, dents, or deformities. Pay special attention to connectors and seals, as these are crucial for preventing leaks. Check for any foreign objects or debris in the hose and attachments. Gently test the pressure trigger to ensure it operates smoothly without sticking.
Connecting the Water Supply Properly
To ensure optimal performance, connect the water source accurately. Begin by selecting a clean, potable water supply. The following points are critical for achieving the best results:
Choosing the Right Hose
Utilise a high-quality hose that meets a minimum diameter of 1/2 inch. This will facilitate adequate water flow, preventing any pressure drops during operation. A length of no more than 10 metres is ideal, as longer hoses can reduce water efficiency.
Proper Connection Steps
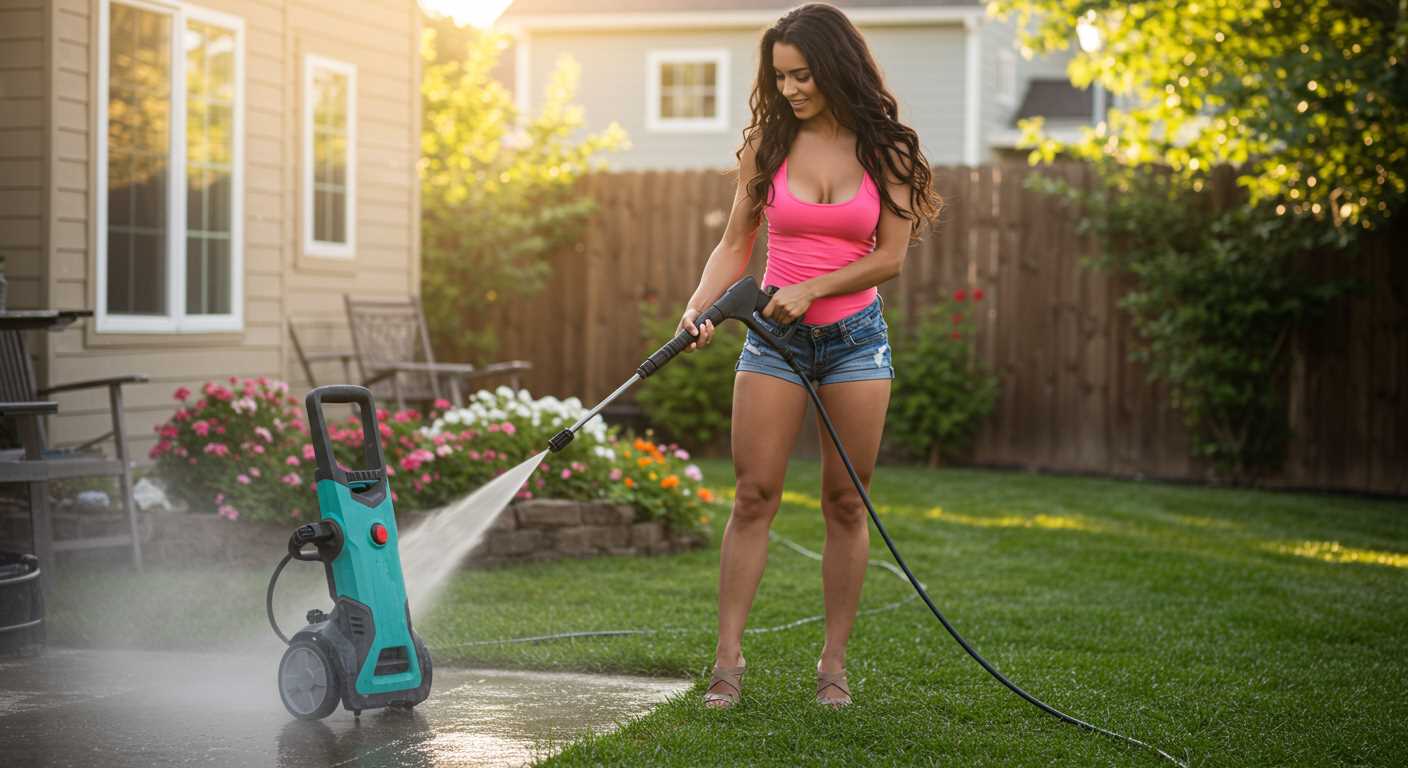
1. Inspect the inlet filter on the machine for any debris; a clean filter is necessary for proper operation.
2. Attach the garden hose securely to the water inlet. Ensure that the connection is tight to prevent leaks.
3. Turn on the water supply and check for any immediate leaks at the connection point.
4. Allow water to flow through the hose for a minute before switching on the device, ensuring all air is expelled.
Table of Water Supply Requirements
| Parameter | Requirement |
|---|---|
| Water Pressure | Min 1.0 MPa (10 bar) |
| Water Temperature | Up to 40°C |
| Hose Diameter | Minimum 1/2 inch |
| Hose Length | No more than 10 metres |
Failure to adhere to these guidelines can lead to damage or reduced effectiveness. Regular checks of the connection and hose condition will prolong the lifespan of the equipment.
Setting Up the Electric Power Supply Safely
Ensure the power source matches the specifications detailed in the user manual. This includes verifying the voltage and amperage requirements for optimal performance and to prevent damage.
Utilise a grounded electrical outlet to mitigate risks of shocks. If the unit requires an extension cord, select one with sufficient gauge to handle the current load without overheating.
Always avoid the use of multiple appliances on the same outlet to prevent circuit overload. A dedicated line is recommended for more demanding models, ensuring consistent power availability during operation.
Inspect all cables for signs of wear or damage before connecting. Replace any frayed or damaged components immediately to maintain safety during usage.
Keep the electrical connection dry and away from water or damp areas to prevent electrical hazards. If any wet surfaces are near the installation, consider using a GFCI (Ground Fault Circuit Interrupter) outlet for added protection.
Finally, ensure the power switch is in the off position before plugging in the device. This simple step helps prevent accidental starts when making initial connections.
Assembling the Wand and Nozzle for Optimal Use
Begin by selecting the appropriate wand for the task at hand. Securely attach the wand to the main unit, ensuring a snug fit that prevents any disconnection during operation. A simple push until a click indicates proper locking is usually sufficient.
Next, choose your nozzle based on the cleaning requirement. Different nozzles deliver varying spray patterns, from a concentrated stream for tougher stains to a wider fan for broader coverage. Align the nozzle with the connector on the wand, pushing it until it locks into place. Verify the attachment by gently tugging on the nozzle; it should remain firmly attached.
Pay attention to nozzle colour coding, which typically indicates the pressure level. For instance, yellow often signifies a 15-degree spray, while green might represent a more gentle wash. Selecting the right nozzle optimises cleaning efficiency while protecting surfaces from potential damage.
Ensure all connections are tight and check for any leaks by running water through the wand and nozzle before actual use. This step prevents unexpected surprises during the cleaning process. Lastly, familiarise yourself with the wand’s trigger mechanism to achieve smooth operation and maintain control during cleaning.
Performing a Test Run Before Full Operation
Before engaging in extensive cleaning projects, a quick trial run is indispensable to ensure flawless functionality. Begin by connecting the water source with no leaks present.
Follow these steps for an effective test:
- Ensure the device is plugged into a suitable power outlet.
- Turn on the water supply and check for any drips or issues at the connections.
- Power on the unit and listen for any unusual noises indicating malfunction.
- Press the trigger on the wand briefly to expel air from the system until a steady stream of water emerges.
After completing these checks, observe the water flow and monitor for optimal performance. Any irregularities during this initial phase warrant immediate attention. Address clogs or leaks as necessary before proceeding with the full cleaning task.
Finally, verify all nozzles and accessories function correctly. Selecting the appropriate nozzle for the surface ensures effective cleaning without damage. This proactive approach guarantees readiness for any cleaning challenge while extending the lifespan of the equipment.
FAQ:
What materials do I need to set up a Karcher pressure washer?
To set up a Karcher pressure washer, you’ll need the following materials: the pressure washer unit itself, a high-pressure hose, a spray gun with an adjustable nozzle, a water supply hose, and a suitable source of power (typically a standard electrical outlet). Additionally, it may be helpful to have a funnel for filling the detergent tank and cleaning supplies for any maintenance needed before first use.
How do I connect the high-pressure hose to the Karcher pressure washer?
Connecting the high-pressure hose to your Karcher pressure washer is simple. First, locate the high-pressure outlet on the pressure washer unit. Align the end of the hose with the outlet and push it in securely. You should hear a click when it’s locked in place. Make sure to check that the connection is tight to prevent leaks. After that, connect the other end of the hose to the spray gun, following the same process. This creates a secure link that allows for efficient water flow during operation.
What steps should I follow for initial operation of the pressure washer?
To use your Karcher pressure washer for the first time, follow these steps: First, ensure that the water supply hose is securely connected to a water source and to the pressure washer’s water inlet. Next, attach the high-pressure hose to both the pressure washer and the spray gun. Before plugging the unit into an electrical outlet, fill the detergent tank with the appropriate cleaning solution if you plan to use detergent. Once everything is connected, plug the unit in and switch it on. Adjust the spray nozzle to your desired setting, then squeeze the trigger on the spray gun to begin washing. Remember to keep an eye on safety and position yourself at a reasonable distance from the surface being cleaned.


