

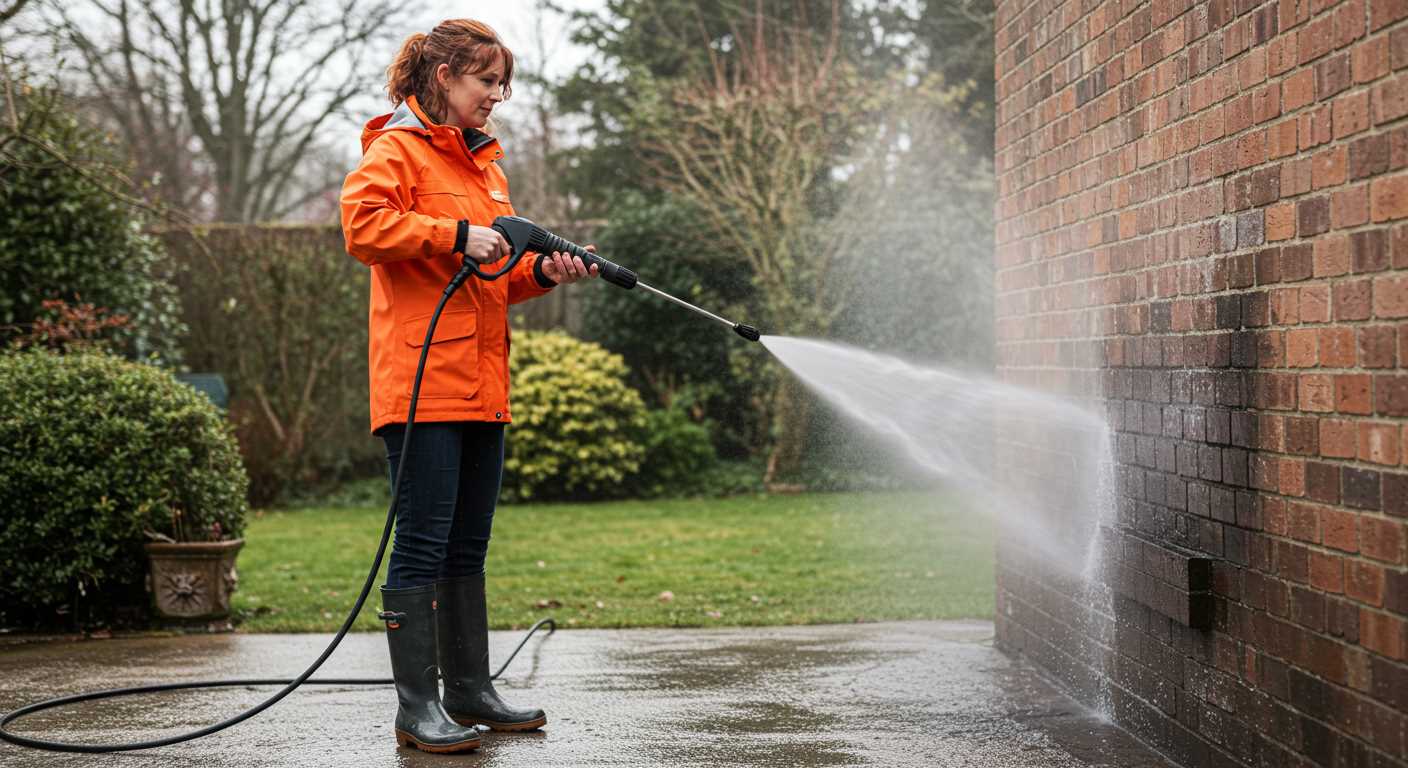
Start by checking for leaks in the hoses and connections. Inspect all visible parts, looking for any signs of water loss, which can severely impact functionality. Tightening loose fittings can often resolve minor issues associated with water flow.
Next, examine the inlet screen for blockages. A dirty or clogged filter can restrict the flow of water into the mechanism. Cleaning or replacing this component ensures optimal performance and helps prevent further damage.
If the flow remains inconsistent, assess the motor. Unusual noises or failure to start may indicate electrical problems requiring immediate attention. Replacing worn-out parts or securing loose wiring can restore the needed functionality.
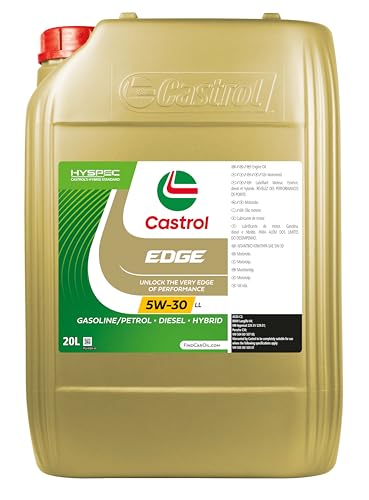
Inspect the oil level if applicable, ensuring it’s within the recommended range. Low lubrication can lead to overheating and eventually damage internal components. Refilling might be necessary, depending on the system’s specifications.
Lastly, consider the operational setting. Adjustments in nozzle size can dramatically affect water pressure and spray pattern. Choosing the correct nozzle for the task at hand ensures not only performance but also extends the lifespan of the equipment.
Identifying signs of pump failure
Unusual sounds from the unit can indicate mechanical issues. Listen for knocking, grinding, or excessive vibration, which may signal bearing or internal damage.
A decline in water pressure should raise immediate concerns. If the output seems weak or inconsistent, it suggests potential obstructions or internal malfunctioning.
Check for leaks around the unit. Water seeping from seals or connections could point to wear and tear that requires prompt attention.
Overheating and temperature spikes
Monitoring temperature is essential. An overheating device often indicates insufficient lubrication or blockages, compelling a thorough inspection.
Excessive cycling on and off, or failure to start altogether, may signify electrical or mechanical problems that need resolving. Ensure connections are secure and components are functioning correctly.
Fluid quality maintenance
Water that appears discoloured or contains contaminants can suggest issues within the interior components. Regular checks on the fluid condition aid in early detection of potential failures.
A noticeable decrease in efficiency even under normal operation signals that maintenance or replacement is necessary to restore optimal performance.
Checking for Water Supply Issues
Verify that the water source is functional. Ensure the tap is fully opened, allowing maximum flow. Inspect the hose for kinks, bends, or blockages that may restrict water movement.
Examine the inlet filter of the unit. A clogged filter can impede water entry, resulting in inadequate performance. Clean or replace the filter as necessary.
Check the water supply hose for leaks. Utilize a garden hose in good condition, as even small leaks can lead to significant pressure drops.
If the equipment connects to a water supply system, ensure that it’s operating correctly and that there are no interruptions or supply failures from the source.
Consider the temperature of the water. Using hot water in systems designed for cold water can damage components, affecting operation.
Monitor the suction line if applicable. A failing suction system may indicate issues with water availability if it’s drawing water from a tank or reservoir.
Verify that the water supply meets the manufacturer’s specifications for flow rate and pressure. Inadequate supply parameters can drastically affect performance.
If the issue persists, exploring the possibility of air leaks in hoses or fittings is warranted, as air intrusion can cause cavitation, leading to erratic functioning.
Regularly maintaining and inspecting the water supply system enhances reliability and improves performance in cleaning tasks.
Examining the Pump for Leaks

Inspect the entire assembly for signs of moisture accumulation, which indicates potential leakage. Pay close attention to the seals, gaskets, and connections. Any corrosion or deterioration on these components may require replacement.
Seal Inspection
Remove any protective coverings to access seals. Assess them for cracks or wear. A damaged seal can lead to water escaping under pressure, so if any issues are found, replacement is necessary.
Connection Points
Check all hose fittings and connectors. Ensure that they are well tightened and free from dirt or debris, as poor connections can be a source of leaks. A simple re-tightening can often resolve minor issues, but persistent leaks may indicate the need for new hoses.
Conduct a functional test after each adjustment or component replacement. Observing the operation while looking for leaks can help confirm whether the issue has been successfully addressed.
Assessing the Unloader Valve Operation
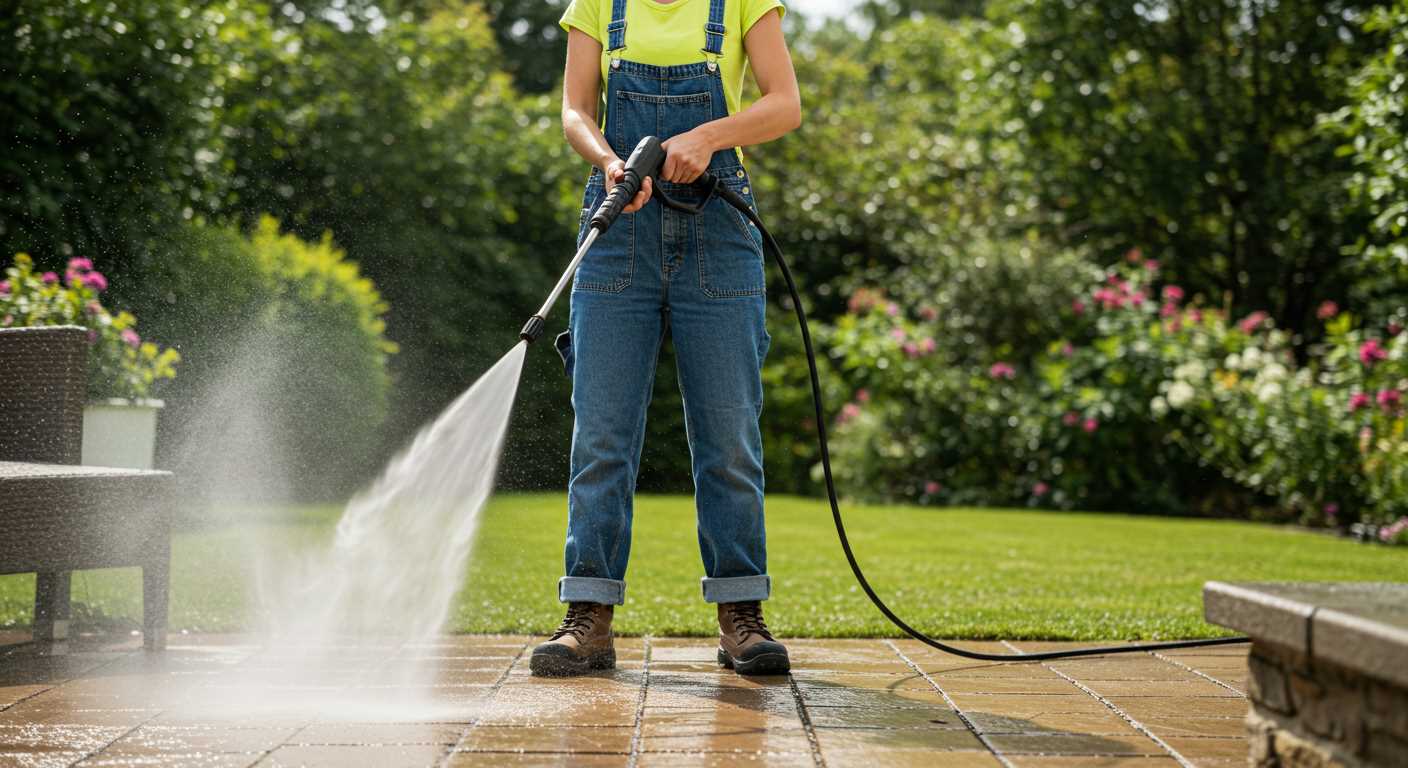
Begin with verifying the position of the unloader valve. This component is crucial for redirecting water flow, especially under no-load conditions. If the valve is stuck or malfunctioning, it can disrupt the operation of the entire system.
Steps for Assessment
- Turn off the power source and relieve the pressure in the system.
- Locate the unloader valve, typically near the pump outlet or downstream of the pump.
- Inspect for any visible damage or debris that might prevent the valve from functioning properly.
- Check for a clear path; clear any obstructions that may be blocking the valve.
- Flush the valve with clean water to remove any build-up.
Next, observe the operation of the valve while the machine runs. Engage the trigger to determine if the unloader valve correctly redirects water back to the inlet. If water continues to flow out even when the trigger is released, this indicates a faulty valve that will require prompt replacement.
Testing Pressure Management
- Reattach the pressure hose and start the system without a nozzle attached. Watch for fluctuating pressure readings.
- If pressure builds up excessively, the unloader valve may not release the pressure effectively, indicating potential wear.
- Listen for unusual sounds during operation; hissing or rattling noises may suggest internal problems within the valve itself.
Consistently maintaining the unloader valve is vital for preventing operational failures. Incorporate this assessment into routine checks to enhance the longevity and reliability of the washing equipment.
Testing the Pressure Switch Functionality
To confirm the operation of the pressure switch, begin by unplugging the appliance and disconnecting the water supply. Locate the pressure switch, typically mounted on the motor or somewhere near the pump assembly.
Use a multimeter to test the switch. Set the multimeter to the continuity setting. Disconnect the wires from the pressure switch terminals to prevent any interference. Touch the multimeter probes to the terminals; a reading indicates continuity, confirming the switch closes when the pump is activated.
Next, manually operate the switch by pressing the actuator. The multimeter should show a reading of continuity when engaged. If there’s no continuity, the switch is faulty and requires replacement.
Check the configuration of the switch. Ensure it is properly set to the correct pressure settings, as per the manufacturer’s specifications. Incorrect settings can lead to improper function.
Reassemble everything carefully and reconnect the water supply. Run the unit briefly to observe its performance, confirming the pressure gauge indicates an appropriate level during operation.
If issues persist or if the switch fails continuity tests, consider acquiring a new part compatible with your model for a resolution.
Cleaning or Replacing Damaged Components

For optimal functionality, address damaged parts immediately. Begin with disassembling the unit and inspecting components such as seals, O-rings, and valves. Clean all accessible parts using a soft brush and a suitable cleaner to remove dirt and debris.
If visible wear or cracks are noted, replacement is necessary. Order specific components directly from manufacturers to ensure compatibility. Pay attention to part numbers and specifications to avoid mismatches.
Seals and O-rings
Inspect seals and O-rings for degradation or brittleness. If these components appear compromised, replace them to prevent leaks, which can severely impact performance. Ensure proper lubrication during installation to prolong their lifespan.
Valves and Filters

Examine any valves, including the unloader and inlet, for obstructions. Clean sediment and debris from filters to maintain water flow and system efficiency. Any warped or damaged valves should be replaced to ensure effective operation.


