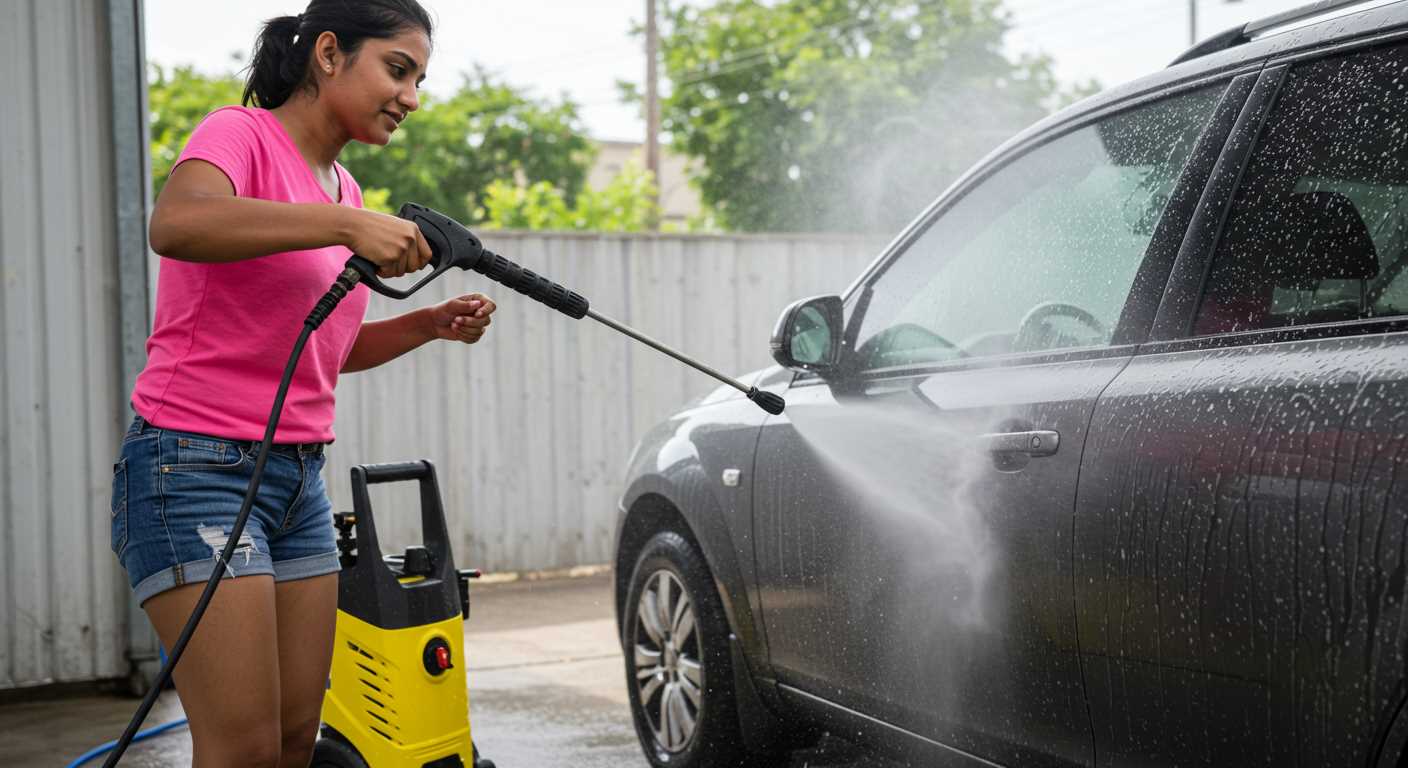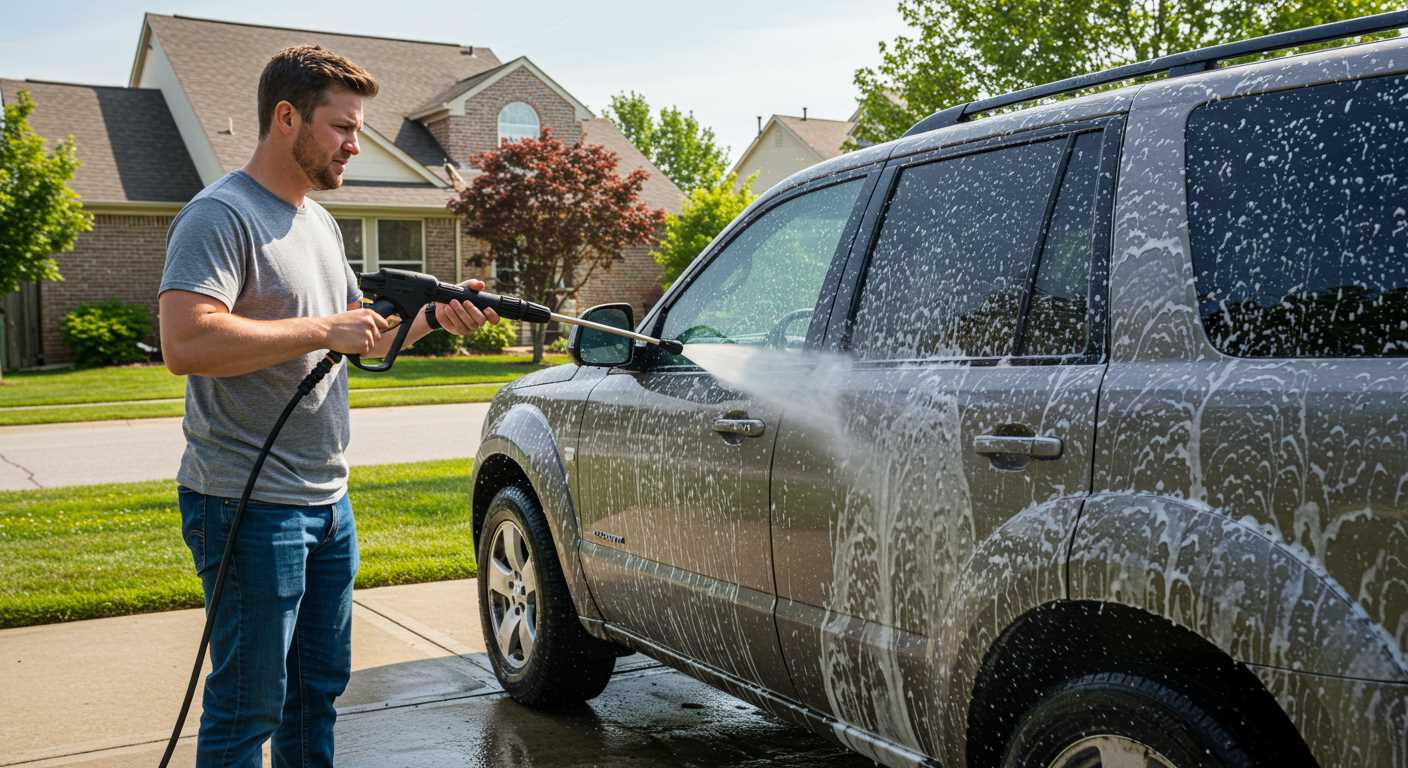


To effectively link your cleaning device to a water supply, ensure you have the appropriate hose and fittings for a seamless operation. Most units require a standard garden hose attachment; however, check your model specifications for any unique requirements.
Begin by sourcing a high-quality, durable hose that can withstand the pressure generated by the unit. Typically, a ¾-inch hose length is optimal for maximum flow. After securing your hose, attach it to the inlet on the device, ensuring a tight fit to prevent leaks. You might want to utilise a hose clamp for enhanced security.
Next, locate the water source. Whether it’s a tap or a large reservoir, test the water supply to ensure it flows freely. If using a faucet, open it fully to guarantee a steady feed. Be mindful of any water restrictions in your area, as these can impact performance.
Once you’ve established your connections, turn on the unit’s motor and check for any irregularities. If there’s insufficient pressure, it might be useful to inspect the hose for kinks or blockages. Regular maintenance of your connections will ensure longevity and optimal performance of the device.
Understanding the Types of Water Sources for a Pressure Washer
For optimal performance, identify suitable sources for your high-pressure equipment. Common options include tap water, rain barrels, and dedicated tanks. Each source has unique characteristics that affect functionality.
Using municipal tap connections is straightforward. Ensure a strong flow, ideally with a pressure between 20-100 PSI to prevent inlet valve damage. Utilize a garden hose fitted with proper adapters for seamless attachment.
Rainwater collection systems serve as an eco-friendly alternative. When employing this type, filter the water to eliminate debris that can clog internal components. Maintain adequate tank volume to avoid operational interruptions.
Dedicated water tanks are beneficial for locations lacking direct water supply. Ensure these tanks have adequate capacity and are located at a suitable height to maintain gravity flow, preventing pump strain. Regularly clean the tank to prevent sediment build-up.
Consider quality and type of water. Hard water with high mineral content can lead to scale build-up, damaging internal systems. In cases of hard water, installing a water softener is advisable.
Evaluate each option’s availability and condition periodically. Proper maintenance of your chosen source will enhance longevity and efficiency of your cleaning equipment.
Required Hose Specifications for Connection

The optimal choice for hoses facilitating the intake of fluid is crucial. I recommend selecting hoses that are at least 3/4 inch in diameter to ensure a seamless flow and prevent any potential bottlenecks.
Material choice is equally significant. Reinforced rubber hoses offer enhanced durability and flexibility, able to withstand pressure fluctuations and avoid kinks. Alternatively, thermoplastic options are lightweight and resistant to abrasions, but may not match rubber in longevity.
Length is another consideration; a shorter hose, around 25 feet, is generally preferable for maintaining pressure, while a longer hose can reach distant sources but may result in reduced efficiency. If longer stretches are necessary, consider a hose that is incrementally larger, like 1 inch, to mitigate pressure loss.
Fittings must match the specifications of the apparatus and the source. Check for 1/2 inch or 3/4 inch connectors and ensure they are compatible to prevent leaks. Always opt for quick-connect fittings for convenience and ease of use.
For optimal results, also consider filter systems to prevent debris from entering the machinery, as this can cause serious damage. A built-in screen filter offers an excellent first line of defence.
Step-by-Step Guide to Connecting the Hose
First, ensure that the tap or water source is easily accessible and turned off. This prevents any leaks during setup.
Next, locate the inlet connection on the cleaning device. Typically, this is situated at the rear or side, designed to securely fit the hose.
Take the garden hose and check its compatibility with the inlet. Make sure it has the correct diameter–commonly 1/2 inch or 3/4 inch. If required, use an appropriate adaptor.
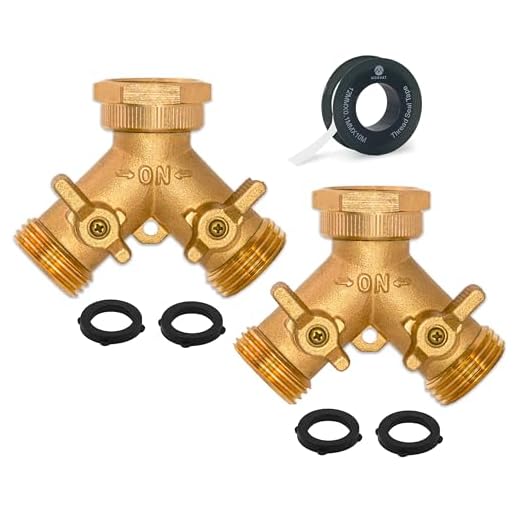
Attach one end of the hose to the water source. Hand-tighten the connection to prevent leaks. If necessary, add a washer inside the connector for a better seal.
Now, take the other end of the hose and press it firmly into the inlet on the cleaning apparatus. Again, ensure it is hand-tightened. Avoid using tools that could damage the threads.
Check for any visible kinks in the hose that might impede water flow. If any are present, either adjust the position or replace the hose.
Before turning on the tap, confirm that any quick-release mechanisms on the hose or machine are secure. This precaution helps avoid unexpected disconnections.
Finally, turn on the water supply slowly. Watch for leaks at both connection points. If any leaks occur, tighten the connections and check the integrity of the connectors and hose.
| Step | Action |
|---|---|
| 1 | Turn off the tap |
| 2 | Locate the inlet |
| 3 | Check hose compatibility |
| 4 | Attach hose to the tap |
| 5 | Connect hose to the inlet |
| 6 | Inspect for kinks |
| 7 | Confirm secure connections |
| 8 | Turn on the water supply |
Identifying and Attaching Quick Connectors
The first step in successful attachment involves recognising the appropriate quick connectors for your setup. These fittings usually incorporate a male and female half, allowing for a simple, tool-free connection that facilitates easy assembly and disassembly. Common sizes include 1/4-inch and 3/8-inch connectors, aligned with the hoses and equipment used.
- Check compatibility: Ensure your connectors match the hose and water supply fittings.
- Inspect for damage: Look for cracks, wear, or corrosion, as these can affect performance.
- Choose a reputable brand: High-quality connectors ensure longevity and a secure fit.
Once the right connectors are identified, proceed to attach them properly. Follow these steps for a secure connection:
- Align the male connector with the female fitting.
- Push the connectors together firmly until they snap into place.
- Verify the connection by gently pulling on the hose; it should hold firmly without any movement.
If a leak is detected post-connection, consider disassembling and reattaching the fittings, making sure to clean any debris that may obstruct the seal. For increased security, applying thread tape on the male threads can enhance airtightness and prevent leakage.
After securing the quick connectors, it’s crucial to ensure that your setup is stable and ready for operation. Tending to this detail will greatly impact the efficiency and reliability of the entire equipment during use.
Ensuring Proper Water Flow and Pressure
To achieve optimal performance with your cleaning device, maintaining adequate flow and pressure is paramount. Always verify that the water supply delivers a flow rate of at least 5 litres per minute and a minimum pressure of 20 psi to ensure efficient operation.
Checking System Compatibility
Before setting up, check that the source’s pressure rating matches the requirements specified by the manufacturer. An incompatible water flow can lead to operational issues or even damage to the unit. Consult the user manual or technical specifications to confirm these parameters.
Regular Maintenance of Water Supply
Inspect hoses and fittings for signs of wear, leaks, or blockages. Regularly clean inlet filters to prevent sediment buildup, which can impede flow. Clear any debris from the water source to enhance the supply’s quality. For optimal efficiency, consider using a high-pressure hose designed to withstand the necessary forces during operation.
Common Issues During Water Connection and Their Solutions

When establishing a link to a water source, a few challenges commonly arise. Here’s how to tackle them effectively:
- Leaking Hoses: If you notice water dripping from the hose connections, ensure all fittings are tight. Replace rubber washers if they appear worn or missing.
- Insufficient Water Supply: Low pressure can stem from inadequate water flow. Verify that the source is fully open and check for blockages in the hose.
- Incompatible Fittings: Mismatched connectors can hinder proper attachment. Always match the hose diameter and connector type specified in the manufacturer’s guidelines.
- Frozen Hoses: In colder climates, water in hoses may freeze. Store hoses indoors when not in use in colder temperatures to prevent freezing and bursting.
- Noisy Operation: Excessive noise during use often signals air trapped in the line. Bleed the line by running the system with the nozzle pointed away until a steady stream flows.
- Adapter Issues: Use of the wrong adapter might restrict flow or lead to leaks. Consult your manual for the correct adapter options tailored to your model.
- Pressure Fluctuations: Inconsistent performance may indicate clogged filters. Regularly inspect and clean filters in the water intake area to maintain a steady flow.
Implementing these solutions will enhance your experience and ensure a robust connection to your water source, ultimately leading to more efficient cleaning results.
Maintaining Water Connection Components for Longevity

Regular inspection of hoses, connectors, and seals significantly extends their lifespan. Check for cracks, kinks, or signs of wear each time before usage. Replace any damaged parts immediately to prevent leaks and ensure uninterrupted operation.
Utilising high-quality hoses designed for outdoor use withstands various conditions. Look for hoses reinforced with materials that resist abrasion, UV damage, and high pressure to minimise deterioration over time.
For connectors, ensure proper compatibility to avoid cross-threading. Apply a small amount of thread sealant on male threads to reduce the risk of leaks. Regularly clean the connectors to prevent debris build-up, which can hinder performance.
Maintain seals by lubricating them with a silicone-based grease. This helps prevent cracking and maintains a good fit between connectors and hoses. Replace seals that show signs of wear to avoid water loss during operation.
Flush the system with clean water after each use, particularly if using a detergent. This prevents any residues from accumulating and damaging components over time. Regular flushing keeps the system running smoothly and enhances performance.
Store hoses and connectors in a dry environment, coiled properly without sharp bends. This prevents unnecessary strain and damage to the materials. Protecting them from extreme temperatures also plays a crucial role in their longevity.


