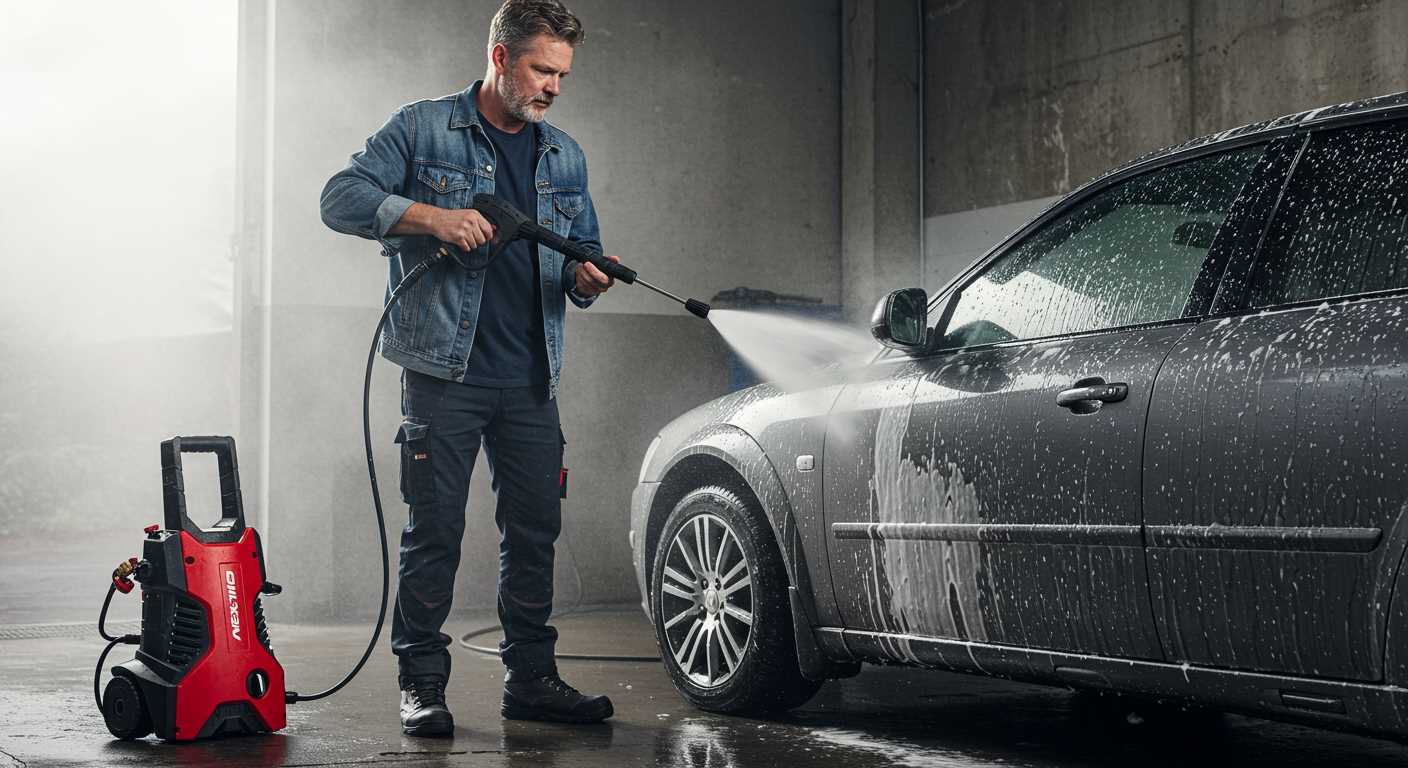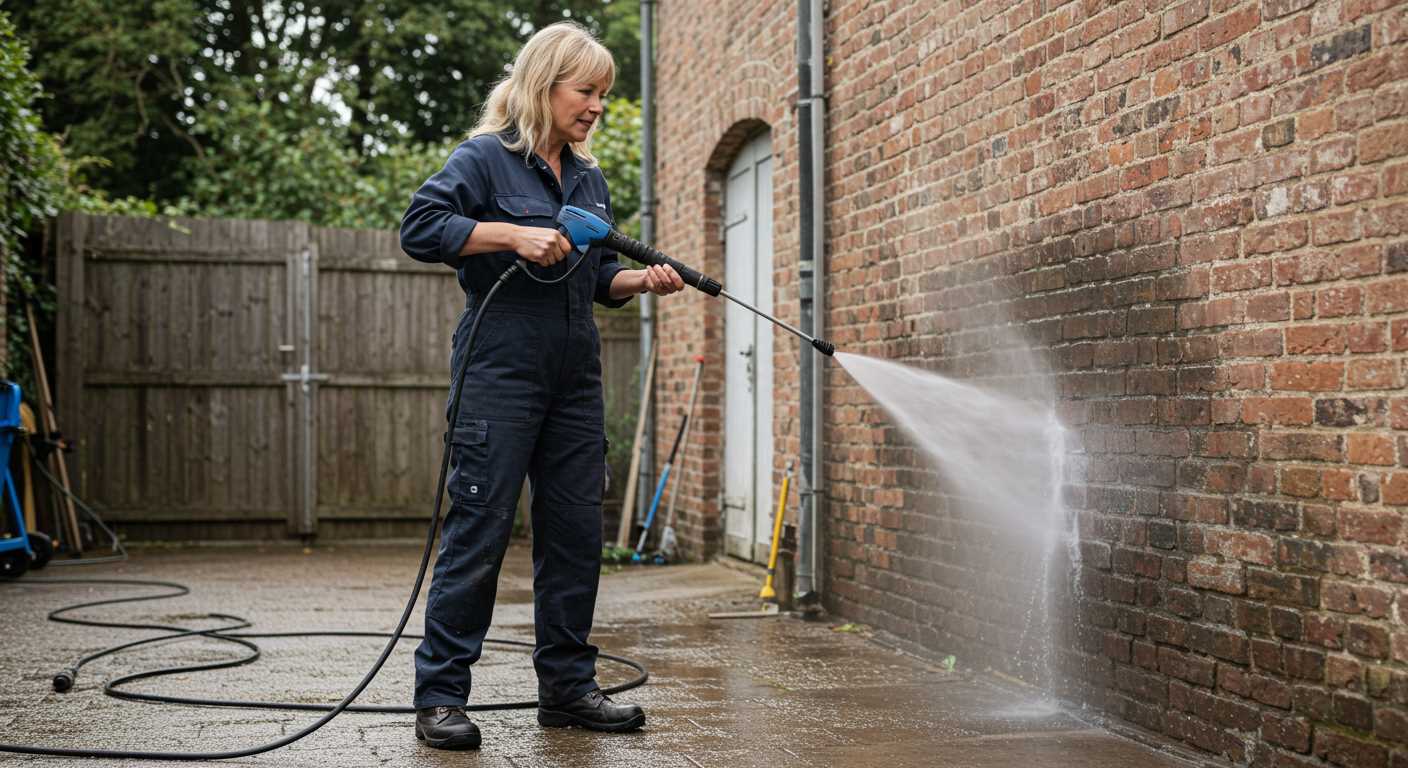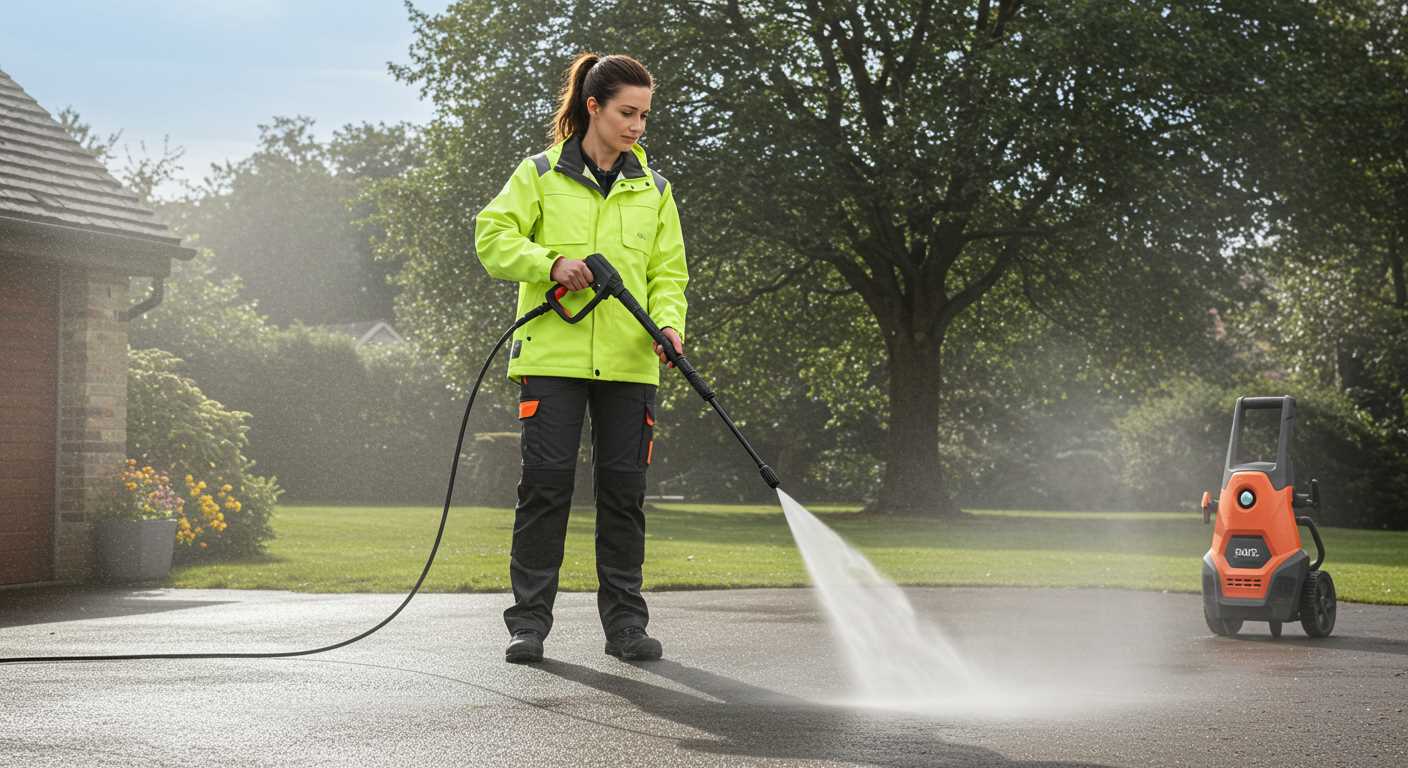


To optimise your cleaning tasks, it’s crucial to grasp how liquid soap is applied through dedicated channels in your machine. This component operates through a venturi system: a decrease in pressure as water flows creates a vacuum, drawing soap from its reservoir into the high-pressure stream. Ensure that the soap you select is compatible with your device for optimal performance.
While using these attachments, maintain the correct settings on your machine. Adjust the nozzle to achieve the desired spray pattern–wider for gentle foam application or narrower for focused cleaning. Always follow the manufacturer’s recommendations for concentration and formulation to avoid damage to sensitive surfaces.
Regular maintenance of the soap delivery system is essential. Clean any blockages in the hose to ensure a smooth flow of liquids. Additionally, inspecting the seals and connections can prevent leaks and maintain consistent performance. With attention to these details, you will enhance the efficiency of your cleaning routine.
Understanding the Components of a Soap Dispenser

To ensure optimum performance, recognise key parts comprising a liquid delivery system. Familiarity with these elements can enhance maintenance and troubleshooting capabilities.
1. Reservoir
This item holds the cleaning solution. It is essential to select a size that meets your cleaning requirements. Regularly check for leaks to prevent wastage.
2. Suction Tube
The suction tube draws liquid from the reservoir. Ensure it is installed correctly and free from blockages to maintain a consistent flow of the cleaning agent.
3. Injector

This component mixes cleaning fluid with the high-pressure water stream. A well-functioning injector is crucial for achieving desired cleaning results. Test regularly to ensure proper mixing.
4. Control Valve
The control valve regulates the amount of cleaning solution released. Familiarity with its adjustment mechanism is necessary for fine-tuning application based on surface types.
5. Nozzle

Nozzles are designed to vary spray patterns. Use appropriate nozzles in conjunction with cleaning solutions to improve efficiency. Select a nozzle that complements the task at hand.
6. Hoses
Hoses must withstand high pressure and avoid kinks. Regular inspections are advised to detect wear or damage, ensuring uninterrupted use during cleaning operations.
Knowledge of these components facilitates better equipment care, leading to enhanced longevity and reliability. Make it a habit to assess these parts frequently for optimal performance.
Connecting a Soap Dispenser to Your Pressure Washer
Begin by selecting the appropriate attachment compatible with your cleaning equipment. Typically, there’s a designated port or inlet specifically for chemical application. Check your user manual for exact specifications to avoid any damage.
Ensure the unit is turned off and disconnect the water source. This step is vital to prevent any accidental operation while connecting components.
Attach the hose from the cleaning solution reservoir to the chemical inlet on your machine. Secure the connection tightly, ensuring no leaks will occur during use. If the system includes a filter, verify it’s clean to allow proper flow.
Next, mix the cleaning agent according to the instructions provided on the product label. Dilution ratios may vary, so precise measurements are crucial for optimal results.
After preparing your mixture, pour it into the solution tank, filling it to the recommended level. Avoid overfilling to prevent spillages during operation.
Reconnect the water source and power on the machine. Adjust settings to a low-pressure mode to begin. Test the output by pulling the trigger and observing if the solution dispenses correctly.
If you encounter issues, inspect all connections and ensure the chemical tank is not empty. Regular maintenance of the tank and hose is necessary for continuous performance.
Finally, remember to clean the chemical system post-usage to prevent build-up, which can hinder future operations. Rinse the components with clean water to maintain efficiency.
Types of Cleaning Agents Compatible with High-Pressure Units
Choosing the right cleaning solution is crucial for optimal results. Here are the main categories of agents suitable for your task:
- Biodegradable Detergents
These are eco-friendly options that break down naturally without harming the environment. Ideal for outdoor cleaning, such as patios and driveways.
Trending NowPowerful 2000W Electric Pressure WasherHigh-pressure cleaning, ideal for various surfacesWith a maximum pressure of 160Bar and a flow rate of 540L/H, this pressure washer is designed for tackling tough cleaning jobs effortlessly. It features multiple nozzles and safety features for reliable performance during use. - Degreasers
Formulated to cut through tough grease and oil, these powerful cleaners are perfect for automotive applications or kitchen equipment.
- Mildew and Mold Removers
Specially designed to tackle mould and mildew, these products often contain bleach or other active ingredients to prevent regrowth.
- Glass Cleaners
For sparkling windows, specific formulations cater to glass surfaces, providing streak-free results when utilized with high-pressure equipment.
- Concrete Cleaners
These are designed to remove tough stains from concrete surfaces, suitable for driveways and garage floors, ensuring deep cleaning effectiveness.
- Vehicle Washes
Car-specific products often produce foam and protect paintwork, making them ideal for automotive cleaning without causing damage.
Selecting a compatible cleaner enhances performance and protects your equipment. Always follow manufacturer guidelines for best practices and product use.
Setting the Right Soap-to-Water Ratio
.jpg)
Begin with a 1:10 ratio of cleaning agent to water for most applications. This means one part detergent to ten parts water. Adjust this based on the task; heavier grime may require a stronger mix, such as 1:5.
Test the solution’s effectiveness on a small area before full application. If after a few moments of spraying the dirt begins to lift, you’ve likely found the sweet spot for your specific cleaner. If not, gradually increase the concentration.
Note that using too much detergent can lead to excessive foam, which may hinder performance and leave residues. Always consult the detergent’s instructions for specific recommendations as they can be formulated differently, affecting how they interact with water.
Remember, using a suitable dilution not only improves cleaning efficacy but also conserves resources and extends the lifespan of your machine. A correctly balanced mixture is fundamental in achieving the best results without risking damage to surfaces or equipment.
Operating Your Cleaning Device with a Soap Container
Begin by ensuring your appliance is unplugged. Locate the container, usually attached to the lance or integrated into the unit. Fill it with the compatible cleaning solution, adhering to the manufacturer’s guidelines for quantity.
Activating Soap Dispensation

With the solution loaded, connect the water supply and switch on the machine. Adjust the nozzle to the intended position–generally, a wider angle achieves optimal coverage. Engage the trigger to permit the flow of water and activate the detergent system. As you apply, keep a steady motion, overlapping your passes to ensure an even coating of the cleaning agent.
Common Mistakes to Avoid
Avoid using too much cleaning agent as this can lead to excessive foam and require additional rinsing. Be cautious not to use a solution that isn’t designed for this type of equipment, as it could cause damage. Always rinse the surface thoroughly after cleaning to eliminate residues left by the agent.
Common Issues with Soap Dispensers and Their Solutions
Check for clogs in the tubing if you notice an inadequate flow of cleaning solution. A simple rinse with warm water can often clear blockages.
If the mix isn’t foaming properly, adjust the ratio of liquid to water. Too much water can dilute the effectiveness of the formulation, leading to subpar results.
Inspect the connection points for leaks. Tighten fittings to ensure a secure seal, as loose connections can disrupt the delivery system.
Inconsistent output may indicate a malfunctioning component. Test various settings or consider replacing the element responsible for mixing to restore optimal performance.
Ensure compatibility of your cleaning agent. Using products not intended for this type of equipment can cause damage and inefficiencies.
Monitor for excessive suds, a sign of an incorrect concentration of solution. Adjust accordingly to maintain balance while working.
For persistent issues, consult the manufacturer’s guidelines for troubleshooting steps tailored to your specific model.
Maintenance Tips for Your Soap Dispenser
Regularly check for clogs in the tubing. If you notice reduced flow or inconsistent soap dispensing, inspect the lines for any blockages. Use a soft brush or compressed air to clear any debris.
Clean the reservoir after each use. Residual soap can harden and cause buildup, leading to performance issues. A warm, soapy water solution typically does the job; rinse thoroughly to remove all soap traces.
Inspect seals for wear and damage. Over time, gaskets can deteriorate, leading to leaks. Replace any worn seals promptly to prevent further issues and maintain functionality.
Store properly between uses. If winter or freezing temperatures are expected, remove and drain all soap from the system to avoid damage. Keep components in a dry, cool area to extend their lifespan.
Test the mixing valve regularly. This component controls the soap-to-water ratio, which is critical for optimal cleaning performance. If it feels stuck or unresponsive, lubricate according to the manufacturer’s guidelines.
Use compatible detergents designed specifically for use in these systems. Avoid using thick, concentrated soaps that can cause blockages or damage internal components.
Document any performance changes. If you notice any irregularities, note them down. This log can help identify patterns and provide insight during troubleshooting.
Safety Precautions When Using Cleaning Agents with High-Pressure Equipment
Always wear protective goggles and gloves to shield your skin and eyes from harmful chemicals. Ensure adequate ventilation in enclosed spaces to avoid inhalation of fumes.
Inspect surfaces for unsuitable materials that may react adversely with agents. Some plastics, wood finishes, or delicate surfaces can be damaged. Conduct a patch test in a small, inconspicuous area before proceeding.
Mix agents as per manufacturers’ directions to achieve the right consistency and effectiveness. Dilution errors can lead to ineffective cleaning or equipment damage.
Handling and Storage Tips
Store all cleaning products in a cool, dry place, away from direct sunlight and heat sources. Ensure containers are tightly sealed to prevent leaks or spills. Keep products out of reach of children and pets.
Environmental Considerations
Dispose of any unused or expired agents according to local regulations to minimise environmental impact. Avoid runoff into storm drains, which can contaminate water sources.
| Precaution | Description |
|---|---|
| Personal Protection | Use goggles and gloves |
| Surface Compatibility | Check for damage potential |
| Mixing Guidelines | Follow manufacturer instructions |
| Storage | Keep in a cool, dry place |
| Disposal | Follow local regulations |


