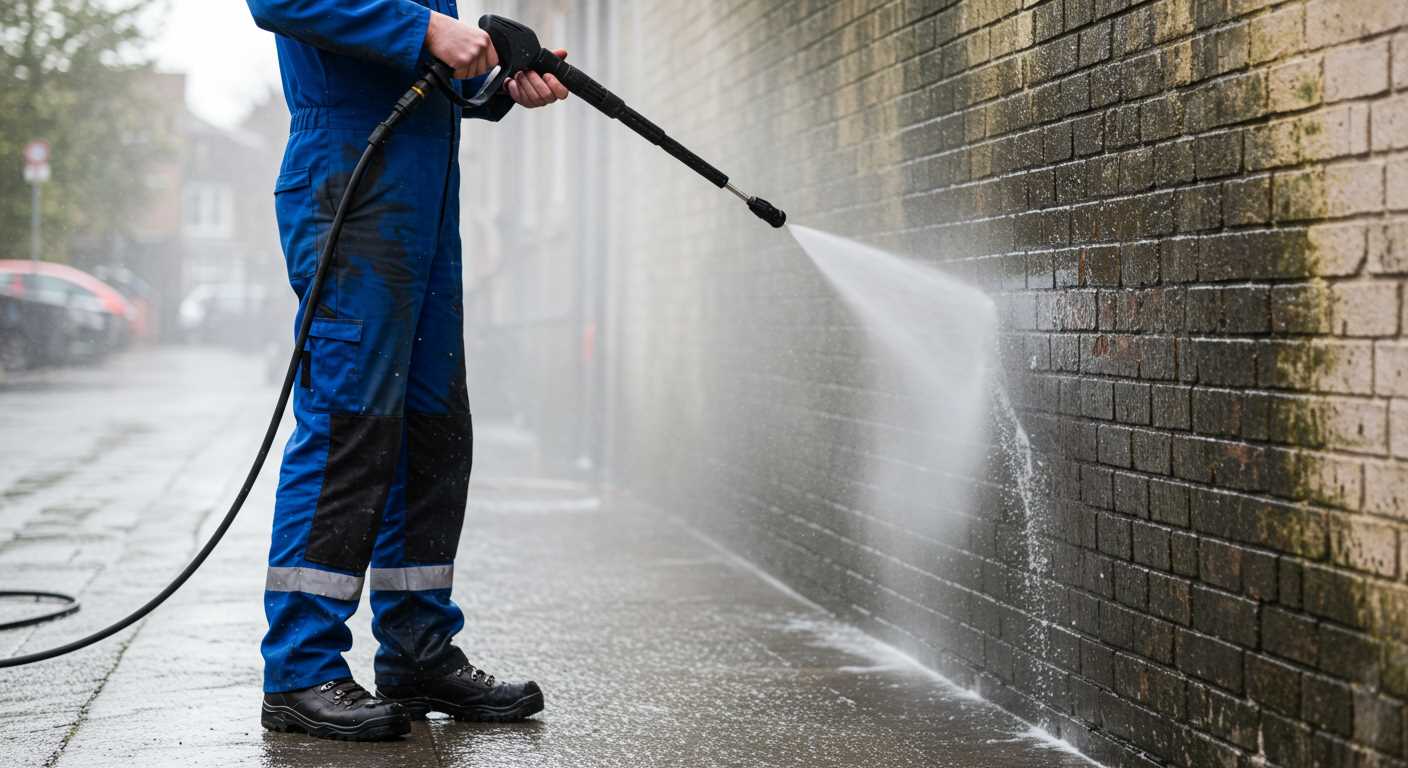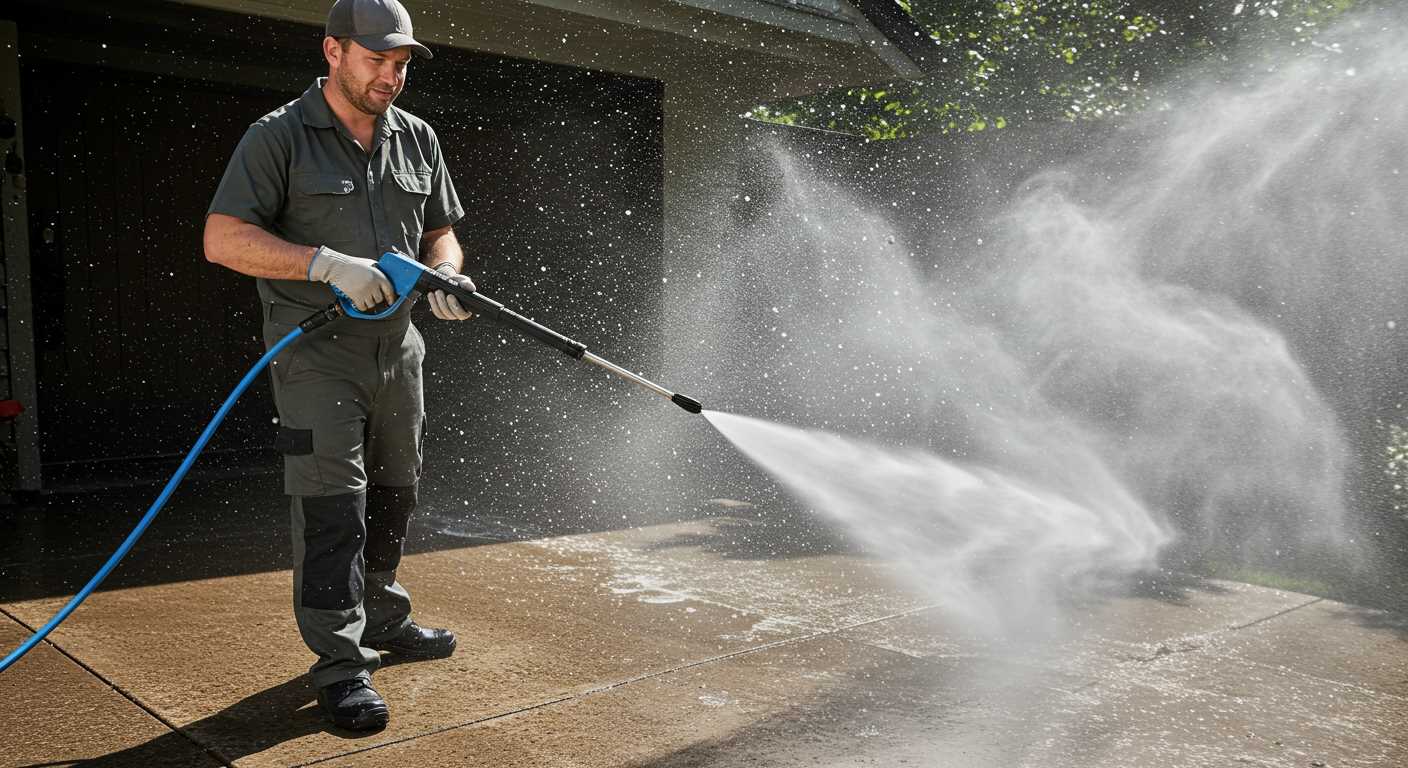


If you’re looking for a reliable method to remove dirt and grime, this robust cleaning device is your best bet. It generates a jet of water at high pressure, efficiently lifting away stubborn debris from surfaces such as driveways, patios, and vehicles. The heart of this operation lies in its motor, which powers a pump to pressurise water from an attached source, typically a garden hose.
This powerful machine works by converting regular water flow into a concentrated stream. When you switch it on, the motor engages and drives the pump, creating a force that amplifies the already existing water pressure. This transformation allows even the toughest stains to be tackled effectively. The nozzle can be adjusted, allowing control over the spray angle and intensity, making it versatile for various cleaning tasks.
An additional feature is the integration of detergent tanks. This allows for the mixing of cleaning solutions with water before expulsion, enhancing the cleaning process, especially on porous surfaces. It’s key to select the right detergent compatible with the type of application, ensuring optimal results without damaging the material being cleaned.
Regular maintenance of this apparatus is crucial for longevity and performance. Flushing the system after use prevents clogs and maintains efficiency. Checking seals and filters ensures that pressure maintains its potency while minimising wear on the machinery. Familiarity with the components will not only enhance your cleaning results but will also prolong the appliance’s lifespan.
Understanding Karcher’s Cleaning Equipment Functionality
For optimal results, begin by connecting the unit to a reliable water source. Ensure the hose is securely attached to both the inlet and faucet. Once you switch on the device, it draws water into the system via a pump, which is crucial for generating the necessary fluid dynamic pressure.
The motor acts as the driving force, powering the pump and facilitating fluid movement. This assembly compresses the incoming water, amplifying its force significantly. As it exits through the nozzle, the water transforms into a high-speed jet that effectively dislodges dirt, grime, and stains from various surfaces.
The equipment features multiple nozzle attachments suitable for various tasks. These nozzles adjust the spray pattern–from a concentrated stream for stubborn spots to a broader spray for rinsing large areas. Selecting the appropriate nozzle enhances cleaning efficiency and prevents damage to delicate surfaces.
Utilising detergents is straightforward. Most models accommodate detergent tanks, enabling you to mix cleaning solutions directly. As water passes through the system, it can integrate the soap effectively, enhancing cleaning power without requiring extensive manual scrubbing.
Maintaining the equipment involves regular inspections, including hose integrity checks and ensuring that the nozzles remain clear of clogs. Proper winterisation is also vital, especially in colder climates, to avoid damage to internal components.
Understanding these elements allows for more efficient and effective cleaning, ensuring longevity and optimal performance of the equipment.
Understanding the Basic Components of a Karcher Pressure Washer
To maximise cleaning efficiency, focus on these fundamental parts of the equipment. Each element plays a critical role in delivering optimal performance during use.
The motor is the powerhouse, converting electrical energy into mechanical energy to propel water through the system. It’s important to choose a model with a robust motor that meets your cleaning requirements, as stronger motors produce higher water flow and pressure.
The pump is essential for pressurising water. It draws in water from a source, compresses it, and sends it through the nozzle. Look for a high-quality pump, made of durable materials, which ensures longevity and consistent performance.
The trigger gun controls water flow and pressure, allowing you to start and stop the cleaning process easily. A well-designed trigger gun will offer ergonomic grip for comfort during extended use and should include safety features to prevent accidental activation.
Hoses are vital components that transport water from the pump to the nozzle. Opt for hoses that are flexible yet sturdy, as this prevents kinks and abrasion during use. Also, check that the length is suitable for your cleaning tasks, ensuring you can reach all necessary areas without strain.
Nozzles dictate the water spray pattern and pressure. Various nozzle tips are available to adjust for different cleaning tasks, from wide sprays for gentle cleaning to narrow, high-pressure jets for tough grime. Having a selection of nozzles enhances versatility for various applications.
Finally, consider the detergent system if you plan to use cleaning solutions. Some models come equipped with built-in tanks or attachments that allow you to mix and apply detergent simultaneously. This feature saves time and improves stain removal on surfaces.
Understanding and maintaining these components will significantly impact your cleaning experience and results. Regular checks and care for each part will ensure the reliability and efficiency of your unit for years to come.
How Water is Pressurised in Karcher Models
To achieve optimal cleaning power, a process is used to elevate the water pressure significantly. In Karcher models, this begins with the electric motor driving a high-pressure pump. This pump, usually a triplex type, features pistons that create compression as they move back and forth, allowing the intake of water and subsequently forcing it out at a much higher pressure.
Role of Components
The high-pressure pump is connected to the water source via a garden hose, drawing water from taps or tanks. As water enters the pump, the pistons rapidly compress it, raising the pressure to levels that can range from 110 to 160 bar, depending on the model. After compression, the water exits through a nozzle, transforming the flow into a focused spray. This concentrated jet is what effectively removes dirt and grime from surfaces.
Efficiency and Performance

The construction of these pumps is vital for efficiency. Materials used are often durable and resistant to wear, ensuring longevity. Additionally, precision engineering allows for minimal internal friction, which helps in maintaining consistent pressure without overloading the motor. This balanced interaction between the motor, pump, and hose ensures an effective transmission of force, maximizing cleaning results while conserving water usage.
The Role of the Motor in Pressure Generation
The motor is the heart of any high-performance cleaning device, pivotal in converting electrical energy into mechanical energy. Its efficiency directly impacts the force and flow of water delivered through the nozzle. Typically, motors in these devices are either induction or brushed, where induction motors are known for their durability and lower noise levels, while brushed motors offer higher initial torque and are more compact.
Key Specifications
When evaluating different motors, pay attention to the following specifications:
| Specification | Details |
|---|---|
| Power Rating | Measured in Watts, it indicates the energy consumption and influences water flow and pressurisation capabilities. |
| Voltage | Standard models operate typically at 120V or 230V; ensure compatibility with your electrical system. |
| RPM (Revolutions Per Minute) | A higher RPM generally results in greater output pressure; values often range from 1500 to 3600 RPM. |
| Amperage | This determines the motor’s operational efficiency and energy consumption; lower amps indicate better efficiency. |
Motor Impact on Performance
A well-designed motor not only generates pressure but also affects the overall operational longevity of the device. Overheating or wear can occur with inferior motors, leading to decreased pressure output or complete failure. Regular maintenance, such as checking connections and ensuring appropriate cooling, significantly enhances the lifespan. In my experience, models with robust motor features consistently outperform their competitors in terms of reliability and user satisfaction.
In conclusion, selecting a unit with a high-quality motor tailored to specific usage requirements ensures optimal performance and satisfaction. Investing in units with advanced motor technology will pay off in long-term reliability and cleaning effectiveness.
Exploring Different Nozzle Types and Their Uses

Choosing the right nozzle is crucial for achieving optimal cleaning results. Each type serves a specific purpose, allowing for versatile applications tailored to your needs. Here’s a breakdown of the common nozzle types and their features.
| Nozzle Type | Angle | Use Case |
|---|---|---|
| 0° (Red) | 0° | Ideal for removing stubborn stains and debris from hard surfaces. |
| 15° (Yellow) | 15° | Effective for cleaning driveways, patios, and decks; suitable for tough stains. |
| 25° (Green) | 25° | General-purpose nozzle, great for cleaning vehicles and larger areas. |
| 40° (White) | 40° | Best for rinsing and gentle cleaning; perfect for windows and delicate surfaces. |
| Turbo Nozzle (Rotating) | N/A | Combines high pressure with a rotating spray pattern; suitable for heavy-duty tasks. |
| Soap Nozzle | N/A | Designed for foam application; ideal for pre-treating surfaces before high-pressure rinsing. |
Using the proper nozzle enhances efficiency and protects surfaces from damage. I recommend starting with a wider angle for delicate surfaces and then adjusting as necessary to achieve desired cleaning results.
Adjusting Pressure Settings for Various Cleaning Tasks
To ensure optimal cleaning results, adjusting the pressure settings according to the task is essential. Start with the lowest setting for delicate surfaces like painted or wooden decks. Gradually increase pressure as needed, testing on a small, inconspicuous area first.
Cleaning Driveways and Patios
For tougher materials like concrete or brick, set the machine to a higher pressure, typically around 150 to 180 bar. This level removes deep-seated dirt and grime effectively. Use a wide-angle nozzle to distribute the water over a larger area, reducing the risk of surface damage.
Washing Vehicles
When cleaning cars, a lower pressure of about 100 to 120 bar is sufficient. This prevents damage to paintwork and trims. Equip the unit with a foam nozzle for soaping, and follow with a gentle rinse to achieve a streak-free finish.
Maintenance Tips to Ensure Optimal Performance
.jpg)
Regularly check and clean the filter to prevent clogging. A clogged filter can significantly reduce water flow and pressure output, affecting cleaning results.
After each use, disconnect the unit from the water supply and release any residual pressure by pulling the trigger on the gun. This prevents any potential damage and ensures a longer lifespan.
- Inspect hoses and connections for leaks or wear. Replace any damaged parts immediately to maintain performance.
- Store the unit in a dry, cool area to protect it from extreme temperatures and moisture that could cause rust.
- Periodically lubricate moving parts, such as the gun trigger and nozzle connectors, with a silicone-based spray to ensure smooth operation.
- Flush the system with clean water after using detergents to avoid build-up of residues that might damage components.
- Check for any signs of wear on the nozzle and replace it as necessary to maintain optimal spray patterns.
Conduct an annual deep clean of the machine, following the manufacturer’s guide. This includes checking the pump and motor for any signs of wear or internal issues.
Keep an eye on the detergent tank; clean it regularly to prevent contamination and ensure that the cleaning agents used are suitable for the unit.Finally, refer to the operating manual for specific maintenance guidelines and frequency recommendations tailored to your model. This practice guarantees longevity while ensuring effective cleaning capability.
Common Troubleshooting for Karcher Pressure Washers
Should you encounter issues with your cleaning device, here are key troubleshooting steps to consider:
No Water Flow
- Check the water supply: Ensure the hose isn’t kinked or blocked.
- Inspect the water inlet filter: Clean it if it’s clogged.
- Verify connections: Confirm all hoses and fittings are properly attached.
Low Pressure
- Examine the nozzle: Swap or clean the nozzle if it’s dirty or blocked.
- Inspect for leaks: Look for any leaks in hoses or fittings that could affect performance.
- Check the pressure settings: Adjust if necessary for the required task.
Motor Issues
- Listen for unusual sounds: Grinding or high-pitched noises might indicate mechanical problems.
- Check the power source: Ensure that the device is plugged in and the outlet is functioning.
- Test the on/off switch: It may be faulty or require checking for continuity.
Overheating

- Allow cooling time: If the unit has been used for extended periods, let it cool down before use.
- Confirm water supply: Insufficient water flow can lead to overheating; check hoses for obstructions.
- Maintain regular intervals: Use the equipment within recommended operating periods to avoid overheating.
Noise During Operation
- Inspect for loose components: Tighten any loose screws or fittings that may cause rattling.
- Ensure stability: Place the device on a flat surface to minimise vibrations.
These steps should assist in diagnosing and resolving common faults, enhancing the lifespan and performance of your machine. Always refer to the user manual for model-specific advice and instructions.


