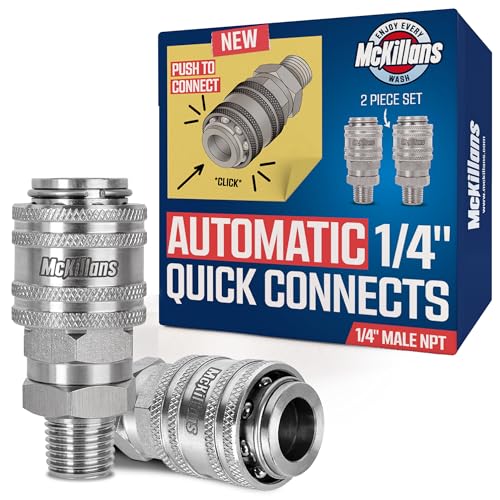


For optimal results, I recommend using a dedicated detergent attachment specifically designed for your unit. This component allows for seamless mixing with water, ensuring appropriate dilution and consistent application. The right formulation guarantees effective removal of dirt and stains, enhancing the cleaning process.
Begin by checking the user manual to identify the correct type of cleaning agent compatible with your device. The manufacturer often suggests specific brands or formulations that optimise performance. Using incompatible solutions can damage the internal components and void any warranties.
Carefully measure the recommended quantity of detergent, adhering strictly to the guidelines provided. Over-concentrating the mixture may lead to excessive foaming or residue. It’s wise to test any new cleaner on a small, inconspicuous area to verify its effectiveness and prevent potential damage to surfaces.
Once the mixture is prepared, attach the appropriate nozzle. Different nozzles create various spray patterns and pressures, catering to diverse cleaning needs. A wider spray is ideal for broader surfaces, while a more concentrated stream targets stubborn grime efficiently.
Finally, maintain your equipment by rinsing the detergent system with clean water after use. This practice prevents build-up and prolongs the lifespan of your machine. Regular maintenance ensures that your unit stays in optimal condition, ready for any cleaning task ahead.
Integrating Cleaning Solution into Your Machine
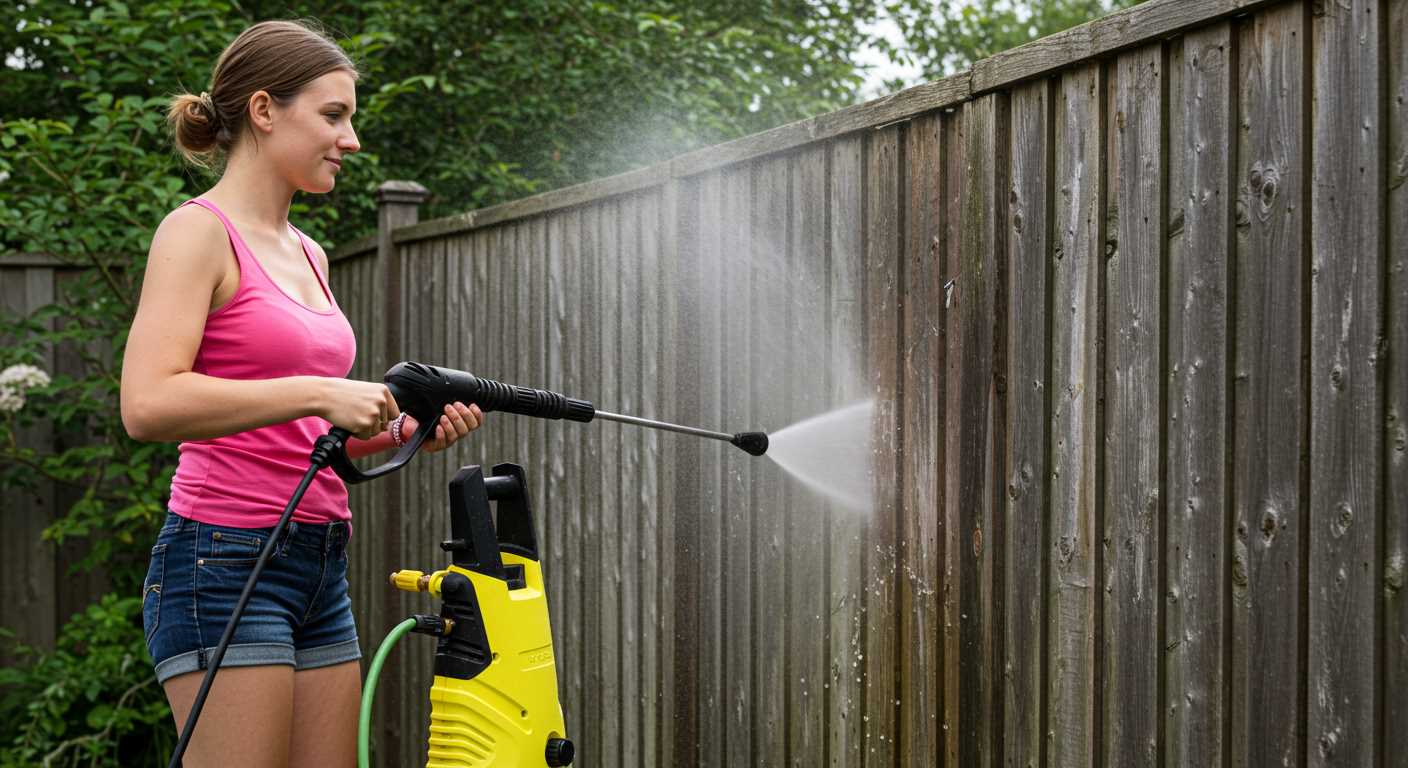
To incorporate a washing agent into your unit, locate the detergent tank, typically positioned on the side of the equipment. Ensure the device is switched off before proceeding.
Open the tank lid and pour the chosen solution directly into it, adhering to the manufacturer’s recommendations regarding dilution ratios for optimal results. Avoid overfilling, as this can lead to spills and operational issues.
Once the tank is filled, securely close the lid to prevent any leaks during use. Adjust the nozzle to the designated setting that allows for the mixing of water and washing agent. Your model may feature specific attachments or settings to optimise this process.
After preparing, activate the machine and let it run for a short duration to mix the solution effectively. Test the output on a small, inconspicuous area to ensure compatibility with the surface you plan to clean.
For consistent results, ensure to clean the tank and any associated parts after use to prevent residue build-up that could hinder future performance. Periodically check the tank and hose for blockages to maintain smooth operation.
Understanding Compatible Cleaners for Karcher Models
Choose specially formulated solutions recommended by manufacturers for optimum performance. It’s crucial to avoid harsh chemicals, as they may damage components and void warranties.
Types of Compatible Solutions
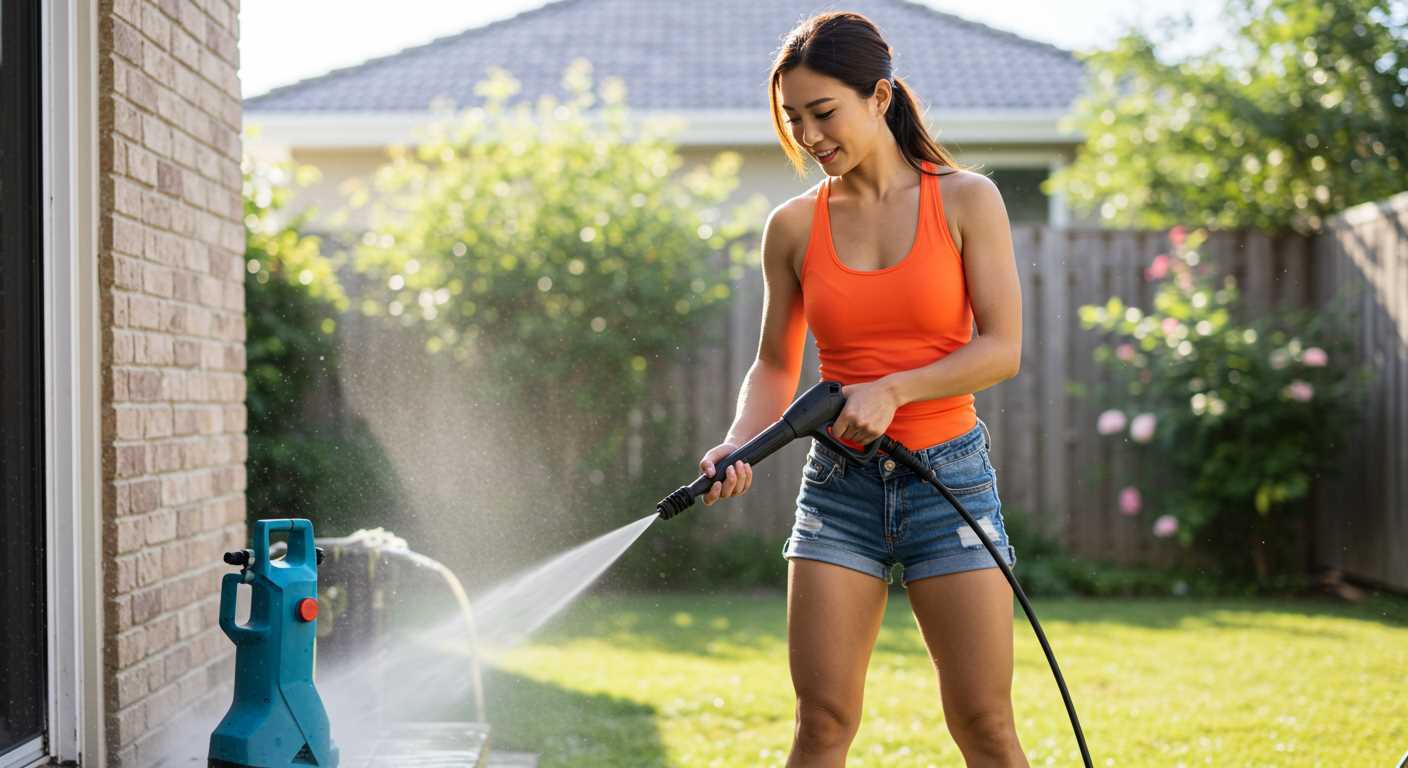
- Detergents for general cleaning tasks, particularly effective on dirt and grime.
- Stone and masonry cleaners, ideal for exterior surfaces, ensuring safe application.
- biodegradable options, friendly to the environment while maintaining cleaning efficiency.
- Car care products specifically designed for vehicle maintenance, promoting a scratch-free finish.
Finding the Right Solution
Always refer to the user manual to identify specific recommendations for your model. Testing on a small area might help determine compatibility without risking damage. Ensure the product is designed for use in high-pressure applications.
For best results, consider the cleaning task at hand. Some products are versatile, while others excel in specific situations, such as removing oil stains or mould. Pay attention to concentration levels and dilution instructions for optimal usage.
Preparing Your Karcher Pressure Washer for Cleaner Application
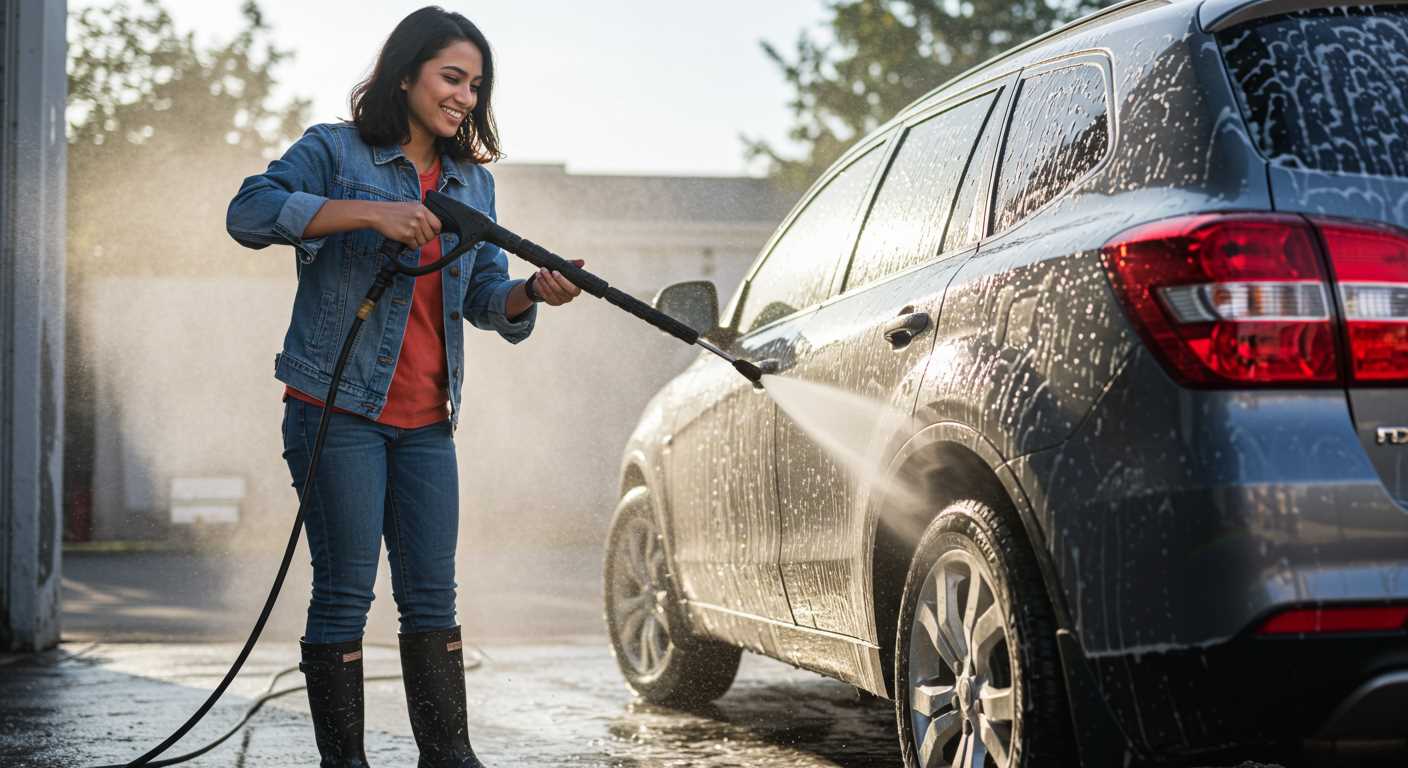
First, ensure the power unit is powered off and unplugged. Disconnect the water supply, preventing unintentional leaks during the process.
Next, inspect the detergent tank. If it’s removable, take it out and rinse it thoroughly with clean water to eliminate any residue from previous usage. Air dry the tank before reinserting it.
For models with an integrated tank, fill it with clean water and let it sit for a few minutes. Pour out the water and wipe the interior with a soft cloth to prevent contamination from old products.
Carefully read the instructions for the specific detergent you will use, ensuring compatibility with your model. Dilution ratios may vary; mix according to the guidelines provided by the manufacturer.
Checking Equipment
Before proceeding, examine the attachments. A suitable nozzle suited for detergents often leads to better performance. If you are uncertain, refer to the user manual to identify the correct spray nozzle for detergent application.
Test the solution flow by running the machine on a low setting without direct spraying. This step helps calibrate the system and ensures that the mixture reaches the nozzle effectively. Adjust the settings until the desired spray pattern is achieved.
Final Preparations
After inspecting all components, reconnect the water supply and ensure tight fittings to prevent leaks. Power on the device and test the flow of the mixed solution at a safe distance to adjust your technique before directing it at the intended surface.
Taking these preparation steps guarantees efficiency and optimal results when using your cleaning solution with the machine.
Step-by-Step Guide to Adding Cleaner to the Tank
First, ensure that the machine is turned off and unplugged to prevent any accidents. Locate the detergent tank, which is often situated on the side or the back of the unit.
Gather Necessary Materials
You will need the cleaning solution that is compatible with your model and a measuring cup. Most formulations come with guidelines for the correct dilution if required. Check the label before usage.
Fill the Tank
Using the measuring cup, pour the recommended amount of solution into the tank. Avoid exceeding the maximum fill line indicated on the container to prevent leaks or spills during operation. Once the tank is filled, securely close the cap to protect the contents.
Reconnect the unit to the power supply and switch it on. Adjust the nozzle to the appropriate setting for applying the detergent. Begin your cleaning task by spraying the solution onto the surface you wish to clean, ensuring an even application.
After use, rinse the tank with clean water to prevent any residue buildup, which can affect future operations. Regular maintenance ensures optimal performance over time.
Adjusting the Nozzle for Optimal Cleaner Dispersion
To achieve the best results, I recommend setting the nozzle to a wide spray pattern. This allows for an even distribution of the solution over the surface you are treating. A narrow jet can lead to uneven application and possibly damage to delicate surfaces.
For initial settings, select the fan nozzle option, usually indicated by a symbol resembling a fan shape. This ensures broad coverage. If the surface is particularly stubborn, gradually switching to a more concentrated setting can help, but be cautious–most surfaces require gentle handling.
Maintain a distance of around 30 cm from the surface while working. Too close may lead to excess pressure, risking damage. Observe how the liquid adheres; if it runs off or beads, adjust the distance and spray width accordingly until you achieve a consistent and uniform application.
Always ensure the nozzle is clean and free from obstructions. Build-up can impede the flow, affecting consistency. Regularly check and maintain the nozzle to ensure maximum performance during use. Test the settings on a small, inconspicuous area before full application to confirm that the dispersion is appropriate for the surface type.
Lastly, consider the type of solution you’re using. Certain formulas perform better at specific spray widths or distances, so refer to the manufacturer’s guidelines for any recommendations. This can enhance the cleaning efficiency while safeguarding the surfaces involved.
Safety Precautions When Using Detergents with Pressure Cleaning Equipment

Utilising detergents with your cleaning device requires adherence to key safety measures to prevent accidents and ensure efficient operation.
Protective Gear
- Wear safety goggles to shield your eyes from potential splashes and debris.
- Use gloves to prevent skin irritation caused by chemicals.
- Don a mask if working with strong chemicals to avoid inhalation of fumes.
Environmental Considerations
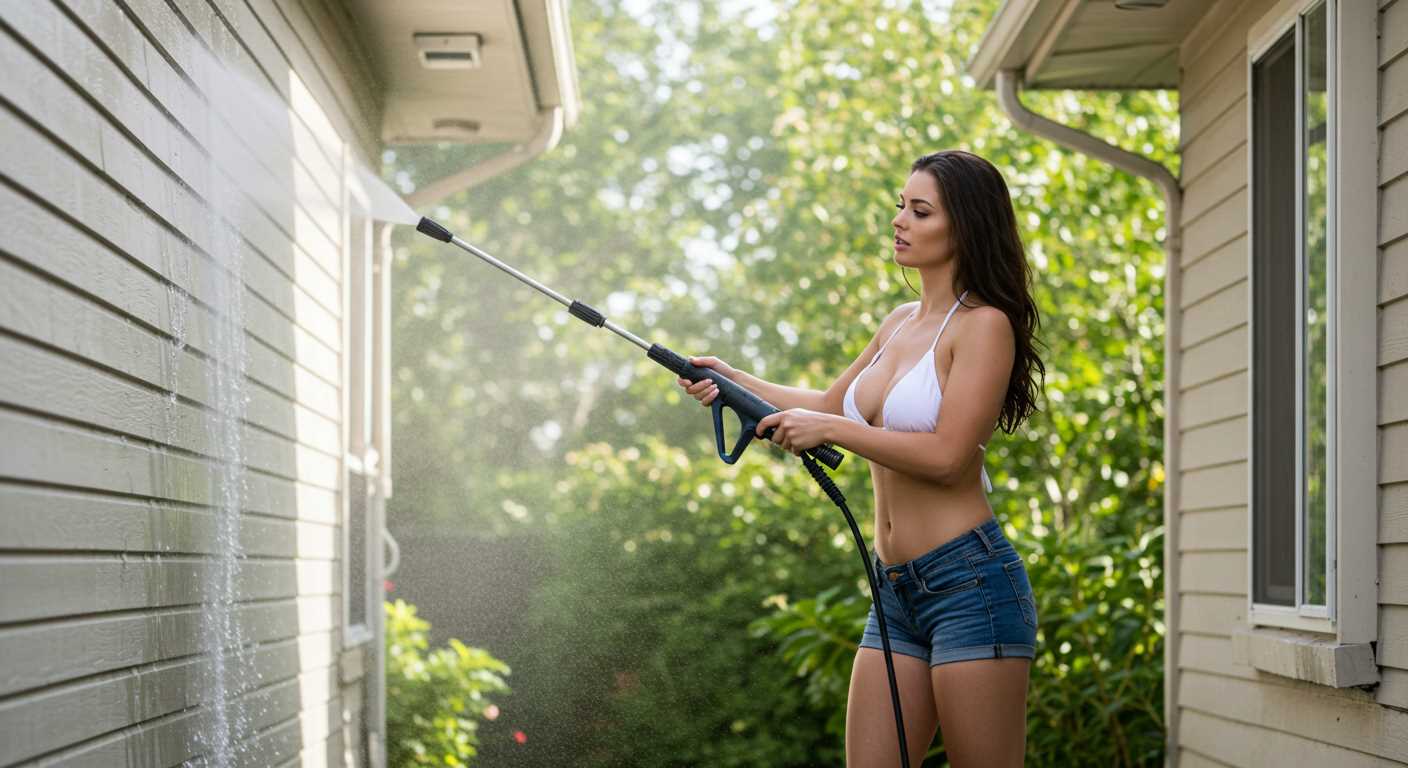
- Avoid operating near delicate vegetation – detergents can harm plants.
- Ensure drainage directs runoff away from water sources to prevent contamination.
- Prevent spills and clean up any leaks immediately to minimise environmental impact.
Always read the product labels thoroughly for specific instructions and warnings before usage. Adhering to these safety protocols will enhance your experience while protecting both yourself and the environment.
Testing the Washer with Solution for Best Results
After incorporating the liquid into the equipment, it’s crucial to conduct a test run to evaluate the performance. Start with a small section of the surface to observe how the mixture reacts. Adjust the dilution ratio if necessary–more concentrated solutions may yield quicker results but can also cause surface damage if not properly applied.
Evaluating Effectiveness
I recommend using a test spot that typically requires thorough cleaning. Monitor the advancement of grime removal and assess if the product works as anticipated. If it fails to lift stubborn dirt, consider switching to an alternative formula compatible with the model.
Documentation of Results
Keep a record of different outcomes based on the substances used. This helps in optimizing future cleaning sessions. Create a table that tracks the performance of various products under similar conditions.
| Product Name | Surface Type | Results | Notes |
|---|---|---|---|
| Example Product 1 | Concrete | Effective | Fast acting |
| Example Product 2 | Wood | Moderate | Tested dilution ratios |
| Example Product 3 | Painted Surfaces | Poor | Caused discoloration |
Conduct multiple trials under varying conditions, such as temperature and grime levels, to establish consistent results. This data serves as a valuable reference for future cleaning projects, allowing for informed decisions on optimal combinations for desired outcomes.
Cleaning and Maintaining the Equipment After Use
Following the completion of any cleaning tasks, ensure to rinse out the detergent reservoir thoroughly. You can do this by filling the tank with plain water and running the equipment for a few minutes. This step prevents residue build-up that could affect future performance.
Inspecting and Storing the Unit

After rinsing, disconnect all hoses and inspect for signs of wear or damage. Check the nozzle and filters for clogs and clean if necessary. Store the machine in a cool, dry location to avoid environmental damage and degradation of components.
Regular Maintenance Checks
Perform regular checks on seals and connections to prevent leaks. Lubricate moving parts occasionally to ensure smooth operation. Keeping the machine in optimal condition extends its lifespan and enhances functionality for upcoming tasks.


