


To incorporate a cleaning agent, first ensure your unit is equipped with a dedicated compartment for liquids. This feature, common in many models, allows for straightforward engagement without messy spills. If your equipment lacks such a container, consider using an external siphon kit for optimal integration.
Before proceeding, dilute the detergent according to the manufacturer’s recommendations. This prevents damage to surfaces during application and ensures maximum dirt removal efficiency. Too concentrated a mix can lead to residues that may streak or impair the surface being treated.
Once mixed, pour the solution into the designated area or connect the siphon kit to the chemical tank if you’re using that method. Adjust your nozzle to the appropriate setting–usually, a wider spray pattern is ideal for applying the mixture. This setting enables even distribution, ensuring the cleaning product adheres effectively to the surface.
After application, let the detergent dwell for a few minutes, but avoid letting it dry out. Finally, rinse thoroughly with clean water to remove all traces of the substance, preventing any potential damage to the underlying material.
Incorporating Detergent into Your Cleaning Device
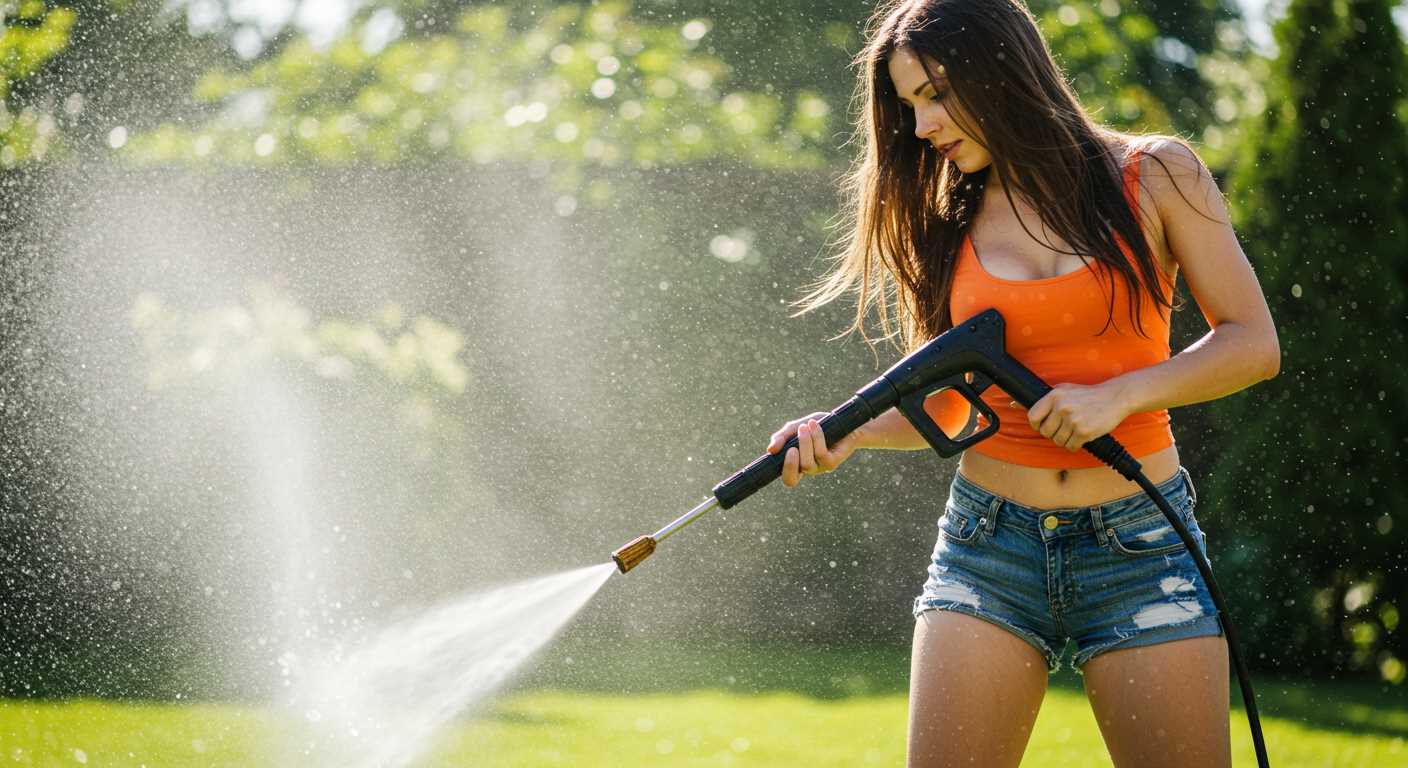
Begin by locating the detergent tank, typically found on the unit’s side or rear. If your model lacks a separate reservoir, you might need to use a siphon tube attached to the detergent bottle. For optimal performance, ensure the tank is clean and free from any previous residues.
Mixing the Right Proportions
Consult the packaging of the detergent for the recommended dilution rates. Using a measuring cup, mix the solution according to these guidelines. A standard ratio is usually one part detergent to four parts water, but this can vary based on the specific product.
Applying the Solution
After preparing the mixture, pour it gently into the tank or fill the siphon tube container. Secure the lid to prevent any leaks. Adjust the nozzle to the appropriate setting, often labelled for detergent application. Start the unit and test the flow by pulling the trigger, observing that the mixture is drawn into the system properly.
Understanding Your Pressure Washer Model
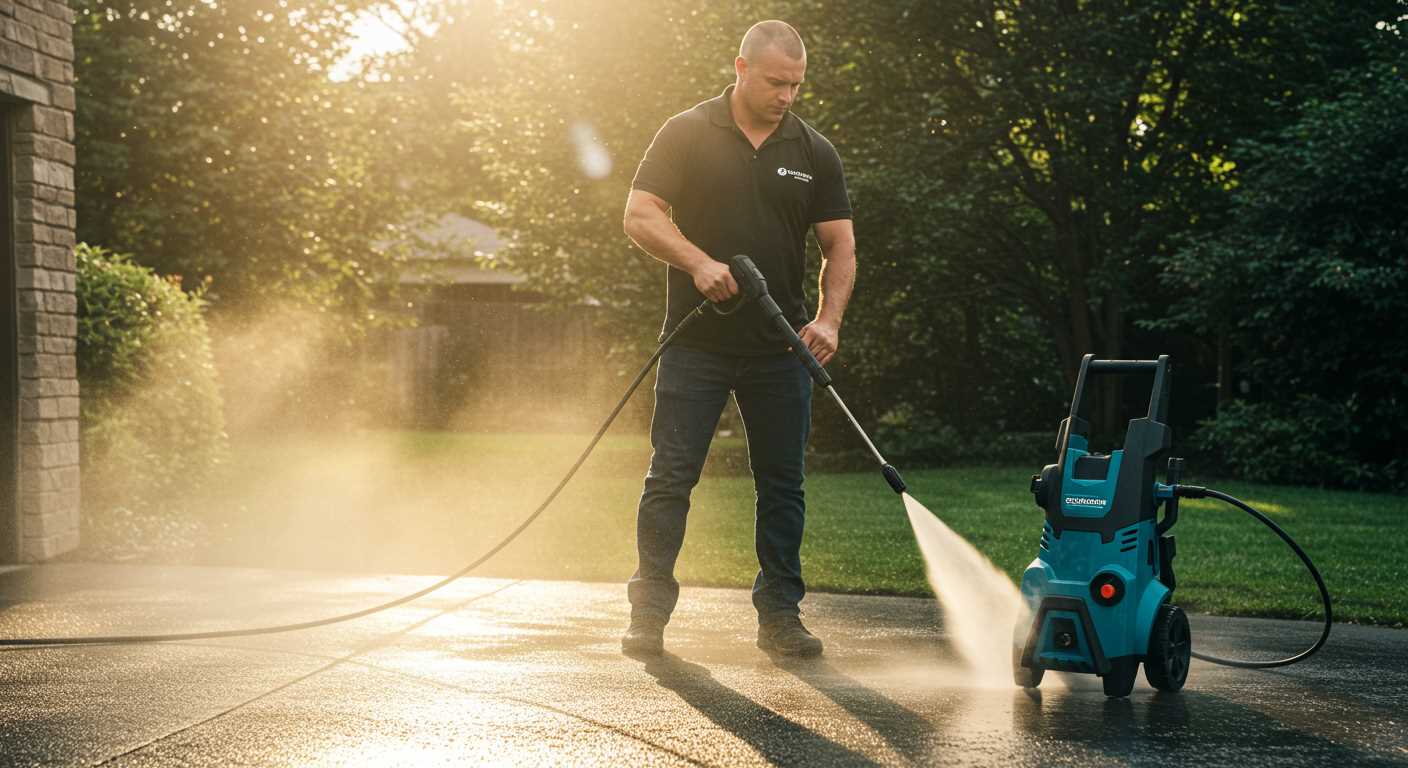
Identify your unit’s specifications to ensure compatibility with various detergents. Check the manual or manufacturer’s website for detailed information on the appropriate type and concentrations of additives. Most models come equipped with specific systems designed to handle these agents efficiently.
Different brands may have unique features such as adjustable nozzles or specific attachment points for Thomas agents. Familiarise yourself with your model’s design–this knowledge will streamline the application process and enhance results. Review the following comparison of common brands for additional clarity:
| Brand | Model | Available Features | Recommended Agents |
|---|---|---|---|
| Brand A | Model 101 | Adjustable nozzle, integrated tank | Foaming agents, biodegradable solutions |
| Brand B | Model 202 | Detergent injector, high pressure | Non-toxic cleaners, surface treatments |
| Brand C | Model 303 | Turbo nozzle, foam cannon | Multi-surface formulas, heavy-duty cleaners |
Understanding these characteristics not only enhances usability but also prevents damage to your equipment. Opt for products suggested by manufacturers to maintain warranty standards. Careful selection of agents based on specifications maximises performance and minimizes potential issues during application.
Take note of the maintenance advice tailored for your unit. Regular checks on hoses and fittings are vital to ensure optimal function. Adjust and clean components as needed to prolong the lifespan and efficiency of your device. Familiarity with your specific model is the key to achieving the best cleaning outcomes.
Choosing the Right Cleaning Solution
The effectiveness of your machine significantly depends on the appropriate formulation you select. Analyze the surfaces you intend to clean. For instance, patio stones may require a different mixture than wooden decks or vehicles. Check labels for compatibility with the machine specifications and any particular requirements of the surfaces.
Types of Formulations
Choose a formula designed for specific tasks, such as degreasers for automotive use or mildew removers for decks. Biodegradable options are preferable for environmentally conscious results, while heavy-duty solutions are more effective for stubborn stains but may require additional care in dilution.
Manufacturer Recommendations
Consult the user manual for your model to find suggested brands or formulations that work best with your unit. Avoid using household detergents not formulated for these types of equipment, as they can lead to machine damage or inadequate performance.
Preparing the Pressure Washer for Use
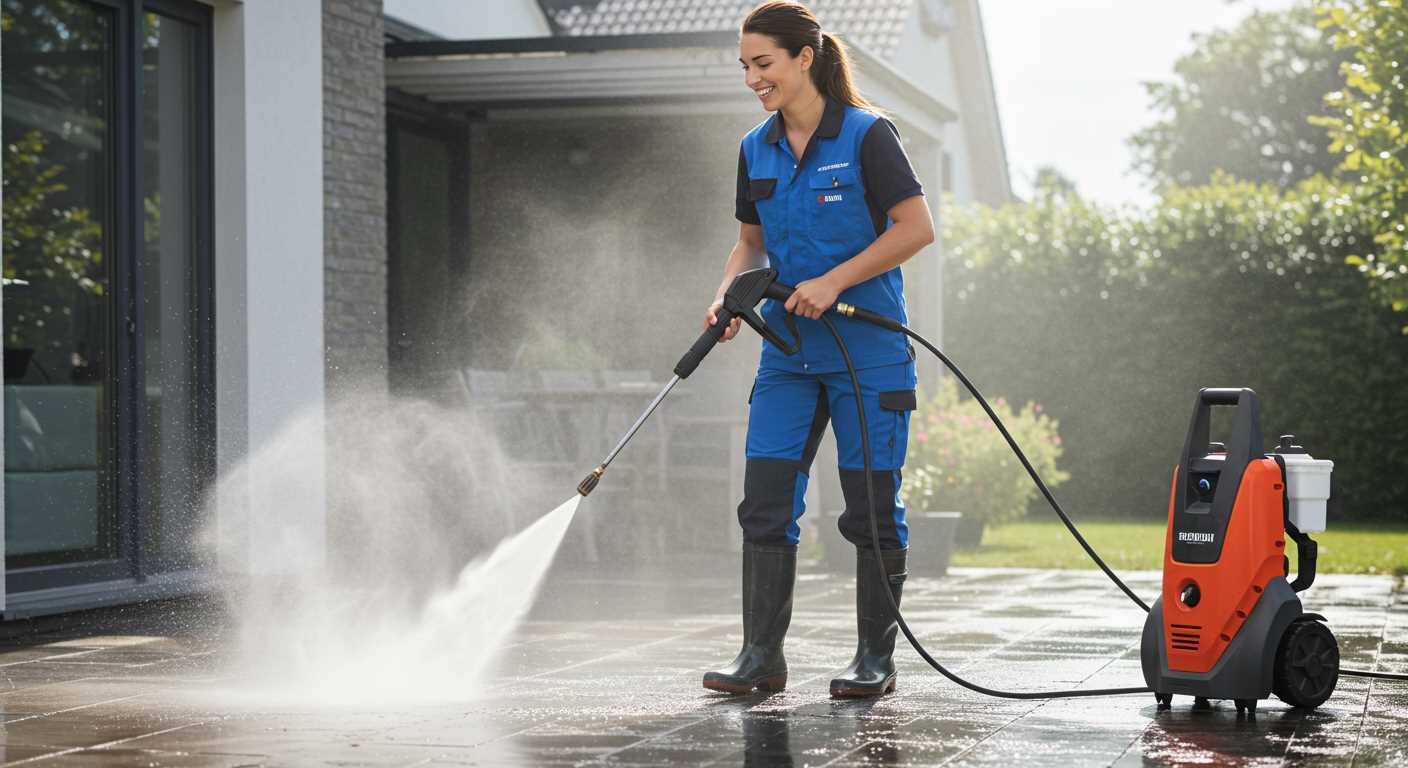
Ensure all components are securely attached before initiating any operation. Check the water supply to avoid running the unit dry, which can lead to pump damage. Connect the hose from the water source to the inlet, making certain that it is tightly sealed to prevent leaks.
Inspect the nozzle and lance assemblies for any signs of wear or blockage. Clean these parts thoroughly to maintain optimal flow and pressure during use. Selecting the correct nozzle type according to your cleaning task is crucial for achieving desired results.
Fill the detergent reservoir, if applicable, with the appropriate mixture. Read the product instructions carefully, as various mixtures may have different requirements. Once the reservoir is filled, double-check for any spills that could cause slips or hazards.
Before you switch on the device, ensure all safety features, such as the trigger lock, are functioning properly. Familiarise yourself with the controls, including the on/off switch and any pressure adjustments, to enhance your efficiency during operation. Lastly, wear suitable protective gear, including goggles and gloves, to safeguard against splashes and debris.
Locating the Soap Reservoir or Injection System
Identifying the appropriate compartment for the liquid detergent is a crucial step. Most units feature either an integrated soap reservoir or an external injection mechanism. I recommend checking your user manual for specific details tailored to your model.
Integrated Soap Reservoir
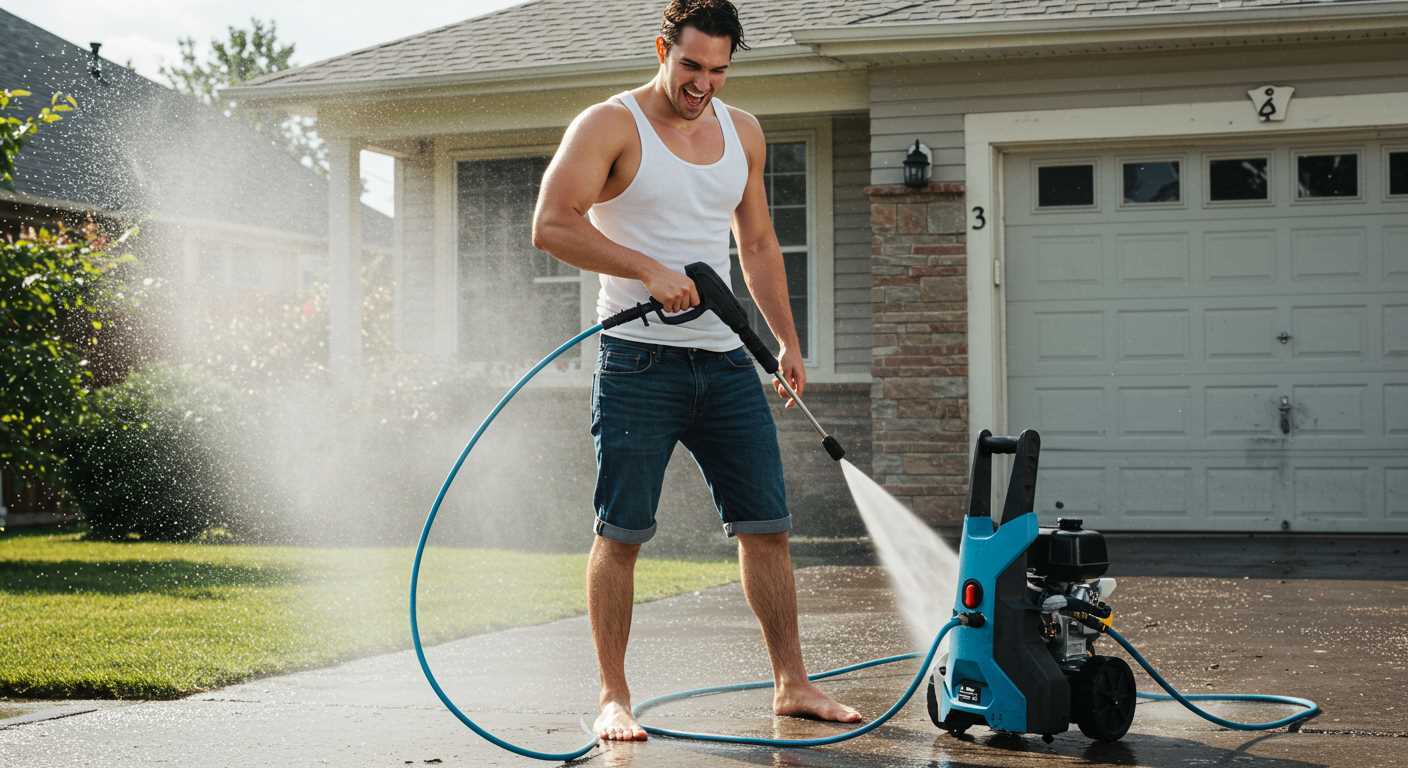
In devices equipped with a built-in reservoir, look for a tank typically located near the motor or main housing. This is often marked clearly to indicate its purpose. Key points to consider:
- The reservoir is generally capped; remove the cap to access the opening.
- Some designs include measurement markings to guide fluid levels.
- Ensure the tank is clean before filling to avoid contamination.
External Injection System
If your equipment uses an injection system, you will likely find a separate hose leading from the detergent container to the nozzle. Follow these steps:
- Locate the hose that connects to the spray wand; it usually connects via a quick-disconnect fitting.
- Check that this hose is not pinched or kinked to ensure a proper flow of the liquid.
- Make sure the bottle or container that you are using feeds neatly into the injector without any leaks.
By familiarising yourself with these features, you can ensure a seamless experience when using your machine, optimising its performance for any cleaning task. Always handle the equipment according to the manufacturer’s instructions for best results.
Diluting the Cleaning Solution Properly
Ensure a precise mixture by following the manufacturer’s guidelines for dilution ratios. Typically, a recommended ratio by volume is 1 part concentrate to 4 parts water, but always refer to the specific instructions on the product label to avoid damaging surfaces or your equipment.
Use a measuring cup or a graduated container for accuracy. If the formulation is thick, consider using warm water to facilitate mixing. Once diluted, stir gently to avoid creating excessive foam, which can inhibit performance.
If you’re unsure how strong the blend should be, starting with a weaker concentration is advisable. Testing on a small, inconspicuous area will help gauge effectiveness and prevent issues with the surface you’re treating.
Be aware that using a solution that is too concentrated can result in residues that are difficult to rinse off and may not improve cleaning power significantly. Thus, consistency in following these steps will yield optimal results while prolonging the lifespan of your device.
Filling the Reservoir with Cleaning Solution
Begin by ensuring the device is powered down. Safety comes first. Next, locate the opening of the reservoir–this may vary between models, but it typically features a cap or lid at the top of the unit.
Here’s a straightforward approach to efficiently fill the compartment:
- Remove the cap or lid carefully to avoid any spillage.
- If the formula requires dilution, pre-mix it in a separate container according to the manufacturer’s recommendations.
- Using a funnel can help direct the liquid into the reservoir without making a mess.
- Pour the pre-mixed formula slowly, watching the fill level closely. Avoid overfilling, as excessive liquid can lead to spillage.
- Replace the cap or lid securely once you’ve added the appropriate amount.
After completing these steps, take a moment to inspect for any leaks around the reservoir. Proper sealing ensures optimal performance and prevents undesired mixing during operation.
Setting the Correct Nozzle for Soap Application
Select a low-pressure nozzle, typically coloured black or labelled for detergent use. This nozzle allows for optimal soap dispersion, ensuring that the mixture adheres to surfaces rather than being swept away by high-velocity water. Attach it firmly to the wand, confirming a snug fit to avoid any leaks during operation.
<pBefore beginning the application, check the nozzle size and type specific to your device; this may vary with different machines. Using a nozzle not suited for soap can lead to ineffective cleaning or potential damage to the equipment.
<pWhen ready, engage the trigger to spray the soap mixture evenly over the surface. Maintain a distance of 30 to 50 centimetres to prevent any streaks and allow the detergent to penetrate grime effectively. Regularly assess the coverage, adjusting the position as needed to ensure even application.
<pAfter applying the soap, let it dwell for a short period, following the manufacturer's instructions on the detergent label, to maximise its effectiveness. Remember, using the right nozzle is key for achieving optimal results while maintaining the longevity of your equipment.
Testing the System Before Full Operation
Start by conducting a brief test of the unit to ensure everything is functioning correctly. Attach the gun to the lance, and connect the water supply. Turn on the machine without loading any detergents initially.
Check for leaks in the hoses and connections. Any noticeable water escaping indicates a need for further inspection. Operate the sprayer briefly at low pressure to verify that water flows freely.
Once the basic functionality is confirmed, switch to a soap nozzle if your model requires a specific type for detergent application. This will help to confirm that it engages correctly and delivers the mixture as expected.
After confirming proper operation, it might be beneficial to test the soap dispensing mechanism with plain water–this will help identify any initial issues with the injector system. Observe the consistency and volume; this is your chance to ensure smooth operation before adding the actual substance.
Finally, give it a brief run with the detergent solution mixed in, but for only a small period. This ensures that all systems are working harmoniously without risking wastage. Pay attention to the spray pattern; it should be consistent and effective.
These preliminary checks will safeguard against complications during your main cleaning task, ensuring that everything operates seamlessly.


