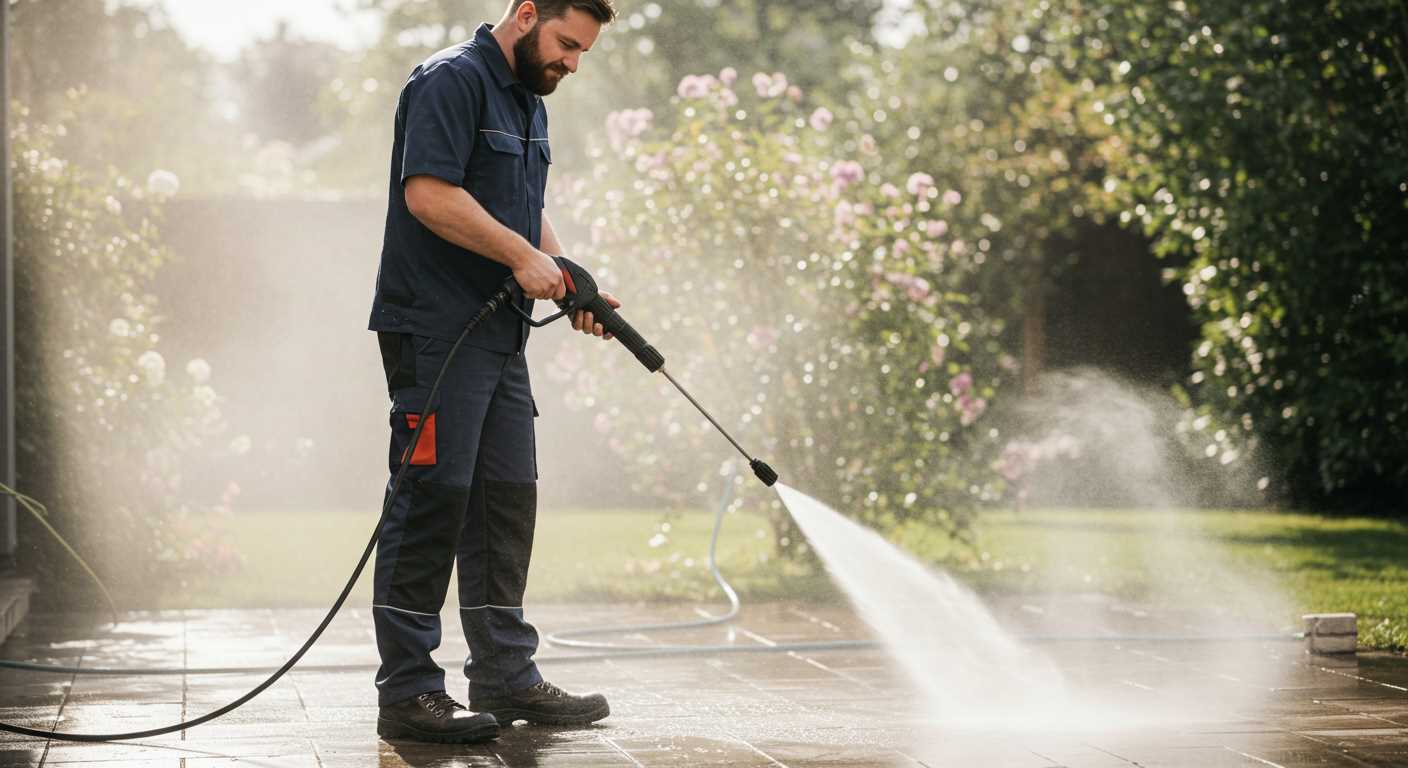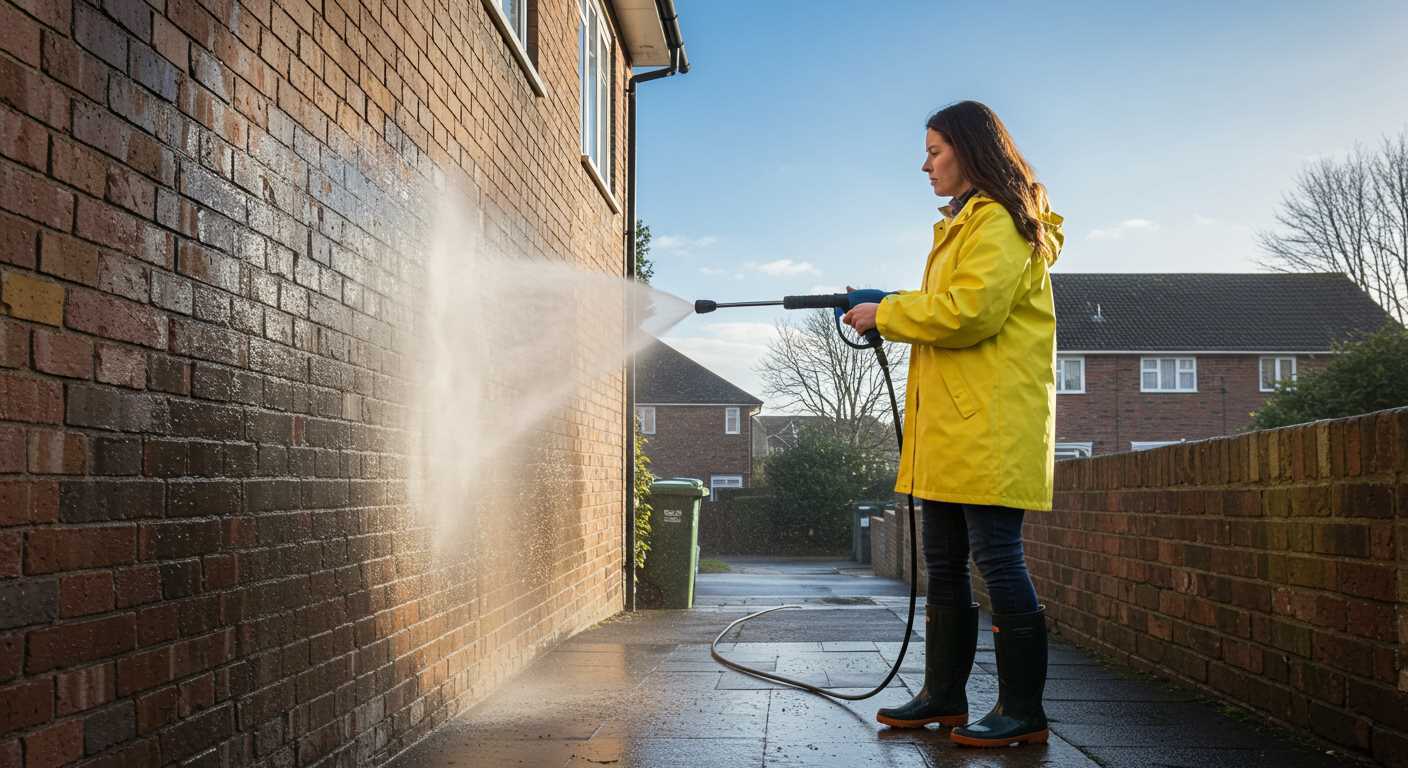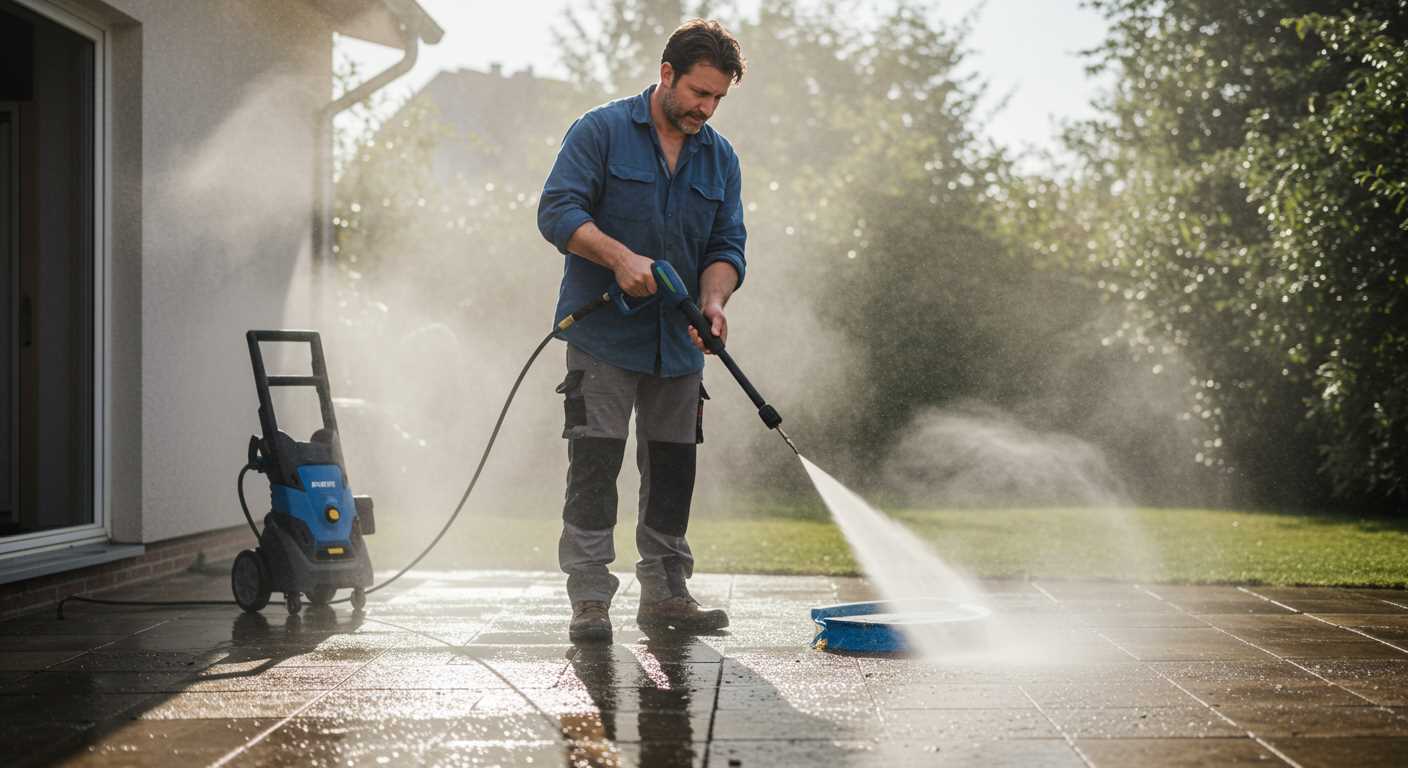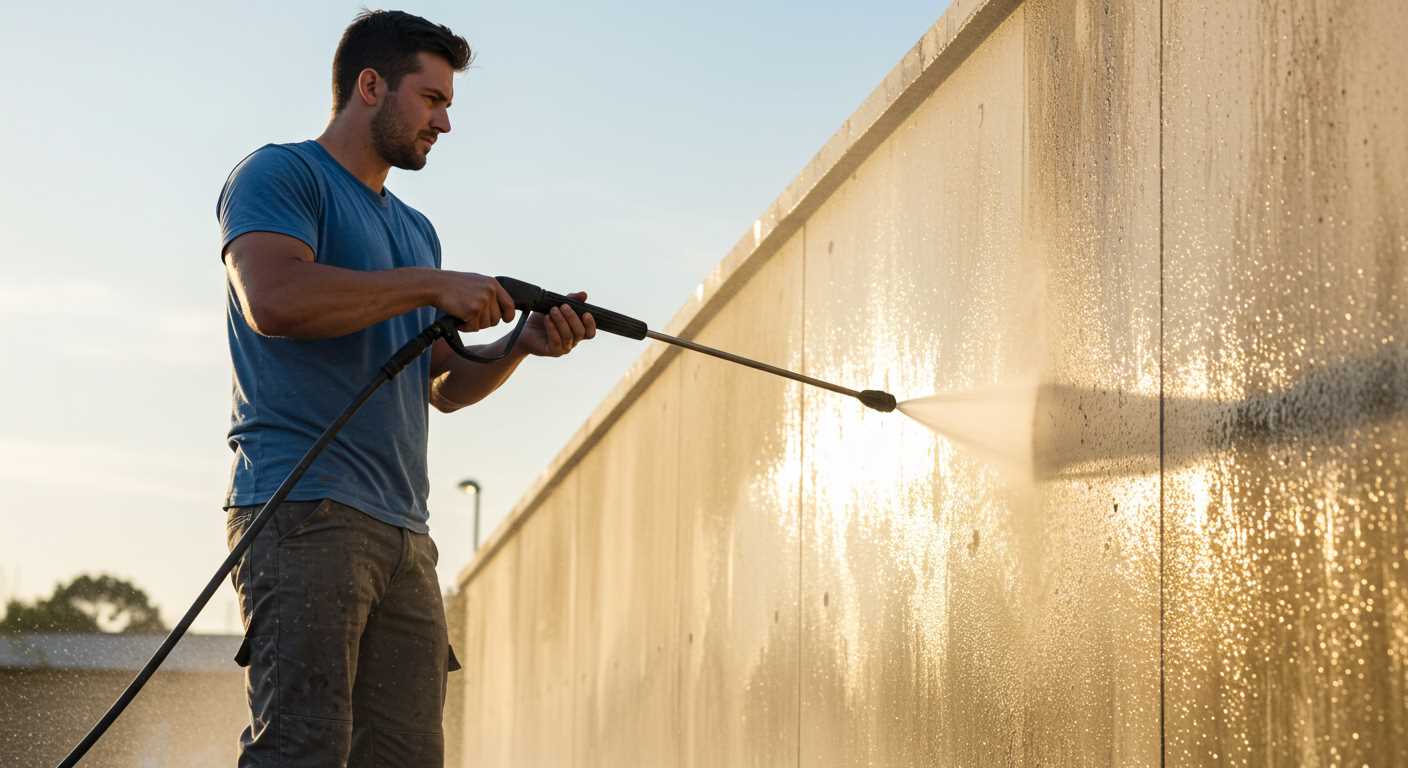

To achieve optimal cleaning results, it’s vital to properly integrate your cleaning solution with the machine. Firstly, ensure you’re using a compatible formulation that matches the specifications of your model. Most machines feature a dedicated tank, which makes it straightforward to dispense the solution during operation.
Begin by locating the tank on your device. It’s typically situated at the front or side of the unit. Once identified, carefully pour the solution into the tank, avoiding any spillage. It’s advisable to mix the solution with water if the instructions recommend dilution; check the label for the precise ratio.
After filling, secure the tank lid tightly and switch the machine on. Adjust the settings according to the task at hand, ensuring you’re applying the mixture correctly to maximise cleaning efficiency. Keep a close eye on the output as this will indicate if the blend is reaching the surface effectively.
Steps to Incorporate Cleaning Solution
Begin by ensuring the machine is powered off and disconnected from the mains. Locate the detergent tank, typically situated on the side or the rear of the unit. You will notice a cap that can be easily unscrewed. Remove this cap to expose the tank opening.
Select a cleaning formula that is compatible with your device. Pour the solution into the tank until it reaches the indicated fill line. Avoid overfilling, as this can result in overflow during operation. Once filled, secure the cap back onto the tank tightly to prevent leaks.
Using the Correct Nozzle
Attach the appropriate nozzle, usually the low-pressure one, to facilitate the proper dispensing of the solution. Activate the machine, keeping in mind to adjust settings if necessary. Engage the trigger to start applying the solution onto the surface you wish to clean. This ensures even coverage while maintaining optimal efficiency.
Maintenance Tips
After usage, it is advisable to empty any remaining product from the tank. Rinse it out with water to prevent residue buildup. Regular cleaning of the intake and filters will enhance the longevity and performance of your equipment.
| Step | Action |
|---|---|
| 1 | Power off and disconnect |
| 2 | Locate and open detergent tank |
| 3 | Pour compatible cleaning solution |
| 4 | Secure tank cap |
| 5 | Attach low-pressure nozzle |
| 6 | Activate machine and apply |
| 7 | Rinse tank post-use |
Identify the Correct Cleaning Solution for Your Karcher Model
Selecting the appropriate cleaning solution is vital for optimal functioning of your machine. Always refer to the user manual specific to your model, which provides guidelines on compatible cleaning agents.
Consider the following types of cleaning solutions:
- Multi-purpose Cleaners: Suitable for various surfaces, ideal for general cleaning tasks.
- Specialised Formulas: Tailored for particular jobs, such as removing oil stains or for use on delicate surfaces like wood.
- Biodegradable Options: Environmentally friendly and safe for outdoor use, excellent for conservatories and gardens.
Always check product labels for compatibility information. Using non-approved solutions could damage the equipment and void the warranty. Additionally, consider the concentration of the solution; a higher concentration may require dilution to avoid excessive foam build-up.
Recommended Brands

- Karcher’s own range of cleaning agents, specifically designed for their machines.
- Other reputable brands such as Kärcher, Kärcher, and others noted for reliable performance.
Test a small area first if you’re uncertain about a specific solution to prevent any unwanted damage to surfaces. Proper selection of the cleaning solution will enhance cleaning efficiency while maintaining the longevity of your equipment.
Locate the Detergent Tank on Your Machine
The first step is to inspect the body of your device. Most models feature a clearly marked reservoir specifically for the cleaning solution, typically located on the rear or side. This compartment is often a removable container, designed for easy filling and cleaning.
Next, check for a label or symbol indicating the location of the tank. Manufacturers often include visual cues to guide you. If the information isn’t obvious, consult the user manual for precise guidance on the tank’s placement.
In some instances, the tank might be integrated into the housing, making it less visible. If you’re struggling to find it, look for a small cap or door that may require unfastening. Ensure to examine every section of the unit carefully.
Take note of how the tank attaches. Some are secured with clips or screws, while others might simply slide in place. Understanding this will make the next step of your task straightforward.
Lastly, if you’re working with a portable appliance, consider the layout. The tank should be easily accessible without obstructing the main controls or hoses. Familiarity with your machine’s design helps achieve optimal performance.
Prepare the Cleaning Solution for Use with Your Equipment
Utilise the right type of formulation tailored for your machine, ensuring optimal results. First, check the manufacturer’s guidelines to confirm compatibility with your specific model. Measure the appropriate amount according to the instructions; typically, this is indicated on the container’s label. Avoid using concentrated mixtures directly as this may lead to foaming issues or equipment damage.
Before mixing, wear protective gear such as gloves and eyewear, especially if the solution contains harsh chemicals. In a suitable container, blend the cleaning agent with water, following recommended ratios. This ensures effective cleaning without causing harm to surfaces or internal components. Stir gently to create a uniform mixture.
Once prepared, transfer the solution into the designated reservoir of your cleaning device. Ensure you clean the container thoroughly if you previously stored different liquids, as residues can affect performance. Keep any unused mixture in a sealed container for future tasks, but always verify the shelf life before reuse.
Fill the Tank with the Appropriate Amount
To ensure optimal performance, carefully fill the reservoir with the right quantity. It’s advisable to refer to your user manual for specifications on the maximum capacity. Overfilling might lead to leakage or improper mixing during operation.
Steps to Follow

- Remove the tank cap and inspect the inside.
- Using a measuring cup, pour the cleaning solution until you reach the indicated fill line.
- Secure the cap tightly to prevent spills during use.
Routine checks after each use can help maintain correct levels. If the tank is low, refill before starting your next cleaning project for sustained effectiveness.
Tips for Accuracy
- Utilise a funnel for easier pouring and to avoid wastage.
- Keep a dedicated measuring cup for precise measurements.
- Be aware of the formulation requirements; some mixtures need less liquid for maximum impact.
Employing these practices will enhance your cleaning tasks, ensuring your machinery operates at peak efficiency.
Adjust Settings on the Equipment for Soap Application

Set the detergent dial or switch to the appropriate setting, ensuring it is in the ‘soap’ position. This allows the unit to draw in the cleaning solution effectively during operation.
Modify Pressure Settings

Switch to a lower pressure setting if available. High pressure may prevent proper mixture intake and affect the cleaning efficiency of the solution. Generally, a setting between 20 to 30 bar is ideal for most applications.
Utilise the Correct Nozzle
Attach the appropriate nozzle for detergent application, usually a wider angle, such as a 25-degree or foam nozzle. This helps distribute the mixture evenly across the surface, enhancing coverage and effectiveness.
Before starting, do a quick check on all connections to ensure they are secure, minimising the risk of leaks. After adjusting, test the settings on a small area to verify proper functioning and coverage before proceeding with larger surfaces.
Clean the detergent system after use to ensure longevity
.jpg)
Post-use maintenance is necessary for the optimal performance of your machine. After finishing your task, run clear water through the cleaning agent system to flush out any remnants. This prevents clogging and ensures that your device operates efficiently during subsequent uses.
To initiate this process, attach the water supply without any cleaning solution. Activate the device and let it run for a few minutes, allowing clear water to circulate through the entire system. This step is critical for removing residue and avoiding potential build-up that could impair functionality.
Additionally, regularly inspect the tank and hoses for any signs of blockage or residue accumulation. Cleaning these areas thoroughly will enhance the longevity of the entire assembly. Keep the outlet nozzle clean and clear of obstructions to maintain effective flow.
Incorporate this maintenance routine as part of my cleaning tasks to extend the life of the equipment and ensure optimal performance for future cleaning projects. Doing so not only protects the device but also maintains its efficiency for years to come.
Finally, store the equipment in a dry, cool location after completion of maintenance to prevent any moisture-related issues. A proper storage environment contributes significantly to the durability of all components.


