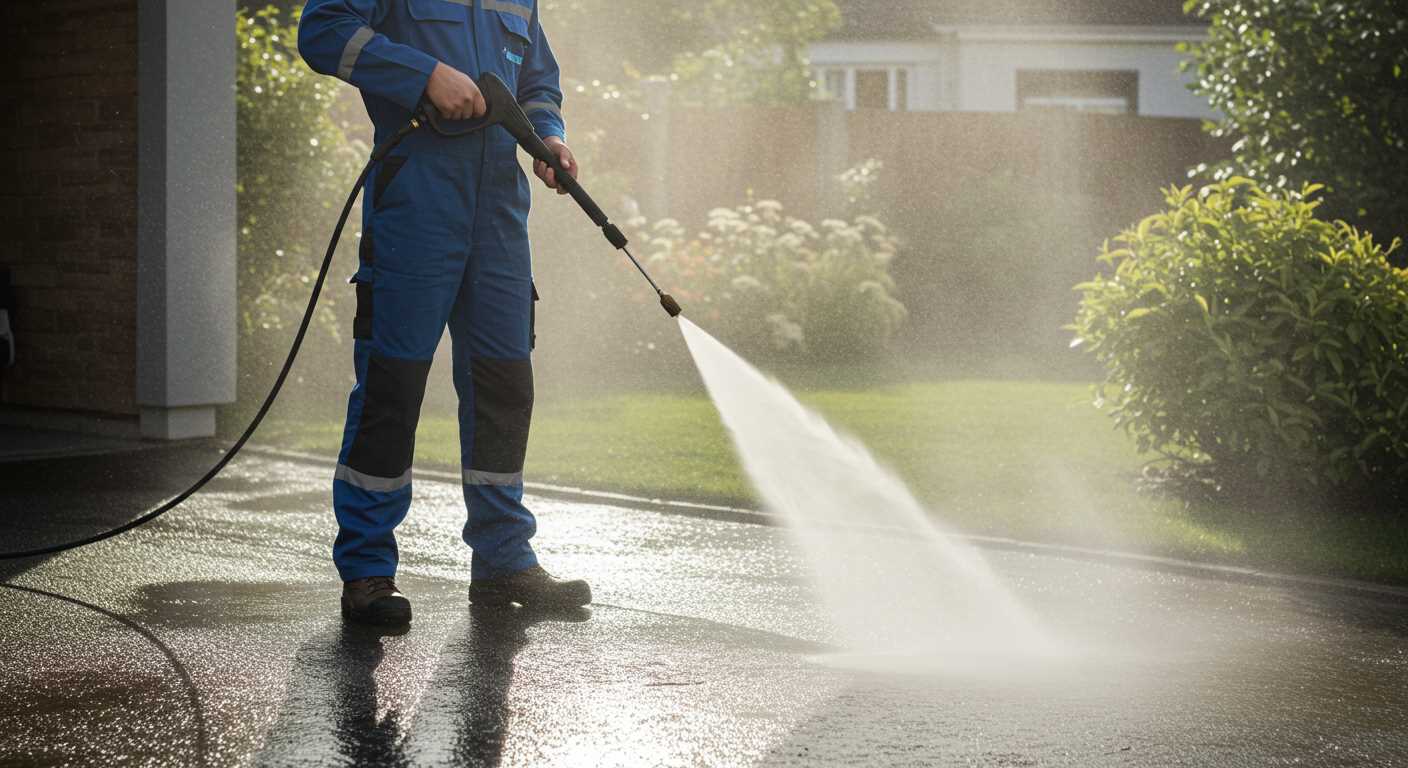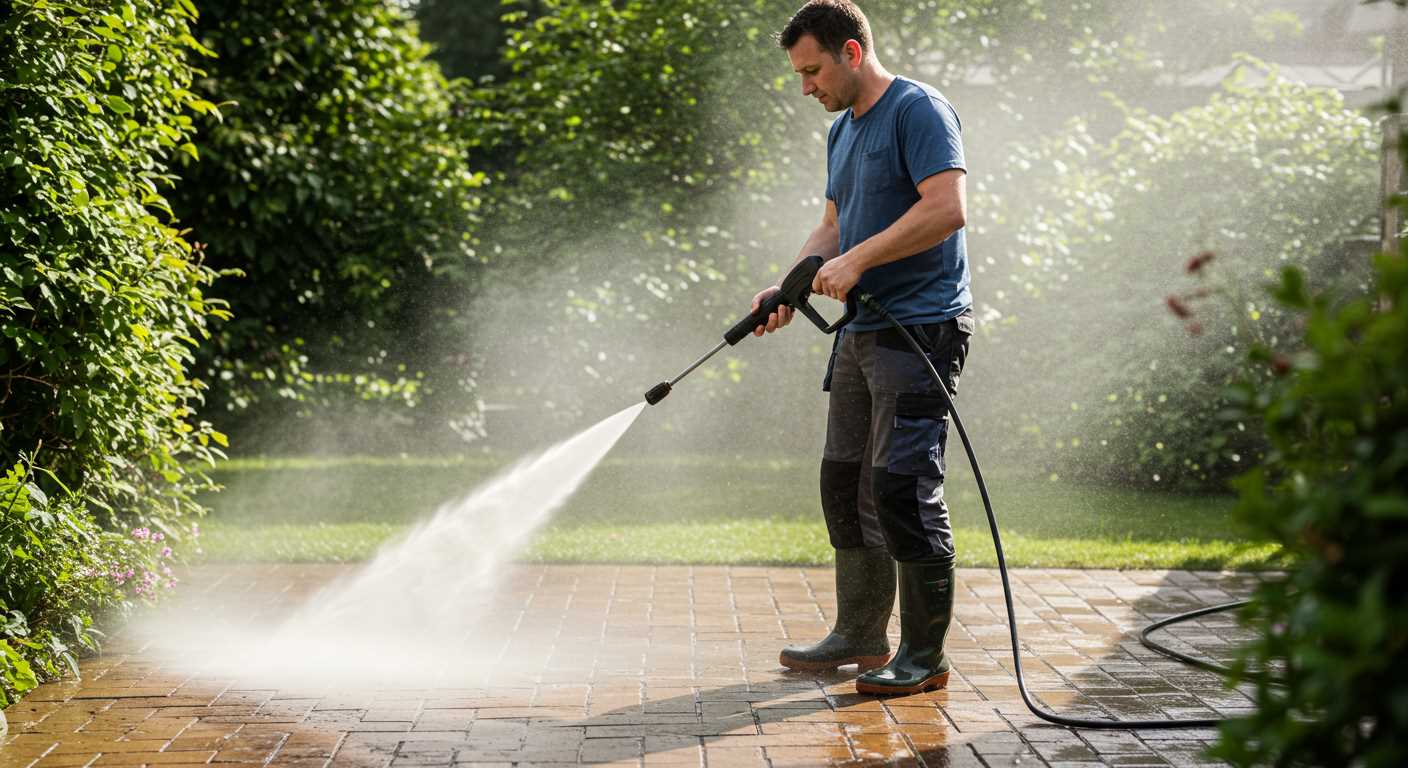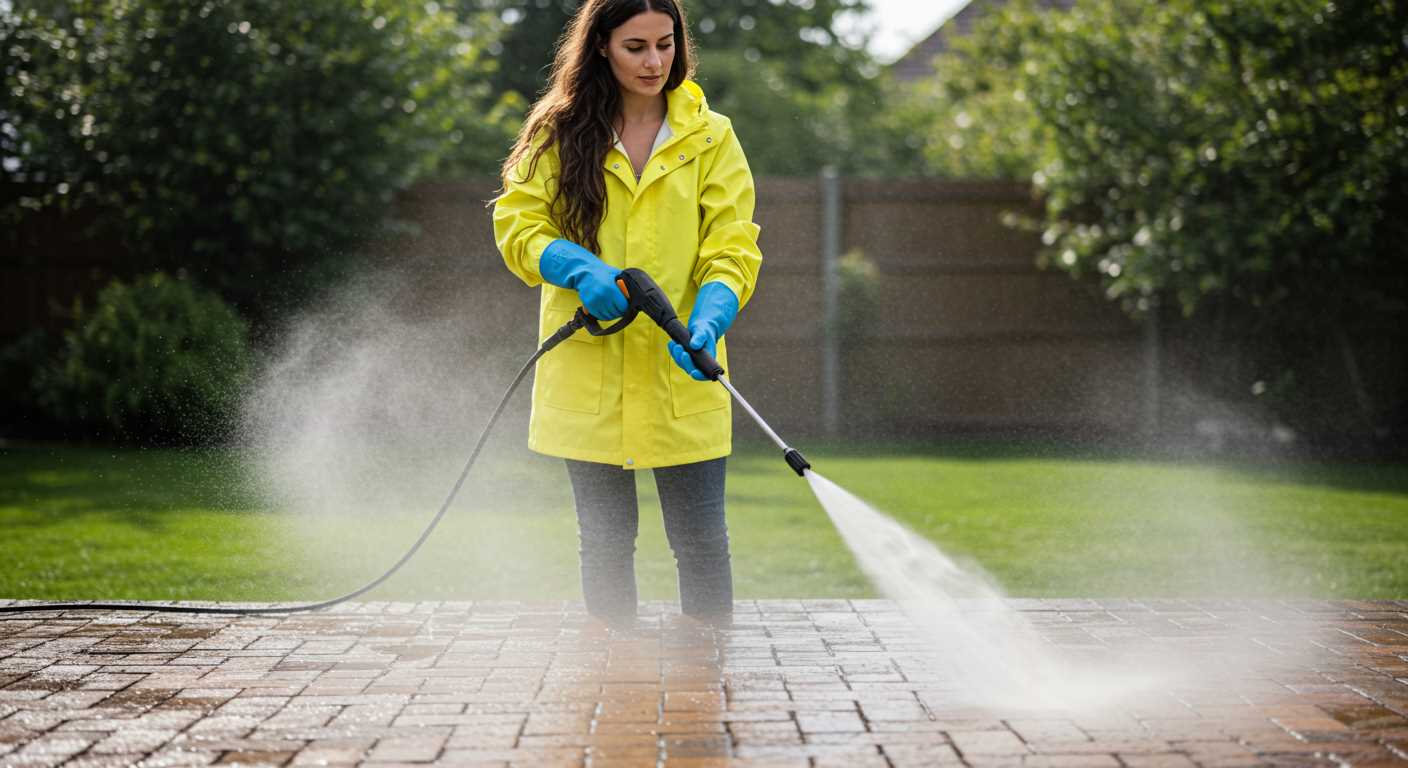


To effectively manipulate the output of your electric cleaner, focus first on identifying the adjustable settings present on your machine. Most models feature a nozzle that can be rotated or swapped out, allowing you to vary the stream width and intensity. Using a narrower stream produces a concentrated jet for tough stains, while a wider spray is beneficial for rinsing larger surfaces.
Next, examine the control panel of your extractor. Some units come equipped with a variable flow rate dial. Gradually turning this control allows for fine-tuning the strength of the emitted water. It’s critical to test this on various surfaces; delicate items like car paint should utilise a lower setting, whereas concrete can typically withstand higher force. Conducting these tests will not only enhance efficiency but also extend the lifespan of your device.
Lastly, consider the distance from which you operate your device. Holding the nozzle at an optimal distance–generally between 30 to 50 centimetres from the surface–ensures you maintain effectiveness while preventing potential damage. Adjusting both your stance and angle can significantly impact performance, making this an often-overlooked aspect of operation.
Understanding Pressure Settings on Your Washer

To achieve optimal results, familiarise yourself with the varying levels of force available on your unit. Each setting serves a distinct purpose, ensuring effective cleaning without damaging surfaces.
Typically, units come with adjustable dials or nozzle attachments. Here’s a breakdown of common settings:
- Low Force (1000-1300 PSI): Ideal for delicate surfaces, such as painted wood or thin plastic. Use this setting for vehicles, outdoor furniture, or windows.
- Medium Force (1300-1800 PSI): Suitable for cleaning driveways, patios, and general home exteriors. This level removes dirt, mould, and grime effectively without risk of damage.
- High Force (1800-2200 PSI): Designed for tough jobs like removing stubborn stains from concrete or stone surfaces. Exercise caution; test on an inconspicuous area first.
When using different attachments, such as rotating brushes or foaming nozzles, adjust to match the task. For instance:
- Choose a fan nozzle for broader coverage on larger areas.
- Switch to a pinpoint nozzle for focused cleaning on stubborn spots.
- Use a turbo nozzle for extra cleaning power if the surface permits.
It’s crucial to maintain a safe distance from the surface being cleaned. Closer distances increase the risk of damage, especially on softer materials. Regularly inspect your equipment for wear and tear on nozzles and hoses to ensure optimal performance.
In summation, knowing the various levels of output and corresponding applications will enhance your cleaning routine significantly. This knowledge transforms your experience, making every task simpler and more efficient.
Identifying the Right Force for Different Tasks
For tackling stubborn grime on patios or driveways, I recommend a force of around 2000 to 3000 psi. This level effectively removes tough dirt without damaging concrete surfaces.
When cleaning vehicles, a gentler approach is advisable. Aim for 1200 to 1900 psi to safely wash cars or motorcycles without risking paint damage.
For items like garden furniture or wood decks, the optimal range is 1500 to 2500 psi. This strength offers a good balance between cleaning efficacy and surface protection.
Utilising a lower intensity of 1000 to 1300 psi works well for delicate surfaces such as windows or painted surfaces, preventing chips or scratches.
For stubborn stains like oil or grease, consider boosting the force to 2500 to 3000 psi. However, ensure you also use appropriate cleaning agents to enhance the results.
Pay attention to the nozzle type as well. A 15-degree nozzle is effective for tough jobs, while a 40-degree nozzle is suitable for lighter tasks.
Locating the Pressure Adjustment Controls

Begin by examining the unit’s user manual; it typically contains detailed diagrams pinpointing the location of controls. Most variants will include a pressure regulator dial or a knob clearly marked, usually situated near the handle or on the body of the machine.
If your unit has a removable nozzle, inspect the attachment point; sometimes, the adjustment mechanism is integrated directly there. Look for labels or indicators illustrating different settings, which can assist in quickly identifying the required level for your specific task.
Should you be unable to find the controls visually, check for online resources or manufacturer websites that often provide helpful visuals, including videos demonstrating where these mechanisms are located. Additionally, engage with online forums or communities dedicated to cleaning equipment, where seasoned users can offer insights based on their experiences with similar models.
Taking a moment to familiarize myself with the adjustment controls before operation has consistently enhanced my efficiency. I recommend performing this step before commencing any significant cleaning task. Understanding your machine’s layout will contribute to a smoother operation and improved results.
Adjusting the Nozzle for Optimal Performance

To achieve the best results while cleaning, it’s vital to modify the nozzle according to the task. Using the correct nozzle significantly influences the outcome, ensuring the right amount of force is applied. Generally, nozzles are colour-coded to indicate their spray pattern and intensity.
For delicate surfaces such as car paint, a wider spray angle, typically 40 degrees (usually a white nozzle), is ideal. This gentle approach prevents damage while still providing efficient cleaning. On the other hand, concrete or brick surfaces require a more concentrated stream; a 15-degree nozzle (generally a red nozzle) focuses the force, making it effective for removing tough grime.
When switching nozzles, follow these guidelines:
| Nozzle Colour | Angle | Best Use |
|---|---|---|
| Red | 0 degrees | Heavy-duty tasks, removing paint or grease |
| Yellow | 15 degrees | Concrete or brick surfaces |
| Green | 25 degrees | Wood decks and siding |
| White | 40 degrees | Cars, boats, and delicate items |
| Black | Soap nozzle | Applying detergent |
While changing nozzles, make sure to turn off the unit and release any remaining water pressure to avoid accidents. Insert the new nozzle firmly and ensure it clicks into place to prevent it from detaching during use.
After adjustments, always start at a distance to assess the effectiveness of the spray pattern and adjust your distance as needed. Keeping angles consistent and gradually moving closer can help optimise cleaning without causing unnecessary damage.
Testing Pressure Levels after Adjustments

After modifying the settings on your machine, it’s crucial to verify the output force. Begin by selecting a suitable nozzle for your specific cleaning task. Generally, nozzles are colour-coded: red for high-intensity streams, yellow for mid-level, and green for gentle sprays.
Power on the device and direct the nozzle at a suitable surface, keeping a steady distance of around 2 to 3 feet away. I recommend starting with a moderate setting and observing how well the cleaning action performs on that surface. If debris isn’t being removed efficiently, increase the intensity in small increments.
Using a pressure gauge can provide precise readings of the output. If your model doesn’t have a built-in gauge, invest in an external one that fits the hose securely. This tool will help in noting the exact force generated post-adjustments.
For different applications–like washing a car versus cleaning concrete–it’s vital to recognise that varying forces yield different results. For instance, a gentle touch suffices for vehicles, while more force is needed for outdoor pavements.
Once you’ve found a suitable level, conduct a quick test on a less visible area to ensure no surface damage occurs. Adjust further if needed based on this preliminary test. Fine-tuning is key to achieving optimal results, and I suggest keeping a handy log of the settings used for various tasks for future reference.
Maintenance Tips for Consistent Pressure Performance
Regular inspection and cleaning of components are vital for optimal function. Start by checking the intake filter; debris accumulation can hinder water flow. Clean or replace the filter as necessary to maintain efficiency.
Check hoses and connections for any signs of wear or damage. Cracked or frayed hoses can cause leaks, which can affect the overall output. Regularly replacing any damaged parts ensures seamless operation.
Routine Lubrication
Consult your user manual for specific lubrication needs. Keeping the pump and motor parts lubricated reduces friction and wear. This simple act can significantly enhance performance and extend the lifespan of your equipment.
Regularly Test Performance

After maintenance, verify operational strength through on-site tests. Use a pressure gauge to measure output after any servicing. This step confirms that everything functions as intended, allowing adjustments if necessary.
Troubleshooting Low or High Pressure Issues
If you encounter insufficient or excessive output from your device, there are specific areas to investigate. Follow these targeted troubleshooting steps to identify and rectify the issue.
Common Causes of Low Output
- Blockages in the hose or nozzle can restrict water flow, resulting in diminished performance. Inspect for any debris or kinks.
- A partially closed water supply valve can limit incoming flow. Ensure the valve is fully open.
- Worn out seals or damaged components in the system may lead to leaks, causing a drop in levels. Check for signs of wear.
- Inadequate power supply to the unit can hamper its performance. Verify that the power source meets the specifications outlined in the manual.
Addressing Excessive Output
.jpg)
- Incorrect nozzle selection can result in excessive force. Ensure the correct attachment is being utilised for the intended task.
- Inspect the adjustment controls, as improper settings might lead to inflated levels. Make necessary changes based on your needs.
- Ensure the water supply is not excessively pressurised, as this can affect the unit’s operation. A regulated source maintains consistent flow.
- Frequent clogs can lead to back pressure, causing unwanted high levels. Regular cleaning of equipment is advisable.
After implementing these checks, conduct a test run to evaluate performance. Keep an eye on the behaviour of the device, noting any fluctuations that might indicate further issues.
Routine maintenance is key. Regularly inspect and clean parts prone to blockage or wear, ensuring smooth operations in the future.
FAQ:
How can I adjust the pressure on my electric pressure washer?
To adjust the pressure on your electric pressure washer, you typically need to use the pressure adjustment knob or dial, which is often located on the machine itself. Begin by turning on the washer and adjusting the dial while the unit is running. Some models also allow you to change the nozzle attachment to achieve different pressure settings; a narrow nozzle increases pressure while a wider nozzle decreases it. Always consult your user manual for specific instructions related to your model.
Is it safe to adjust the pressure while the washer is in use?
It is generally safe to adjust the pressure while the washer is running, but caution is necessary. For most models, you can modify the pressure settings while the unit is in operation. However, ensure you have a firm grip on the lance and remain clear of the spray area. Changes in pressure can impact the power of the water jet, so make sure to stand at a safe distance if you’re testing different settings. Always refer to your pressure washer’s user manual before making adjustments.
What are the consequences of using the wrong pressure setting?
Using the incorrect pressure setting can lead to various issues. If the pressure is too high, it may damage softer surfaces, such as wood or delicate paint finishes. On the other hand, if the pressure is too low, you may not effectively remove dirt and grime. This could result in a waste of time and water, requiring additional cleaning efforts. Always match the pressure setting to the specific task and surface you are working on for optimal results.
Can I adjust the pressure on an electric pressure washer if it has a fixed pressure setting?
If your electric pressure washer has a fixed pressure setting, you won’t be able to adjust it directly through a dial or knob. In this case, you may need to change the nozzle type to alter the pressure indirectly. Different nozzles are designed for various cleaning tasks and will modify the spray pattern and intensity. Check your manual to identify compatible nozzles that can help you manage the pressure for your cleaning needs.
Why is it important to adjust pressure on my pressure washer?
Adjusting the pressure on your pressure washer is crucial for achieving the best cleaning results while protecting the surfaces you are cleaning. Different materials and stains require different pressure levels; for example, tougher stains on concrete might need higher pressure, while delicate surfaces like cars or wooden decks require lower pressure to avoid damage. Proper adjustment helps ensure that you clean effectively and extend the lifespan of both your pressure washer and the surfaces being cleaned.


