

Begin by locating the control knob, typically found near the trigger handle. This knob adjusts the intensity of the water stream, allowing you to customise the cleaning power according to the task at hand. For delicate surfaces, such as windows or painted surfaces, dial it down to ensure you don’t cause any damage.
For tougher grime, like oil stains on concrete or mildew on patios, increase the setting. It’s wise to test the pressure output on a small, inconspicuous area first. This step helps confirm that the selected force is suitable for the material you’re working with, preventing unexpected damage.
Keep in mind that the nozzle also influences the performance. Switching between different nozzle attachments can alter the angle and concentration of the jet. A wider spray is effective for rinsing large areas, while a narrow focus helps lift stubborn dirt. Adjust both the control knob and nozzle for optimal results, ensuring a thorough clean tailored to the specific requirements of each job.
Adjusting Water Pressure on a Cleaning Device
To modify the water flow level effectively, the first step is identifying the type of nozzle you require. Most options come with interchangeable nozzles that offer distinct flow patterns. Select a nozzle suited for your specific cleaning task–higher pressure for removing stubborn grime and lower pressure for delicate surfaces.
Regulating the Device Settings
Next, locate the control settings on your equipment. Some models feature an integrated dial or lever that allows for precise manipulation of the output. Turning the dial clockwise typically increases the intensity, while turning it counter-clockwise diminishes it. Always start at a lower setting and gradually increase until you achieve the desired force.
Safety Measures
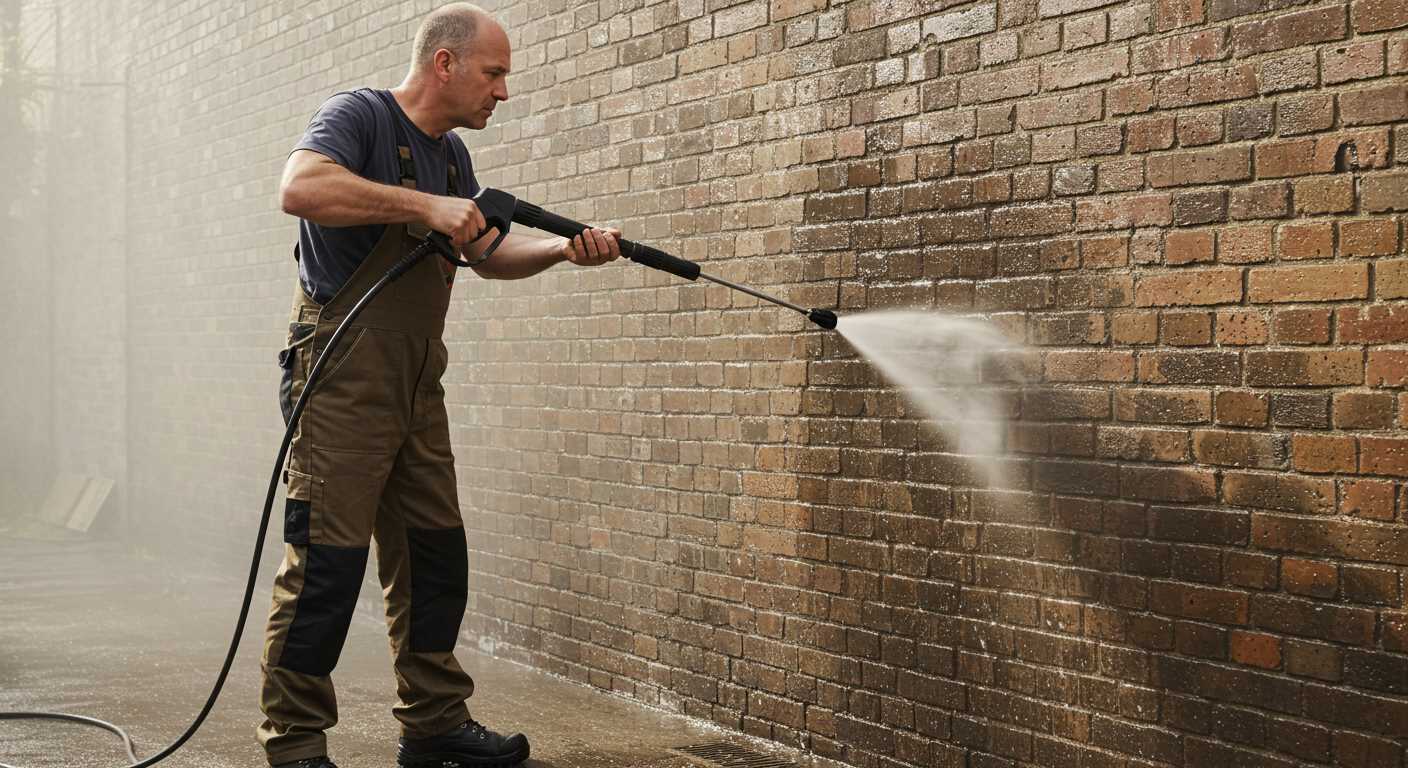
Before activating the machine, don appropriate safety gear–gloves and protective eyewear. Test the flow on a small, inconspicuous area to ensure there’s no risk of damage to the surface being cleaned. This precaution helps prevent any unforeseen issues while using a higher pressure, guaranteeing safe and effective operation.
Finally, maintain the device regularly. Inspect hoses and connections for leaks or signs of wear to ensure consistent performance. Proper upkeep can prolong the life of your machine and maintain optimal water delivery.
Understanding Pressure Ratings and Their Importance
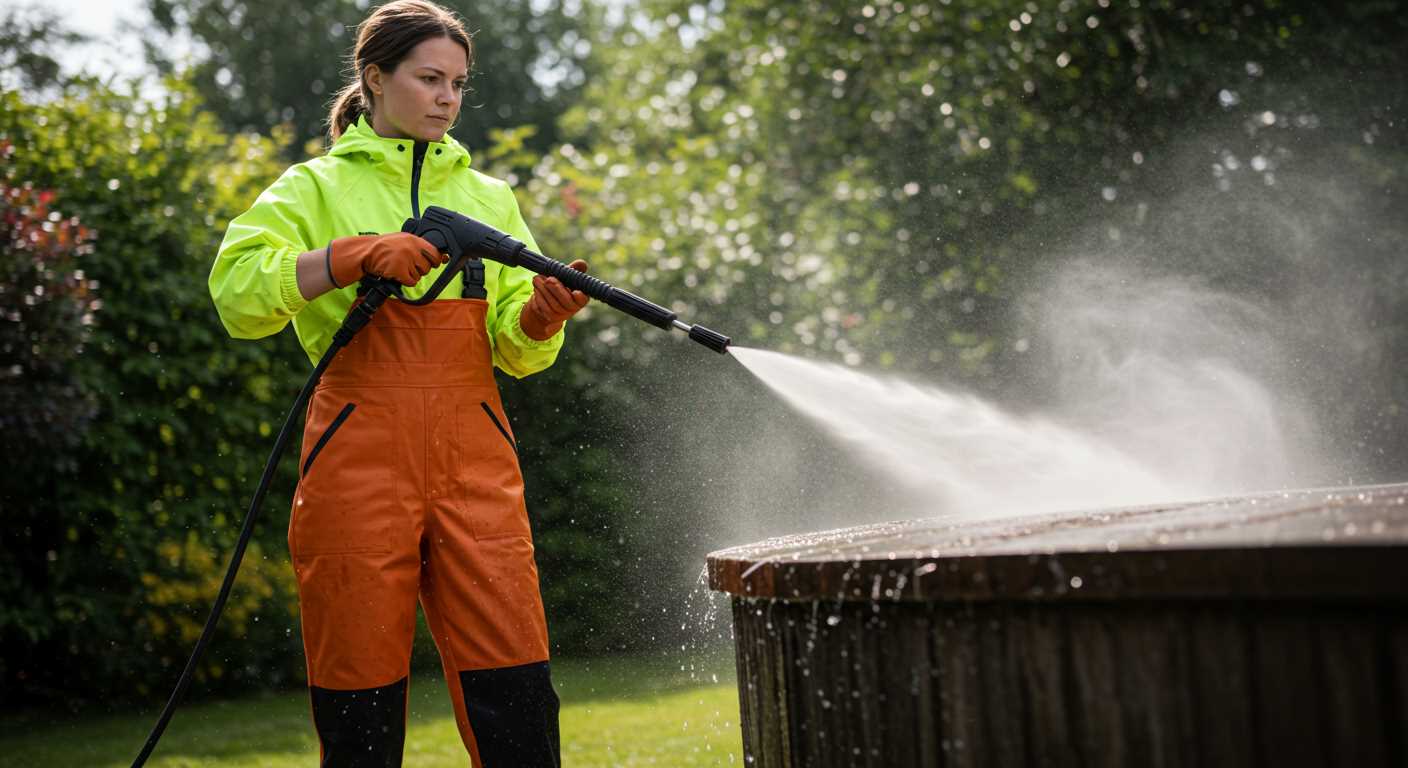
Choosing the right specifications for your cleaning device is paramount. The ratings typically indicate performance levels, helping to determine suitable applications. For instance, devices rated at approximately 1300-1900 PSI are generally ideal for residential tasks such as cleaning patios or vehicles. On the other hand, units boasting 2000 PSI or above are more suitable for tough surfaces like driveways or heavily soiled exterior walls.
Variations in performance can impact the longevity and efficiency of the equipment. It’s wise to consider the type of nozzle used, as different styles can affect the force and dispersion of water. A narrow focused nozzle increases impact pressure, while a wider spray pattern can be gentler on surfaces. Understanding these nuances allows for optimal cleaning without risk of damage.
The materials expected to be cleaned also play a decisive role. For delicate materials such as wood or painted surfaces, lower PSI ratings are advisable to prevent stripping or chipping. Conversely, concrete or brickwork benefits from higher ratings, ensuring the removal of embedded dirt and grime.
Lastly, familiarising oneself with the manufacturer’s guidelines is crucial. These documents provide insights into safe operating limits and suitable tasks for each model. Adhering to the specified ratings ensures optimal performance while reducing the risk of malfunction or premature wear.
Identifying the Optimal PSI for Different Cleaning Tasks
To ensure the best results, I recommend the following pressure settings for specific cleaning tasks:
Surface Types and Appropriate Levels
| Surface Type | Recommended Level (PSI) | Cleaning Method |
|---|---|---|
| Wood Decking | 500 – 800 | Use a fan spray nozzle to prevent damage to the wood. |
| Vinyl Siding | 1200 – 1500 | Apply a detergent before spraying for effective grime removal. |
| Concrete Driveway | 2500 – 3000 | Utilise a narrow nozzle for targeted cleaning of oil or grease stains. |
| Vehicles | 1200 – 1900 | Utilise a wide spray and maintain distance to avoid damaging paint. |
| Bricks or Stone | 1500 – 2500 | Use a rotating nozzle for effective dirt removal from porous surfaces. |
| Patios and Decks | 1500 – 2000 | A short-distance spray should be employed to remove grime effectively. |
Special Considerations
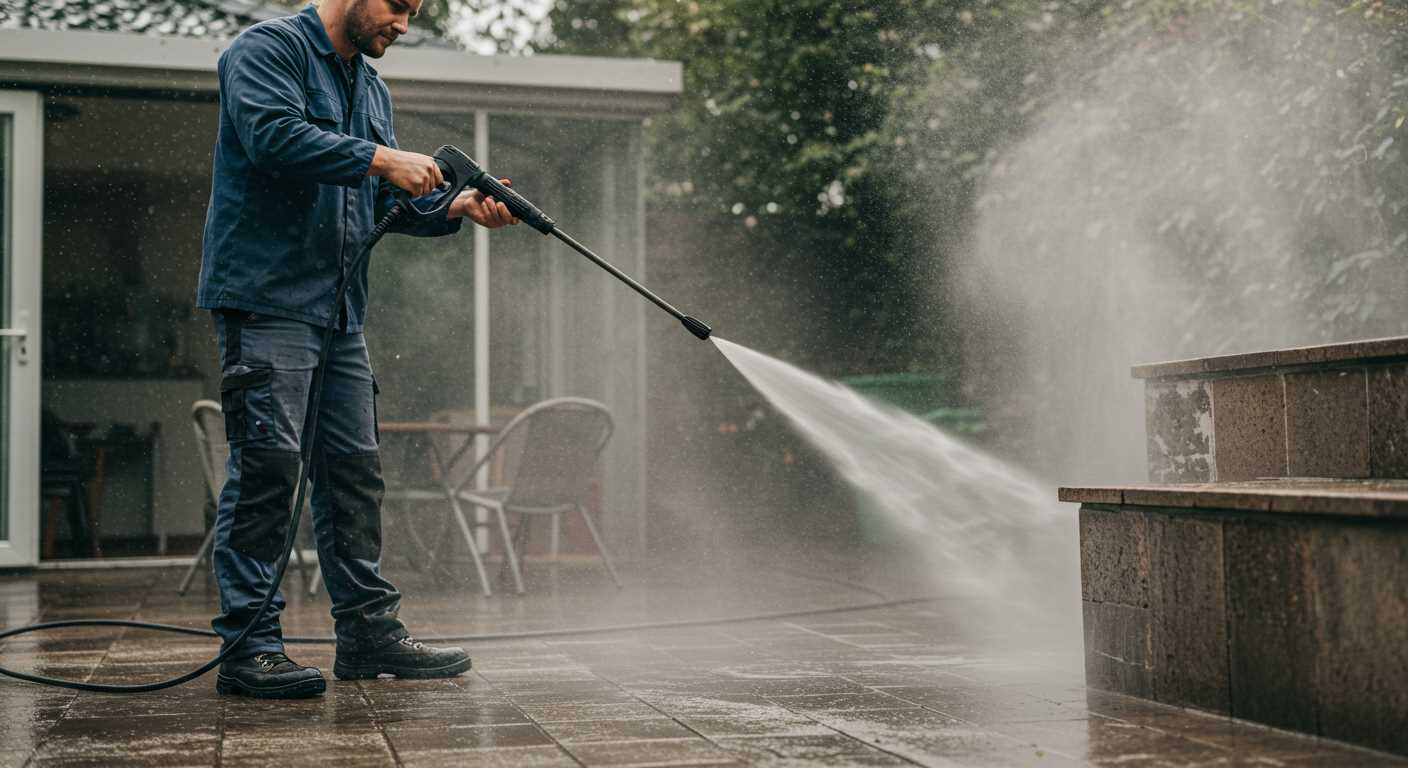
Always assess the condition of the surface before proceeding. For older materials or delicate components, opt for the lower end of the recommended range. Testing a small area first is prudent to gauge the results before full application. Each task may require slight adjustments based on the presence of tough stains or environmental factors, so remain adaptable.
Locating the Pressure Adjustment Mechanism on Your Model
Check your owner’s manual for specific instructions as the location will vary per unit. Most often, the mechanism can be found near the motor or pump assembly.
Common Locations
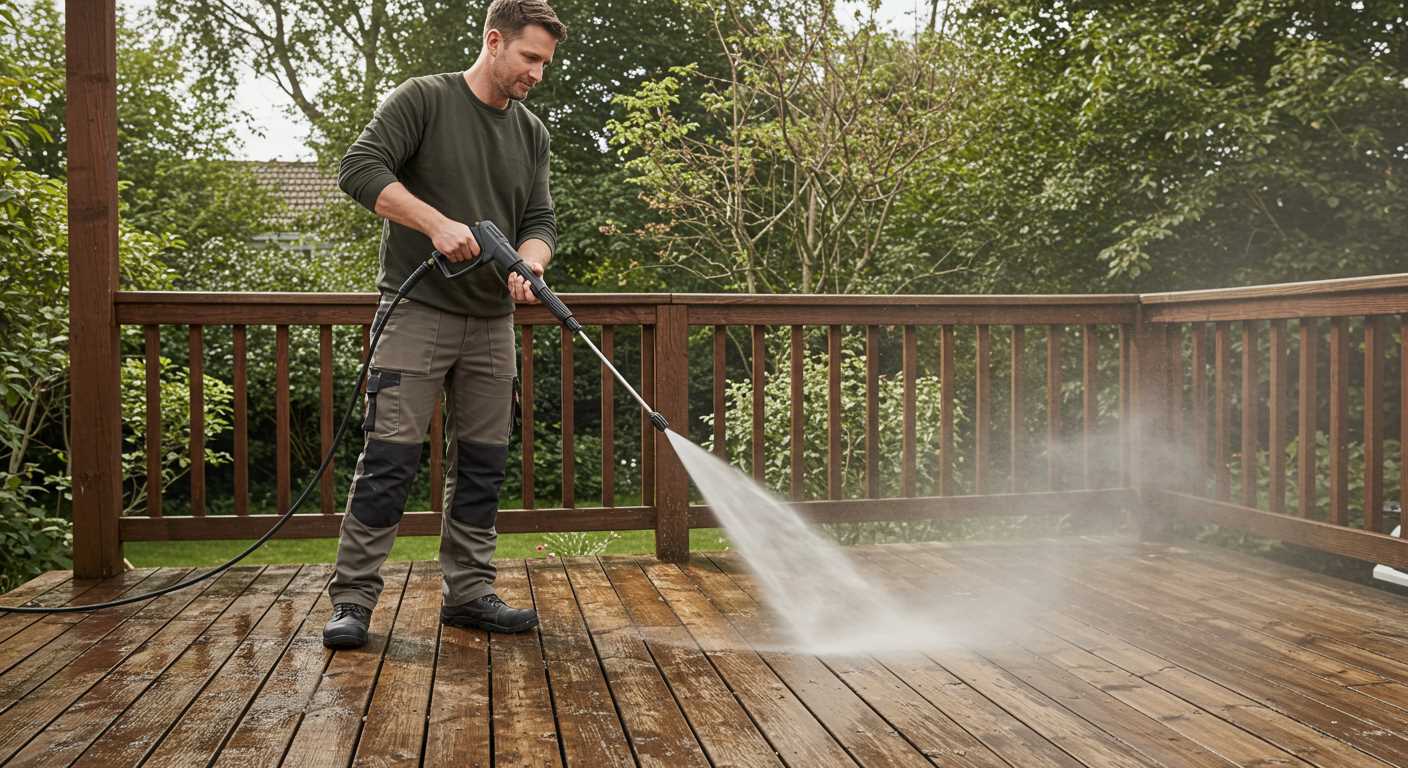
- On/Off Valve Area: Some models feature the adjustment dial adjacent to the power switch.
- Near the Pump: Look for a knob or lever close to the pump assembly, typically marked with pressure settings.
- Control Panel: Modern devices may integrate adjustments within the main control panel of the equipment.
Model-Specific Tips
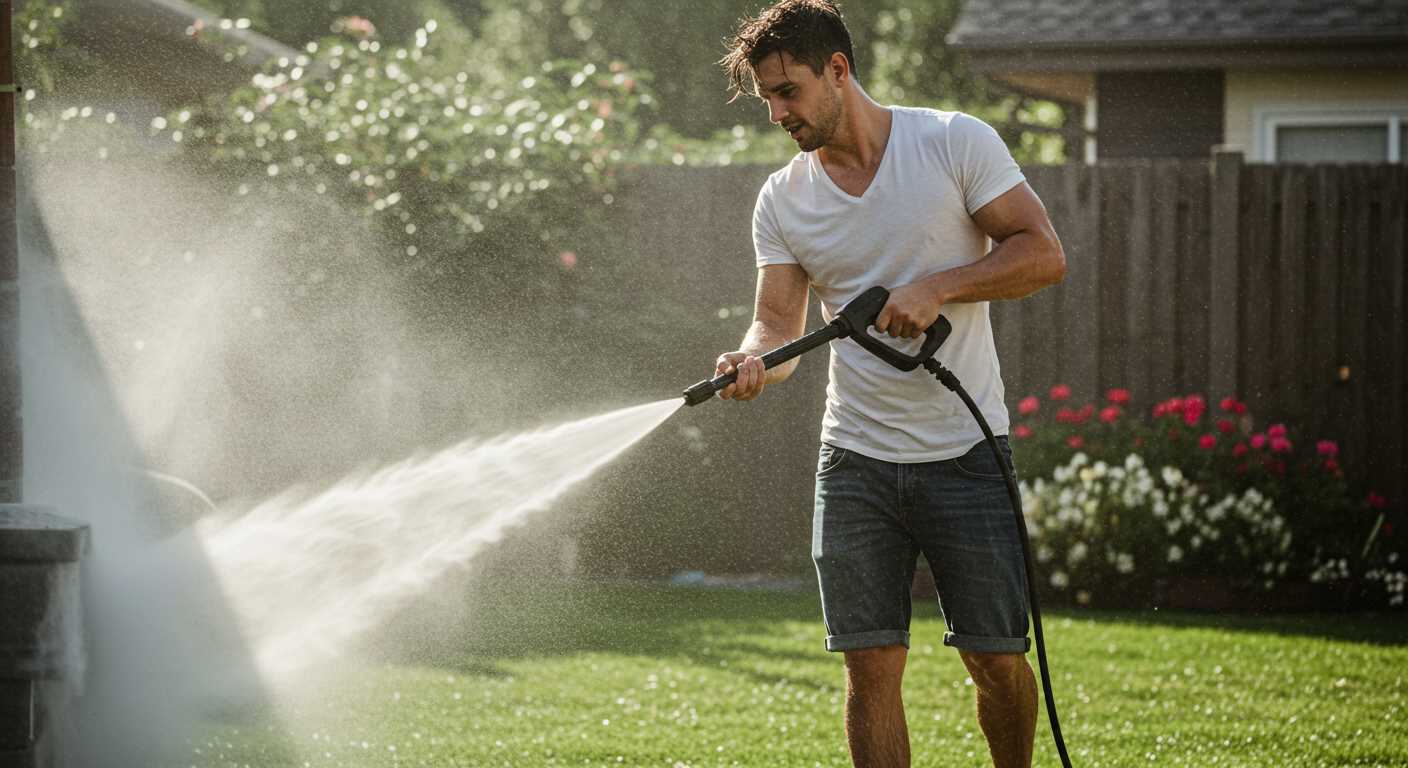
For electric models, adjustments are often digital and found on the screen interface. In contrast, gas-powered units usually present a manual dial. Identifying the right mechanism saves time and ensures the task at hand is executed correctly.
Understand that some brands may use unique identifiers or colour codes for different settings, so it’s beneficial to familiarise yourself with these conventions to prevent errors during operation.
Step-by-Step Guide to Adjusting the PSI Settings
Begin by ensuring your equipment is powered off and disconnected from any water source. This step prevents accidental activation. Set up the unit in a well-ventilated area and make sure you have the required tools within reach, usually a wrench or screwdriver, depending on the model.
Access the Adjustment Mechanism
Locate the regulation knob or screw on your device. Depending on the design, this could be positioned near the pressure gauge or integrated into the handle assembly. Familiarise yourself with its appearance and movement range, as improper adjustments can lead to inefficient performance.
Fine-Tune the Settings

Using your tool, turn the adjustment mechanism in a clockwise direction to increase the force or counterclockwise to decrease it. Conduct these changes in small increments, checking on the gauge or by performing a simple test wash after each adjustment. This method ensures that you find the right setting for your specific cleaning task.
After adjusting, reconnect the water supply and power on the unit. Conduct a brief test at a distance from the surface you intend to clean. After confirming the desired performance, perform a full job using the selected settings.
Make it a habit to document the adjustments you make. This practice allows you to track effective pressure levels for different tasks and surfaces, optimising your cleaning sessions in the future.
Testing the Adjusted Pressure for Desired Results
Begin the evaluation with a controlled environment. Choose a flat, clean surface for an accurate assessment of the modifications made to the output force.
Execution Steps
- Connect the nozzle that corresponds to the intended task. Different nozzles create varied spray patterns and force.
- Power on the unit while standing at a safe distance. This ensures any sudden movements can be managed effectively.
- Maintain the lance at the appropriate angle to mitigate any unintentional damage to surfaces. This will also help in observing the results more clearly.
Evaluating Results
- Observe the cleaning performance on a section of the surface. If the grime or dirt is effortlessly removed, the settings may be suitable.
- Adjust based on the material being cleaned. For delicate surfaces, decrease the output to prevent potential harm.
- Take note of the time spent on each task. High efficiency often indicates optimal settings.
Running multiple tests on different surfaces improves accuracy in selecting the right configuration for future projects. Always remember to document the effective settings for future reference. This will streamline your process in subsequent cleaning tasks and enhance overall productivity.
Common Issues and Troubleshooting Adjustments
When facing difficulty with modifications on your device, start by ensuring the machine is correctly connected to a power source and that the water supply is sufficient. A low water supply can hinder performance even if you modify settings diligently.
If the output is inconsistent, check for clogs in the nozzle or hose. Debris accumulation can severely limit water flow, making any setting changes ineffective. Cleaning or replacing nozzles may resolve the issue.
For those encountering persistent issues after alterations, consider the settings of your machine. Some models may have limited range, and operating outside this range can lead to inadequate results. Consult your manual for specifications.
Monitor for any unusual noises during operation. Unusual sounds may indicate internal issues such as pump malfunction. If you suspect a mechanical failure, cease usage immediately to avoid further damage.
If adjustments do not yield expected performance, revisit the calibration process. In some cases, minor errors can occur, leading to incorrect settings. Repeating the steps for calibration methodically is often beneficial.
Lastly, if issues persist even after attempting the aforementioned remedies, it’s sensible to reach out to customer support of the manufacturer. They provide tailored solutions based on your specific model and symptoms.


