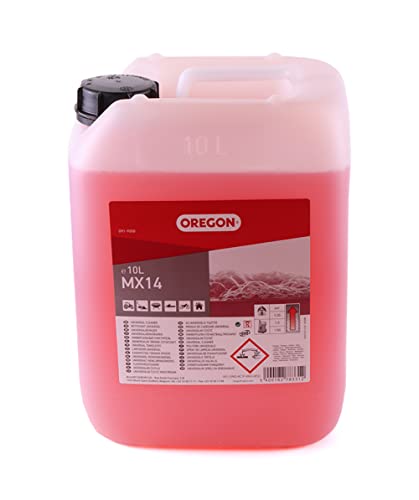
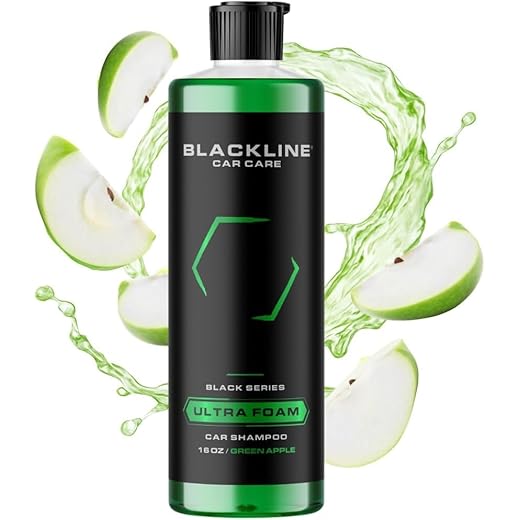

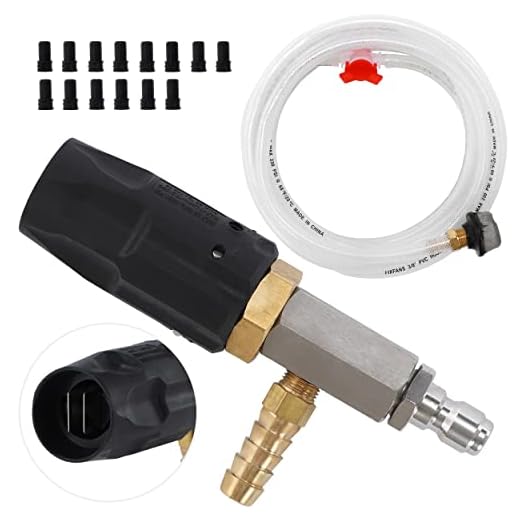
For optimal performance, ensure the detergent setting is properly configured to achieve the best results in your cleaning tasks. Adjust the dial or control valve specific to your device, as each model may have different instructions. A common approach involves turning the control to the desired level, typically marked on the unit.
Next, check the detergent tank or bottle for any clogs or residues that may affect flow. If the mixture isn’t reaching the nozzle, inspect the tubing for blockages. A quick rinse can eliminate any build-up that may hinder performance. Always use compatible cleaning solutions recommended by the manufacturer to prevent damage and ensure efficiency.
When switching between solutions, flush the system with water for several minutes. This step is crucial in clearing any remnants of the previous cleaning agent, allowing for seamless transitions between tasks. Finally, always wear protective gear during use, as some detergents may be irritating. Emphasising safety helps ensure a smooth cleaning experience.
Adjusting the Cleaning Solution in Your High-Pressure Equipment
Begin with the detergent tank; ensure it is filled to the recommended level. Most units have a throttle or dial specifically for controlling flow. Turn this control to the desired setting, starting low, and gradually increase as necessary for optimal performance.
For models equipped with a dedicated nozzle for cleaners, switch to this nozzle to facilitate the best application. Keep the nozzle distance from the surface around 12 to 18 inches to avoid excessive foaming and ensure effective coverage.
Inspect the mixing ratio as per the manufacturer’s guidelines. For concentrated solutions, mixing with water beforehand can enhance performance. It’s critical not to overpower the cleaner with excessive solution, as this can lead to streaking or residue.
Perform a test on a small, inconspicuous area to assess the effectiveness of the adjusted mixture. Adjust the dial based on your observations; if coverage is insufficient, increase the output slightly. If foam is excessive, reduce the flow to achieve a balanced application.
Always ensure that hoses and connectors are secured to prevent leaks which can cause solution loss. Regular maintenance of your equipment contributes to efficiency, including cleaning filters that may affect the flow of the cleaning agent.
After your cleaning session, flush out any remaining solution in the system to avoid clogs or degradation of hoses. This simple step extends the lifespan of your equipment and maintains its performance.
Understanding the Soap System in Your Pressure Cleaner
To maximise cleaning results, it’s crucial to comprehend the delivery mechanism for cleaning products in your device. Most units utilise a siphon system or dedicated detergent tank for this purpose.
- Siphon System: When drawing cleaning solution from a bottle, ensure the pickup tube is submerged in the fluid. This method relies on the high-pressure water flow to create a vacuum that pulls the solution into the stream.
- Tank System: If your model includes a built-in container, fill it with the appropriate cleaner. Check compatibility with your unit’s specifications to avoid damage or inefficiency.
Cleaning agents vary; select ones designed specifically for the equipment. Avoid caustic solutions that can harm the machine’s components. To determine the correct mixture ratios, refer to the manufacturer’s guidelines. It’s common to dilute concentrated products with water to achieve the desired consistency.
Always inspect the filter mechanisms. Clogged filters can restrict flow, leading to diminished performance. Periodically clean the system to maintain optimal functionality.
- Begin by ensuring the device is turned off and disconnected from the power source.
- Remove and clean the siphon tube or tank as needed.
- Refill the unit with the chosen solution, adhering strictly to mixing instructions.
- Test the system with a small amount of water to ensure proper functioning.
Understanding these elements not only enhances the cleaning process but also prolongs the lifespan of your cleaner. Regular maintenance ensures dependable operation and consistent results.
Identifying the Right Cleaning Agent for Your Equipment
Choosing the appropriate cleaning solution is fundamental for achieving optimal results. Two primary categories exist: biodegradable and non-biodegradable formulas. Biodegradable options are environmentally friendly and ideal for outdoor tasks where runoff may occur. Non-biodegradable products, often more potent, are better suited for heavy-duty applications but require careful handling to avoid environmental harm.
Compatibility with Equipment
Always check the manufacturer’s guidelines for recommendations. Each unit has specific requirements regarding cleaning agents, which can vary based on pressure levels and nozzle types. Using the wrong product may not only hinder performance but could also damage internal components, leading to costly repairs.
Type of Surfaces
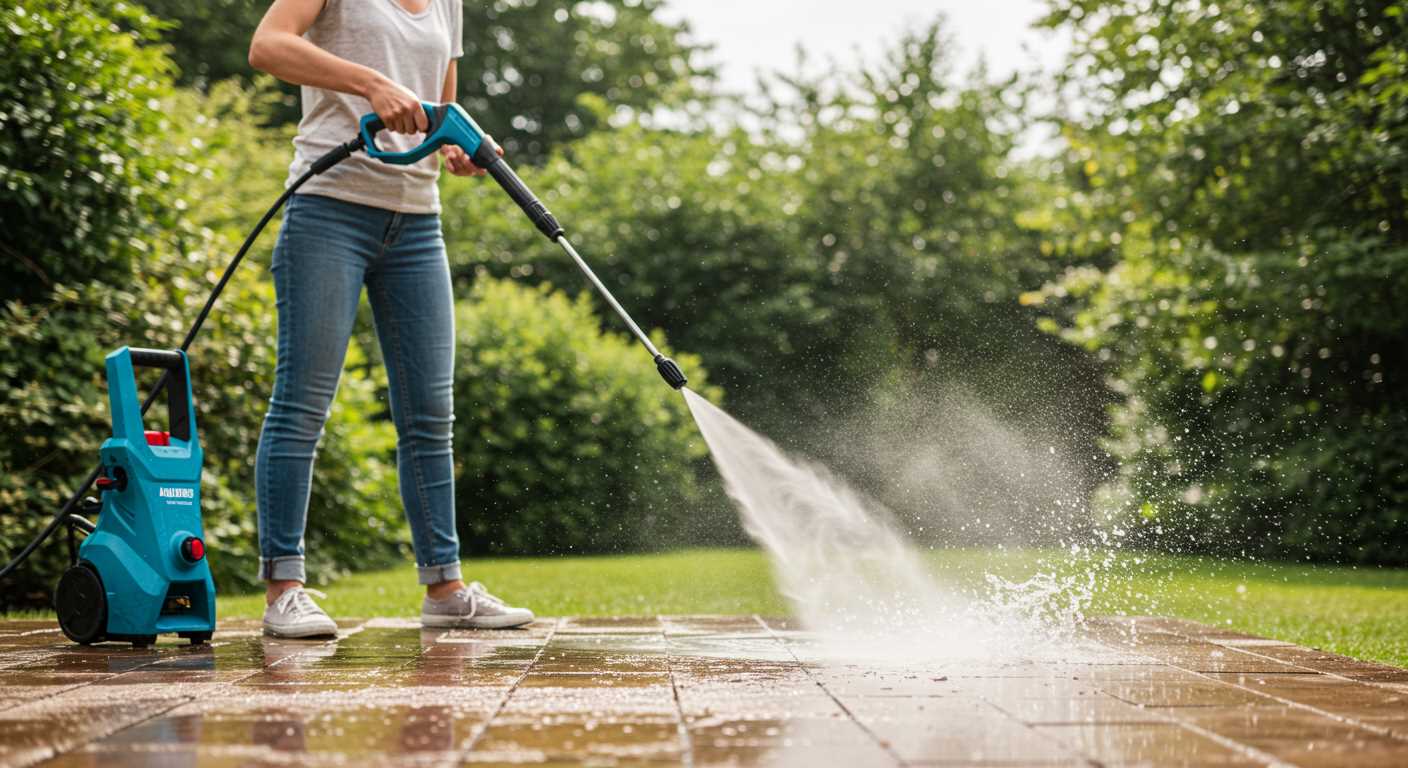
Evaluate the surfaces you intend to clean. For delicate materials, such as painted or varnished finishes, opt for mild solutions that will not strip away protective coatings. Conversely, concrete or brick could withstand more aggressive cleaners. Always perform a patch test on a small, inconspicuous area first to assess compatibility.
Preparing Your High-Pressure Cleaner for Liquid Application
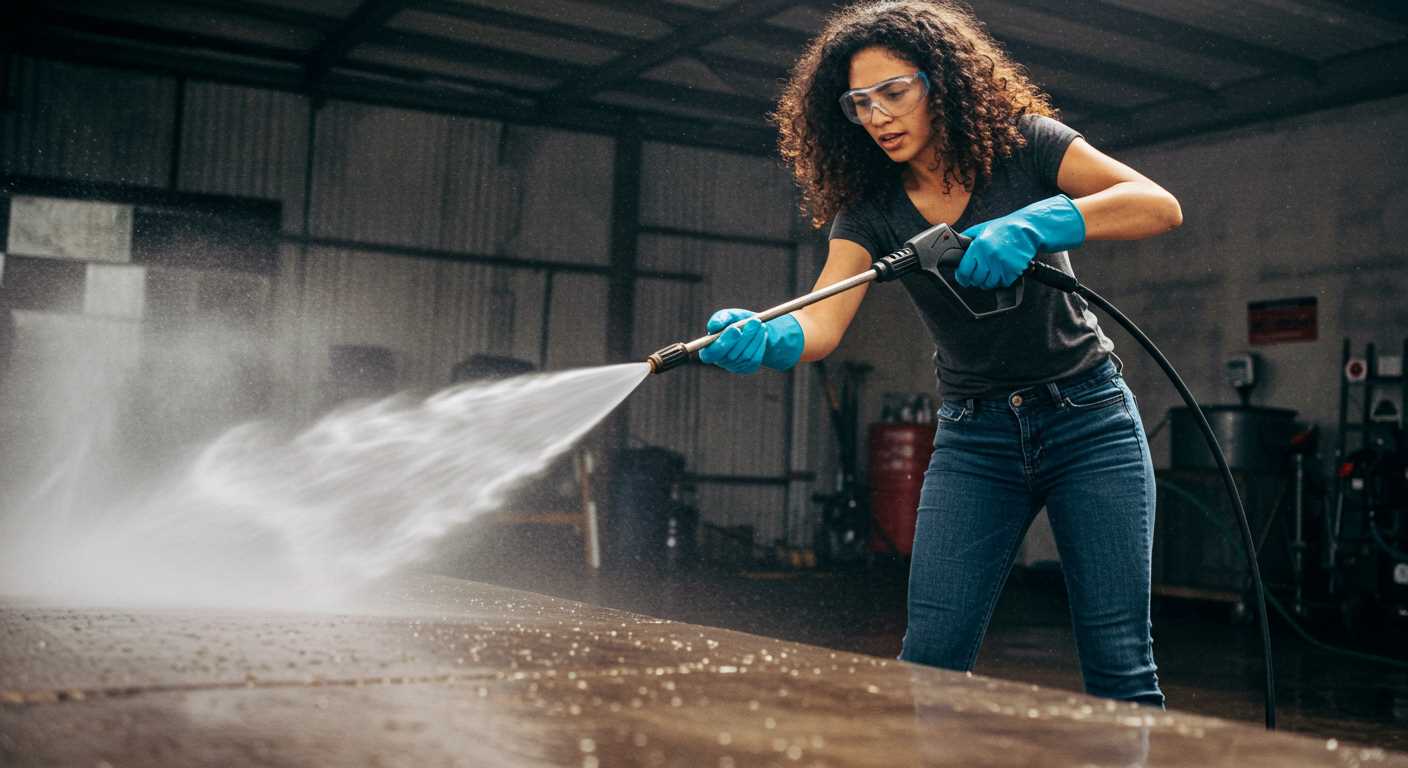
Begin by ensuring the machine is powered off and disconnected from the mains. Locate the detergent tank or the inlet for your cleaning solution. If your unit has a separate tank, fill it with the appropriate cleaning solution, ensuring not to exceed the maximum fill line. For machines that use a siphon method, prepare a suitable mix of cleaner and water following the manufacturer’s guidelines.
Check your equipment’s nozzle type; switch to a low-pressure nozzle, typically the soap or fan nozzle. This adjustment will allow for optimal liquid dispersion, ensuring even coverage on surfaces. If your cleaner has a special detergent injector, ensure it is installed correctly and is not clogged. Clear any blockages with water to maintain a smooth flow.
Review the settings on your unit to confirm the dilution ratio is set according to the manufacturer’s recommendations for the specific cleaning agent you’ve chosen. This ensures the solution works effectively without damaging surfaces or the machine itself.
Finally, run a quick test spray to confirm the solution is applying correctly and evenly before commencing your cleaning task. This step avoids wasting product and ensures that you achieve the desired cleaning results.
Modifying the Soap Ratio on Your Pressure Washer

Start by locating the chemical injector on your machine, which controls the mixture of cleaner and water. Most models have an adjustable knob or a dedicated dial for this purpose. You’ll want to twist or turn this adjustment based on the desired concentration. A lower setting results in a weaker blend, while a higher setting will produce a more potent solution.
Next, it’s crucial to understand the specific cleaning tasks at hand. Heavily stained surfaces may require a stronger blend, while routine maintenance jobs can utilise a lighter mixture. Consider the following table to gauge the ideal ratios for different cleaning needs:
| Surface Type | Recommended Ratio (Cleaner to Water) |
|---|---|
| Guidelines for Light Cleaning | 1:10 |
| Moderate Stains | 1:5 |
| Heavy Residue or Mildew | 1:3 |
| Specialty Applications | Follow manufacturer’s specifications |
Experiment a bit with the settings during a test run on an inconspicuous area. Monitor how effectively the solution addresses grime and whether further adjustments are necessary. Always remember to flush the system with water after the application to prevent any buildup in the injector. This practice ensures optimal performance and longevity of the equipment.
Adjusting the Spray Nozzle for Soap Usage
For optimal performance while applying cleaning agents, selecting the correct nozzle is essential. Switch to a low-pressure nozzle, typically marked as a wider spray pattern, at least 25 degrees. This setting ensures a gentle application, allowing the cleaning solution to adhere effectively to surfaces.
Next, attach the nozzle securely to the lance. Test the setup by running a small amount of water through the system without any cleaning agents to ensure there are no leaks. This verification guarantees that the solution will flow as intended once connected.
During application, maintain a distance of around 2 to 3 feet from the surface to avoid damaging it, especially with delicate materials. Move the lance in a sweeping motion to evenly distribute the cleaning agent. Allow it to dwell on the surface, which enhances its ability to break down grime before rinsing off with a higher-pressure setting, ideally utilising a narrower nozzle afterwards.
For varied cleaning tasks, experimenting with different angles can be beneficial. Adjust the approach to suit various surfaces, ensuring that adjustments do not compromise the cleaning efficiency. Remember to periodically check the nozzle for clogs or buildup, as this can dramatically impact performance.
Testing Soap Application on Various Surfaces
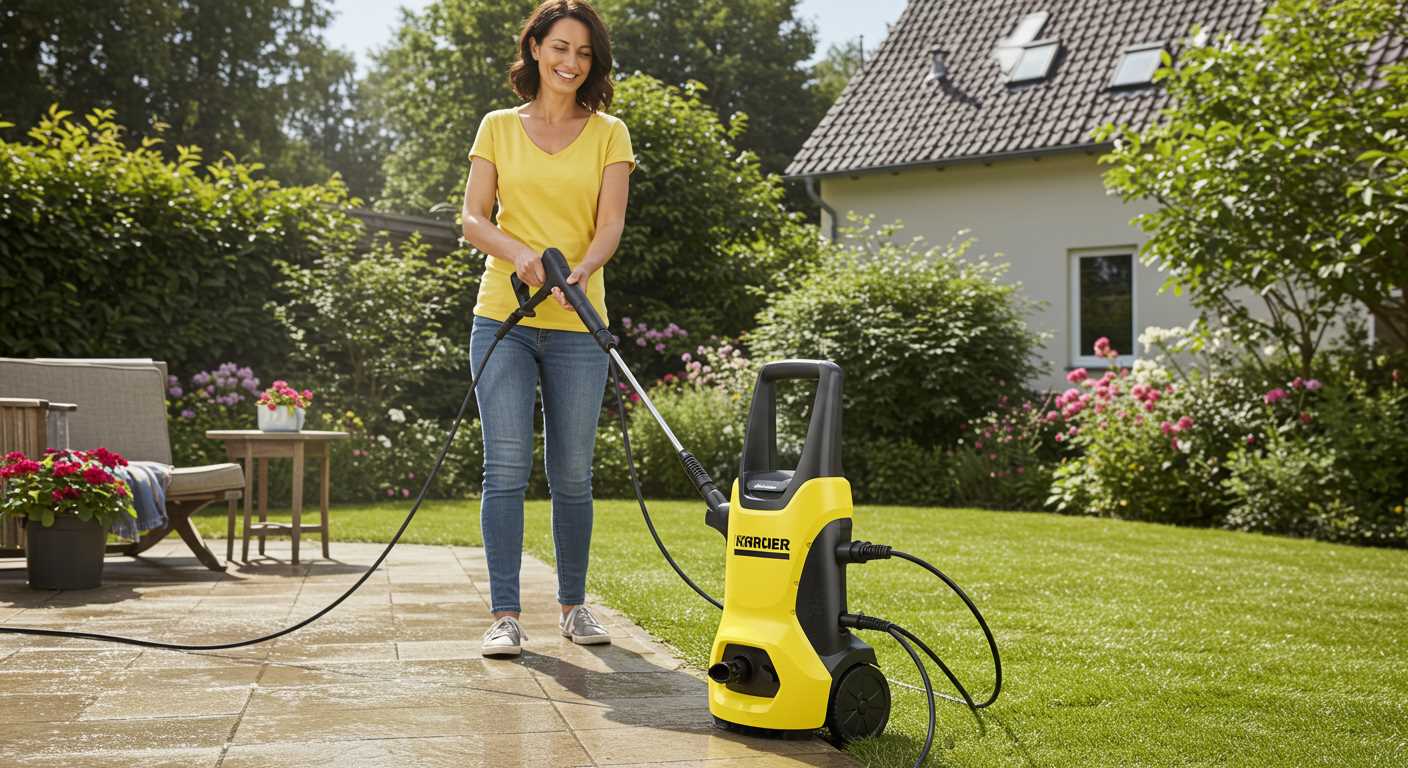
To properly evaluate the effectiveness of detergent on different materials, always perform a small test patch before applying it broadly. Start with porous surfaces like concrete; apply a diluted formula and observe how it reacts. It should penetrate the grime without damage. For painted or wooden areas, use a weaker mixture to avoid potential discoloration or damage. Spot test in a less visible area first.
Move on to metal surfaces; a straightforward application works well, as they are less absorbent. Ensure thorough rinsing afterward to prevent residue from forming, which could lead to corrosion. Testing on glass should also be done with caution; a mild cleaning solution should suffice. Make sure to rinse off completely, avoiding streaks.
Pay attention to environmental conditions while testing. Sunlight can accelerate drying times, while cool, damp weather may affect the absorption of the cleaning agent. Adjust your approach accordingly; if you notice any adverse effects, such as discolouration or residue, switch to a different formulation. Consistent observation is key to mastering the art of cleaning effectively across all surfaces.
Cleaning and Maintaining the Soap System
.jpg)
Regularly inspect and clean the detergent compartment to prevent blockages and ensure optimal performance. Begin by disconnecting the equipment from any power source. Remove any leftover cleaning agent from the tank, and rinse it out with water to eliminate residue. A mixture of warm water and mild detergent can effectively break down stubborn deposits.
Check the hoses and connections associated with the cleaning agent delivery system. Look for signs of wear, cracks, or leaks that could impair the flow of the liquid. If any damage is detected, replace the affected parts promptly to avoid costly repairs down the line. Ensure that the connectors are securely fastened to prevent disconnections during operation.
Periodically clean the filters as residue can accumulate over time, impacting the performance of the entire system. Depending on the model, filters may be located at various points in the system, so refer to your user manual for specific instructions. After removing the filter, rinse it under warm water and let it dry before reinstallation.
Mould and bacteria can thrive in moist environments, including the detergent storage area. Use a sanitising solution or vinegar to wipe down the tank and surrounding surfaces. This will help prevent any unwanted growth, ensuring a cleaner and healthier operation next time the equipment is used.
After cleaning, run a water flush through the system to ensure everything is clear. This step helps confirm that no cleaning agent is left in the lines, reducing the risk of chemical build-up that can cause damage to internal components over time.
Troubleshooting Common Soap Adjustment Issues
If the cleaning agent is failing to dispense correctly, check the following aspects:
- Inspect the suction hose for kinks or clogs, as these can restrict flow.
- Examine the filter at the end of the hose; clean it if debris is present.
- Ensure the dilution setting on the container aligns with the manufacturer’s recommendations.
Inconsistent coverage can occur due to various reasons:
- Verify the nozzle selection; a wider spray can lead to poor adhesion of the cleaning solution.
- Adjust the angle of the spray. A more direct application can enhance contact with the surface.
- Consider the distance from the target surface; too far may diminish effectiveness.
Too Much or Too Little Product
An imbalance in the application ratio can be frustrating:
- To reduce excessive product, decrease the input from the detergent reservoir.
- If insufficient cleaning agent is being dispensed, ensure the suction line is submerged properly.
- Test the settings with a less viscous formulation if you’re facing blockage issues.
Pay attention to the cleaning surface. Certain materials may require adjustments in application methods:
- For delicate surfaces like glass, a gentler setting will yield better results without potential damage.
- On rugged textures, a more robust flow might be necessary to penetrate and clean effectively.

