

The first step involves locating the adjustment screw on the assembly responsible for controlling pressure release. Typically, this is situated near the pump’s outlet, making it easily accessible for fine-tuning. Ensure the machine is powered off and the nozzle is disconnected for safety.
Utilising a screwdriver, turn the adjustment screw clockwise to increase the pressure or counterclockwise to decrease it. It’s advisable to make small adjustments and conduct a test run after each modification. This allows you to accurately gauge the impact of each change on performance.
Observe the behaviour of the spray during operation. A consistent stream without fluctuations indicates sufficient pressure regulation. If you notice erratic performance, continue to adjust gradually until you achieve the desired outcome. Regular checks will help maintain optimal functionality, ensuring your cleaning tasks are efficient and effective.
Adjusting the Bypass Mechanism on Your Cleaning Equipment
Begin by locating the adjustment knob, typically situated on the side of the machine’s main pump. This knob plays a critical role in managing the water pressure during operation.
Next, ensure the machine is powered off for safety. With the engine cool, use a wrench to slightly loosen the lock nut securing the knob. Turn the adjustment knob clockwise to increase pressure, or counterclockwise to decrease it. Make small adjustments, as even slight turns can significantly impact performance.
After you have made your adjustments, secure the knob by tightening the lock nut. It’s essential to avoid overtightening, as this could damage the mechanism.
Test the device with a brief run to see if the pressure meets your requirements. If necessary, repeat the adjustment process until you achieve the desired performance. Always remember to consult your model’s manual for specific instructions and guidelines, as they can vary by design.
Identifying the Unloader Valve Location
To locate the component responsible for regulating pressure in your cleaning machine, first examine the pump assembly. This part is typically mounted on the front or side of the motor housing. Look for a small metal or plastic device connected directly to the pump.
Check for a discharge tube leading from the pump. The mechanism is often nearby, as it plays a critical role in managing water flow. Additionally, inspect the area for any adjustment knobs or screws, which can help differentiate the part from other components.
Visual Cues

Look for a cylindrical shape or a block-like structure with a few connecting pipes. It may have a cap or adjustment feature on top. Familiarising yourself with these shapes can be beneficial in quickly pinpointing the component during maintenance.
Consulting the Manual
If visual inspection does not yield clarity, refer to the user manual for specific diagrams indicating the location of the pressure regulation component. Manufacturers provide illustrations that can be invaluable for correct identification.
Gathering Required Tools for Adjustment

For a successful modification of the system, it’s crucial to have the right tools readily available. Below is a list of items that I found indispensable during my extensive work with cleaning equipment.
| Tool | Purpose |
|---|---|
| Socket Wrench Set | To loosen and tighten the fasteners holding the mechanism in place. |
| Flathead Screwdriver | Used to adjust settings on the control mechanism. |
| Adjustable Wrench | For gripping and turning various fittings with ease. |
| Pressure Gauge | To measure the output pressure and ensure it meets required specifications. |
| Safety Goggles | To protect your eyes from any splashes or debris during the process. |
| Work Gloves | To maintain a firm grip and protect hands while handling tools. |
Having these tools on hand can make adjustments smoother and help achieve accurate results, ensuring optimal performance of the unit.
Steps to Release Pressure Before Adjustment
To ensure safety and prevent damage while making modifications, it’s critical to relieve any existing pressure in the system before proceeding. Follow these steps carefully:
- Switch off the motor or electric source to halt operation.
- Disconnect the spray gun from the hose to eliminate pressure feedback.
- Activate the trigger on the spray gun to allow any remaining water to escape. This action discharges the pressure effectively.
- Inspect the system visually for any leaks or issues while the pressure is released.
- Reconnect the spray gun only after ensuring all pressure is alleviated.
Final Checks Before Adjustment
After releasing the pressure, perform these final checks:
- Ensure the water supply is turned off.
- Inspect hoses and connections for wear or damage.
- Verify that the trigger is operational; you should feel no resistance when pulling it.
By following these steps, you can safely prepare for the next phase of adjustment with confidence.
Adjusting the Pressure Control Settings
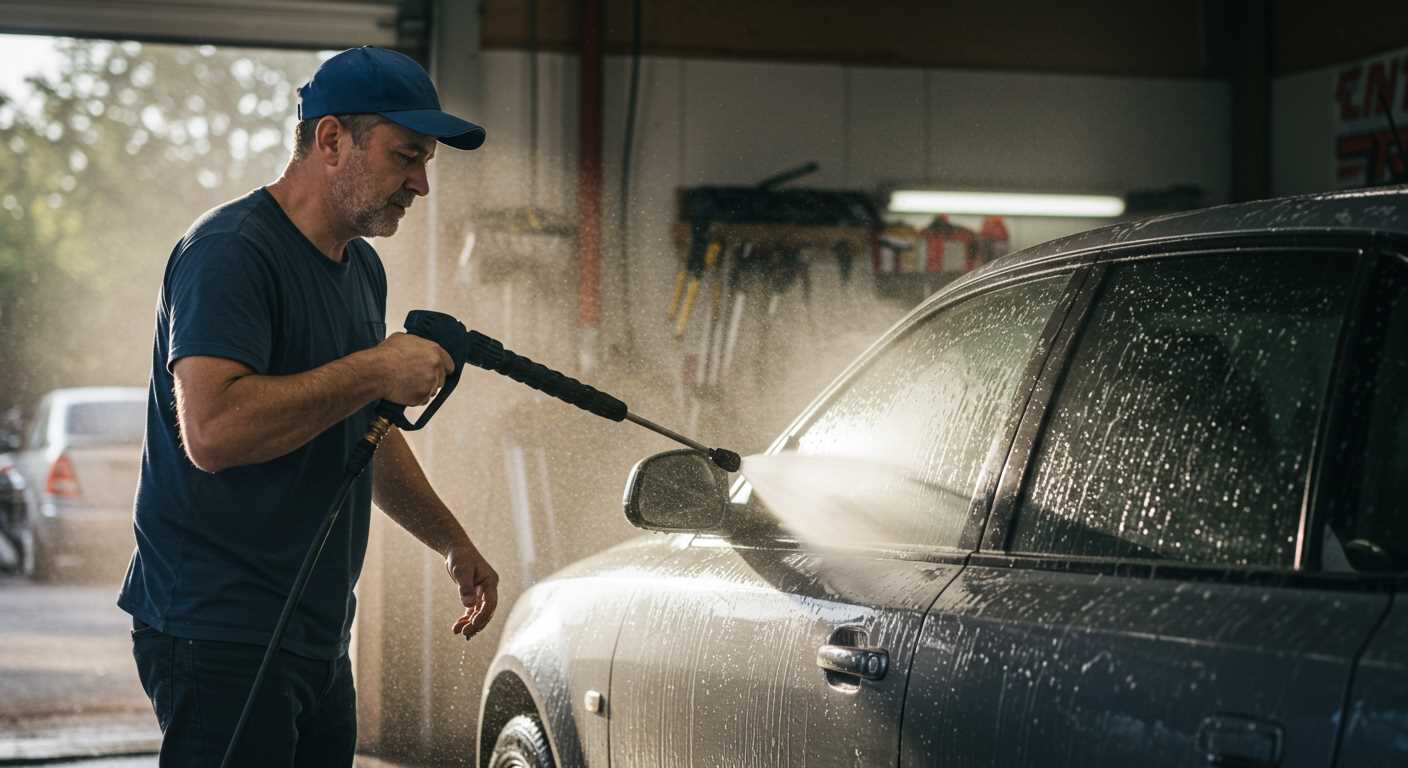
Begin by identifying the correct tension for your specific machine. It’s typically managed via a screw located on the side of the assembly. If your model allows, turn this screw to the right to increase resistance and to the left to reduce it. Make adjustments in small increments, checking the output after each turn. A well-calibrated range usually operates between 2000 to 3000 PSI, depending on your task.
After each modification, test the effect by running your equipment. Listen for any fluctuations in performance or changes in noise level. If the spray feels inconsistent, further fine-tuning might be necessary. Take care to only make adjustments when the machine is off and depressurised to avoid accidents.
Always ensure that the adjustments meet the requirements of the nozzle being used. Different nozzles require unique settings to function optimally. Once playback confirms the appropriate configuration, secure any settings to prevent shifts during operation. Regular checks will help maintain consistent performance under various workloads.
Testing Pressure After Adjustment
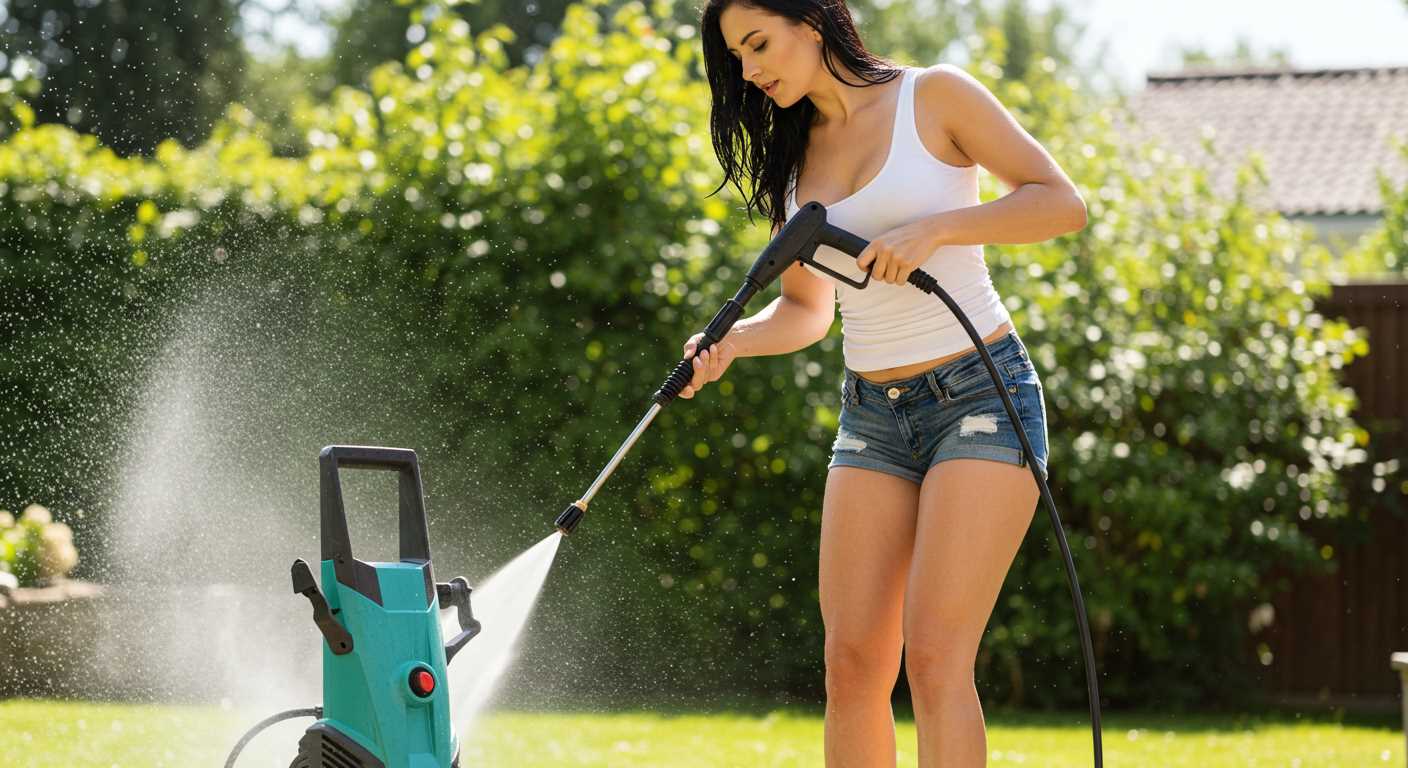
To verify the changes made to the pressure control mechanism, follow these steps for accurate measurement.
Gather Necessary Equipment
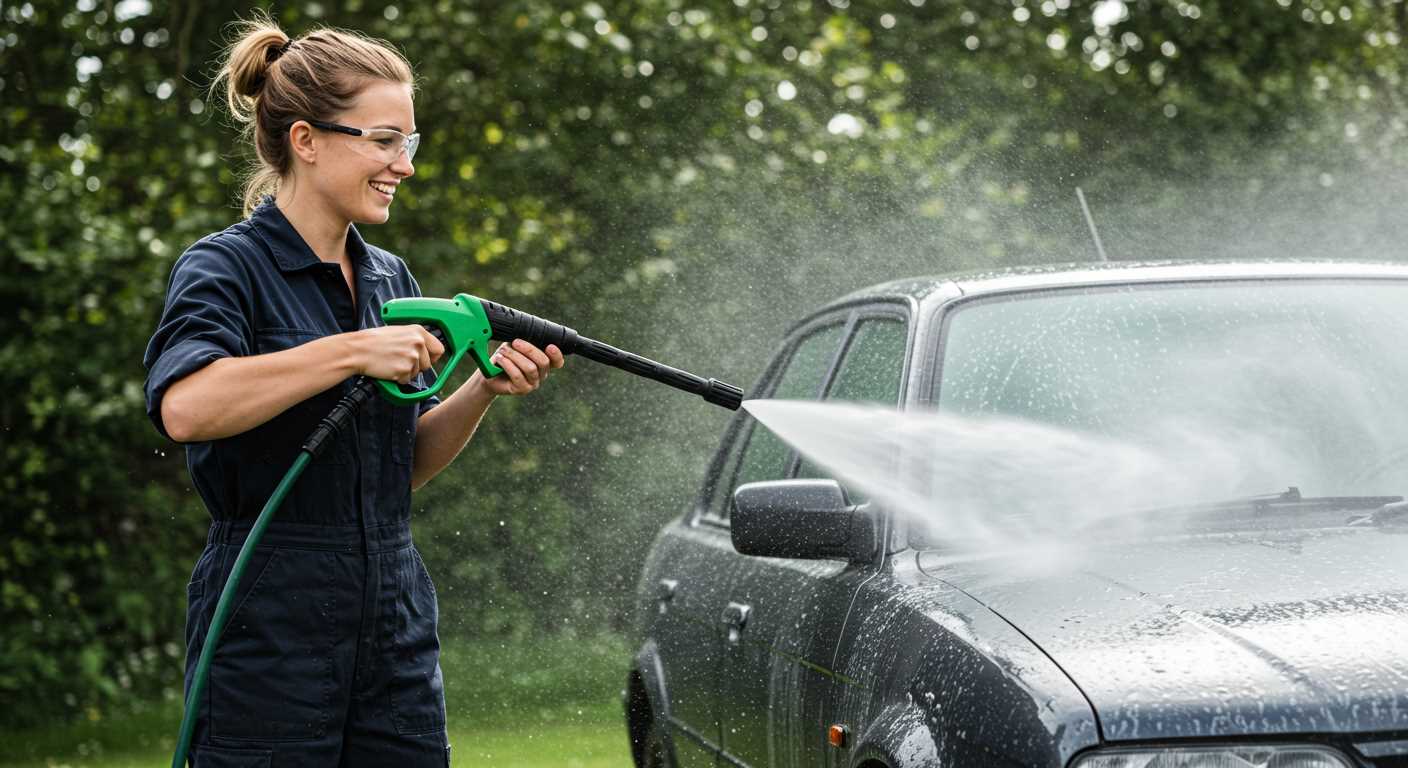
- Pressure gauge compatible with your model.
- Garden hose with a suitable connection.
- Safety goggles to protect your eyes.
Testing Procedure
- Connect the pressure gauge to the outlet of the machine securely.
- Ensure the water supply is consistent and the hose has no leaks.
- Power on the unit by pulling the start trigger.
- Observe the reading on the gauge as you gradually release the trigger.
- Record the maximum pressure displayed and compare it to the manufacturer’s specifications.
If the pressure is not within the desired range, additional modifications may be necessary. It’s crucial to test multiple times to ensure consistent performance. If issues persist, consider reviewing the setup for errors in assembly or connections.
Troubleshooting Common Adjustment Issues
Unexpected fluctuations in performance often stem from incorrect settings. If the output pressure seems inconsistent, check the tightness of the adjustment knob. A looser knob can lead to erratic behaviour, compromising overall effectiveness.
Excessive Pressure Build-Up

If the machine experiences excessive pressure, inspect the gauge for accuracy. It may require recalibration. Additionally, listen for unusual sounds during operation; a hissing noise indicates a potential leak that needs to be addressed immediately.
Inadequate Pressure Output
Lack of sufficient force can be a sign of several issues. Verify that the water inlet is clear and unobstructed. Clogged filters or hoses significantly restrict flow and must be cleaned or replaced. Furthermore, ensure that the hose connections are secure to prevent loss of water supply.
FAQ:
What is the purpose of the unloader valve on a Ryobi pressure washer?
The unloader valve on a Ryobi pressure washer serves a critical function in the operation of the machine. Its main purpose is to regulate the pressure of the water being expelled from the washer. When the trigger is released, the unloader valve redirects the water flow back to the pump, preventing pressure build-up that could damage the system. This mechanism also ensures that the pressure washer does not continue to operate at full pressure when it is not in use, which can enhance the longevity of the unit.
How do I know if the unloader valve is malfunctioning?
Signs of a malfunctioning unloader valve include inconsistent water pressure, the pressure washer not building up pressure at all, or excessive noise coming from the pump. You may also notice water leaking from the valve or the washer shutting off unexpectedly even when the trigger is not pulled. If any of these issues occur, it may indicate that the unloader valve requires attention or adjustment. Regular maintenance checks can help identify these problems early.
What tools do I need to adjust the unloader valve on my Ryobi pressure washer?
To adjust the unloader valve, you will typically need a few basic tools: a wrench or socket set to loosen and tighten the valve’s fittings, a screwdriver for any screws that may be present, and possibly a pressure gauge to measure the output pressure more accurately. It’s also advisable to have a clean cloth on hand for any spills, as well as safety goggles to protect your eyes while working.
Can adjusting the unloader valve improve my pressure washer’s performance?
Yes, adjusting the unloader valve can significantly improve the performance of your pressure washer. By correctly setting the valve, you can optimise the pressure output, which leads to more effective cleaning. If the pressure is too low, you may not achieve the desired results on stubborn stains. Conversely, if it’s too high, you risk damaging surfaces or the machine itself. Regular adjustments based on usage can help maintain the pressure washer’s efficiency.
What steps are involved in adjusting the unloader valve on a Ryobi pressure washer?
To adjust the unloader valve, start by ensuring that the pressure washer is turned off and disconnected from the power source. Locate the unloader valve, which is usually near the pump. Use a wrench to carefully loosen the adjustment screw on the valve. Turn the screw to increase or decrease the pressure according to your needs, using a pressure gauge to monitor the output. Once you have set the desired pressure, tighten the adjustment screw and check for any leaks. It’s a good practice to run the washer for a few minutes to test the adjustment before completing your task.


