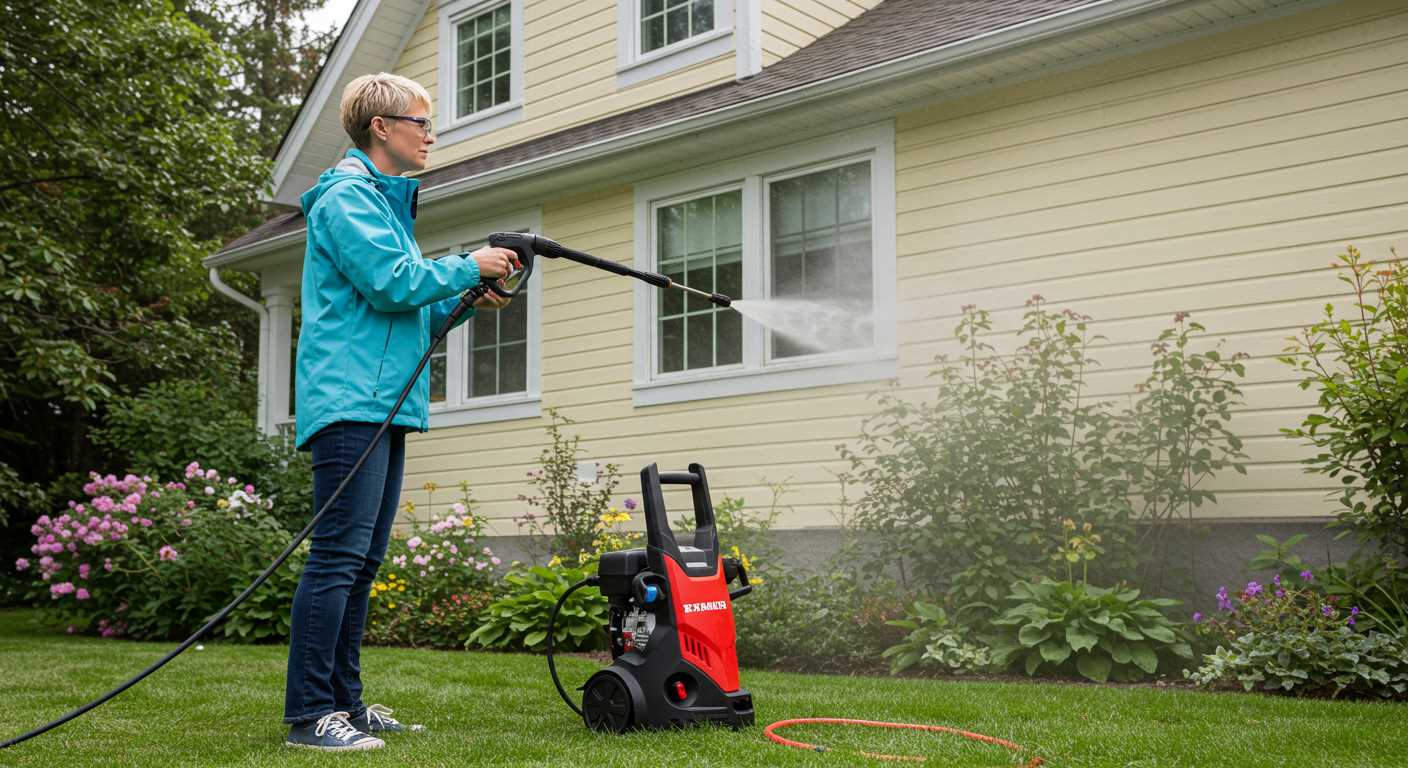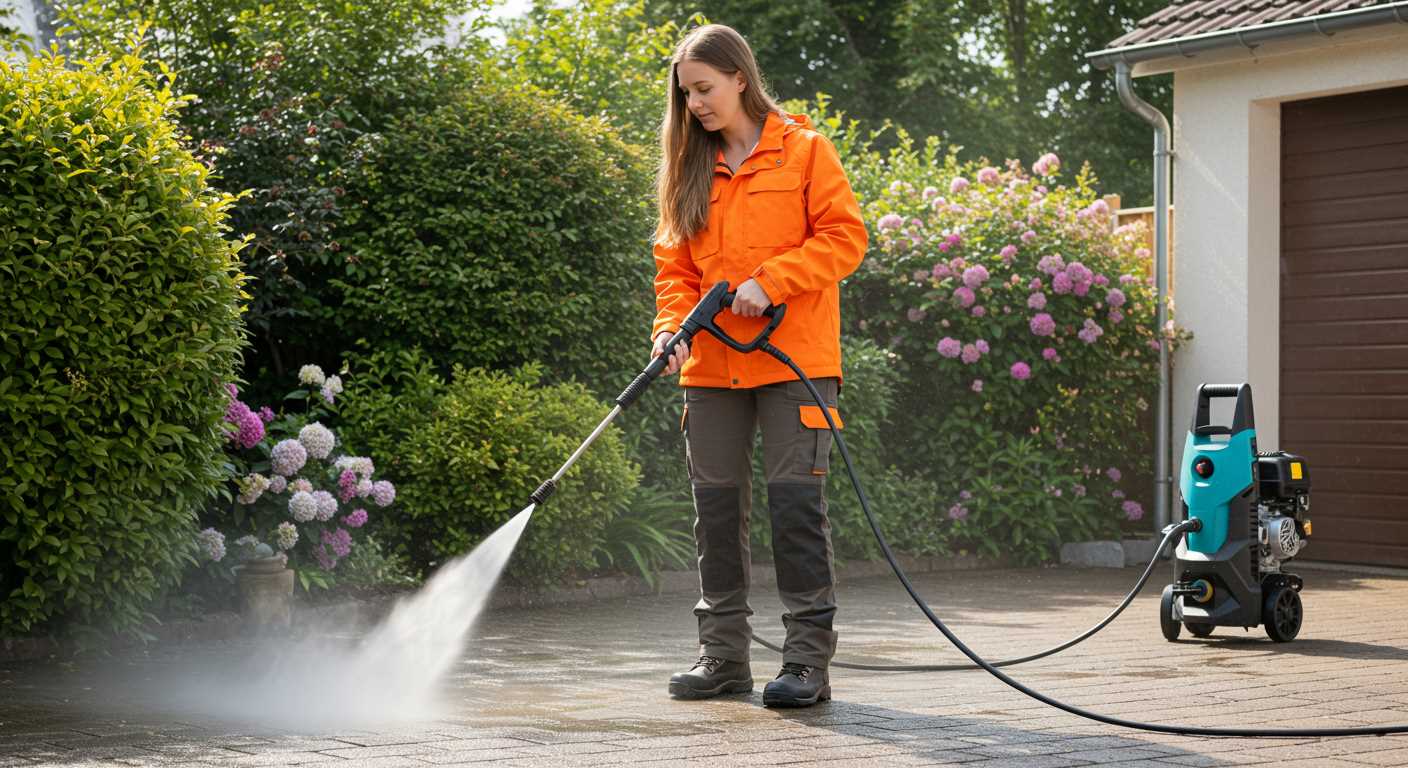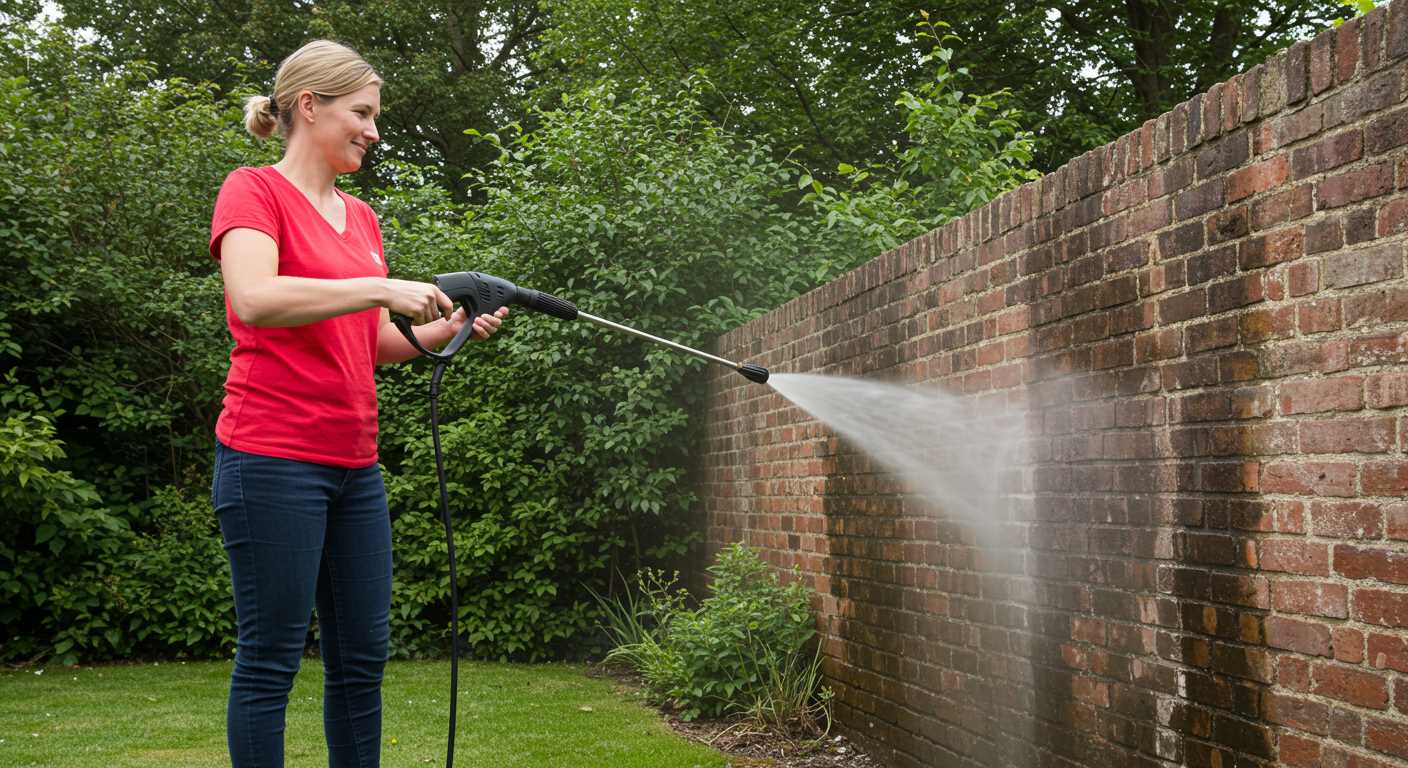


Start by locating the dial or lever that controls the intensity settings on your appliance. This feature is typically situated close to the trigger gun, allowing for seamless adjustments during operation.
Once the unit is powered on, engage the trigger and gradually turn the dial or lever. Observe changes in the cleanliness of the surface you are cleansing. You will notice that a lower setting is ideal for delicate materials, whereas a higher intensity suits hardened grime and stains.
In case you find the output to be unsatisfactory, ensure that the nozzle is properly fitted and free from blockages. A clean nozzle is vital for maximising efficiency. If necessary, switch to a different nozzle for varied performance; the wide fan nozzle is excellent for broader coverage, while a concentrated jet works wonders on stubborn dirt.
Should you encounter persistent issues, inspect the inlet filter for obstructions. Cleansing this component regularly can sustain optimal performance. Never hesitate to consult the manual for specific guidelines relative to your particular model, as features may vary.
Finally, for those aiming for precision, use a pressure gauge to measure the performance of your device directly. This can inform further modifications, ensuring that you achieve the desired outcomes in all your cleaning tasks.
Adjusting Flow Intensity on Your Cleaning Equipment
To optimise your cleaning unit, locate the adjustable nozzle or lance feature, typically situated at the end of the spray gun. Twist the nozzle to alter the beam from wide spray to a more focused stream. This adjustment changes the intensity effectively, enhancing your cleaning capability.
Modifying Settings on the Machine

Some models offer onboard controls. Identify the pressure control dial, which is often located on the body of the unit. Turning this dial counterclockwise generally reduces the output strength, while a clockwise motion increases it. Always check the settings before commencing your task.
Pressure Regulation Techniques
Utilise various attachments like gutter cleaners or surface cleaners that might influence function by altering the flow characteristics. Be mindful of the task at hand; intricate tasks may need a tighter beam, whereas broader surfaces can benefit from a wider spray pattern. Frequently switch between different attachments sets to ensure effectiveness.
Understanding Your Karcher Pressure Washer Model

Identifying your specific Karcher unit is crucial for optimal performance. Each model comes with its unique features and capabilities that can greatly influence your cleaning tasks. Familiarise yourself with the specifications of your device to leverage its full potential.
Model Variations
Models range from compact units suited for light tasks to heavy-duty machines designed for professional-grade cleaning. Typically, power ratings, nozzle types, and hose lengths differ across models. Here’s a breakdown of what to look for:
- Power Output: Models vary in wattage, affecting their force and efficiency. Higher wattage usually corresponds to stronger output.
- Nozzle Options: Different nozzles offer varying spray angles and flow rates. Familiarise yourself with which nozzle works best for your task.
- Accessories: Some units come with additional accessories like brushes, which can enhance your cleaning performance.
Common Features
Most Karcher units have features designed to simplify operation and enhance usability:
- Built-in Detergent Tanks: Streamline your cleaning process by having the detergent readily available.
- Onboard Storage: For easy access and organisation, many models come with storage for nozzles and hoses.
- Adjustable Settings: Depending on the model, you may find simple controls that allow you to modify the output to suit different surfaces.
Reviewing the user manual is invaluable. It outlines the specifications, recommended practices, and guidelines for operating your model effectively. Investing time to understand your equipment yields significant advantages in achieving desired results.
Tools Needed for Water Pressure Adjustment
For optimising flow settings on your machine, start with a socket wrench or an adjustable spanner. These tools will help you securely tighten or loosen necessary fittings without damage. A flathead screwdriver is also handy, especially if your model has adjustable nozzles that require minor modifications.
You may need a pressure gauge for accurate readings during your adjustments. This device easily measures the output, allowing you to find the perfect level for specific tasks. If you’re uncertain about the correct measurements, consult your user manual for guidance on optimal standards.
A hose clamp is advantageous for maintaining secure connections throughout the system, preventing leaks and ensuring consistent functioning. Lastly, keep a cleaning cloth nearby. It’s essential for wiping down fittings and components, thereby promoting longevity for your device.
Equipped with these tools, you will find the process simpler and more efficient, leading to better results in your cleaning tasks.
Locating the Pressure Adjustment Feature
The feature for modifying output flow can typically be found on the machine itself. Check the front panel or the handle section–many models have a simple dial or lever positioned there for swift changes.
If your device possesses interchangeable nozzles, the specific nozzle in use might also affect the flow. Some nozzles allow for easy tampering with the intensity by twisting them, altering the spray pattern directly.
Look for a markings guide that indicates various settings. Understanding these indications ensures a precise selection corresponding to the desired task.
In certain models, the adjustment mechanism is integrated into the trigger gun. Familiarise yourself with the trigger and its features to optimise your experience.
For a thorough exploration, consult the user manual. This document offers detailed illustrations and descriptions, pinpointing the precise location and method for altering the output strength effectively.
Steps to Decrease Water Pressure
Before beginning the adjustments, ensure that the device is switched off and disconnected from the power source to avoid any accidents.
1. Identify the Adjustment Screw
Locate the adjustment screw or knob, typically situated near the pump or in the vicinity of the hose connector. Refer to your model’s manual for its precise location.
2. Turn the Adjustment Mechanism
Using an appropriate tool, like a screwdriver or a wrench, turn the screw counterclockwise to lower the intensity of the stream. Make small adjustments, typically no more than a quarter turn at a time, and test the device after each change to observe the impact.
Monitor the variation in flow as you alter the setting. If it doesn’t meet your expectations, continue to make gradual changes until you achieve the desired output.
3. Test the Equipment
Reconnect the unit and turn it on. Test the spray on a surface to verify the adjustments have taken effect correctly. Assess if the flow rate and spray pattern meet your requirements for the task at hand.
If further modifications are necessary, repeat the process until you are satisfied with the results. Remember to always prioritise safety during each step, ensuring the apparatus is powered down while you make adjustments.
Steps to Increase Water Pressure
To elevate the performance of your cleaning machine, follow these precise steps:
1. Check the Water Supply
Ensure the water source is providing a steady flow. Inspect hoses for kinks and leaks. A minimum flow rate of 7-8 litres per minute is optimal for performance.
2. Verify Filter Condition
Remove and clean the water inlet filter. A clogged filter restricts flow and reduces efficiency. Rinse it under running water until clear.
3. Inspect the Hose
| Element | Action |
|---|---|
| Length and Diameter | Use a shorter and wider hose to reduce resistance. |
| Connections | Tighten all connections to prevent leaks. |
4. Adjust Nozzle Size
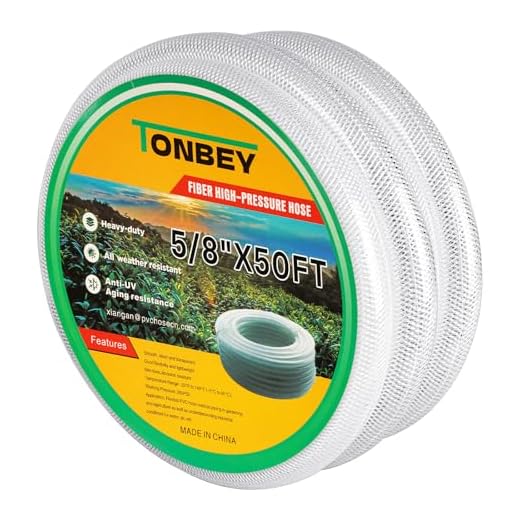
Switch to a smaller nozzle to concentrate the flow. This can significantly enhance the force of the spray without altering the settings.
5. Clean Accessories
Check and clean all attachments, as blockages in brushes or nozzles can hinder performance. Use a needle or pin to clear any obstructions.
6. Check Pump Functionality
If the unit is still underperforming, inspect the pump for wear. A malfunctioning component may require professional servicing.
Following these steps will enhance the output, providing a more powerful cleaning experience. Regular maintenance is key to optimal performance.
Common Issues when Modifying Waterforce
In my experience, several common challenges can arise during the change of the fluid output strength. Understanding these can save time and prevent potential frustrations.
Inconsistent Flow
Inconsistent delivery might indicate a blockage somewhere in the system, typically in the hoses or nozzle. It’s advisable to check:
- For kinks or obstructions in hoses.
- For dirt or debris lodged in the spray nozzle.
- The filter for any accumulated particles that could disrupt fluid movement.
Inability to Achieve Desired Levels

If you find it difficult to reach the target output, consider inspecting the following:
- The adjustment feature – ensure it is not fully tightened or loosened without effect.
- Ensure compatibility between the attachment and the base unit.
- Confirm that your water source delivers sufficient volume and pressure.
Addressing these common issues early can facilitate smooth adjustments and enhance your cleaning tasks.
Testing Water Pressure After Adjustment
.jpg)
After modifying the settings, it is essential to confirm the effectiveness of the changes. Begin by reconnecting the appliance to the water source while ensuring all hoses are tightly secured to prevent leaks. Turn on the water supply fully and check for any visible issues.
Next, power up the device and select a suitable nozzle based on the task at hand, as different nozzles can influence the output. For testing, I recommend starting with a medium or wide fan nozzle to get an accurate read on the performance.
Observe the stream for consistency and strength. A successful adjustment will result in a strong and stable jet, capable of effectively cleaning surfaces without causing damage. If the jet appears weak or inconsistent, further modifications may be necessary.
To measure the output, use a pressure gauge on the outlet hose. After performing the necessary tests, follow these steps:
| Step | Action |
|---|---|
| 1 | Attach a pressure gauge to the outlet hose. |
| 2 | Turn on the unit without engaging the trigger. |
| 3 | Note the reading on the gauge; it indicates the operational strength. |
| 4 | Engage the trigger while monitoring the gauge for any fluctuations. |
| 5 | Compare readings with manufacturer specifications to ensure optimal performance. |
If it falls within the recommended range, the settings are likely successful. If not, revisit the adjustment process or troubleshoot the unit for potential issues. Regular testing will help maintain peak performance in your cleaning tasks.
Maintaining Optimal Water Pressure Settings
To ensure longevity and optimal performance, always monitor the settings after changes are made. Regular checks can prevent damage to components and improve cleaning efficiency. Here are specific recommendations to keep in mind:
- Routine Checks: Verify pressure settings before each use. This practice guarantees you are using appropriate levels for different tasks, such as washing vehicles or cleaning patios.
- Observe Performance: If you notice inconsistent cleaning results, revisit the settings. Changes in the effectiveness of the machine could indicate a need for recalibration.
- Maintain Cleanliness: Ensure that the nozzle and hoses are free from debris. Blockages can create fluctuations in performance, leading to either excess or insufficient stream speed.
- Filter Maintenance: Regularly inspect and clean the water intake filter. A clogged filter can reduce flow rates and affect the stability of settings.
Use a pressure gauge to monitor the output accurately. This gauge provides precise data, enabling quick adjustments and ensuring that you operate within safe limits. Regular use of this tool will establish a baseline for normal operation and help identify any irregularities promptly.
- Environment Considerations: Be aware of environmental factors that may influence your equipment. Water temperature and availability can affect flow rates and subsequently the force of the spray.
- Seasonal Adjustments: Temperature changes may require slight recalibrations. In colder months, ensure that components are protected from freezing, as this can impede performance.
Lastly, document your settings and procedures for future reference. Keeping a log enables a clear understanding of past adjustments and their outcomes, facilitating a smarter approach to maintenance.
FAQ:
How do I know if my Karcher pressure washer needs an adjustment in water pressure?
If your pressure washer is not cleaning surfaces as effectively as it used to or if you notice a significant drop in pressure when using it, these could be signs that an adjustment may be necessary. Additionally, if the water flow appears weak or inconsistent, this may indicate that the water pressure settings require modification. Checking the user manual can also guide you in determining the ideal pressure for your specific model.
What tools do I need to adjust the water pressure on my Karcher pressure washer?
To adjust the water pressure on your Karcher pressure washer, you typically do not need any special tools. Most models come equipped with a pressure adjustment knob or lever that can be easily turned by hand. However, if your model features a more complex setup, you might need an adjustable wrench or screwdriver to access specific components. It’s advisable to consult your pressure washer’s user manual for precise instructions and tools required based on your model.
Can I adjust the water pressure while the pressure washer is running?
It is generally recommended to adjust the water pressure only when the pressure washer is switched off and detached from the power source. Making adjustments while the machine is operational can be dangerous and may lead to variable pressure levels that can cause damage to the washer or injury. Always ensure safety precautions are taken and follow the manufacturer’s guidelines when adjusting settings.
What are the potential risks of setting the water pressure too high on my Karcher pressure washer?
Setting the water pressure too high can lead to several issues. It may cause damage to the surfaces you are cleaning, creating unwanted abrasions or stripping paint. Additionally, excessive pressure can strain the internal components of the pressure washer, leading to malfunctions or even permanent damage. If you’re unsure of the appropriate pressure, refer to the user manual for recommendations that cater to the materials you will be cleaning.


