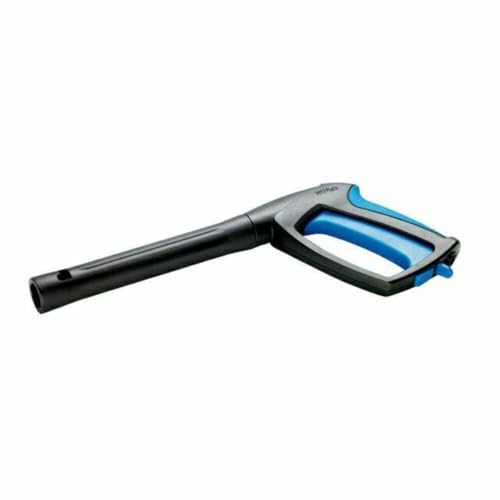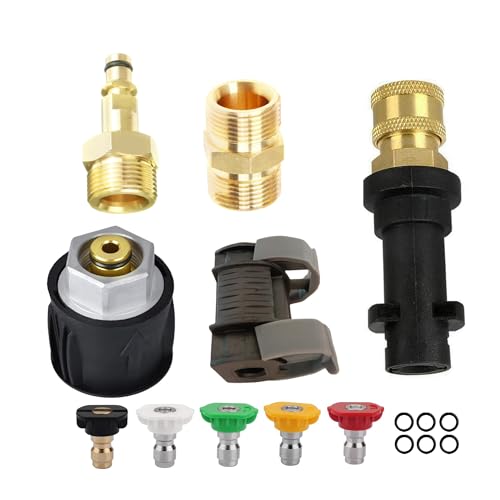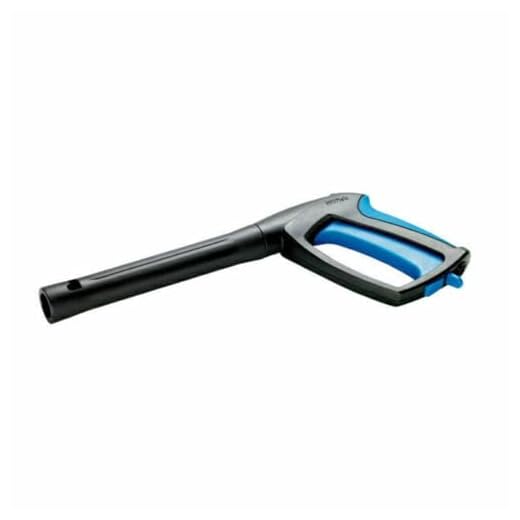


Begin by ensuring all components are present. Verify the packaging for any missing items before proceeding. You’ll typically find the main unit, a lance, a nozzle, a high-pressure hose, and an instruction manual. Lay everything out in an organised manner to facilitate an efficient assembly process.
Attach the high-pressure hose to the designated inlet on the main unit. Make sure it is securely fastened to prevent leaks during operation. Next, connect the lance to the other end of the hose with a firm twist until you hear a click, indicating a proper lock. This step is critical as it directly impacts the performance and safety of the machine.
Choose the appropriate nozzle based on your cleaning requirements, whether it be for delicate surfaces or tougher grime. Simply slide the nozzle onto the lance until it clicks into place. Familiarise yourself with the different spray patterns, as this will enhance your cleaning efficiency.
Finally, before powering on, double-check all connections and ensure that the water supply is correctly linked. Turn on the water and then power on the device to commence your cleaning tasks with confidence. Always consult the manual for specific guidelines relevant to your model for optimal results.
Assembly Instructions for Your New Cleaning Device
Begin with a stable work surface. Lay out all components and ensure you have the manual at hand for reference.
Attach the main body to the base. Align the slots, and press down firmly until you hear a click, indicating a secure fit. Check that it cannot be easily dislodged.
Next, connect the handle. Insert it into the designated opening on the front of the unit until it locks into place. Make sure it is straight and does not wobble.
Now focus on the hose connection. Locate the hose adapter, align it with the designated inlet, and twist securely until tight. Prevent leaks by avoiding overtightening.
Install the nozzle; this typically involves sliding it into the outlet and turning it until it locks. Choose the appropriate nozzle for your intended cleaning task.
Attach the detergent tank if your model includes this feature. It should click into place, usually on the rear of the device, ensuring it sits level.
Connect the power cord. Ensure that it is free from kinks and positioned where it won’t pose a tripping hazard during operation.
Before inspection, briefly review all connections and fittings. Check for any visible damage or misalignments that could hinder functionality.
Once everything is in place, plug into a suitable power source. Run a brief test to confirm all components are functioning correctly.
If you encounter resistance or unusual sounds, disconnect immediately. Reassess each part to ensure proper assembly.
Finally, store your user manual in an accessible location for future reference. Regular maintenance will extend the life of your equipment and maintain performance.
Gather Required Tools and Components for Assembly
Begin by collecting all necessary items to ensure a smooth setup process. You will need a cross-head screwdriver, a pair of adjustable wrenches, and possibly a socket set for attaching various components securely.
Components to Gather
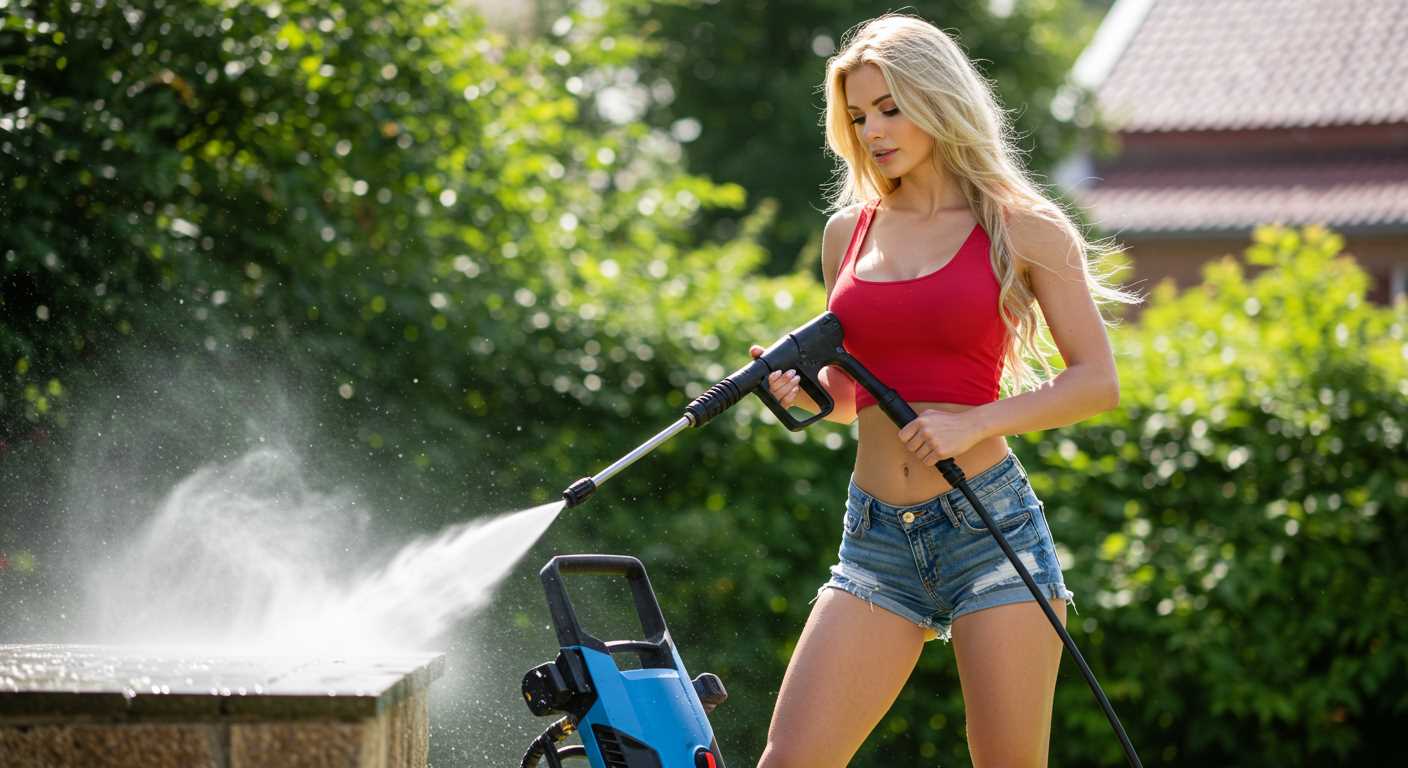
Check the packaging for specific parts: the main unit, hose, lance, nozzle, and any attachments. Confirm that the power cable and water inlet accessories are present. A user manual, often overlooked, will be invaluable for reference.
Additional Items to Consider
Having a pair of pliers handy can facilitate connecting any stubborn fittings. It may also be prudent to possess a towel or cloth to wipe down surfaces as you work. Should you have a floor mat, placing it nearby will help prevent any slips or falls during assembly.
A clean workspace is critical, so declutter the area before starting. This helps to avoid distractions and allows for easier access to your tools and components. By taking these preparatory steps, I ensure that the entire process is straightforward and efficient.
Identify and Connect High-Pressure Hose Components
Begin by locating the high-pressure hose components included in your kit. These typically consist of the hose itself, connectors, and an inlet adapter. Ensure all parts are free from any damage or wear before proceeding.
Connecting the Hose
To connect the high-pressure hose, follow these steps:
- Locate the high-pressure outlet on the machine. This is where you will attach one end of the hose.
- Align the connector of the hose with the outlet and twist it clockwise until secure. Ensure it feels tight to prevent any leaks during operation.
- The opposite end of the hose will connect to your cleaning attachment, whether it’s a nozzle or a lance. Repeat the process of aligning and twisting to secure this end as well.
Checking for Leaks
After connecting, it is crucial to check for any leaks. Follow these steps:
- Turn on the power to the machine without activating the flow of water yet.
- Inspect the connections while keeping an eye out for any sprays or drips.
- If any leaks are found, turn off the unit, disconnect the hose, and re-check the connections. Make sure each is tightly secured before retrying.
Following these guidelines ensures a safe and functional setup for your equipment. Keeping a well-maintained connection contributes significantly to the overall performance and longevity of your cleaning device.
Attach the Spray Gun and Nozzles Correctly
Ensure the spray gun is securely connected to the high-pressure hose. First, align the connector of the spray gun with the corresponding end of the hose, ensuring it fits snugly. Turn the locking ring clockwise until it’s tightly fastened.
Select and Attach Nozzles

Next, choose the appropriate nozzle for your task. Different nozzles cater to various cleaning needs: a narrow spray for tougher stains and a wider spray for gentler applications. To attach a nozzle, simply push it into the front of the spray gun until you hear a click, indicating it’s locked into place.
| Nozzle Type | Application |
|---|---|
| 0° | High-pressure cleaning, removing baked-on grime |
| 15° | Efficient for cutting through heavy dirt on hard surfaces |
| 25° | Versatile option for general cleaning tasks |
| 40° | Safe for delicate surfaces, providing a gentle spray |
| Soap nozzle | Used for applying detergent or cleaning solution |
After attaching the nozzles, give them a gentle tug to confirm they’re secure. This prevents any accidental disconnections during operation.
Securely Mount the Electric Motor and Water Pump

Begin by aligning the electric motor with the designated mounting brackets on the base unit. Ensure the motor’s mounting holes are directly over the brackets for a precise fit.
Use screws provided in the assembly kit to secure the motor firmly in place. Tighten them evenly to prevent undue stress on the motor casing. An adequately secured motor will reduce vibrations during operation, enhancing overall stability.
Next, position the water pump adjacent to the motor, ensuring that the pump’s inlet is aligned with the water supply. Like the motor, align the pump’s holes with the mounting points on the chassis.
After positioning, it’s crucial to connect the pump to the motor using the drive coupling. This coupling must slide onto the motor shaft and securely attach to the pump shaft. Check alignment to ensure smooth assembly. If there’s a misalignment, it may lead to operational issues later.
Finally, double-check all fastenings for tightness. A loose motor or pump can lead to malfunction or damage during use. Proper mounting will support optimal functionality and longevity of your cleaning equipment.
Check Electrical Connections and Water Supply Setup
Ensure all electrical connections are secure before use. Insert the power cord firmly into the designated outlet, avoiding any loose fittings which could lead to malfunction. Inspect the cord for visible damage; replace it if frayed or worn to prevent hazards.
Water Supply Verification
Confirm that the water inlet is properly connected to a reliable water source. Use a garden hose that is free from kinks and blockages. Attach the hose securely to the washer’s water intake, ensuring it is watertight to prevent leaks during operation. Turn on the water supply and check for any leaks at the connections.
Test Electrical Functionality
After confirming that all connections are secured, power on the device. Listen for any unusual sounds–these may indicate electrical issues. If functional, turn off and check for any further irregularities. This step is crucial for both performance and safety realities. Always observe the manufacturer’s guidelines on voltage and power specifications during tests.
Perform Initial Testing and Troubleshooting Steps
After completing the assembly, proceed with initial tests to ensure all components function correctly. Begin by connecting the water supply; ensure the inlet hose is properly attached and the tap is turned on to avoid dry running, which can damage the pump.
Next, check electrical connections. Plug the unit into a power socket and verify that the power indicator is lit. If not, inspect the power cord and the socket for any issues. Test the outlet with another device to confirm its operability.
Switch on the machine and observe if the motor engages without unusual noise. If you hear grinding or clanking, disconnect immediately to prevent damage. Make sure the unit is on a flat surface for stability during operation.
Proceed to activate the trigger on the spray gun. A steady stream of water should emerge. If you experience sputtering or reduced pressure, inspect the water supply for any kinks or blocks in the hose. Clean or replace any clogged nozzles as needed.
If the washer does not start, ensure that the safety lock on the spray gun is disengaged and try again. In case the motor runs but the pump doesn’t activate, check the water inlet filter for obstructions.
During testing, monitor for any leaks around fittings and connections. Tighten any loose parts to reduce water loss. If issues persist, consult the user manual for specific troubleshooting guidance and error indications.
Regular maintenance checks after initial testing can prevent future problems and promote longevity of the device. Keep a log of any issues observed during testing for future reference.
FAQ:
What are the main components needed to assemble a Nilfisk pressure washer?
To assemble a Nilfisk pressure washer, you will need the main unit, a high-pressure hose, the spray gun, and the nozzle set. Additionally, check for any included accessories like a detergent bottle or extension wand. Ensure you have a nozzle key, which is often included for tightening connections, and read the assembly manual for specific details related to your model.
Are there any safety precautions to consider while assembling the pressure washer?
Yes, safety is paramount even during assembly. Ensure the unit is unplugged from any power source before you start. Wear protective gloves to avoid injury from sharp edges, and make sure to handle components carefully to avoid damaging them. It’s wise to work in a well-ventilated area to prevent inhalation of fumes from packaging materials, and keep children and pets at a distance whilst you assemble the unit.
How long should the assembly process take for a Nilfisk pressure washer?
The assembly process for a Nilfisk pressure washer typically takes about 15 to 30 minutes, depending on the model. Following the included instructions carefully can help streamline the process. If you have experience with similar appliances, it might take even less time. Ensure that all connections are secure and perform a pre-operation check to ensure everything is assembled correctly before use.

